

Page 1

Battery Replacement and Optimization
Batteriudskiftning og optimering
Batterietausch und Optimierung
Sustitución y optimización de la batería
Akun vaihto ja optimointi
Remplacement et optimisation de la batterie
Sostituzione batteria e ottimizzazione
バッテリーの交換と最適化
Vervangin g en verb etering van de batteri j
Bytte og optimalisere batteri
Byte av batterier och optimering
电池更换与性能优化
Page 2
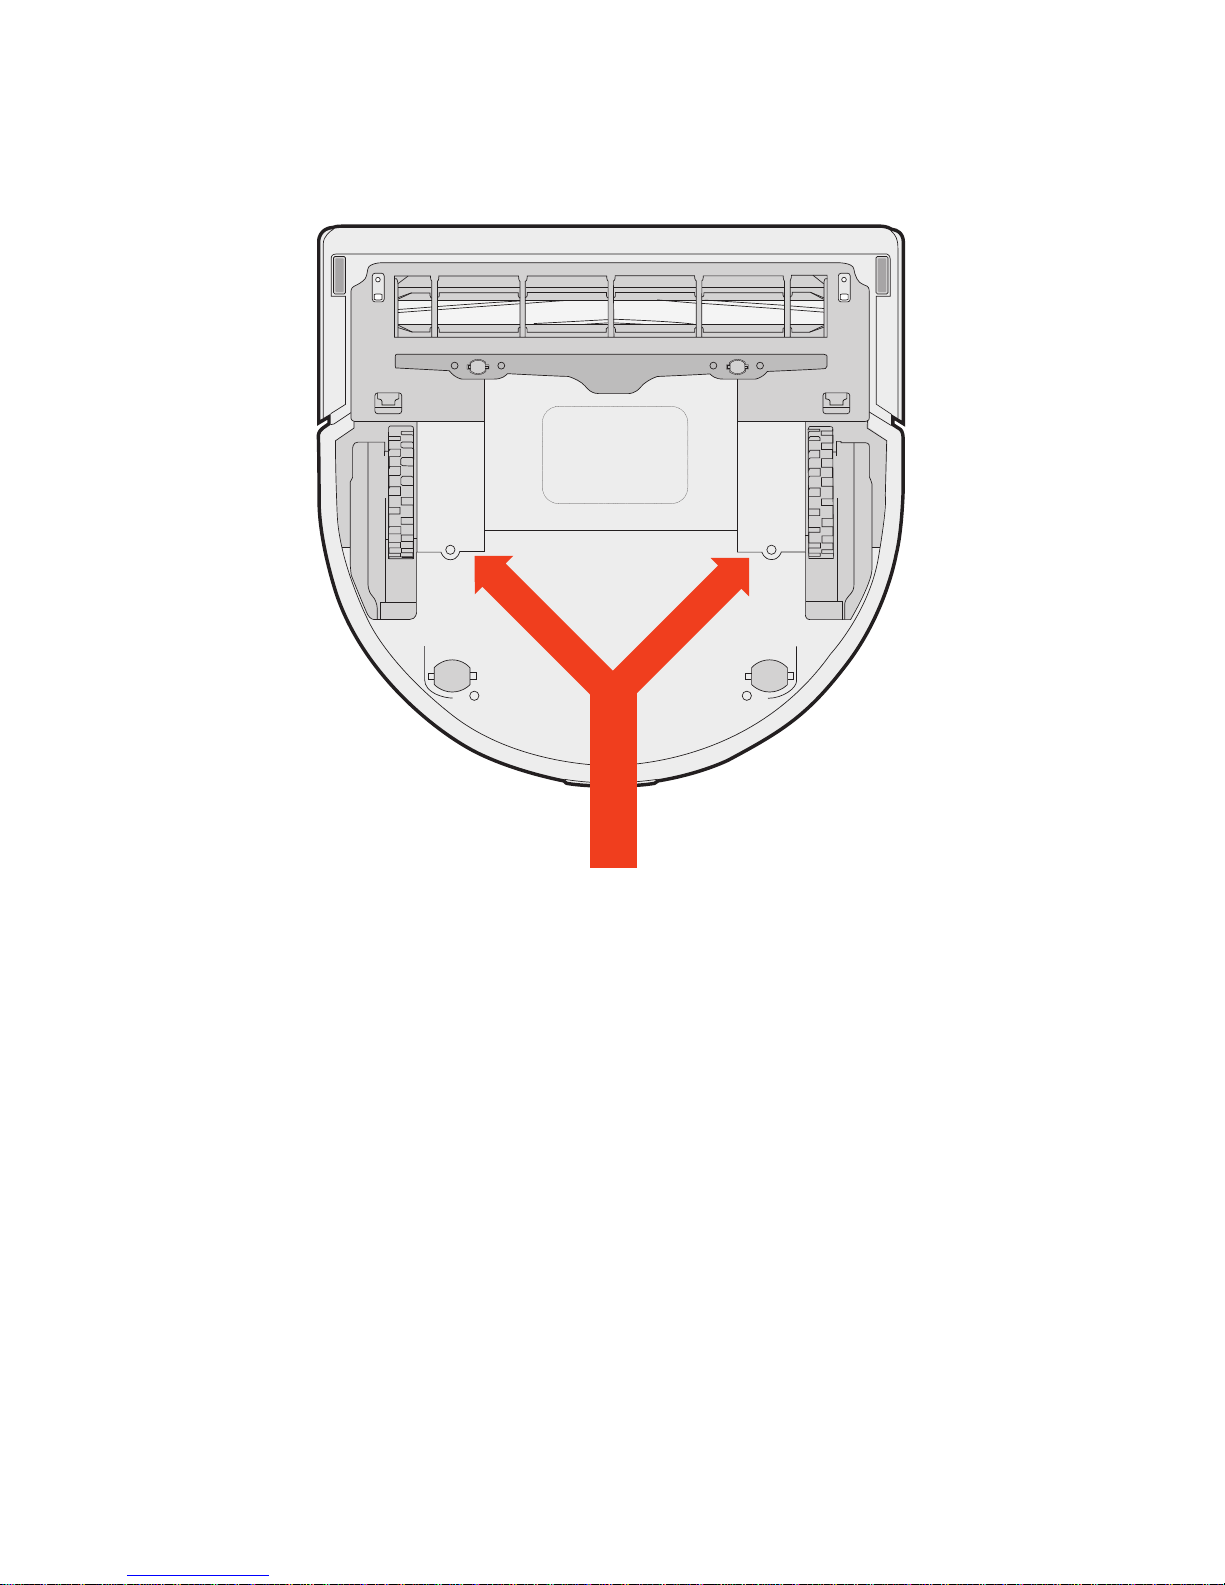
Battery Door
Batteridækslet
Die Klappen der Batterie
Ta p a d e l a b at e rí a
Akkulokeron kansi takaisin
Le couvercle de la batterie
Sportello della batteria
バッテリーのフタ
Batterijklep
Batteridøren
电池门
Page 3

Neato XV Battery Replacement and Optimization
English
1
STEP 1 - Install the New Batteries
• Locate the four screws securing the battery doors on the underside of your
Neato robot and remove using a hand held Philips head screw driver.
• Remove the battery from each compartment, making sure to hold both
sides of the connector with your fingers and gently pull apart to release the
battery. Pull the battery and the attached connector out. DO NOT pull by the
connector wires.
• Replace the batteries. Plug the battery connector in firmly until you feel it click
into place, making sure that it is aligned properly and the connector shapes
match up. Make sure that the battery is facing the proper direction, allowing
the battery door to close properly. Repeat this for the second battery.
• Place the battery doors back on the Neato, secure with the 4 screws and turn
the robot back over.
STEP 2 - Reset the Newly Installed Batteries (IMPORTANT!)
• Press the START button to power on.
• On the Neato LCD screen, select MENU.
• Navigate to SUPPORT and press SELECT.
• Scroll down to the NEW BATTERY prompt and press SELECT.
• Thank You will appear on the LCD screen.
• Press the BACK button twice to return to the home screen.
STEP 3 - Condition the Newly Installed Batteries (IMPORTANT!)
In order to get the best performance from your robot and batteries, it is
essential to “condition” the batteries by running THREE FULL CLEANING
CYCLES, which means fully charging and fully depleting the batteries three
times in succession. Note: If you do not condition your batteries, your robot
will not perform at full capacity, so please take the time to do so.
Here’s how:
Cycle 1:
• Charge your Neato on the charge base for at least 3-5 hours.
• Press the START Button and continuously run the robot until the LCD screen
shows “Low battery.” NOTE: you may need to press the START button multiple times until you see the “Low battery” message on your LCD screen. Do
NOT let the robot recharge before you see the “Low battery” message.
Cycle 2:
• Charge the robot fully again.
• Press the START button and run continuously until the LCD screen shows
“Low battery.”
Cycle 3:
• Charge the robot fully again (3rd time).
• Press the START button and run continuously until the LCD screen shows
“Low battery.”
Yo ur ro bo t b at ter y is n ow c on dit io ne d an d op ti mi ze d fo r ma xi mum r un ti me .
Yo u can n ow ch arg e and r un y ou r Ne ato n or ma ll y.
 Loading...