

Page 1
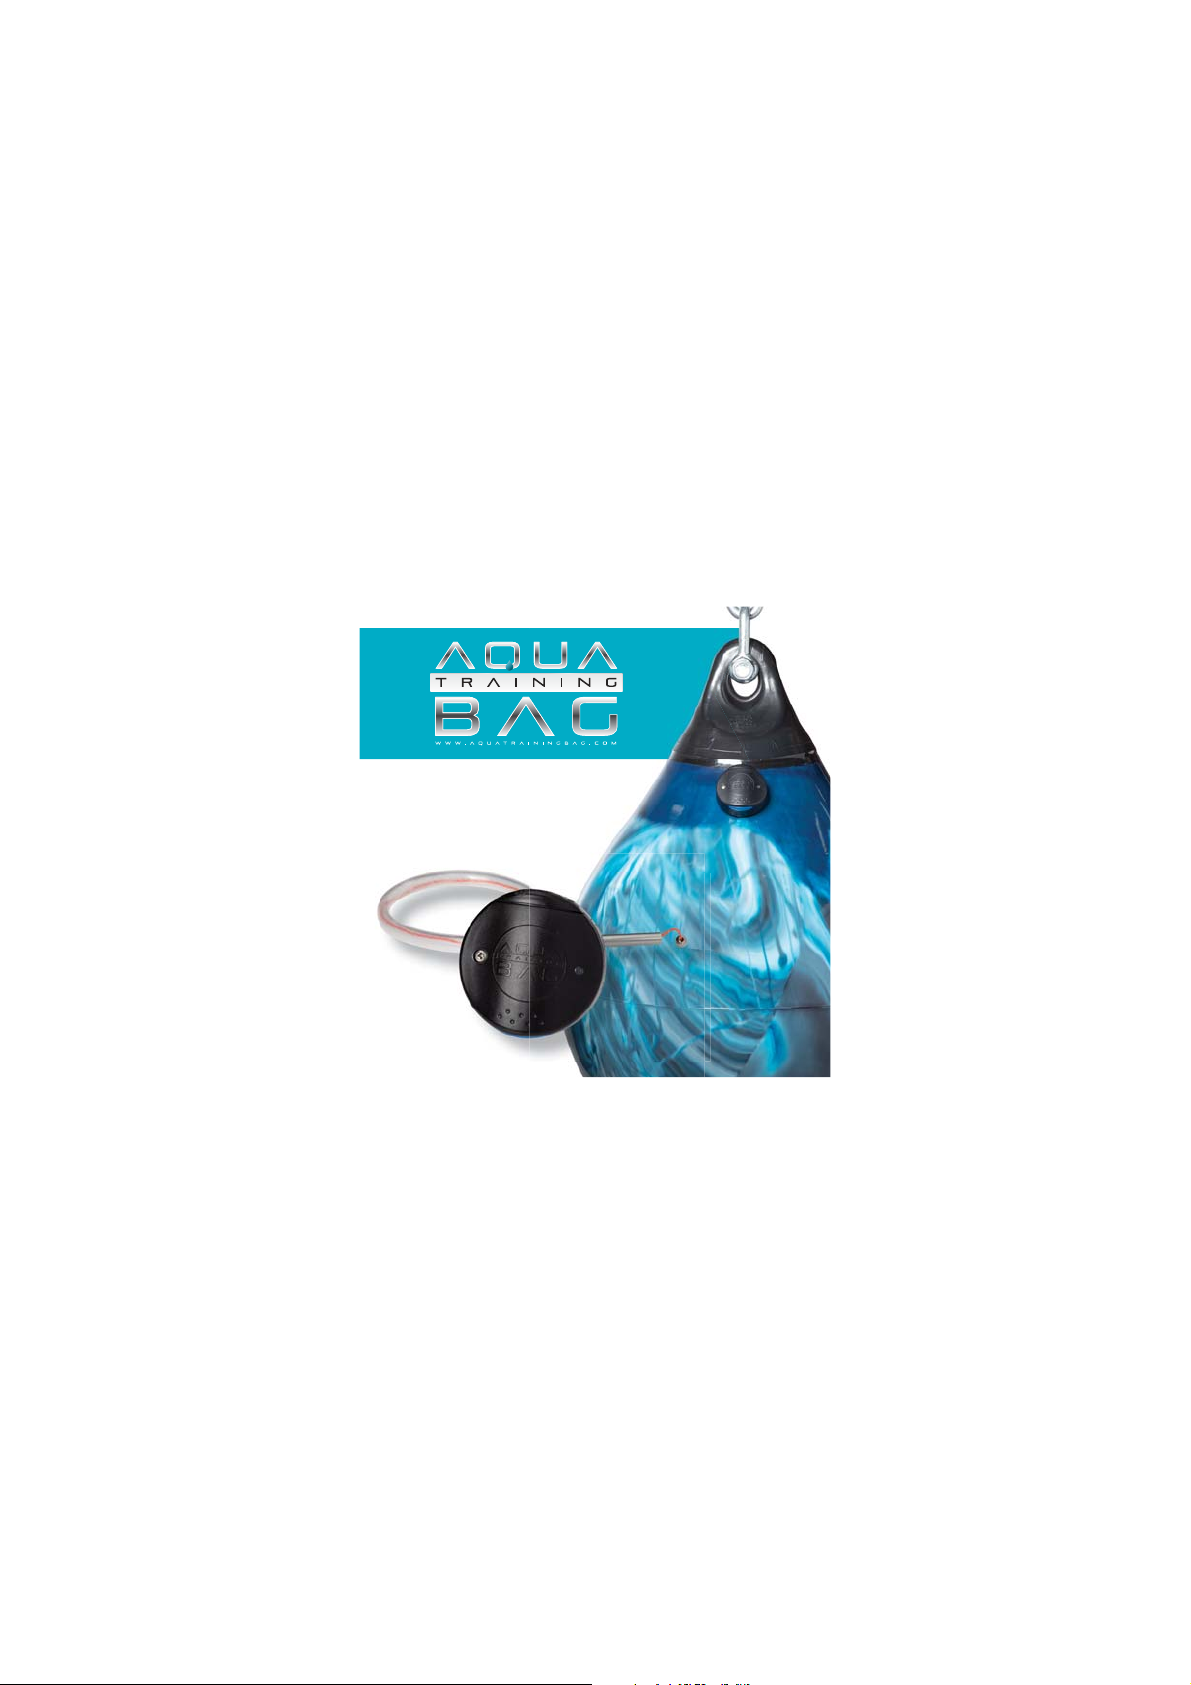
App & Sensor
Instructions
Product Name: TRAINING BAG SENSOR
Model: APSENSOR01
Page 2
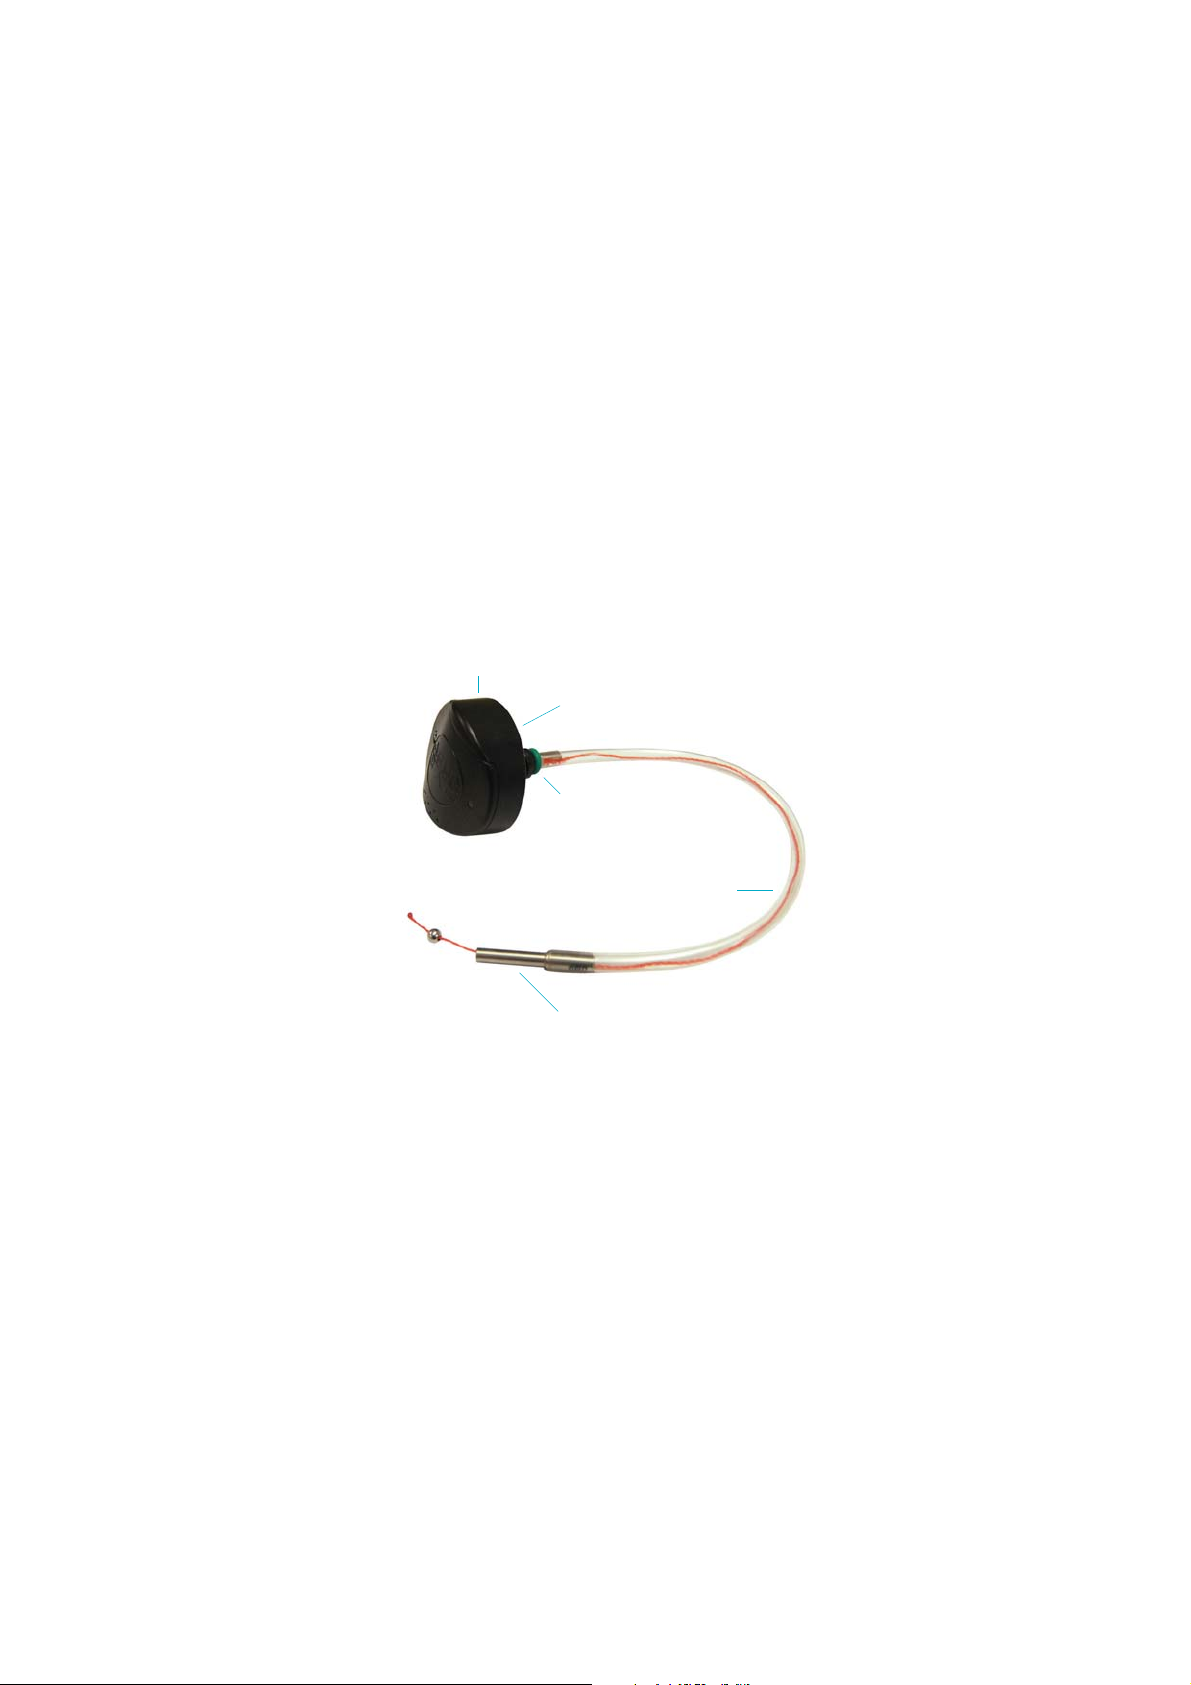
Battery Door
Sensor
Green O-Ring
Tube
Tube End Fitting
Page 3
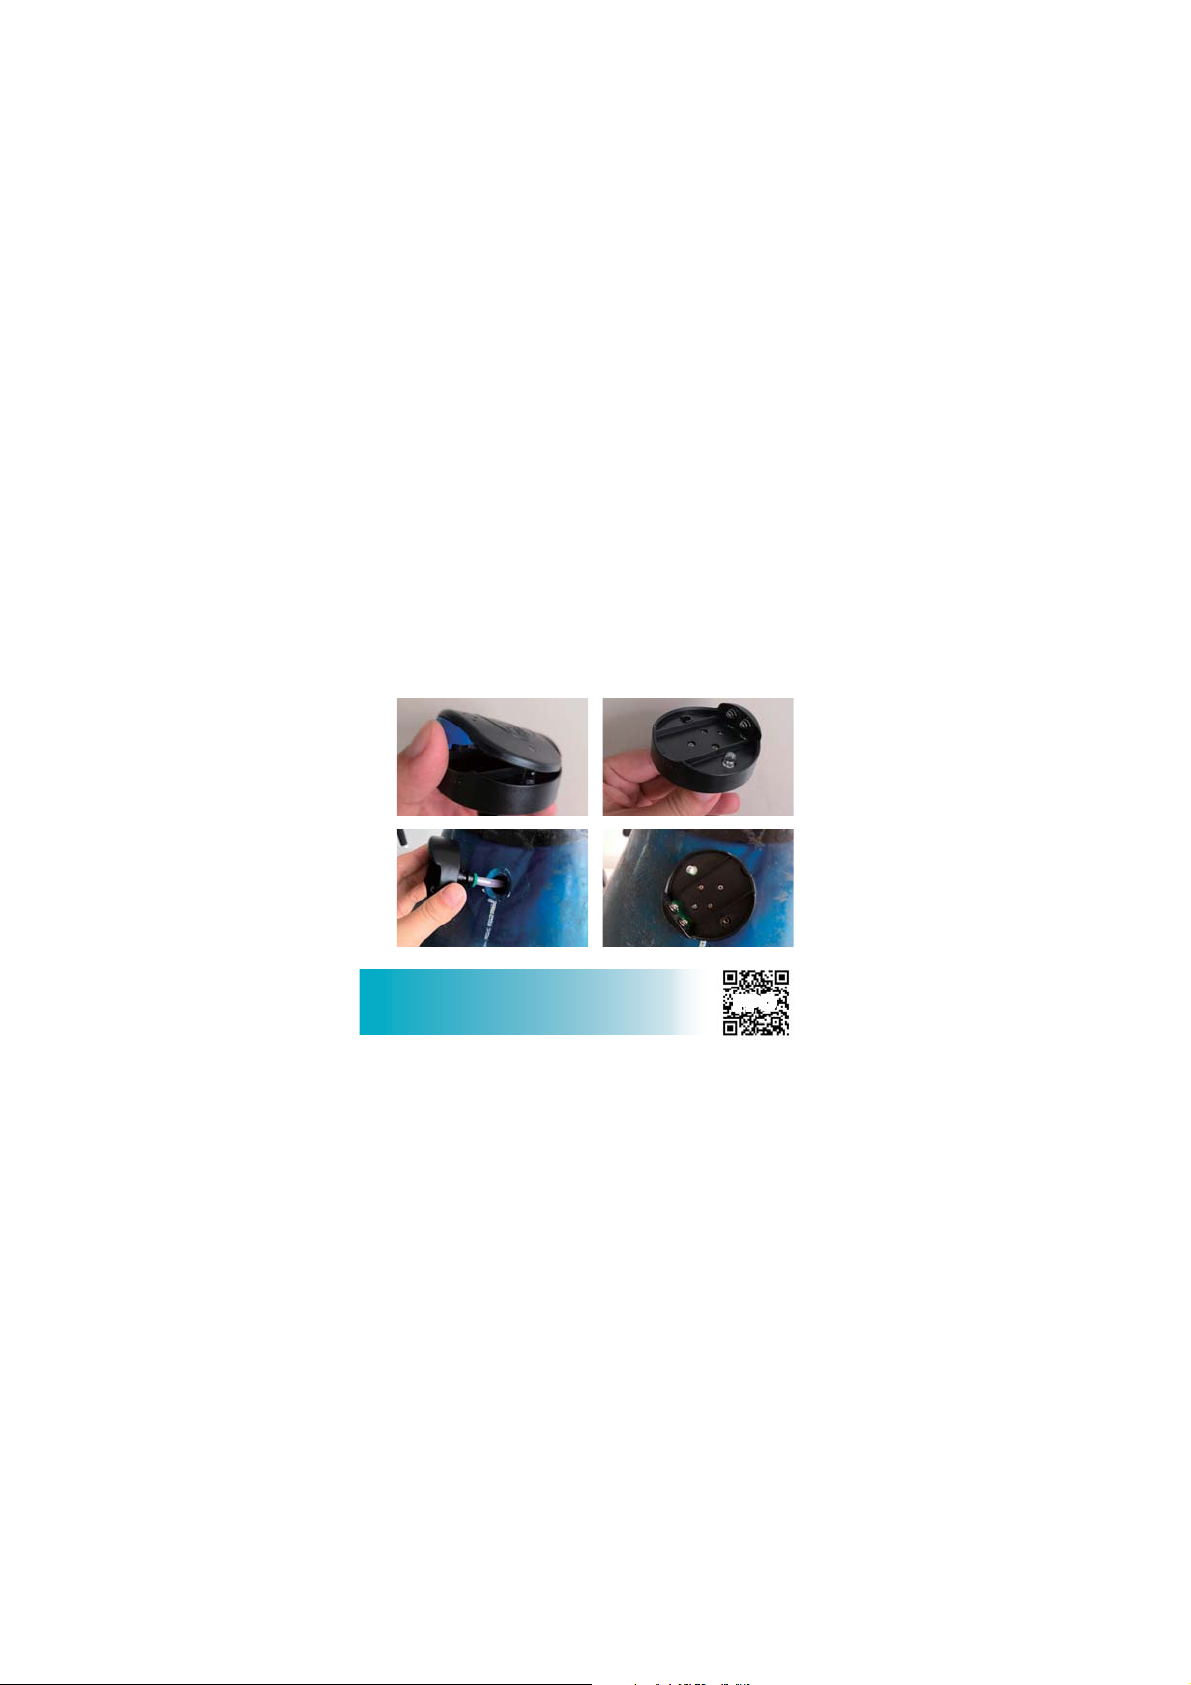
QUICK START GUIDE STEP 1
Install Sensor in Aqua Training Bag.
VIDEO ONE
FPO
Page 4
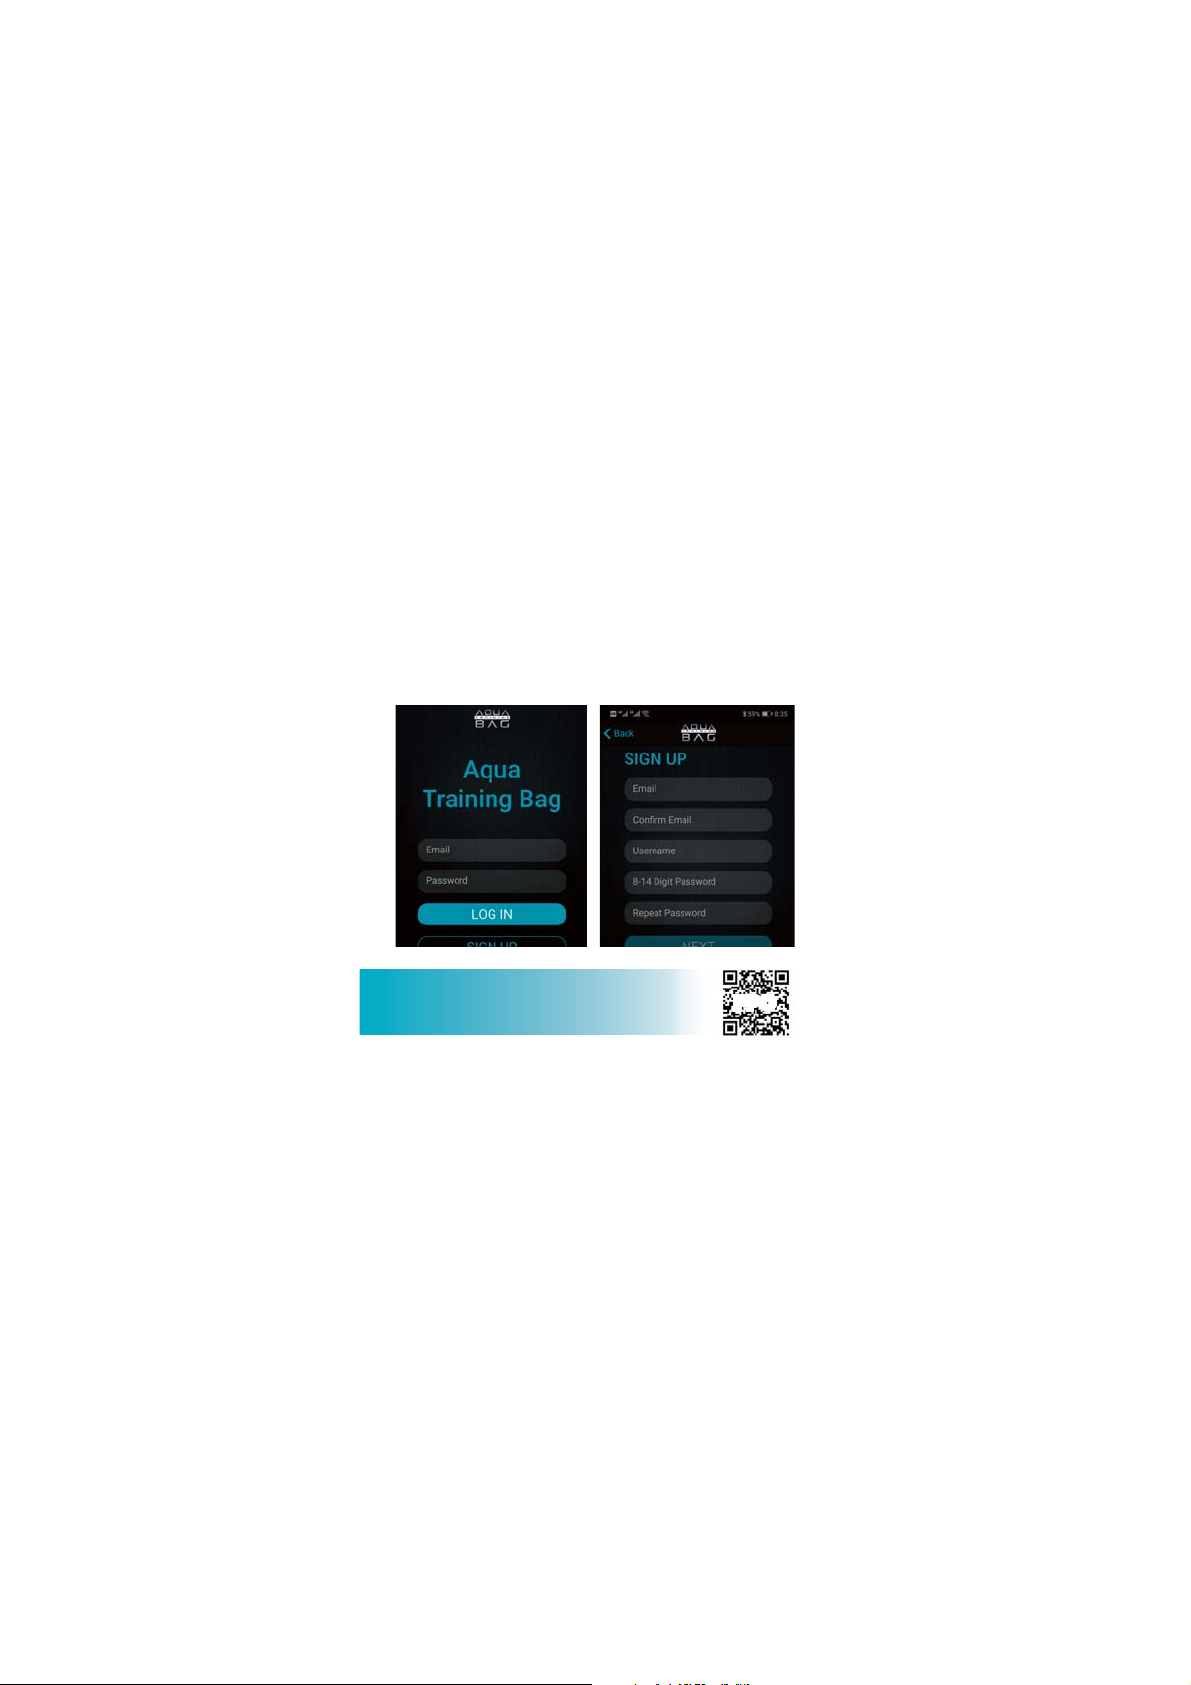
QUICK START GUIDE STEP 3
Download Aqua Bag App and register.
VIDEO TWO
FPO
Page 5
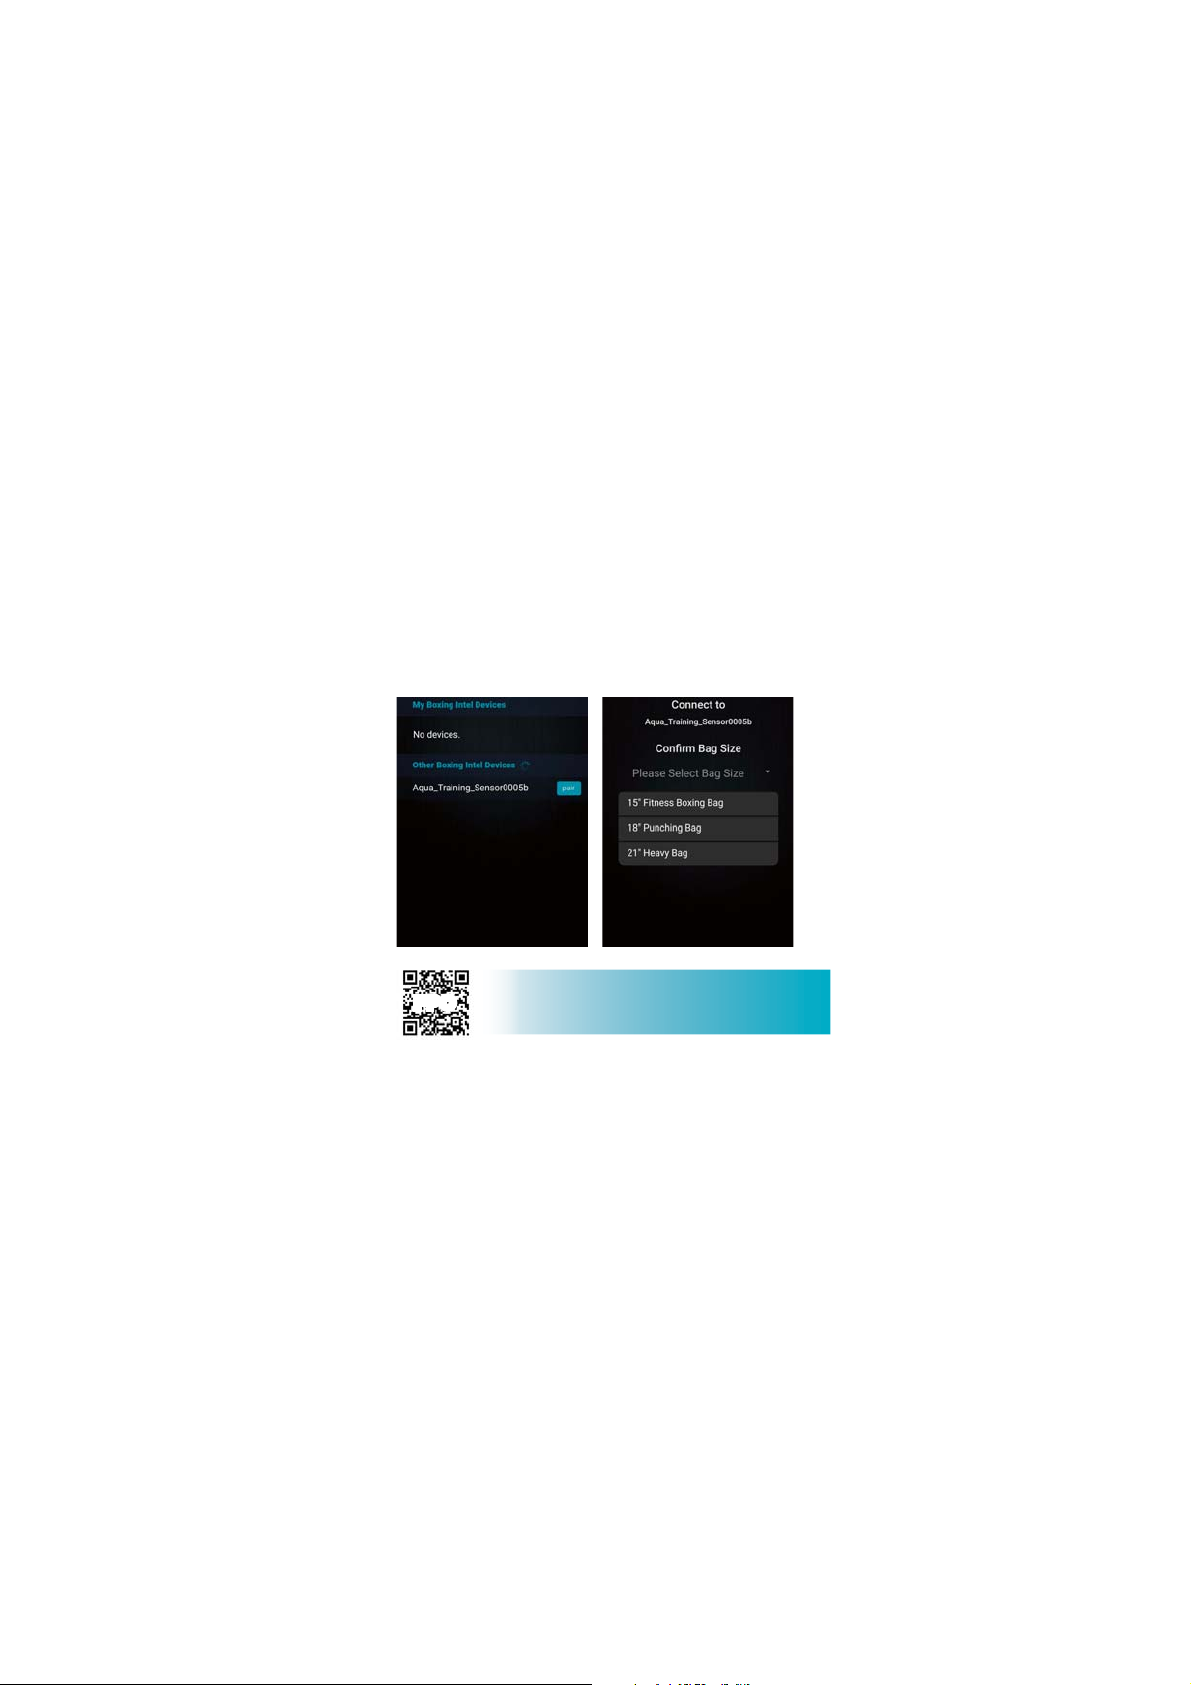
QUICK START GUIDE STEP 4
Link App to Sensor and workout!
FPO
VIDEO THREE
Page 6

TROUBLESHOOTING
1. Allow the App to access your location
when prompted. Not doing so will cause
the App to not function correctly.
2. If having trouble pairing the sensor to the
App, verify Bluetooth is enabled on your
device. If still having problems, log out of
the App, close it and retry.
3. Do not overfill the bag with water. Doing
so will cause the punch force to be wrong.
When the bag is hanging, water should be
filled to the bottom of the fill port.
Page 7
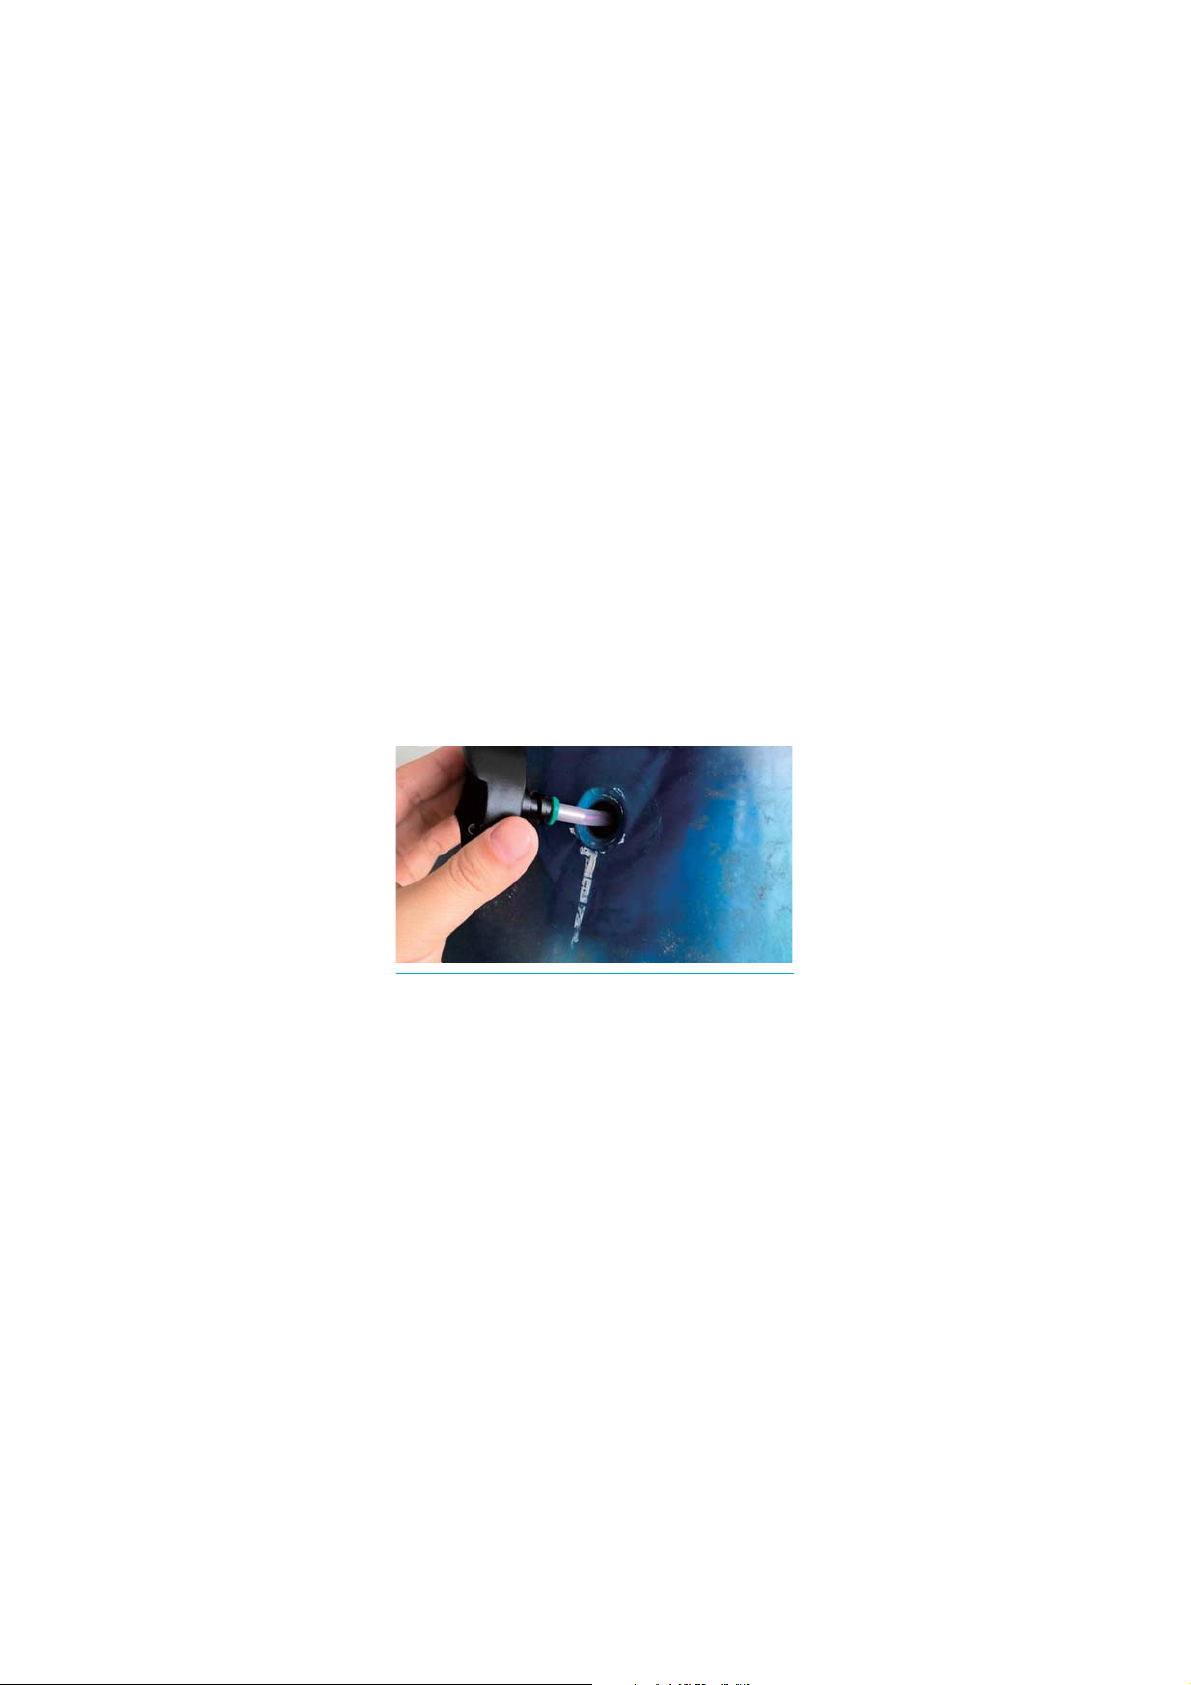
STEP 1
Remove the standard plug from a properly-hung and filled
Aqua Training Bag.
STEP 2
Carefully insert the sensor’s tube into the bag..
Your new sensor will arrive sealed with shrink wrap. The
recommendation is to leave the shrink wrap on the sensor
to protect it from water intrusion when inserting the sensor
for the first time.
Page 8
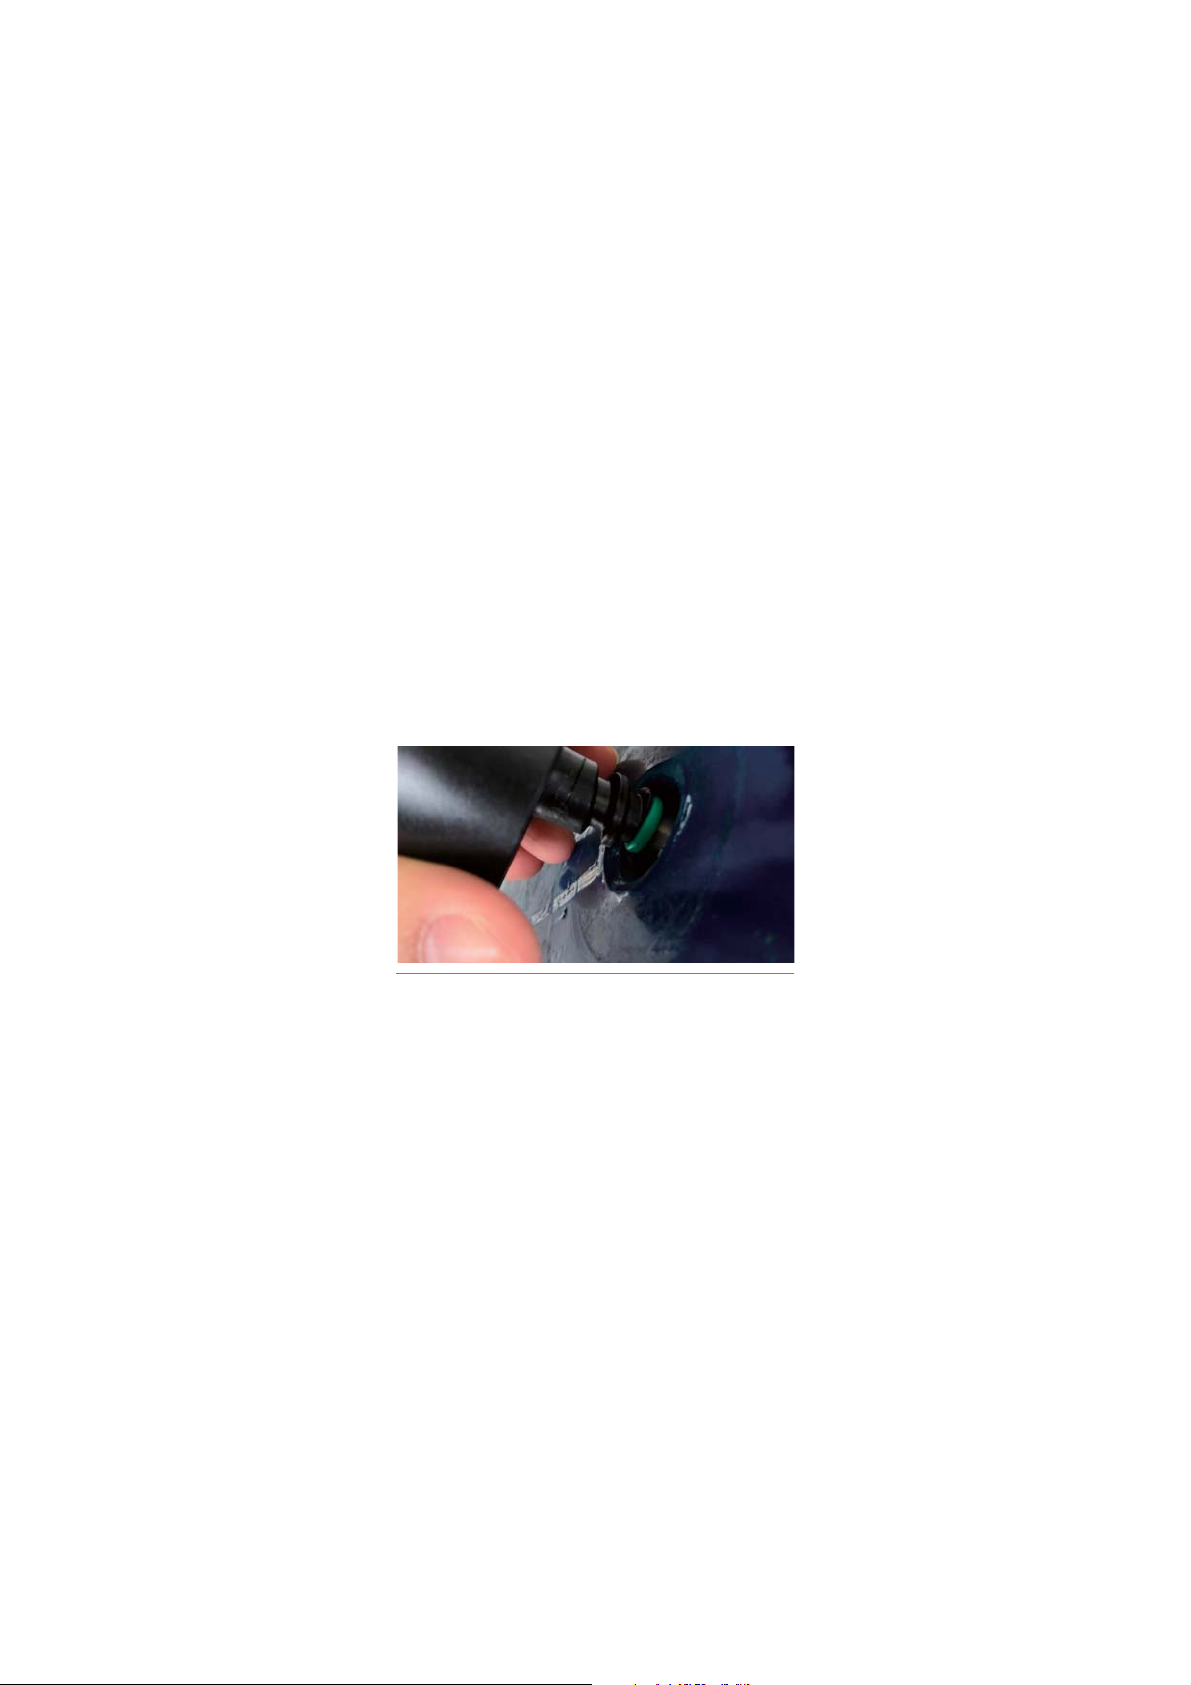
STEP 3
Make sure the green O-ring is seated against the threads.
Thread the sensor into the bag’s plug opening, stopping
when it’s firmly hand-tightened.
The sensor needs to be tight enough that no air is leaking
around the threads, but caution should be used, as
over-tightening the sensor could damage it.
Page 9
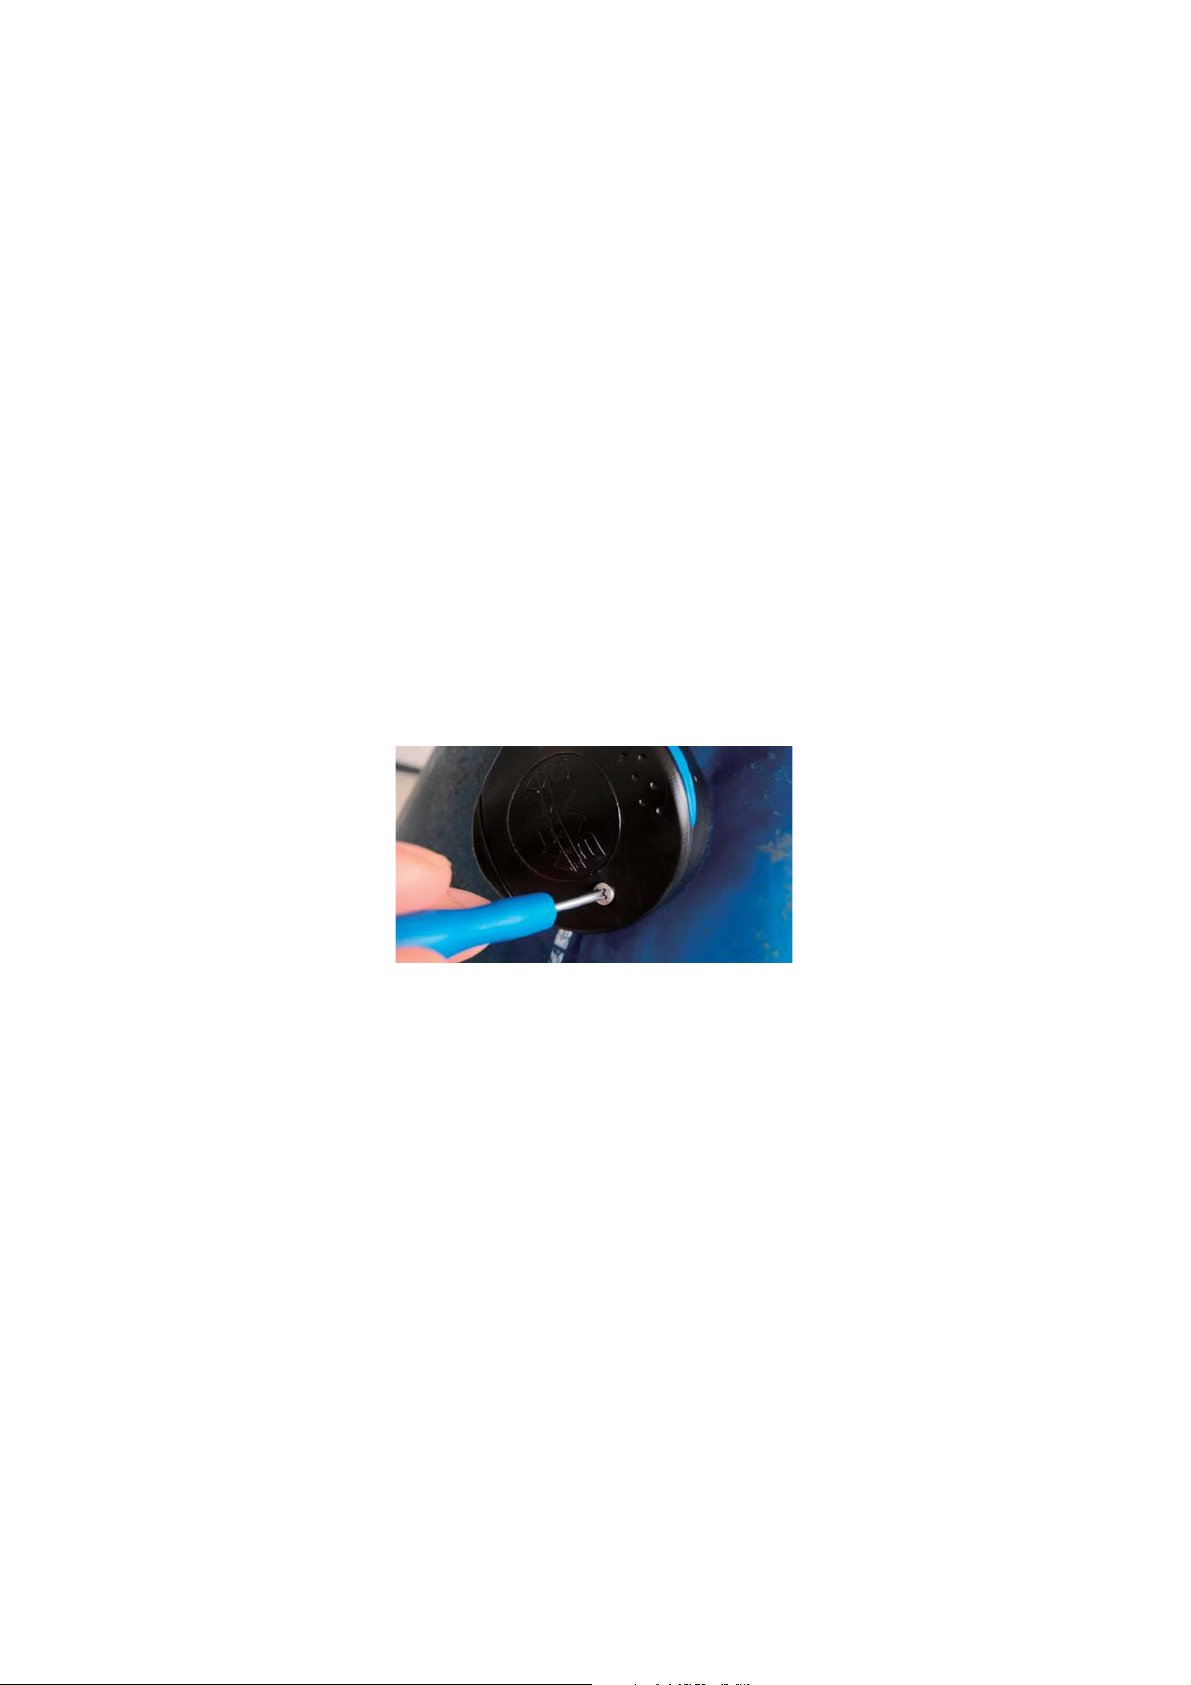
STEP 4
Remove the sensor’s battery door by removing the screw
and depressing the push button. Insert two AAA batteries.
Then replace the battery door and screw.
Page 10
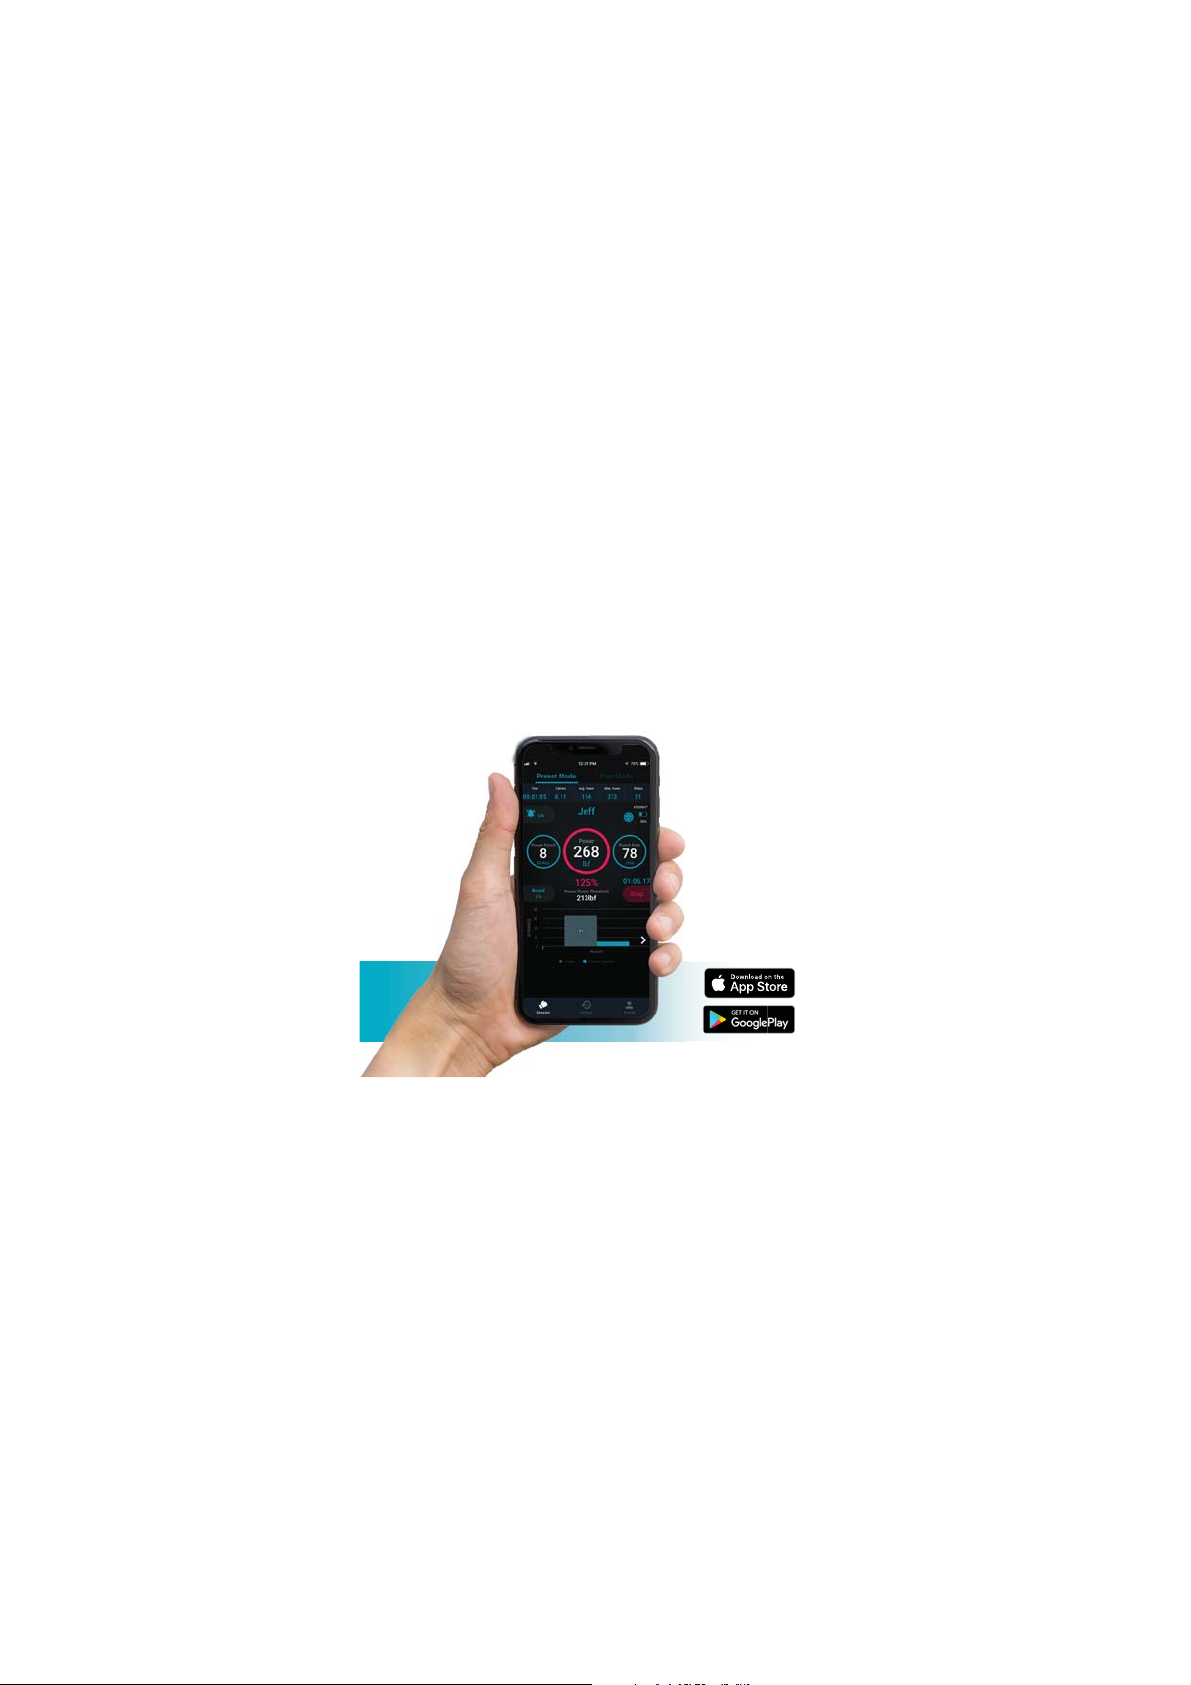
STEP 5
Download the Aqua Training Bag App in the App Store or
Google Play.
Page 11
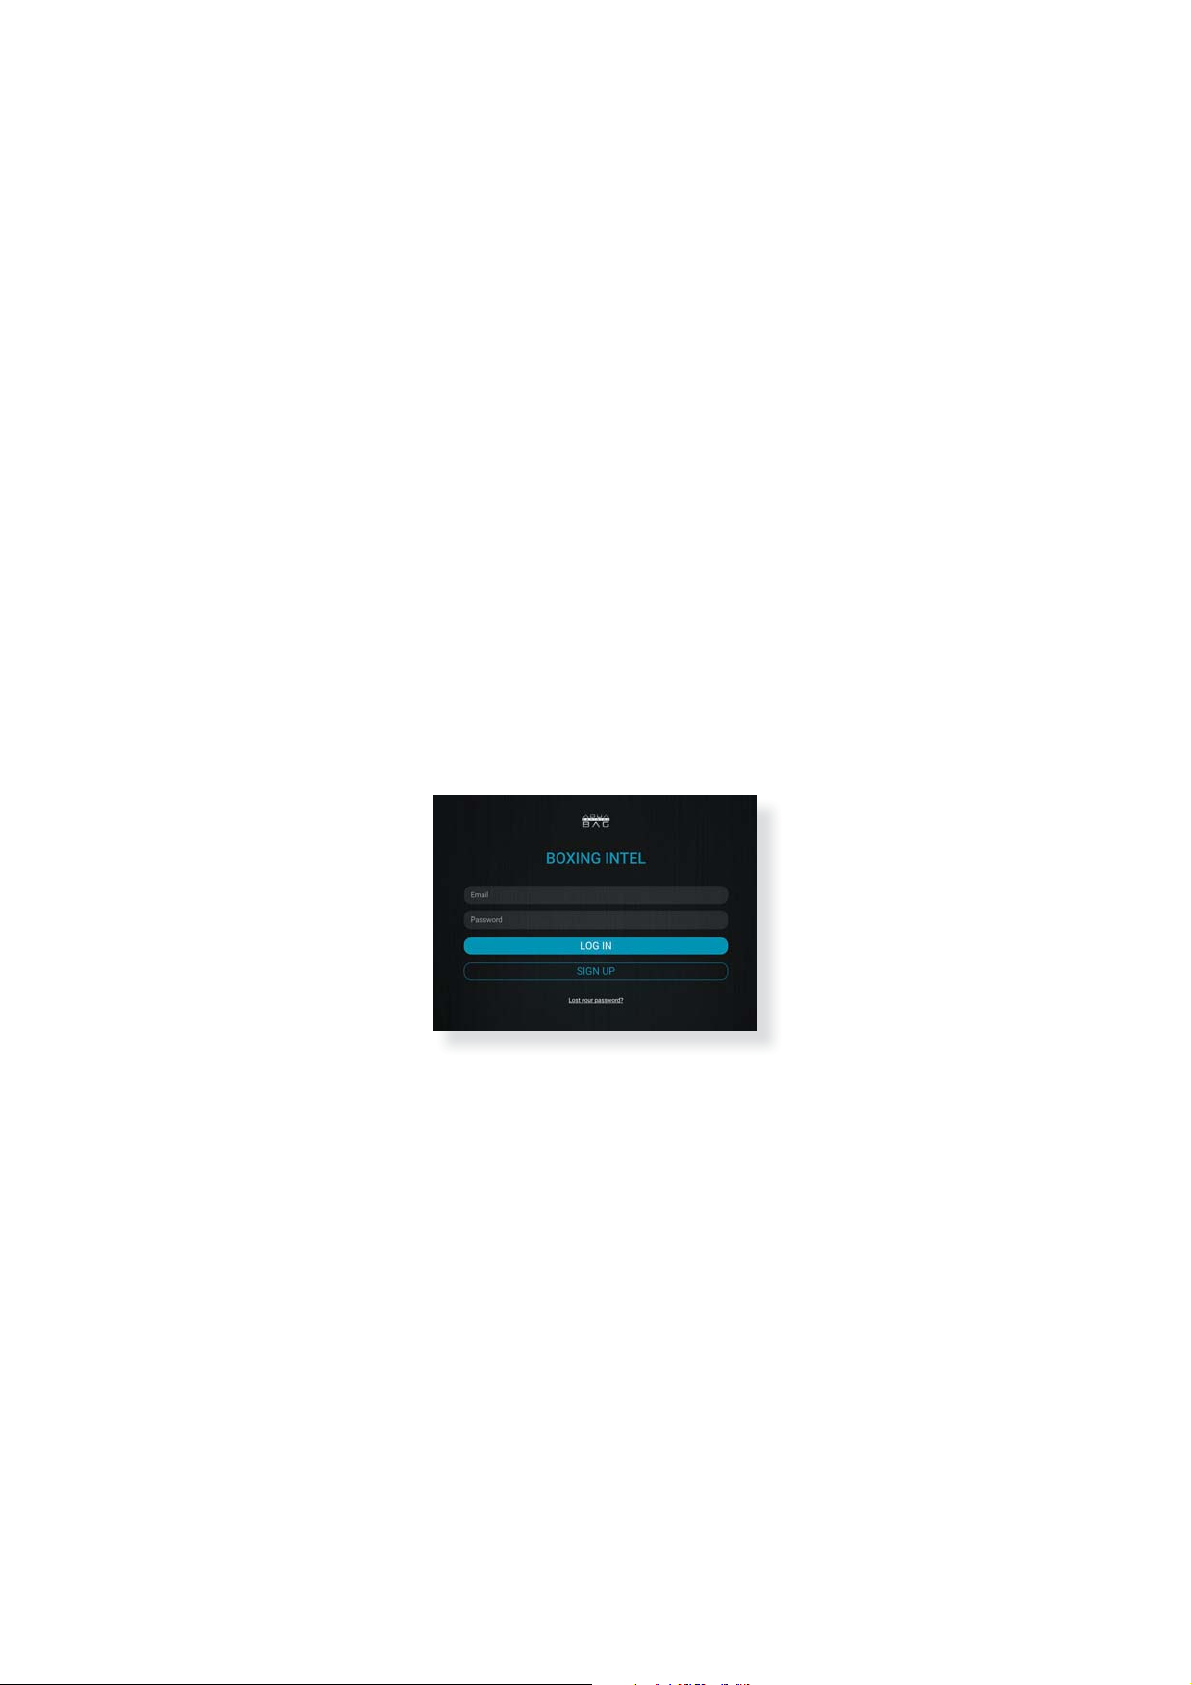
STEP 6
Open the Aqua Training Bag App and tap “Sign Up”
to start the registration process. Your tablet or phone
will need Wi-Fi or cellular data access to the web for
the registration process. Allow the App to access your
location when prompted. Not doing so will cause the App
to not function.
Page 12
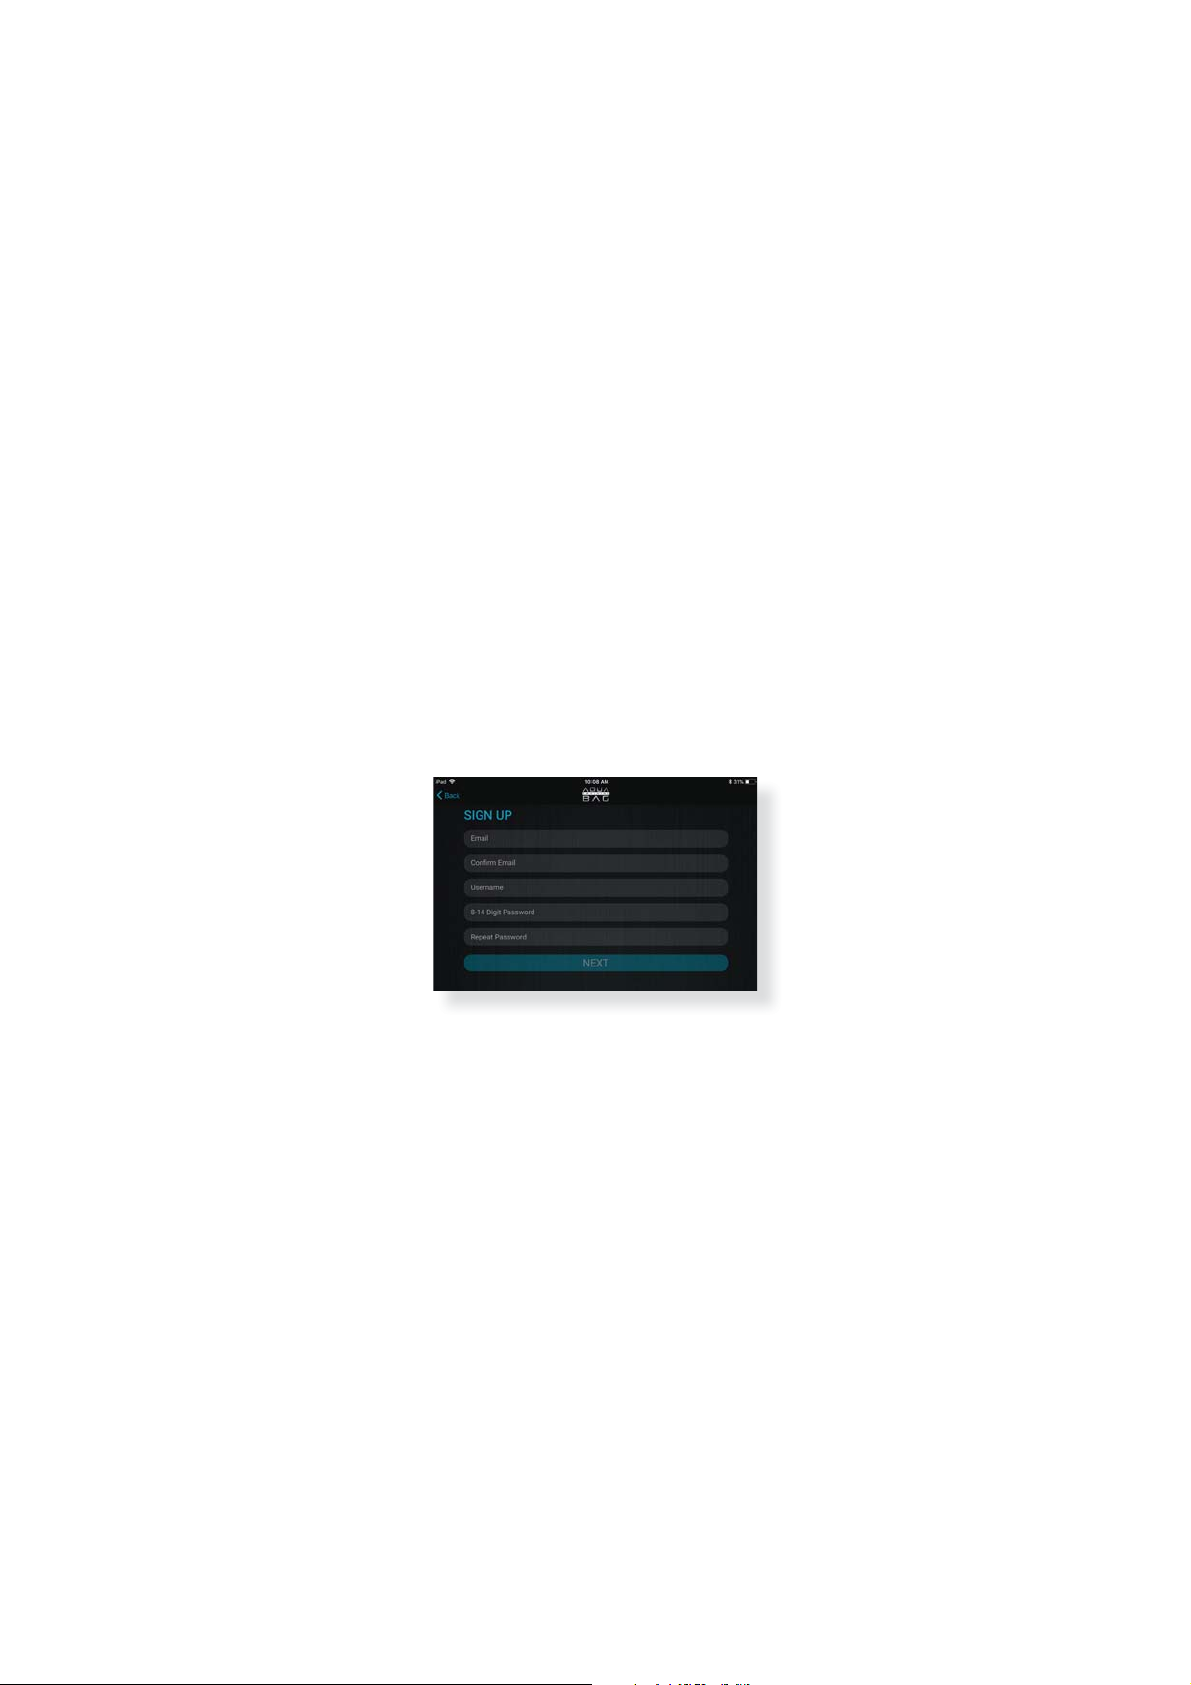
STEP 7
Complete the sign-up form. Tap Next. A 6-digit verification
code will be sent via email. Enter this code and tap verify.
Page 13
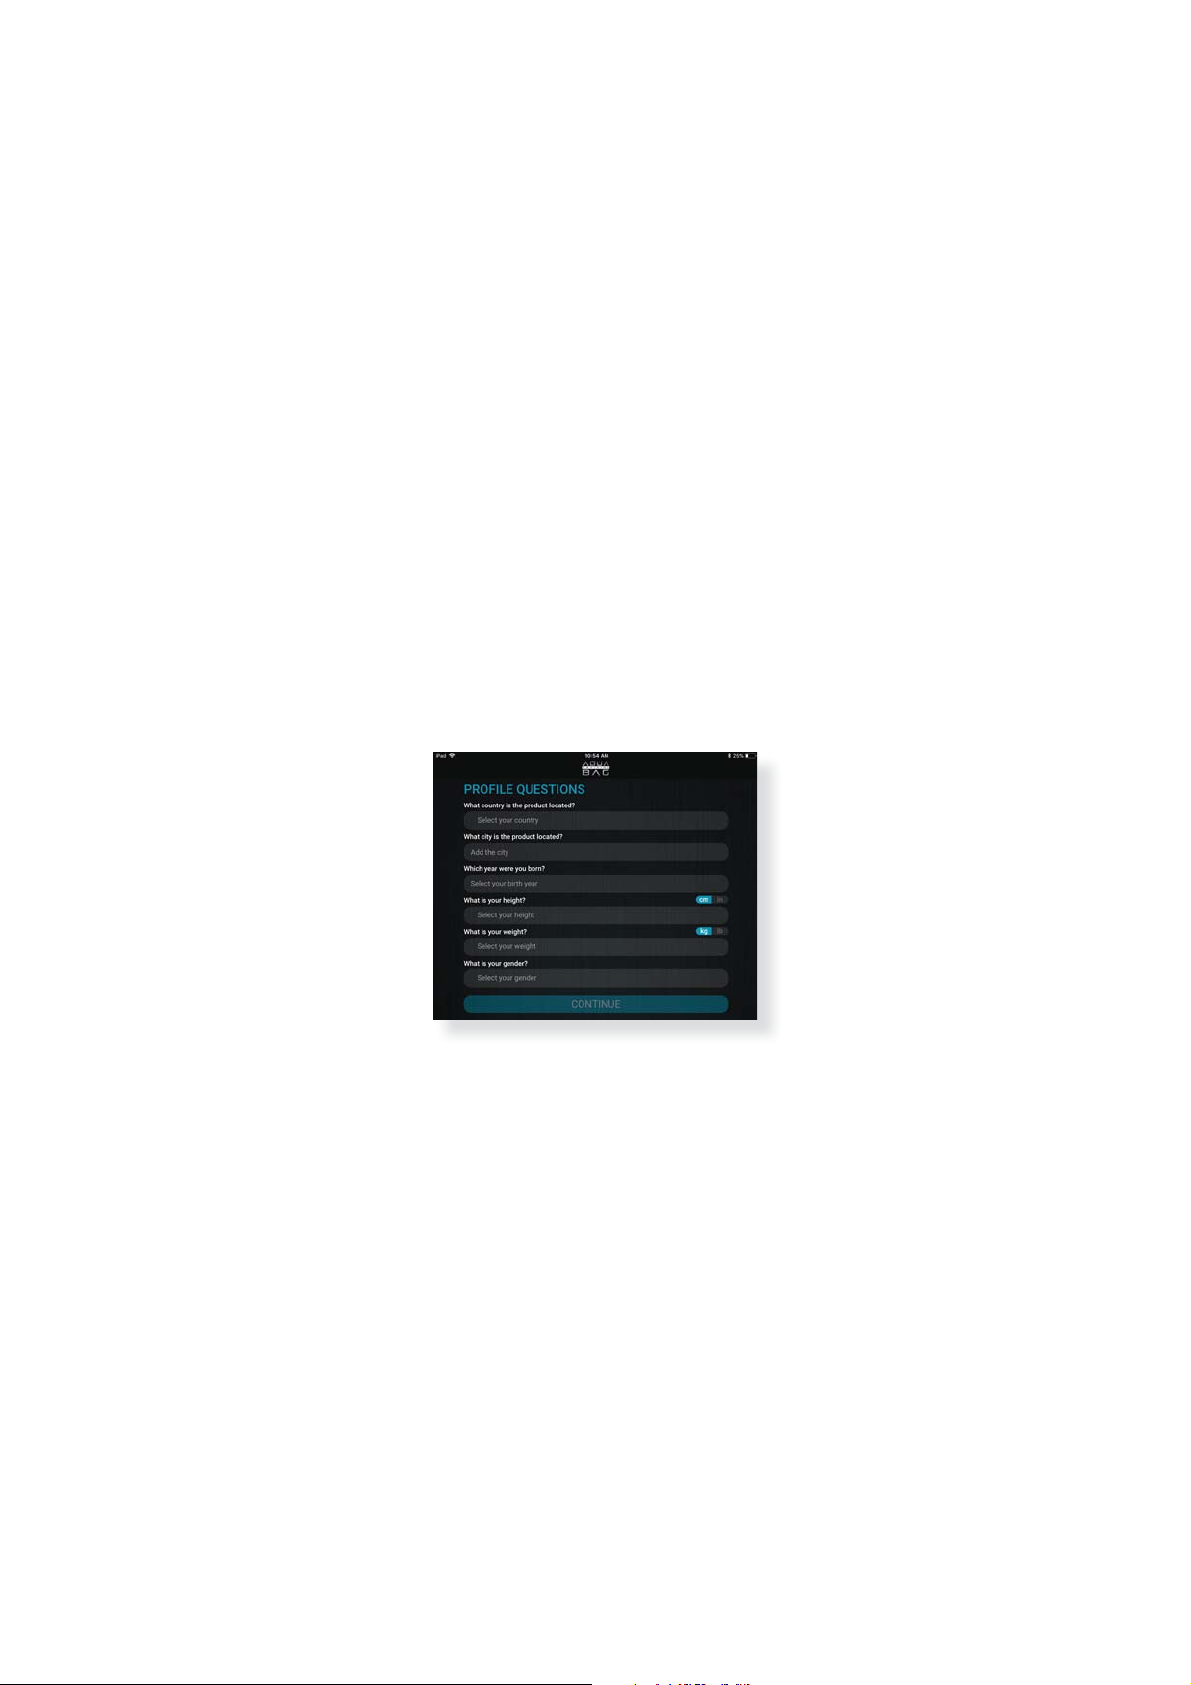
STEP 8
Complete the Profile Questions.
STEP 9
Congratulations! You have completed the registration
process. The App’s main dashboard will now appear.
Page 14
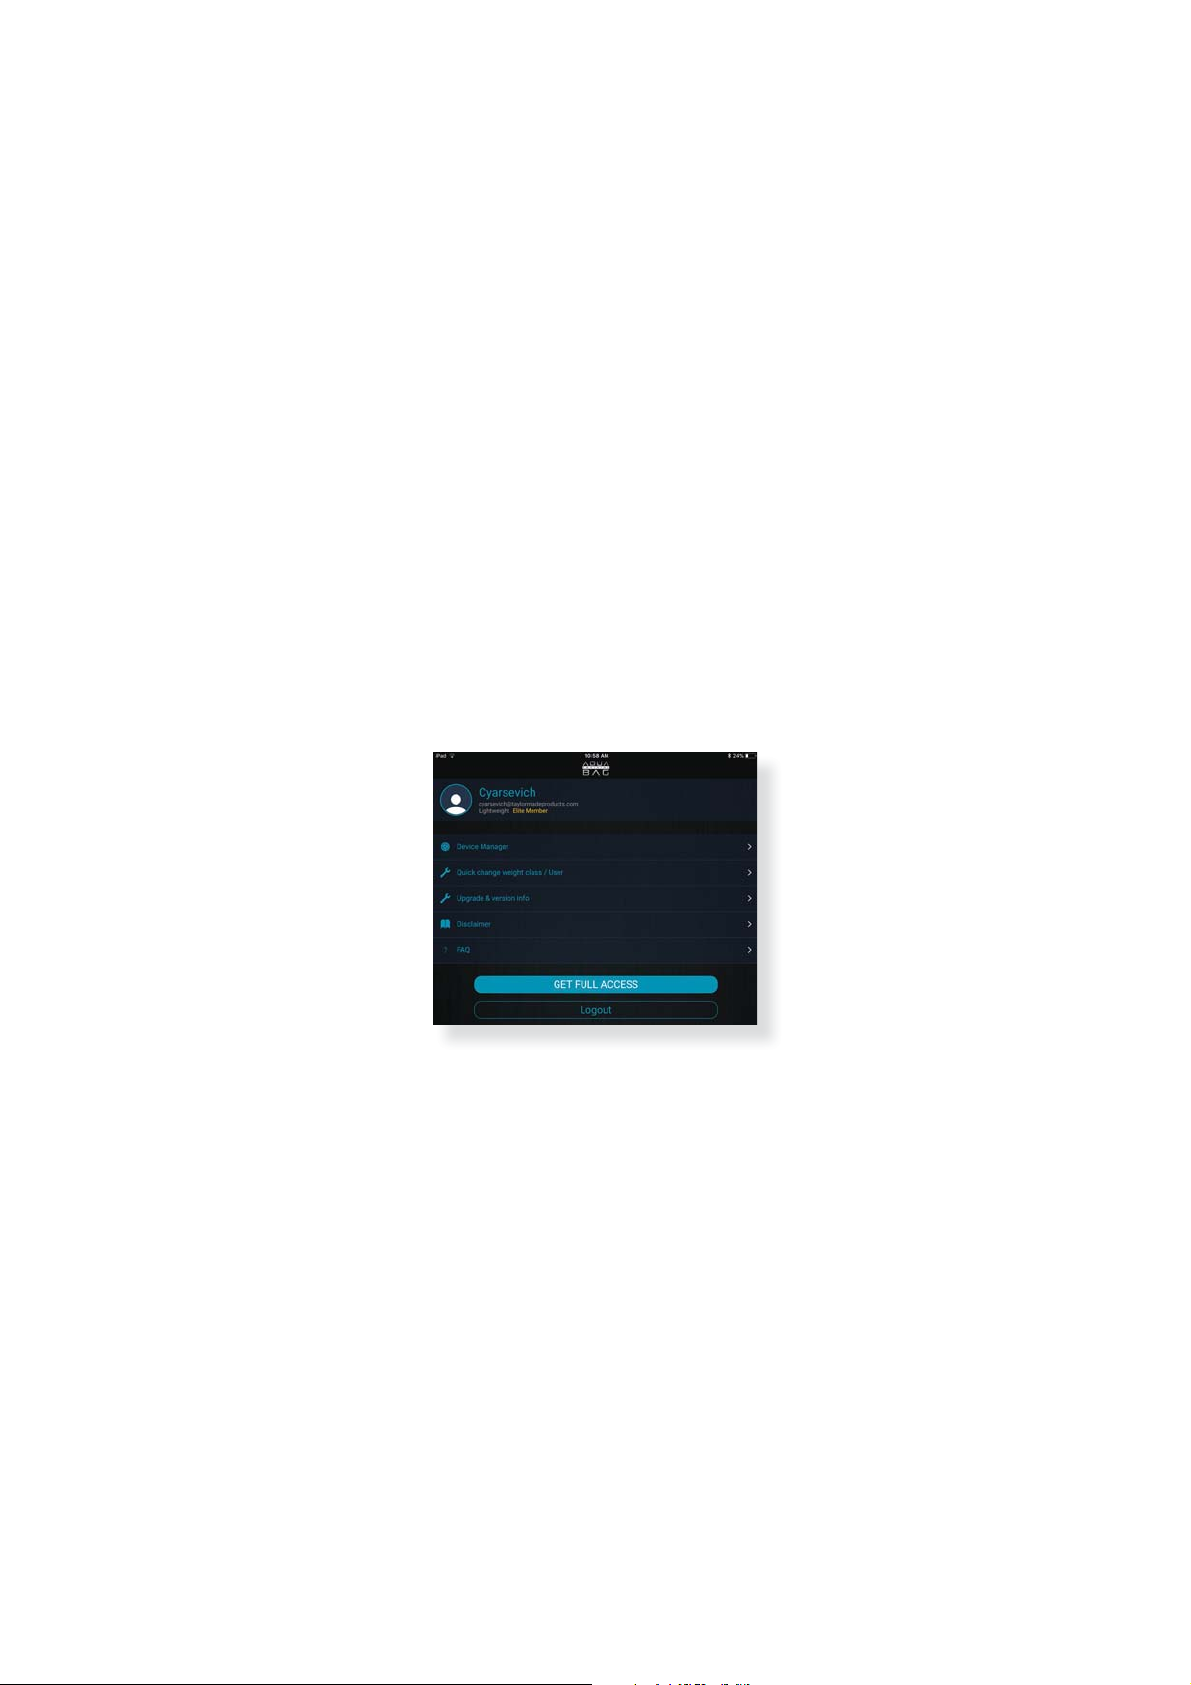
STEP 10
Tap “Profile” at the bottom right corner of the screen.
STEP 11
Tap “Device Manager.”
Page 15
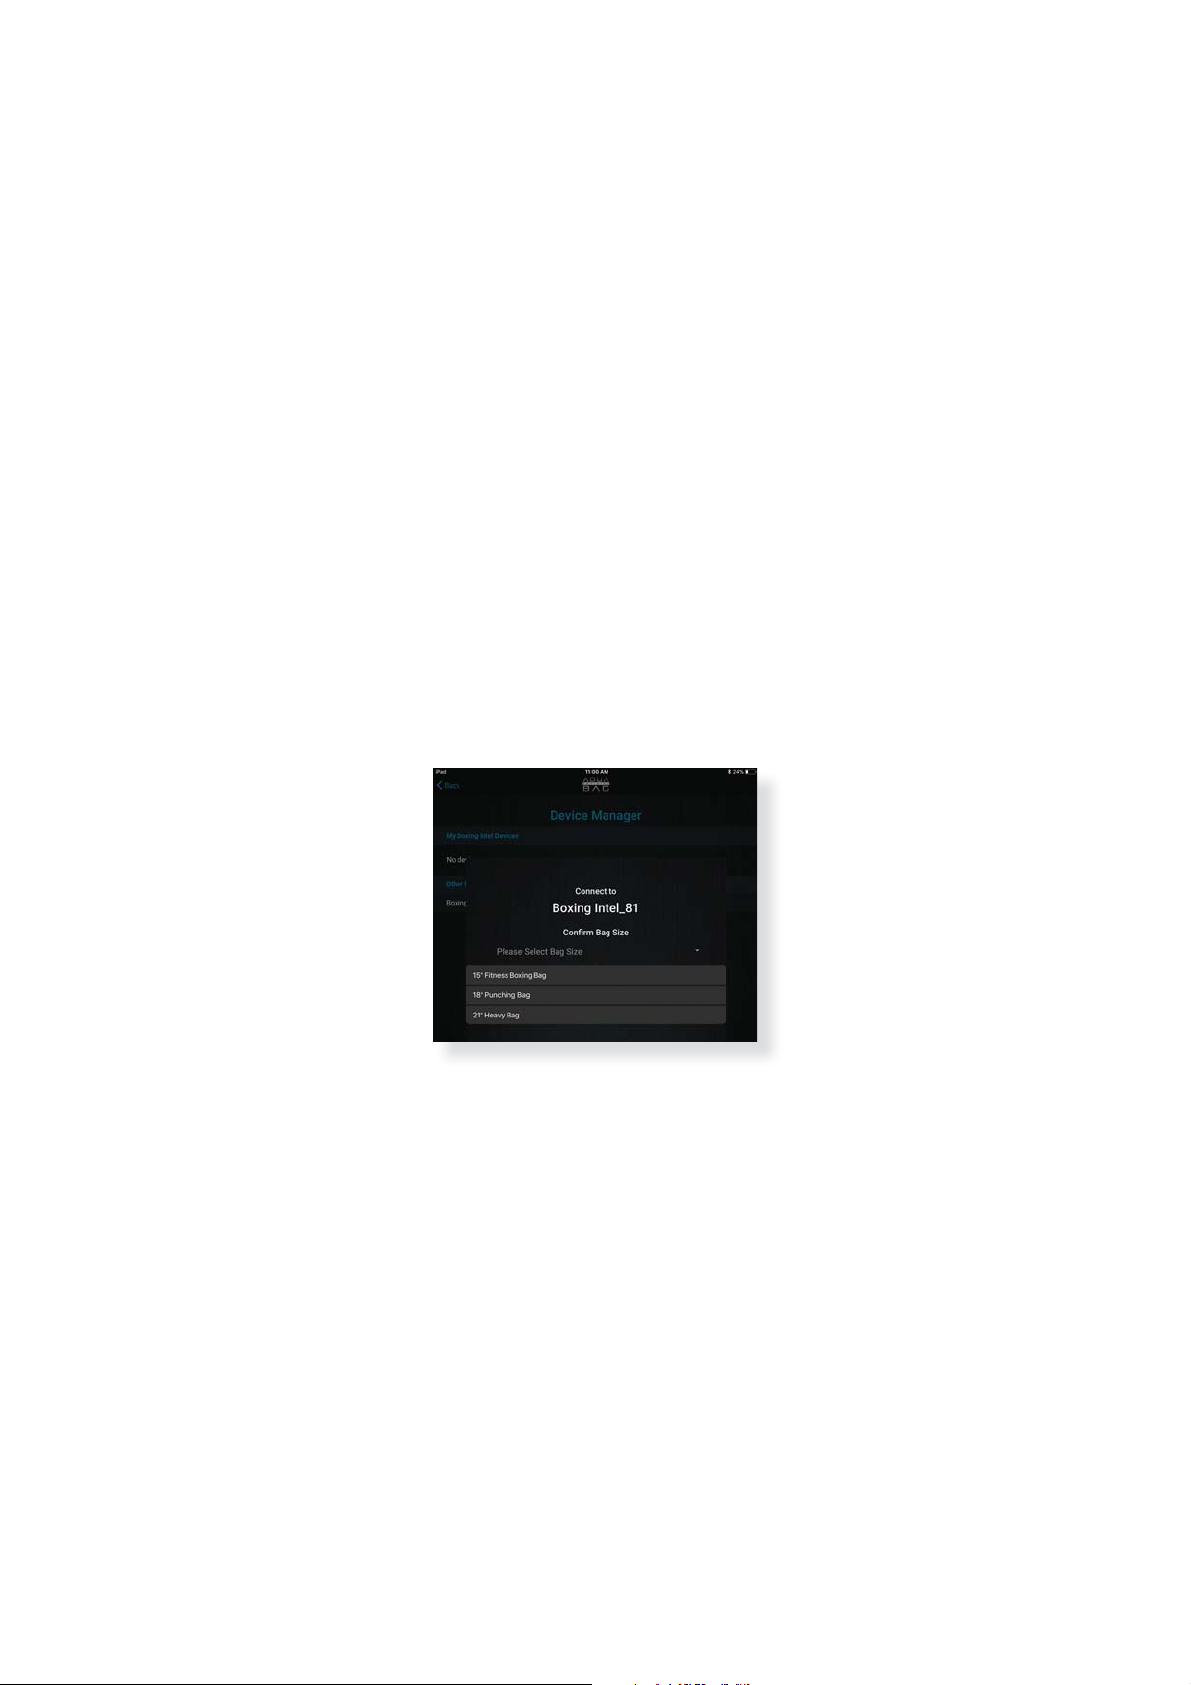
STEP 12
Tap the blue connect button next to the sensor name. If
multiple sensors are being displayed, make sure you select
the correct serial number. Select the correct size bag you
are using (15”, 18”, or 21”) and tap OK.
Page 16
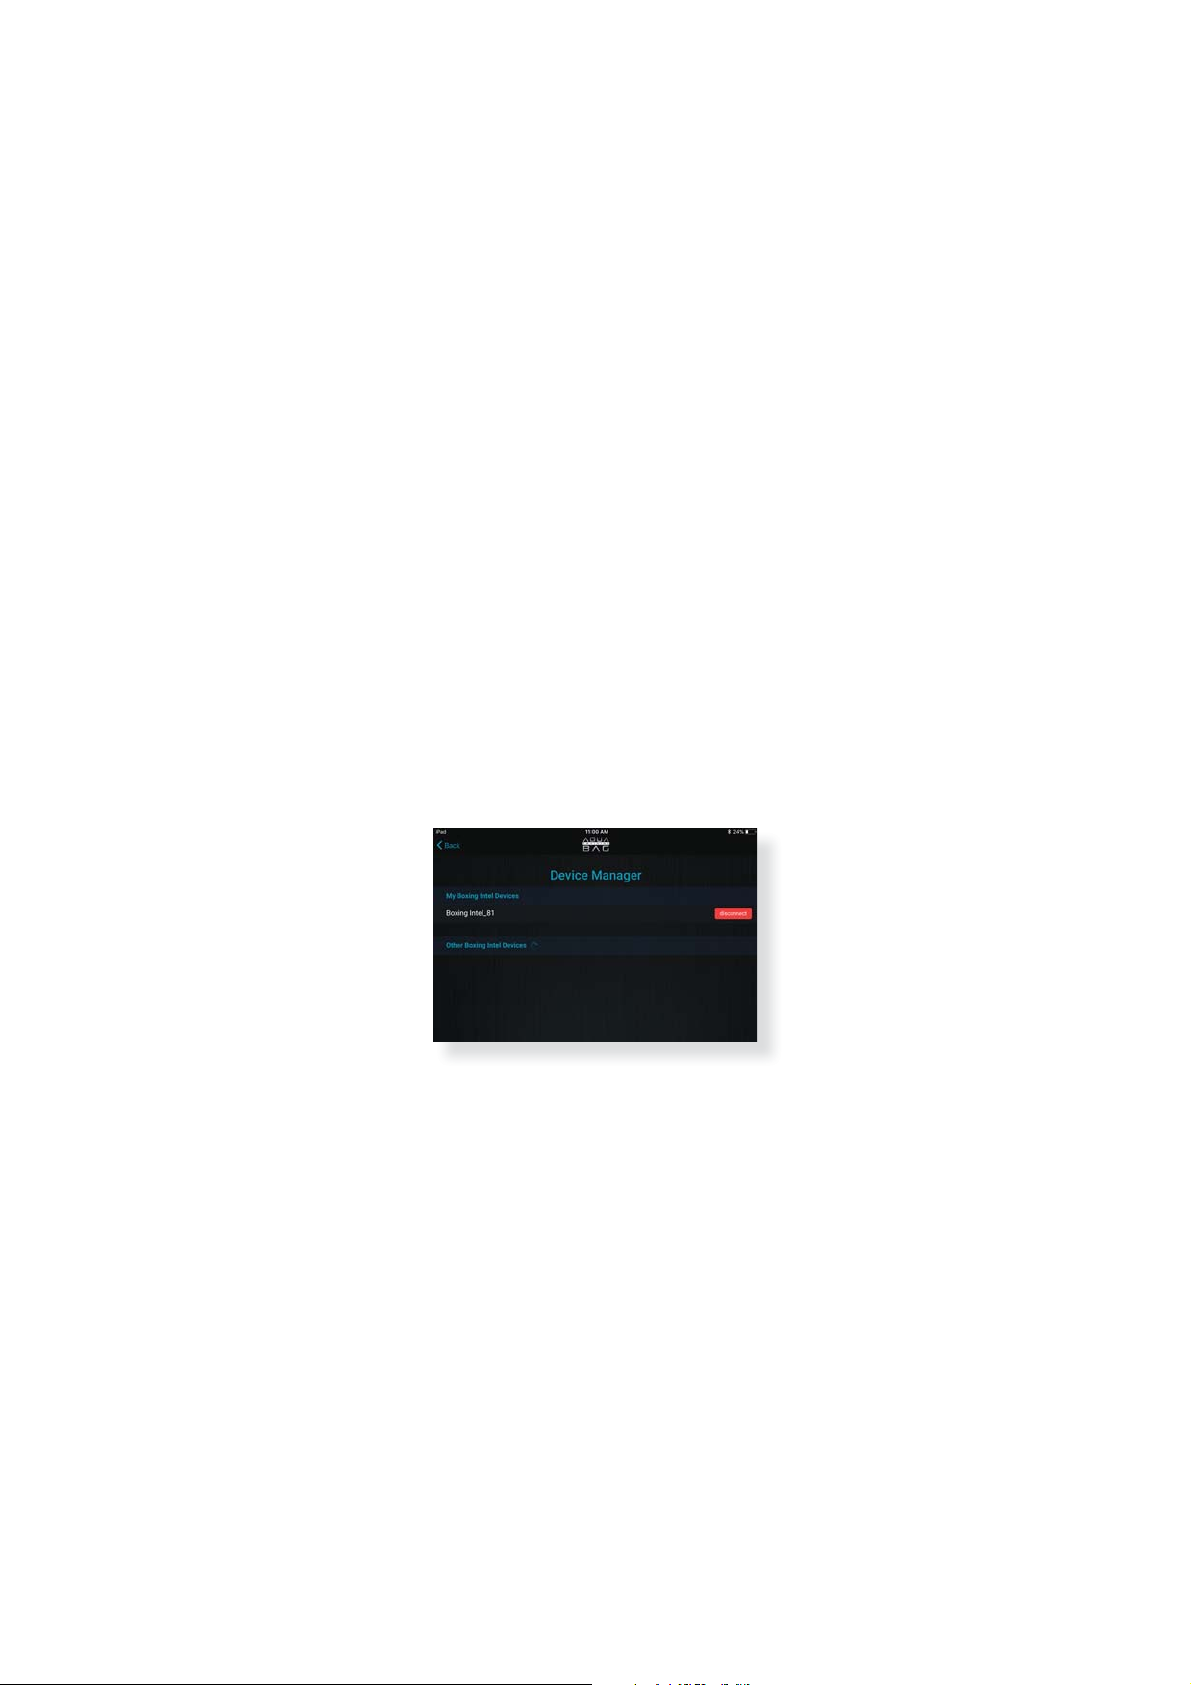
STEP 13
Once the App is properly connected to the sensor, an
orange disconnect button will appear. Once this disconnect
button appears, you have properly paired the App
and Sensor.
STEP 14
Tap the back button at the top left corner of
the screen.
Page 17
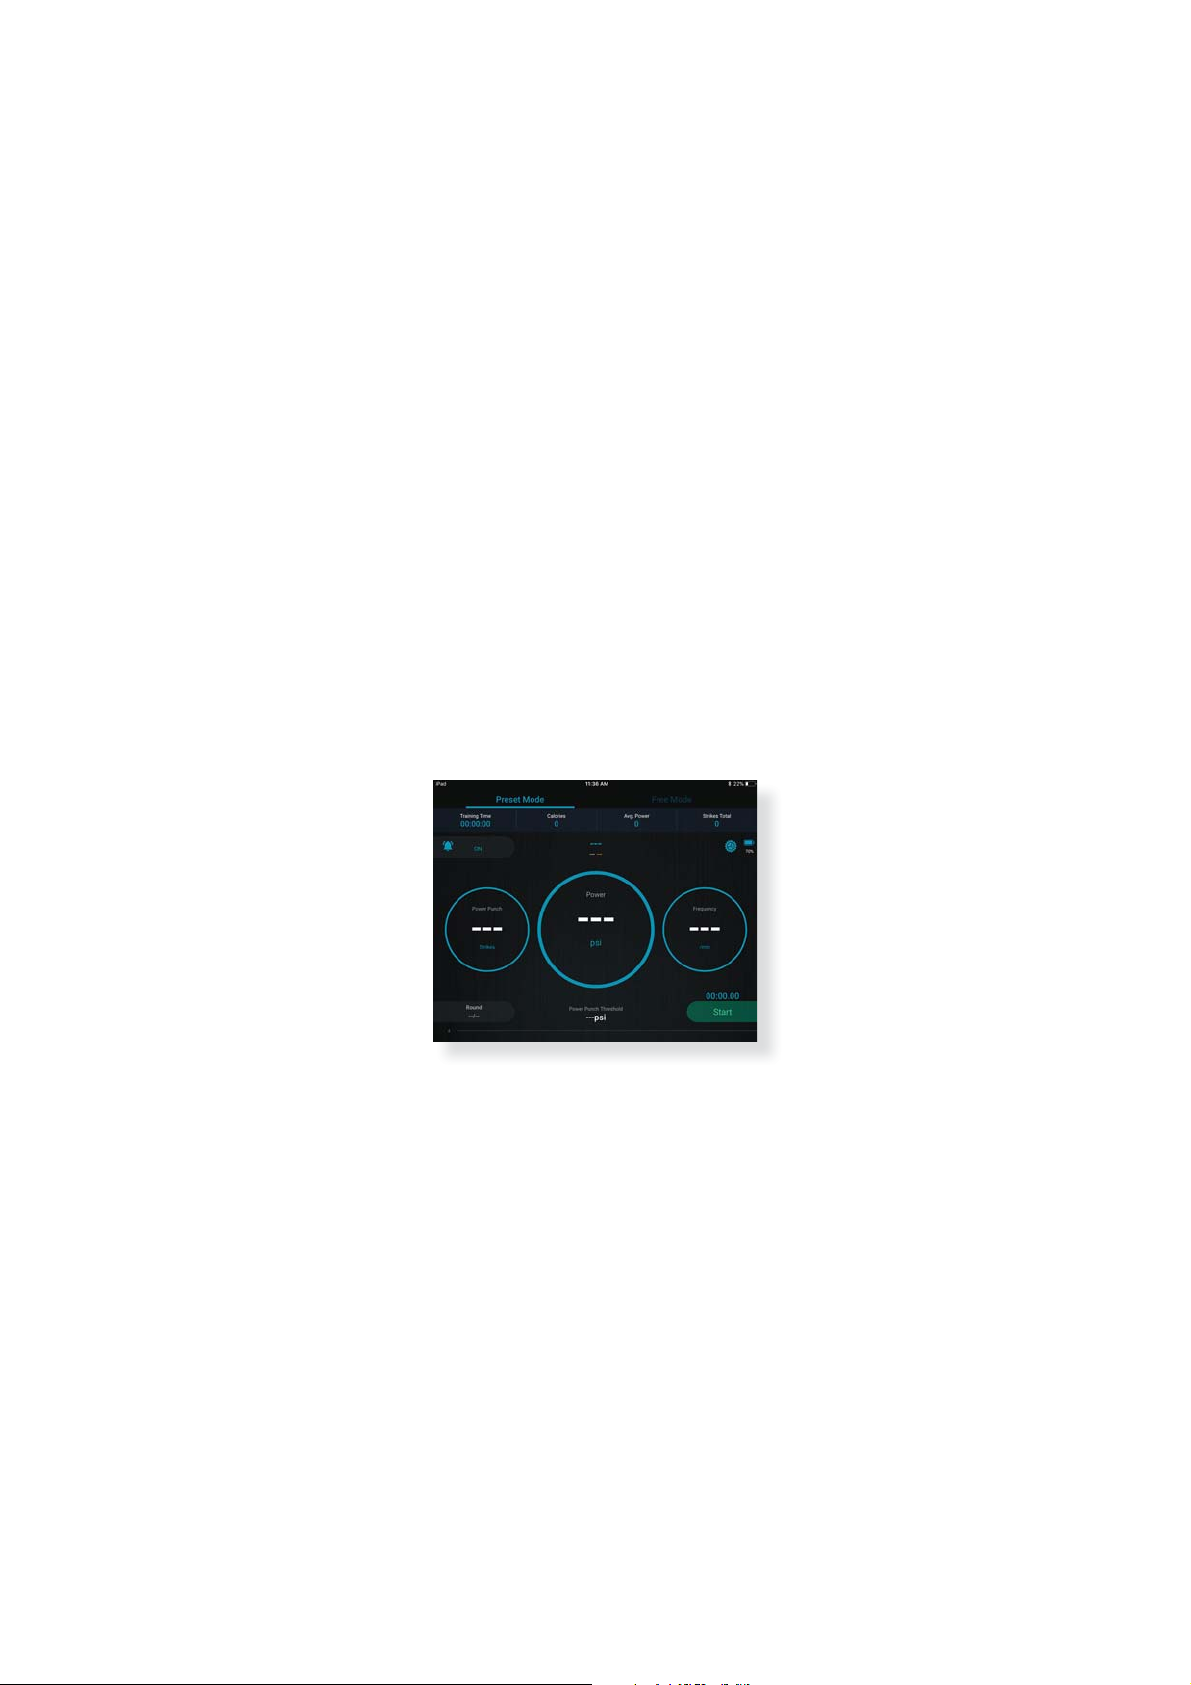
STEP 15
Tap the Exercise button at the bottom left corner of
the screen.
STEP 16
Tap the green start button to start exercising.
Page 18
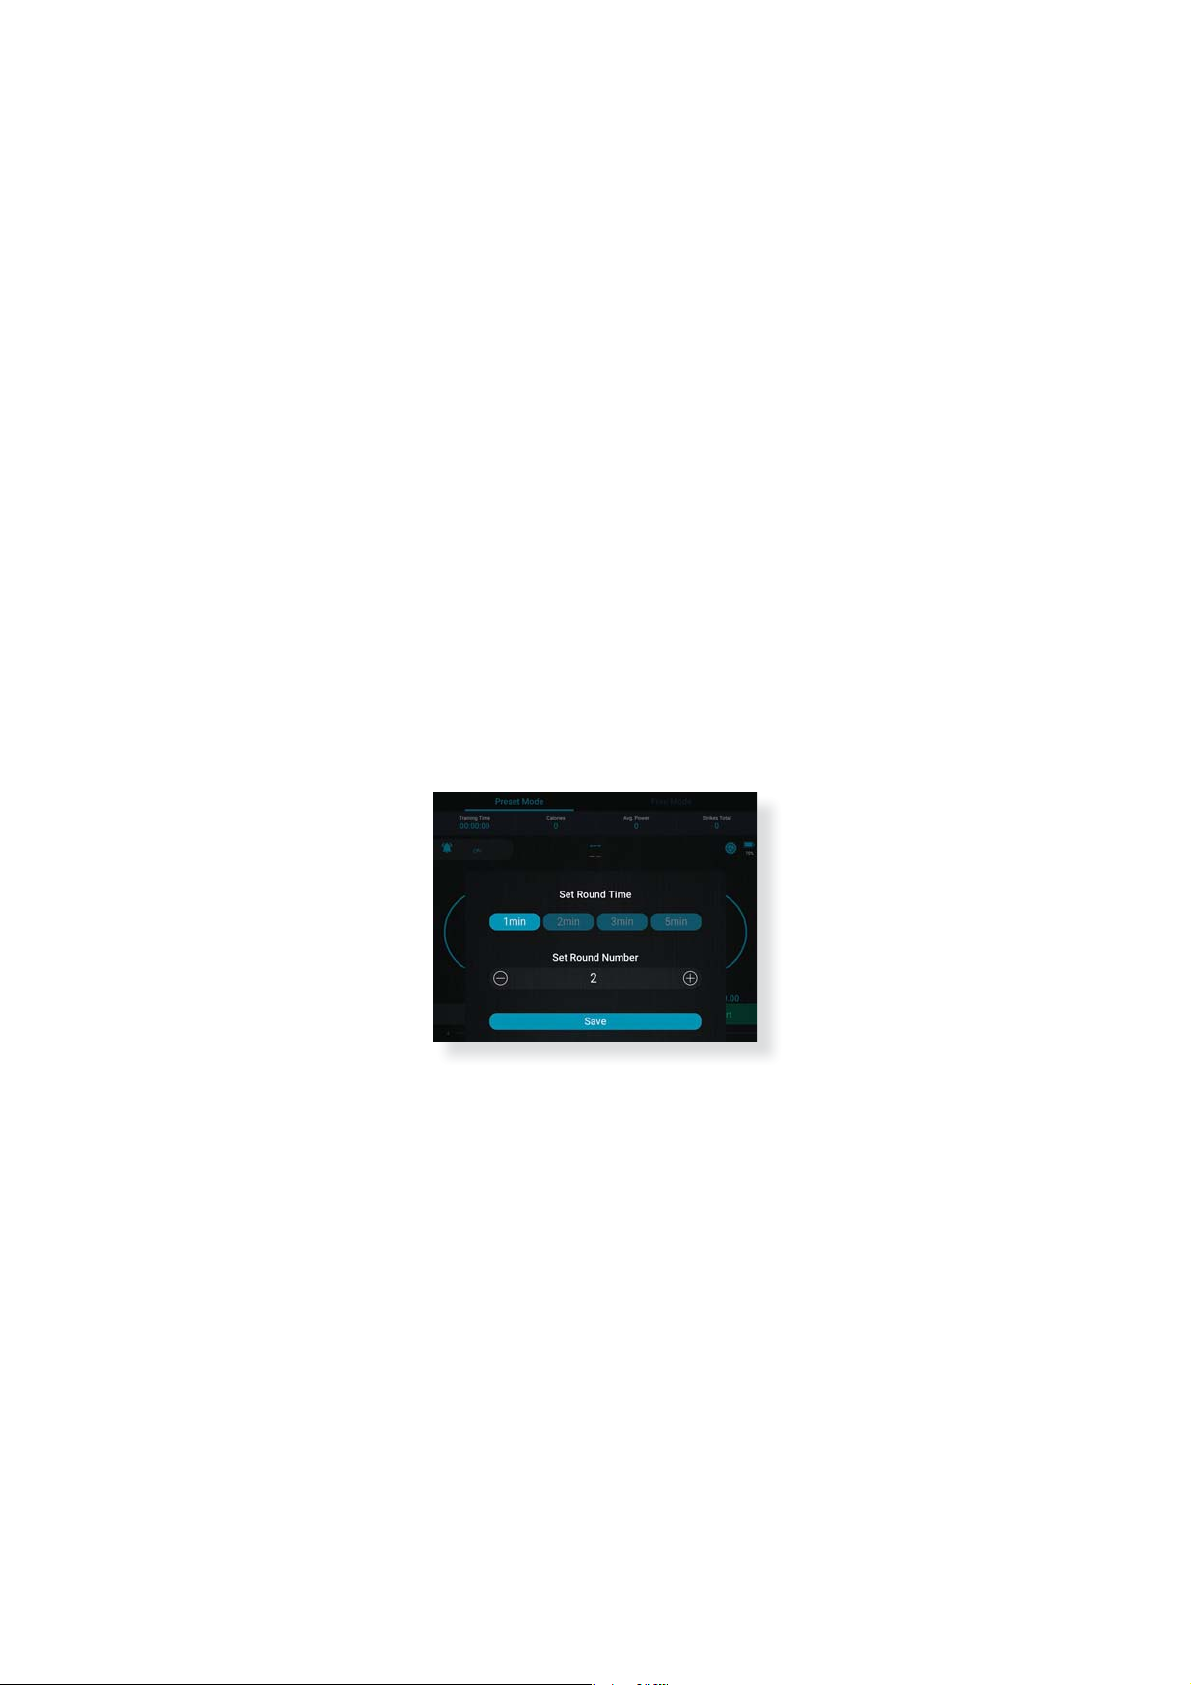
STEP 17
Select the length of each round (1, 2, 3, or 5 minutes) and
the number of rounds (1-12) and click save.
STEP 18
A 30 second countdown timer will start, counting down
before the round starts. You can skip the countdown by
tapping Start Immediately.
Page 19
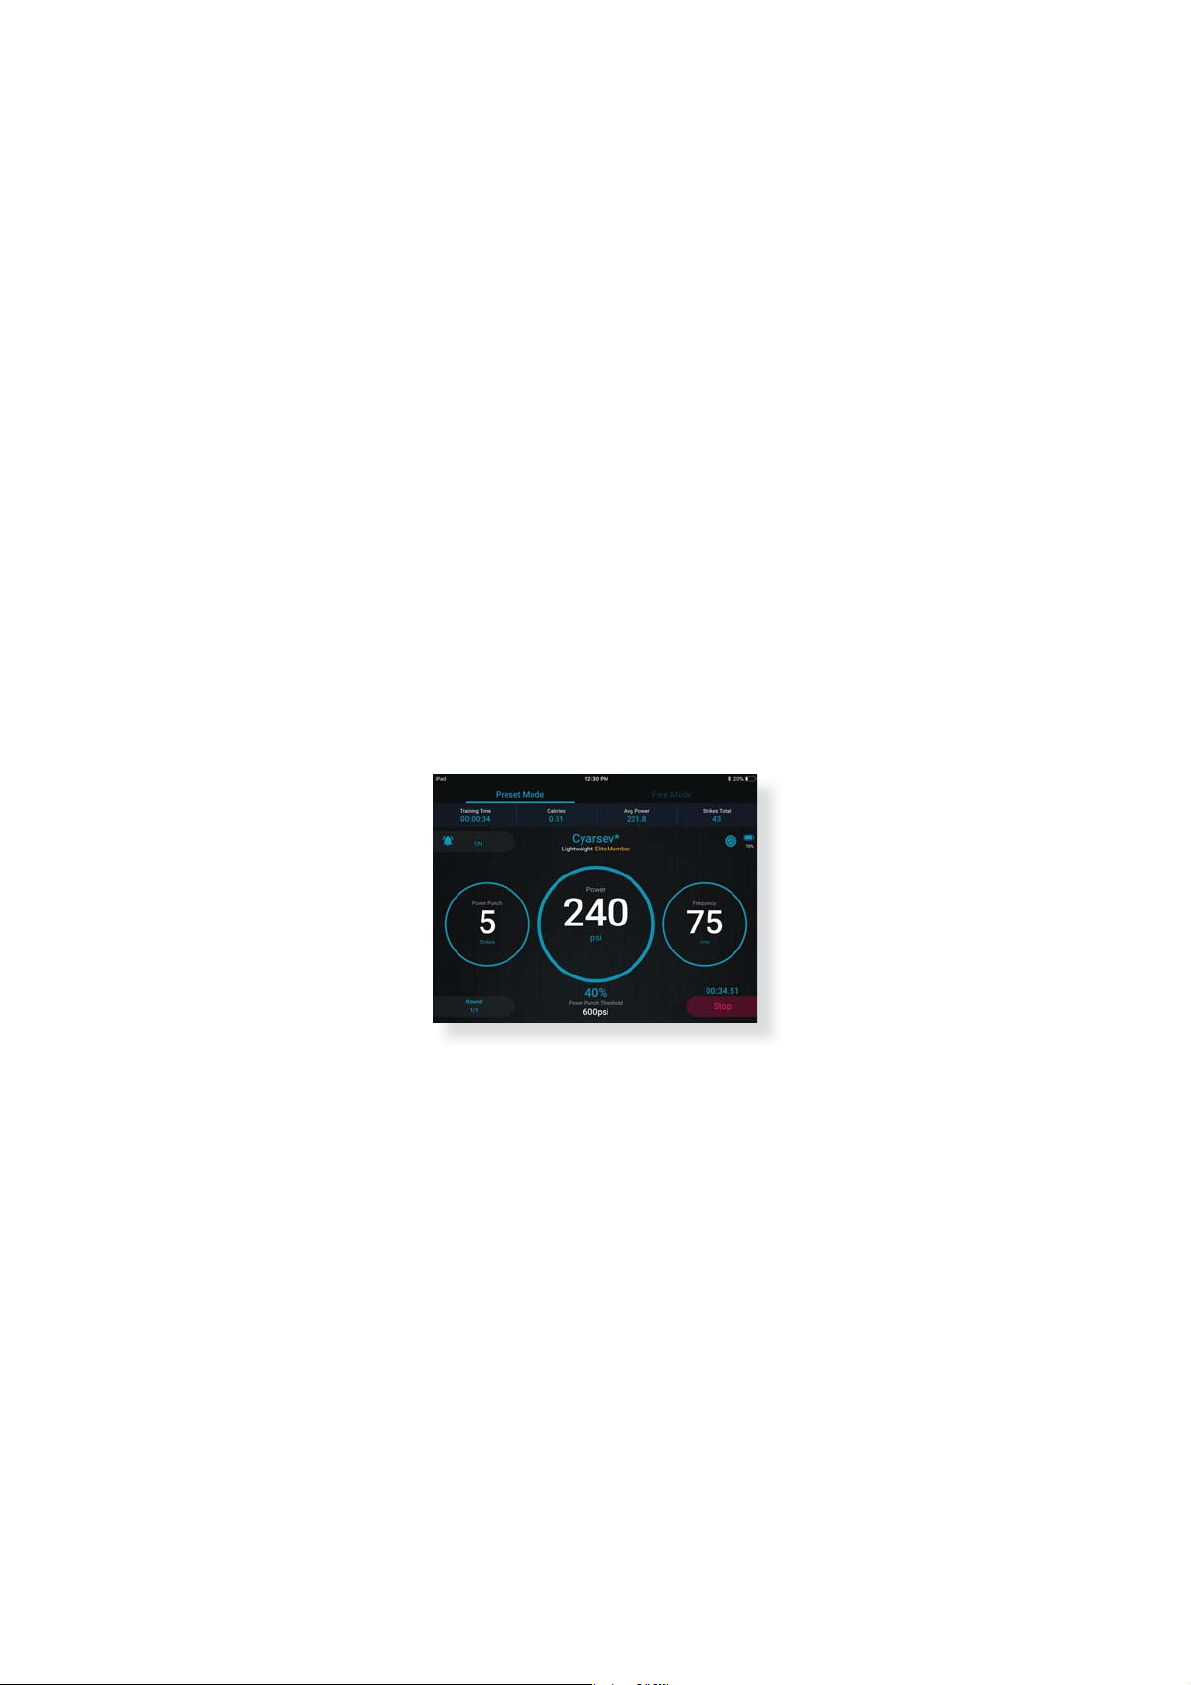
STEP 19
During each individual round the App will instantly refresh
showing the power of the last strike, number of power
punches, and frequency of punching across the three large
circles in the center of the screen.
Page 20
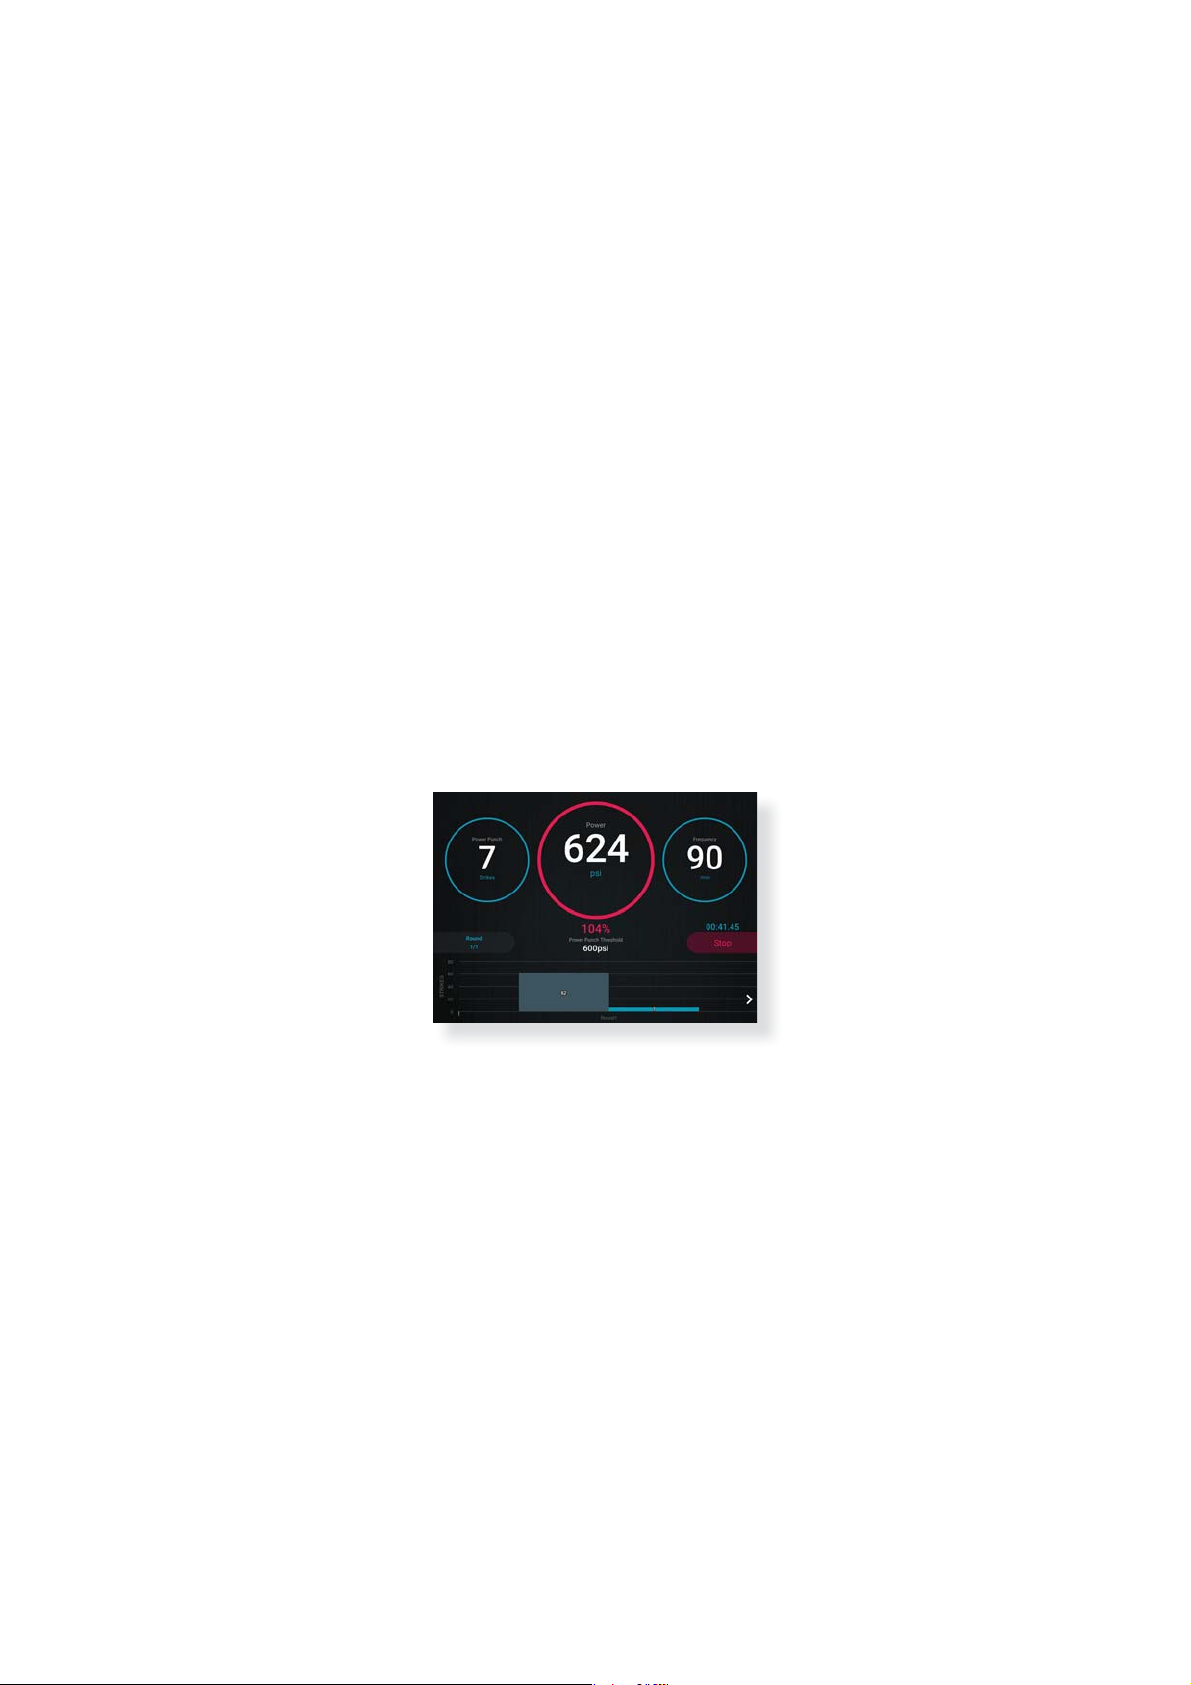
STEP 20
The center circle will illuminate in red when you hit a
power punch.
STEP 21
At the bottom of the screen will be a graphical summary of
the number of punches and power punches thrown
each round.
Page 21
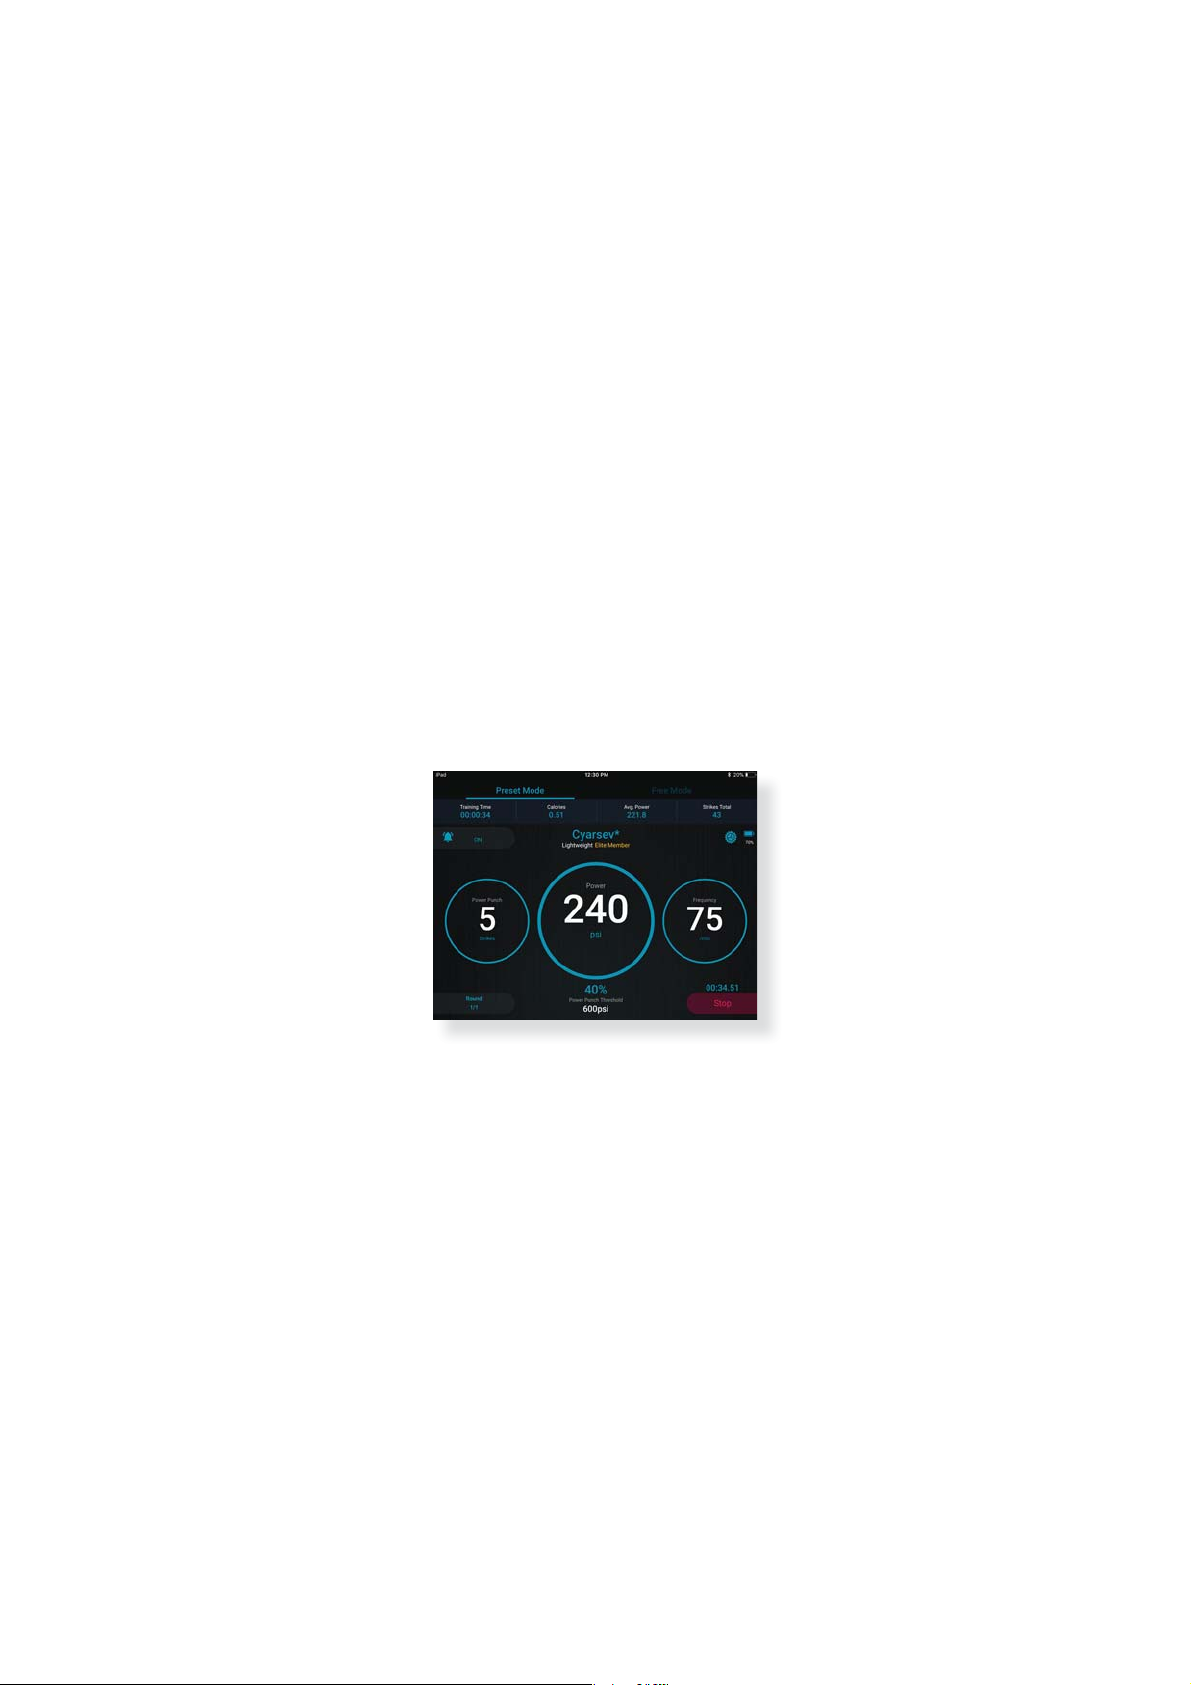
STEP 22
During each workout the App will record the training time,
calories burned, average punch power, maximum punch
power, and total strikes thrown. This data will be displayed
horizontally across the top of the screen.
Page 22
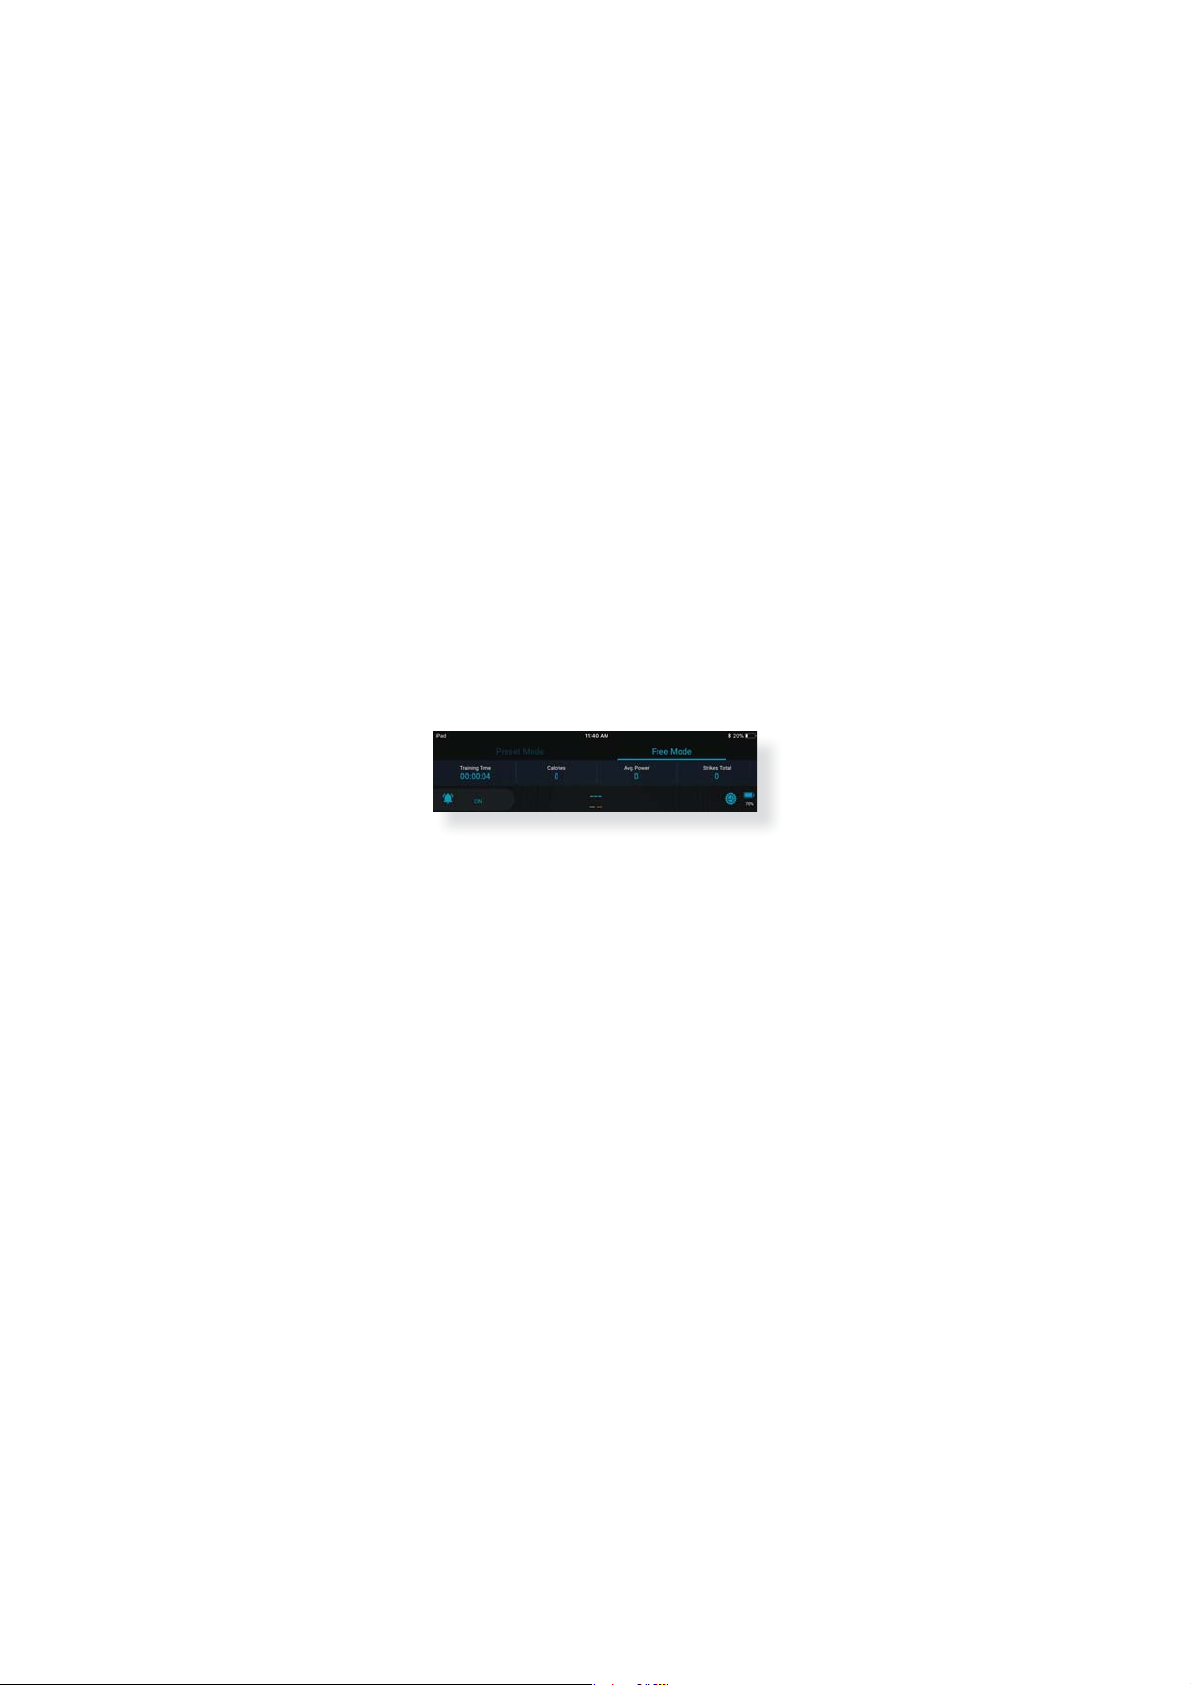
STEP 23
You can also workout in Free Mode, by selecting that at the
top of the screen. Free Mode allows you to have unlimited
length rounds.
STEP 24
You can start a new round at any time when in Free Mode
by tapping the New Round button.
STEP 25
A one-minute break between rounds will begin when you
tap the “New Round” button. The screen will allow you to
skip the break or add more time.
STEP 26
You can stop a round at any time by tapping the red
Stop button.
Page 23

Changes or modifications not expressly approved by the
party responsible for compliance could void the user's
authority to operate the equipment.
This equipment has been tested and found to comply with
the limits for a Class B digital device, pursuant to Part 15 of
the FCC Rules. These limits are designed to provide
reasonable protection against harmful interference in a
residential installation. This equipment generates uses and
can radiate radio frequency energy and, if not installed and
used in accordance with the instructions, may cause
harmful interference to radio communications. However,
there is no guarantee that interference will not occur in a
particular installation. If this equipment does cause harmful
interference to radio or television reception, which can be
determined by turning the equipment o and on, the user
is encouraged to try to correct the interference by one or
more of the following measures:
-- Reorient or relocate the receiving antenna.
-- Increase the separation between the equipment and
receiver.
-- Connect the equipment into an outlet on a circuit
dierent from that to which the receiver is connected.
FCC Statement
Page 24

-- Consult the dealer or an experienced radio/TV technician
for help
This device complies with part 15 of the FCC rules.
Operation is subject to the following two conditions (1)this
device may not cause harmful interference, and (2) this
device must accept any interference received, including
interference that may cause undesired operation.
Page 25
For more information visit us at:
WWW. AQUATRAININGBAG .COM
 Loading...