

Page 1
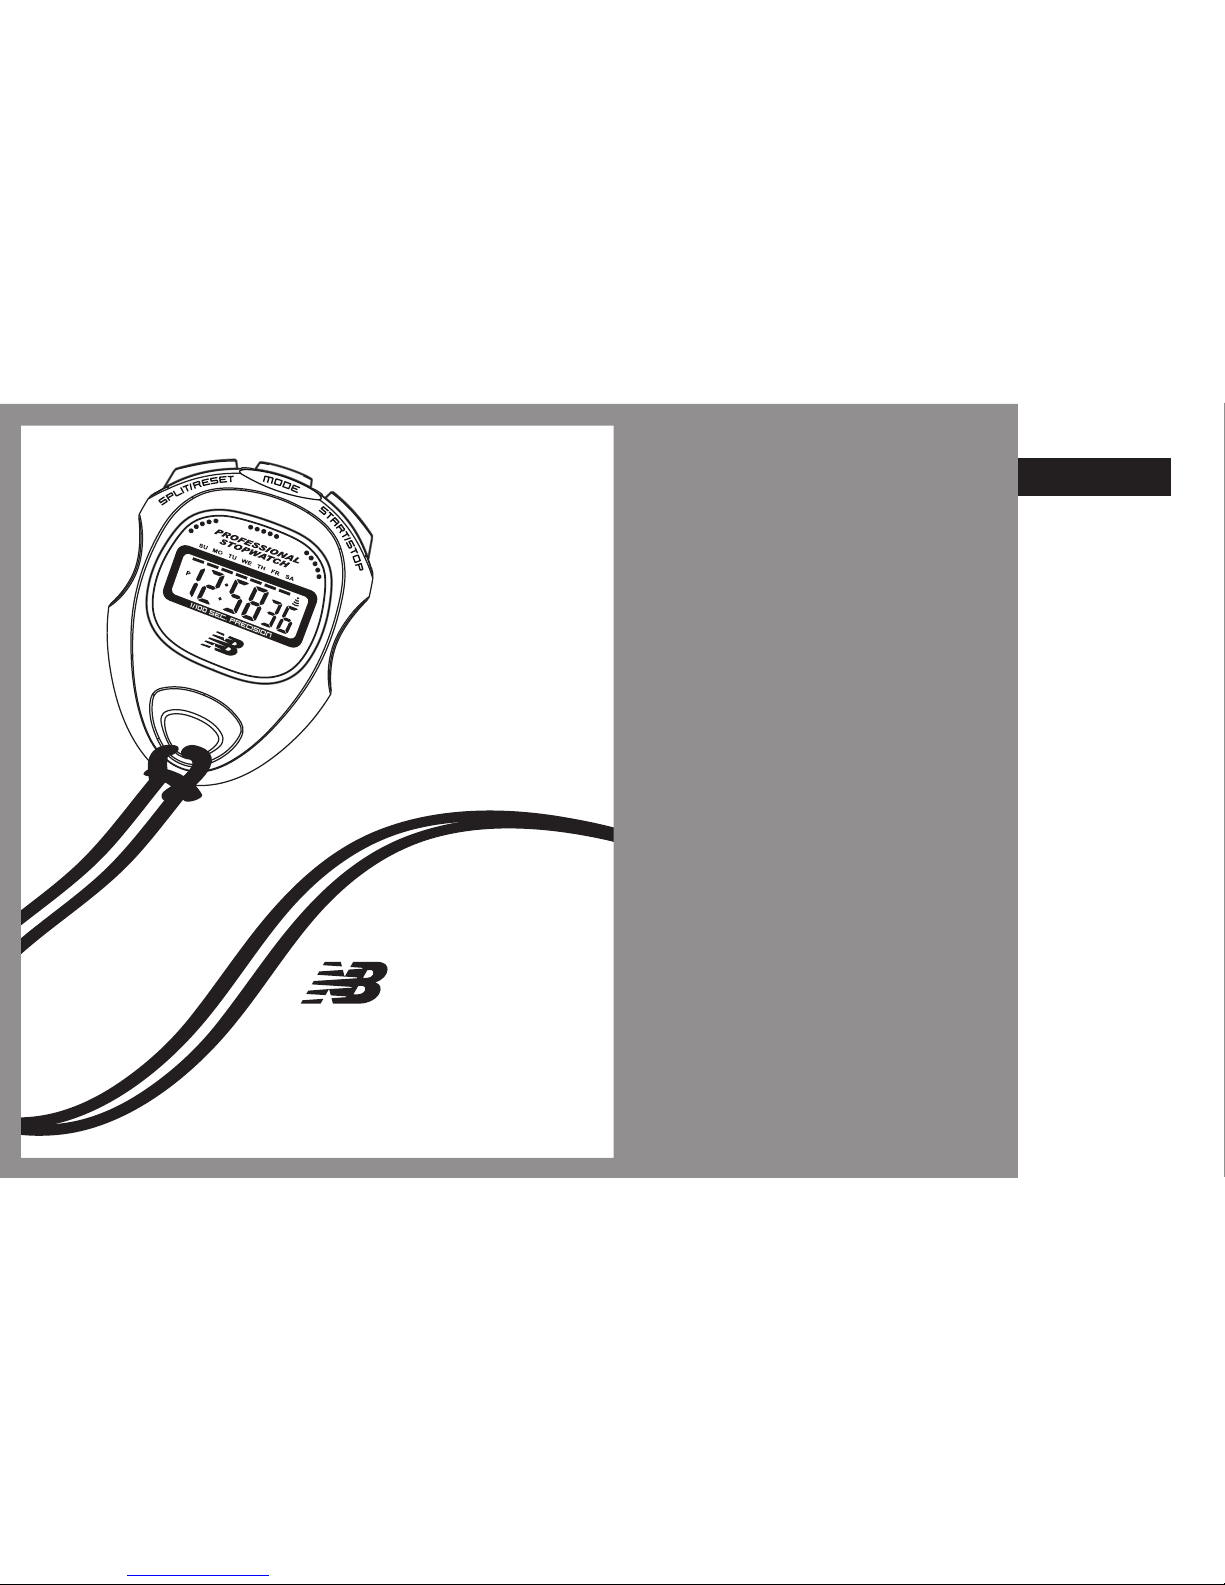
Trainer Stopwatch
Instruction Manual
TIME
Displays Hour / Minutes / Seconds
(in 12-Hour or 24-Hour format), plus
Month / Date / Day of Week.
CHRONOGRAPH
Equipped with a 1/100 second
resolution Chronograph. Measures
elapsed and/or split times.
ALARM/CHIME
Features Daily Alarm and Hourly
Chime
FEATURES
Page 2
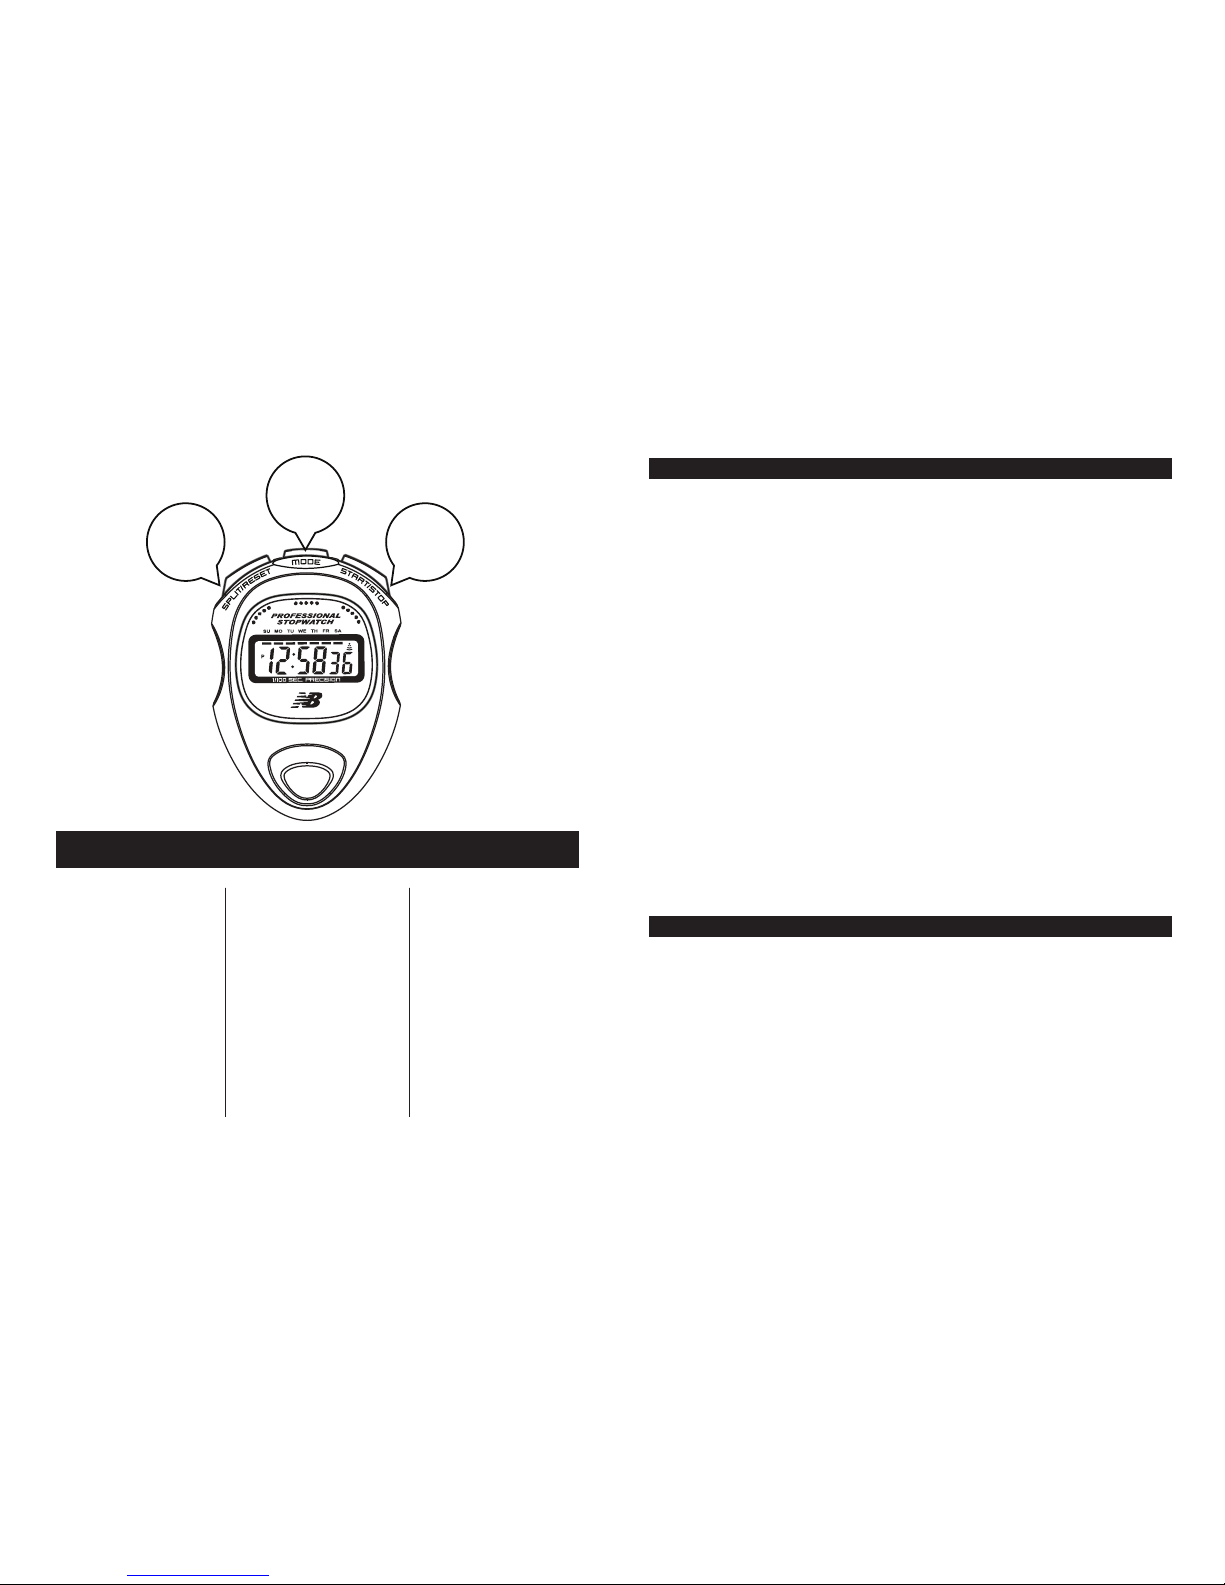
SPLIT/RESET
- Enter settings
- Split
- Clear elapsed
and split times
in chronograph
MODE
- Scroll modes
- Confirm
START/STOP
- Start/Stop
chronograph
- Start/Stop
alarm
- Increase digits
CARE & MAINTENANCE
- Protect your stopwatch from extreme heat, shocks and
excessive exposure to direct sunlight.
- The stopwatch can be wiped clean with a lightly moistened
cloth. Apply mild soap to the area if there are stubborn
stains or marks.
- Do not expose your stopwatch to strong chemicals such as
gasoline, cleaning solvents, acetone, alcohol, insect
repellents, sunscreen and other toiletries, as they may
damage the unit’s seal, case and finish.
- Store your stopwatch in a dry place when you are not using it.
SPLIT/
RESET
MODE
START/
STOP
WARRANTY & SERVICE
Warranty and Service information can be found at the
New Balance Sport Monitors website: www.nbmonitors.com
800-446-7587 / [email protected]
New Balance Sports Monitors, A Division of Implus Footcare, LLC.
Authorized Licensee of New Balance Athletic Shoe, Inc. New Balance and
Flying NB are registered trademarks of New Balance Athletic Shoe, Inc.
Printed and Produced in PRC.
©2010 Implus Footcare, LLC. All Rights Reserved
KEYS & FUNCTIONS
Page 3

TIME
To set Time:
- Press MODE to scroll to Time Mode if not already there.
- In Time Mode, press MODE key quickly three times. The
Seconds and the dash below the Day of the Week will begin to
flash.
- Press START/STOP to reset Seconds to zero.
- Press SPLIT/RESET to view/set Minutes. Press START/STOP
to increase the value. Hold the button for fast scrolling.
- Press SPLIT/RESET to view/set Hour. Press START/STOP to
increase the value. Hold the button for fast scrolling. Please
note: You will toggle between 12/24 Hour format when setting
the Hour. Either an A, P or H will be visible to the right of the
Minute value. An A (AM) or P (PM) denotes that you are in
12-Hour format, while the letter H denotes that you are in
24-Hour format.
- Press SPLIT/RESET to view/set the Date. Press START/STOP
to increase the value. Hold the button for fast scrolling.
- Press SPLIT/RESET to view/set the Month. Press
START/STOP to increase the value. Hold the button for fast
scrolling.
- Press SPLIT/RESET to view/set the Day of the Week (this
appears as a small dash that flashes at the top of the screen).
Press START/STOP until the dash is under the correct Day of
the Week.
- After setting all values, Press MODE key to return to Time
Mode.
To View Month, Date and Day of the Week:
- In Time Mode, Press START/STOP
CHRONOGRAPH
To measure times with the Chronograph:
- Press MODE to scroll to Chrono Mode if not already there.
- To begin, all values displayed should be zero. If all values are
not zero, Press SPLIT/RESET button to reset the Chronograph.
- To start Chronograph, Press START/STOP. The lap/split time
display begins with 1/100 seconds, then seconds, then minutes.
If the accumulated times in a run proceed to hours, the display
will show hours, then minutes, then seconds (the 1/100 seconds
will no longer be visible).
- Press START/STOP to pause/stop the Chronograph. You can
either Press SPLIT/RESET to reset the Chronograph back to
zero, or Press START/STOP to resume the timing.
- To capture split timing, Press START/STOP to begin Chronograph, then Press SPLIT/RESET to capture the split timing; the
display will show the split time. Press SPLIT/RESET again to
resume timing. Repeat as needed. To end split timing session,
Press START/STOP, then Press the SPLIT/RESET button
twice.
Page 4

ALARM
To set Alarm:
- In Time Mode, Press MODE button twice quickly. The Hour
value and Day of the Week indicator will flash simultaneously;
this indicates that the stopwatch is in Alarm Mode.
- Press START/STOP to adjust the Hour value.
- Press SPLIT/RESET to view/set Minutes. Press START/STOP
to adjust Minutes value.
- After all adjustments are complete, press MODE to exit. This
will return you to Time Mode.
- The alarm will sound for 60 seconds when the alarm function is
on. Press START/STOP or SPLIT/RESET to stop the alarm
sound.
To View Alarm:
- In Time Mode, Press SPLIT/RESET
To Activate/Deactivate Alarm:
- In Time Mode, Press SPLIT/RESET and START/STOP buttons
simultaneously. Alarm is active if the alarm icon is visible in the
upper-right corner of the display.
SET HOURLY CHIME
To Activate/Deactivate Hourly Chime:
- In Time Mode, Press and Hold SPLIT/RESET button, then
Press MODE button. The dashes below the Days of the Week
will display a full segment (dashes will appear below every Day)
to indicate that the Hourly Chime is ACTIVE. To deactivate,
follow same directions as above until no segments display
(dashes will disappear below the Days).
CHANGING THE BATTERY
The Trainer Stopwatch uses one LR44 battery.
NOTE: Changing the battery in the stopwatch will erase all data and
settings.
To change the battery:
- Using a small Philips screwdriver, remove all six screws from
the backplate of the stopwatch. PLEASE NOTE: the backplate
of the stopwatch is connected to the electronic panel inside of
the stopwatch with a small wire, so pry the backplate from the
stopwatch gently and turn the backplate at a slight angle to
expose the battery.
- Replace old LR44 battery with a new one, making sure the
polarity is the same.
- Replace the backplate, ensuring all six screws are secured.
 Loading...