

Naxa NX-682 User Manual
MODEL: NX-682
INSTRUCTION MANUAL
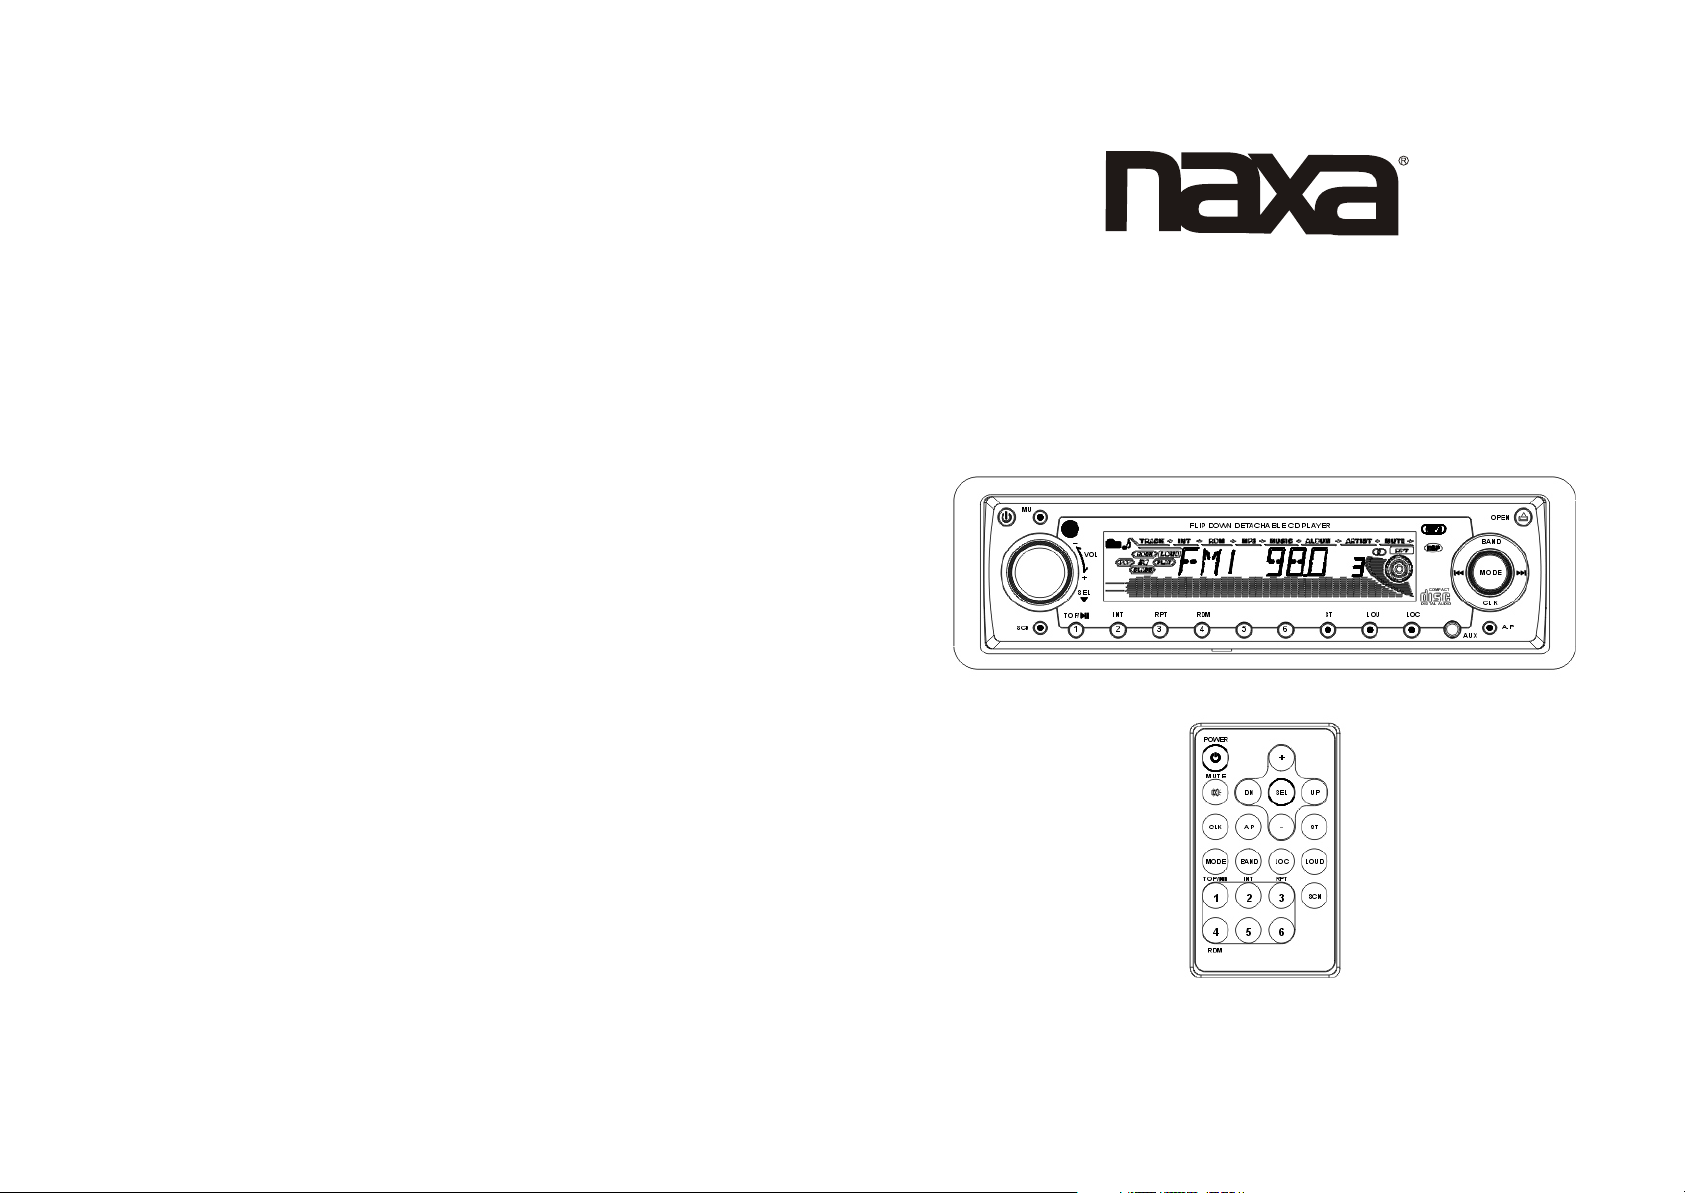
PLL ELECTRONIC TUNING STEREO AM/FM RADIO
WITH MP3/CD PLAYER & REMOTE CONTROL

DEAR CUSTOMER:
Thank you for purchasing this car audio product.
Selecting fine audio equipment such as the unit you have just purchased is only the start
of your musical enjoyment. Now it is time to consider how you can maximize the fun and
excitement your equipment offers.
We hope you get the most out of your equipment by playing it at a safe level.
One that lets the sound come through loud and clear without annoying blare or distortion,
and, more important, without affecting your sensitive hearing.
Sound can be misled. Over time your hearing " comfort level " adapts to higher volumes
of sound. So what sounds " normal " can actually be loud and harmful to your hearing.
Guard against this by setting your equipment at a safe level BEFORE your hearing adapts.
To establish a safe level:
Start your volume control at the lowest setting , then slowly increase the sound until you can
hear it comfortably and clearly, and without distortion we want you listening for a lifetime.
Once you have established a comfortable sound level:
Set the dial and leave it there.
Taking a minute to do this now will help to prevent hearing damage or loss in the
future. After all, we want you listening for a lifetime.
ABOUT THIS MANUAL
This product features a number of sophisticated functions ensuring superior reception and
operation. All are designed for the easiest possible use, but many are not self-explanatory.
This operation manual is intended to help you benefit fully from their potential and to
maximize your listening enjoyment.
We recommend that you familiarize yourself with the functions and their operation by
reading through the manual before you begin using this product. In this operation manual,
the Basic Operation for each sound source is outlined at the beginning of its explanation,
covering simple operation for that source, such as merely playing music.
Remark:
In addition to normal audio CD, this unit can play CD-R and CD-R/W disc that contain
audio tracks as well; however, depending on the conditions of the recording equipment,
recording program or the CD-R as well as CD-R/W disc itself, some CD-R or CD-R/W
may not play.
When making music CD with CD-R or CD-R/W disc, too high recording speed may
result in poor signal quality and therefore, it is recommendable to select 24x or lower
speed for CD-R recording and 4x or lower speed for CD-R/W recording.
Page 1
SPECIFICATION
GENERAL
Supply Voltage DC 12V. Negative Ground
Current Consumption Max.15A
Power Output 40Watts X 4(measured at DC 14.4V)
Number of channels 2 STEREO channels.
Unit Dimensions 178[W] X 165[D] X 50[H] mm.
FM SECTION
Frequency range 87.5MHz - 107.9MHz
Effective sensitivity 3uV.
I.F Frequency 10.7MHz.
AM SECTION
Frequency range 530KHz - 1710KHz
Effective sensitivity 40dB.
I.F Frequency 450KHz
RCA LINE OUT
Output 1200mV @ CD MAX.
CD PLAYER
System MP3 Audio System.
Suitable CDs MP3, CD, CD-R, CD-RW Disc
Frequency characteristics 20Hz-100Hz < 5dB
10KHz-20KHz < 5dB.
S/N Ratio to CD 50dB [1KHz]
\
\
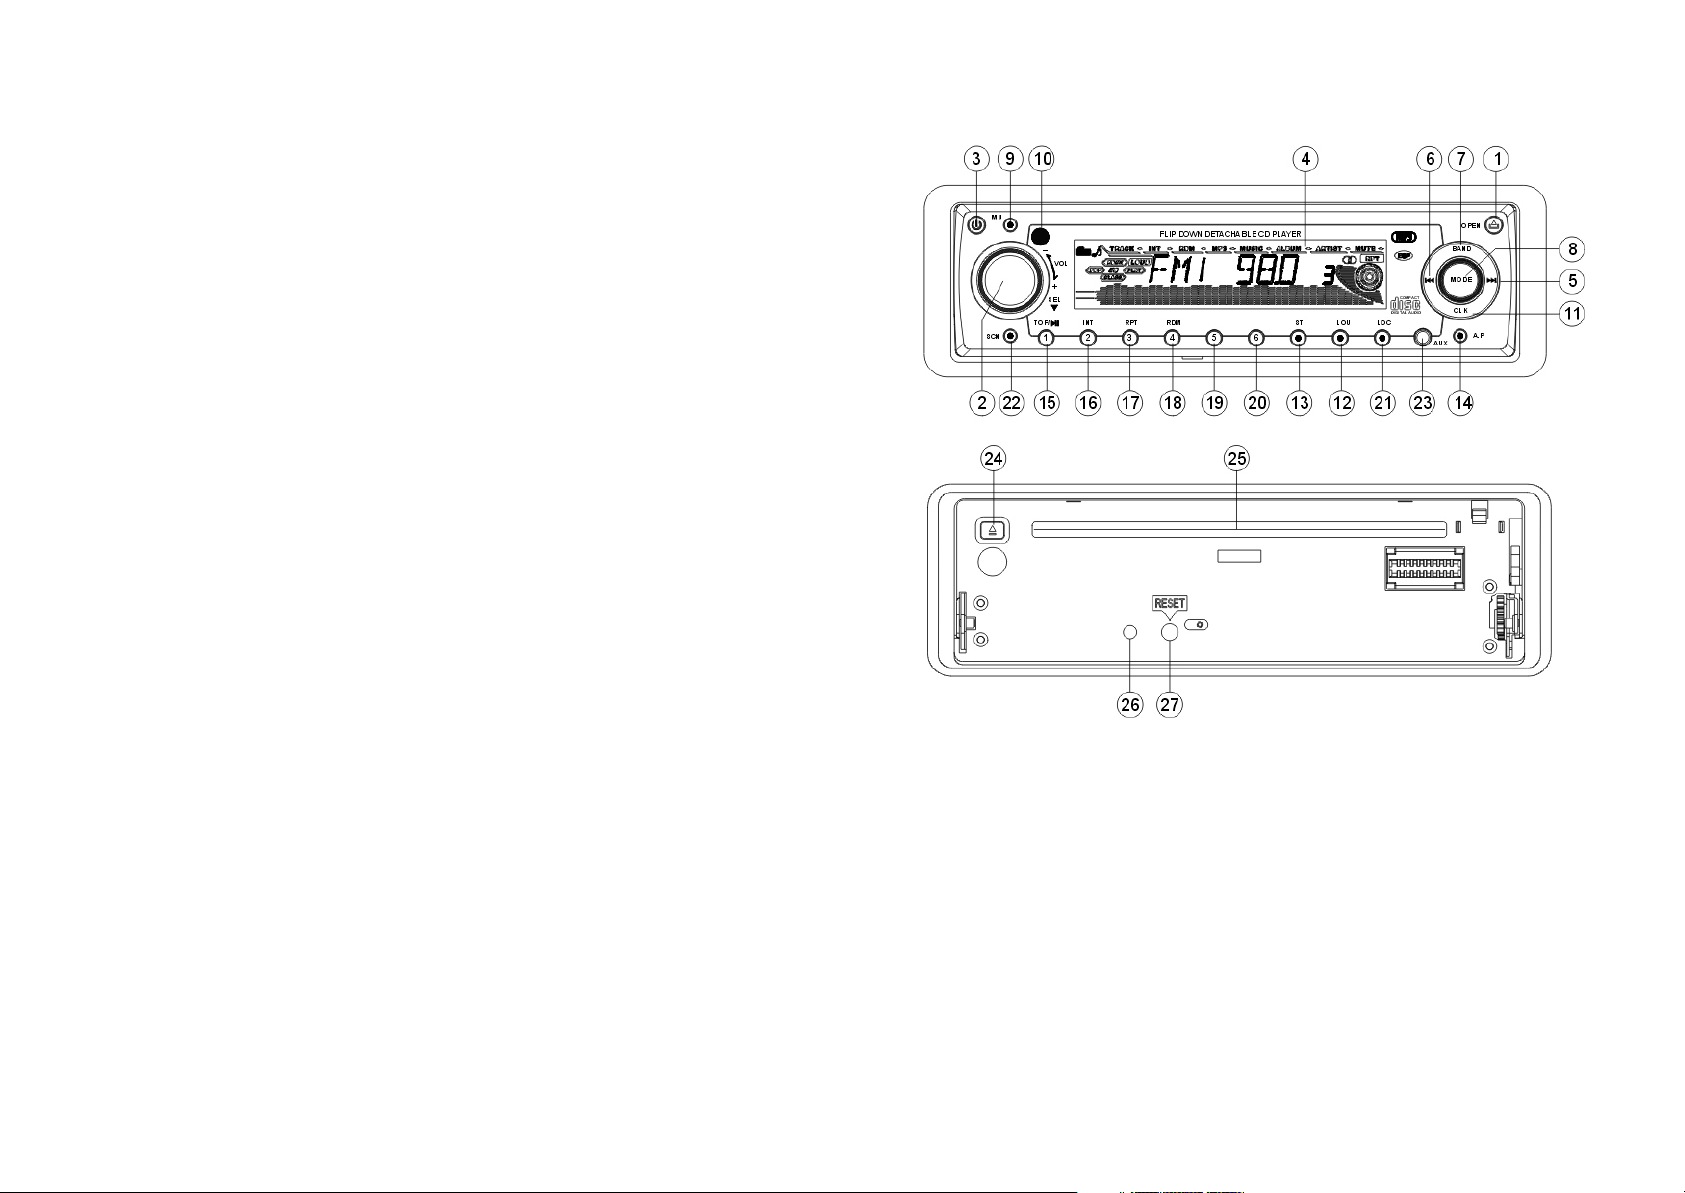
LOCATION AND FUNCTION OF CONTROLS
Fig. 1
Fig. 2
1. OPEN BUTTON
Press the OPEN button to fold down the front control panel.
Then a CD can be inserted into the CD slot or ejected by pressing the EJ button.
After flipping down the front panel, push it rightwards firstly, then draw the left of
the panel outwards to remove it from the unit chassis.
Page 13
2. SEL BUTTON (Select) AND ROTARY ENCODER
a) Press the SEL button briefly, it is activated as selecting each mode of E. VOL.
-> VOLUME ->BASS ->TREBLE -> BALANCE -> FADER ->
When selecting a desired audio mode, rotate the VOL knob to adjust the audio
effect.
In each mode, the waiting time is about 5 seconds, and the time waiting time
is over, it returns to the last display mode of tuner or CDP mode.
The control mode of E.VOL is operated with following numeric display.
- VOL: (MIN)00, 01,......46, 47(MAX).
- BASS/TRE: -07, -06,...,00,...+06,+07
- BAL: 0LR9, 1LR9, ..., 9LR9,..., 9LR1, 9LR0
- FAD: 0FR9,1FR9, ..., 9FR9,..., 9FR1, 9FR0
Page 2
 Loading...