

Page 1
16” Wide Screen HD LED TV with
Built-in Digital TV Tuner
MODEL NO: NT-1506
USER’S MANUAL
Instruction Manual
PLEASE READ CAREFULLY BEFORE USE
Page 2
Safety Information
Warning
To prevent fir e an d/ or e le ct ri c shock, do not use this plug with an ext en si on
cord, rece pt ac le o r ot he r ou tlet unless the blades can be fully i ns er te d to
preven t bl ad e ex po su re . Do n ot expose this appliance to rain or m oi st ur e.
AVIS RISQUE DE CHOC ELEC TRIOUE/NE PAS OUVRIR
Important Safety Instructions
Read the se i ns tr uc ti on s.
Keep the se i ns tr uc ti on s.
Heed all w ar ni ng s.
Follow a ll i ns tr uc ti on s.
Please , un pl ug t he TV powe r co rd w he n th e fo ll ow ing conditions occur:
-When ther e is a t hu nd er st or m (Please, pull out the power cord an d an te nn a) .
-When clea ni ng t he TV set.
-When the TV set is not used for a lon g ti me .
Do not use cor ro si ve d ep ur at ive when cleaning the TV set.
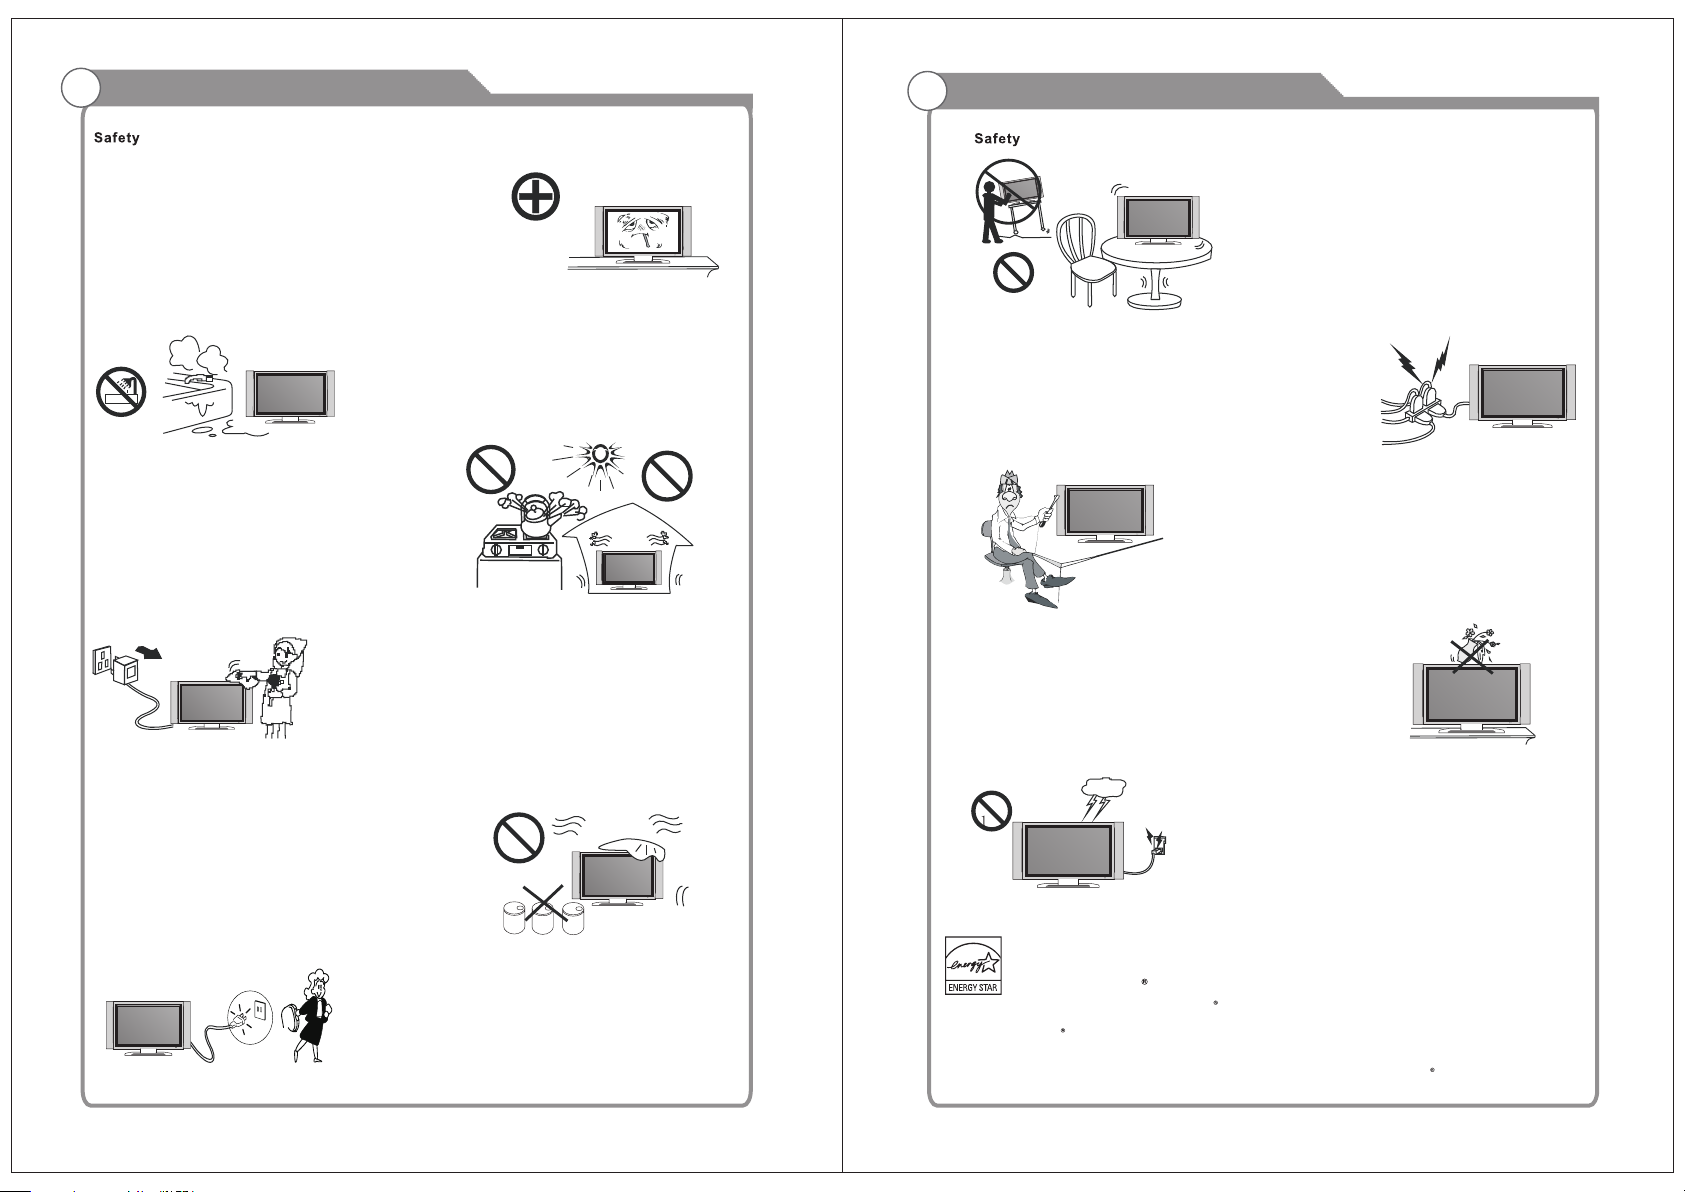
Do not put the TV set under direct s un li gh t or n ea r he at.
Do not put a hea t so ur ce , su ch a s a ca ndle or heater, on top of or near the TV set.
Leave pl en ty o f sp ac e (a l le as t 10cm) around the TV set for ventilation.
Place the TV set away from where i t ca n be r ui ne d by r ai n or water (such as near a
window ).
Don't put a co nt ai ne r wi th l iq uid (such as a vase) on top of the TV set.
Do not move th e TV set when the powe r is o n.
Do not touch , pu sh o r sc ra tc h th e surface of the TV se t with hard materials or items.
When TV surfaces are dirty, please use a wet cotton c lo th o r so ft c lo th w ith noncorrosiv e cl ea ne rs
to clean i t ca re fu ll y. Don´t us e ac et on e, t ol ue ne or alcohol to clean the TV set.
Be aware and car eful of moisture, whi ch can damage inner electronic components.
Whe n condensed
moisture i s pr es en t, t he TV sc re en m ay a pp ea r bl urry or spotty.
It is recomm en de d th at a t ec hn ician install the TV set on a wall, if such placement is
desire d.
An incor re ct w al l in st al la tion will be unsafe and hazardo us .
Do not let child ren clim b on or play around the TV set to avoid falls, collis sions,
damages and inju ries.
Do not hit the TV panel with hard ob je ct s to p re ve nt d amages.
Do not cover t he TV set with blank et s or o th er o bj ec ts when it is connected to a
power so ur ce t o pr ev en t ov er heating and fire.
Batteries shall not be exposed to excessive heat such as sunshine, fire or the like.
Mains pl ug i s us ed a s di sc on nect device from the mains, the dis co nn ec t
device s ha ll r em ai n re ad ily operate.
Page 3
Please , im me di at el y pu ll o ut the AC power
plug
from adapt er i f th er e is a n ab no rmal sound or
smell or the L ED TV has sound bu t no p ic tu re ,
and cont ac t af te r sa le s su pp ort.
The LED TV should be kept free fro m ra in ,
moisture a nd d us t to p re ve nt e lectrical
shock an d
short circ ui ts . Do n ot c ov er t he ventilation
openin gs w it h ta bl e cl ot hes, curtains,
newspa pe rs , et c.
The LED TV should be k ep t fr om h ig h
temperat ur e heating s ources or dire ct
sunlig ht . Good ventilation is re qu ir ed.
Allow 10 cm. be tw ee n the LE D TV and
other ap pl ia nc es o r bu il t-in cabinet walls.
Important Safety PrecautionsImportant Safety Precautions
Do not pla ce t he L ED TV on an unstab le
surface.
Do not place the power cord or oth er ca bl es
across a walkway in c as e it is tr am pl ed on. Do
not overload th e power c or d or power s oc ke t.
When the pow er p lu g is u se d to d is connect and
connec t the device, it should easily into the
power so ur ce .
Do not di sa ss em bl e the back co ve r, as it
contai ns h ig h vo lt ag es i nside and will cause
electric sh ock. Only q ua li fi ed professionals
should conduct interna l adjus t m e n t s ,
mainte na nc e, a nd c he ck s.
When y ou wipe the fr on t cabinet, please
make sure th e p ow er plug is pu ll ed out and
use a s of t, dry, lin t- fr ee cloth a nd handle it
with care. Do not re pe at ed ly wipe t he panel,
nor scrape , ta p or s tr ik e th e pa nel with a hard
object .
Do n ot wipe t he LED TV w ith any p etrol,
chemic al o r al co ho l ba se d solvents as it
will l ea d to product damage o f th e panel
and cabi ne t.
When the tel ev is io n re ce iv er is not used for an
extend ed p er io d of t im e, i t is a dvisable to disconnect
the AC powe r co rd f ro m th e AC ou tl et .
The MAINS pl ug o r an a pp li an ce c oupler is used as the
discon ne ct d ev ic e, The dis co nn ec t de vi ce s hall remain
readil y op er ab le .
The T V set should not be s ub je ct ed t o
water droplets, vapor, or splash. This
equipm en t sh ou ld n ot b e pl aced on objects
filled with l iq ui ds . D o not p lace fl am e
source s, s uc h as lit candles, o n or near the
LED TV. P le ase, pull out th e pow er plug
and contact a ft er sale s support if t he re are
abnorm al o bj ec ts o r wa te r in t he TV.
Pull out the p ower cord an d a nt en na ca bl e
during e le ct ri ca l st or ms s o the LED TV i s no t
damage d by ele ct ri ca l s ur ge s. Ke ep all
people away f rom th e antenna cable d uring
electric al s to rm s.
ENER GY STAR Q ualific ation.
Thi s pr odu ct h as ea rned th e ENE RG Y STAR fo r me eti ng U .S. F ede ra l ene rg y eff ici en cy gu id eli nes a s se t
by th e De par tm ent o f Energ y and E nv iro nment al pr ot ect ion age ncy.
The EN ERG Y STAR progr am exi sts to pr ovi de ene rgy sa ving guide lines and he lp pro mote energ y effi cien t
pro duct s and practi ces . Changes to ce rtai n feat ure s, setting s and fun cti ons of th is TV can chang e and/ or
inc re ase i ts p owe r consu mpt io n.
As-sh ipp ed m ode i s the mod e in wh ic h the p rod uc t qua li fie s for E NE RGY S TAR .
Page 4
Input terminals used for external equipment connection
One computer VGA/PC input One PC Audio inputt
One EARPHONE output
One ANTENNA input
One HDMI input One AV input
One USB input
Page 5

Introduction
Specifications
W arnings
Accessories
Please make sure the following items are included with your LED TV. If any items are
missing, contact your dealer.
Color active matrix LED display
Model
Power supply
NT-1506
1366X768
Fine digital control
DC 12V 3A
NTSC System, ATSC System
Antenna: 2~69; Cable: 1~135 (Analog: 1-125,
Digital: 1-135)
NTSC3.58
75W (Unbalance)
5W 4W
DC 3V (Two AAA size batteries)
24 W
15.8 x 4.7 x 11.9 inch
1.9kg
o
0C-40C
o
Note:
Design and specification modification maybe made at any time without
prior notice; all data and dimensions are approximations.
3
Remote Control &
Batteries (AAAx 2)
Car charger cable
General Description
Overview of front and side panel
SPEAKER
REMOTE CONTROL SENSOR
Aim the remote control towards this
spot on the TV.
POWER INDICATOR
Green: In power on mode.
Red: In standby mode.
SOURCE
Toggles between all the available input
sources ( TV, AV, HDMI, VGA, PC, USB)
MENU
Press to see an on-screen menu of your
TV's features.
Owner’s
Instructions
Adapter
5
6
7
CH+/ Press to change channels.
In the on-screen menu, use the CH +/ buttons as up/down arrow buttons.
VOL+/ Press to increase or decrease the volume.
In the on-screen menu, use the VOL +/ buttons as left/right arrow buttons.
POWER
Press POWER button to toggle between
and standby mode.normal
4
8
4
Page 6

General Description
General Description
Overview of back panel
DC 12V
IN
1
POWER(DC 1 2V ) in pu t
USB
USB inpu t
HDMI
Connect to the HDMI jack of a device
with an HDMI output.
VGA/PC IN
Connect to the video output jack on
your PC.
PC AUDIO INPUT
Audio input for external devices.
COMPOSITE VIDEO
Video input for external devices, such
as a camcorder or VCR.
USB
HDMI
IN
2
VGA
IN
IN
3
4
PC
AUDI O
IN
5
VIDE O
6
L
R
EARP HONE
IN
7
OUT
8
AV Audio
Audio inputs for external devices.
EARPHONE OUT
Connect a set of phone for private
listening
RF
C onnect to an antenna or cable
NTSC & ATSC.
Overview of remote control
1.
2.
1
3
4
6
8
RF
IN
9
11
13
16
15
20
19
23
24
27
2
3.
Numbe r ke y(0-9 ):
4. -/- -:
5.
RETUR N:
P.MOD E:
6.
5
7
7.
S.MOD E:
8.
9
9.
PROG +/ -:
10
10.
11.
ARROW B UT TON S(
12
12.
ENTER :
14
13.
14.
18
15.
17
21
16.
INFO: D is pla ys th e chann el info rmati on
22
17.
25
18.
26
19. LOC K: P ress to d is play th e pa re ntal me nu .
20. Tim e: Pres s to displa y Time me nu.
21. CC: pr es s to dis play the clos ed ca ption
22. FREE ZE : Pr ess to free ze th e scr een.
23. FAV: Sel ect s favo rit e ch ann els .
24. LIST: Pr es s to dis play the TV pr og ra m list.
25. FAV +/- : pr ess th is but to n +/- th e favo rit e pro gra m lis t.
26. ADD :
Delet e this pr og ram fr om the favo rit e
27. SLEEP :
Add this pr ogr am to th e list .
ERASE:
cha nne ls list .
Sets th e sle ep t ime r press t he re pe ate dly to
selec t sle ep t ime a mong of f,5 , 10, 1 5, 3 0, 45 ,
60, 90, 1 20, 1 80 , 240 .
favor ite c ha nne ls
5
6
Page 7

General Description
External Connection
Installing Batteries in the Remote Control
Installing BatteriesInstalling Batteries
Open the battery compartment
1
cover on the back side.
SLEEP
P.MODE
S.MODE
LIST
DTV
3
1 2
SOURCE
ABC DEF
+-./
Insert two 1.5V AAA size batteries in
correct polarity. Don´t mix old or used
2
batteries with new ones.
Closed the cover.
3
Battery
Cover
2xsize AAA 1.5V
Battery
Cover
Point the remote towards the remote
control sensor of the wireless TV and
use it within 7 meters.
Put the used batteries into the recycling bin since it can negatively affect
the environment.
The batteries shall not be eposed to ecessive heat such as sunshine
fire of the like.
External Connection
Antenna connection
Antenna input impedance of this unit is 75ohm. VHF/UHF 75ohm coaxial cable can be
connected to the antenna jack directly, if the antenna cable is 300ohm parallel flat feeder
cable, you need to use the 300ohm/75ohm converter to connect the antenna cable to the
antenna jack. For details Please refer to the following drawing.
Antennas with 300 flat twins Leadsohm
Use a 75ohm - 300ohm converter
ANT IN
Antennas with 75 Round Leadsohm
Connecting VCR
These instructions assume that you have already connected your TV to an antenna or a
cable TV system. Skip step 1 if you have not yet connected to an antenna or a cable
system.
TV Rear Panel
PC
VGA
AUDIO
IN
IN
VCR Rear Panel
DC 12V
IN
Audio Cable (Not supplied)
Video Cable (Not supplied)
RF Cable (Not supplied)
HDMI
USB
IN
IN
Follow the instructions in Viewing a VCR or Camcorder Tape to view your VCR tape.
Each VCR has a different back panel configuration.
When connecting a VCR, match the color of the connection terminal to the cable.
We recommend the use of cables with a Ferrite Core.
1. Unplug the cable or antenna from the back of the TV.
2. Connect the cable or antenna to the ANT IN terminal on the back of the VCR.
3. Connect an RF Cable between the ANT OUT terminal on the VCR and the ANT IN
terminal on the TV.
4. Connect a Video Cable between the VIDEO OUT jack on the VCR and the VIDEO IN
jack on the TV.
5. Connect Audio Cables between the AUDIO OUT jacks on the VCR and the AUDIO L and
AUDIO R jacks on the TV.
If you have a mono (non-stereo) VCR, use a Y-connector (not supplied) to hook up to
the right and left audio input jacks of the TV. If your VCR is stereo, you must connect
two cables.
L
R
VIDEO
IN
EARPHO NE
OUT
RF
IN
300ohm coaxial cable
7
Antenna feeder
75ohm coaxial cable
Antenna cable
8
Page 8

External Connection
External Connection
Connecting DVD Player/Set-Top Box via HDMI
This connection can only be made if there is a HDMI Output connector on the external
device.
DVD Player/Set-Top Box
DC 12V
IN
HDMI Cable (Not supplied)
What is HDMI?
HDMI, or high-definition multimedia interface, is a next-generation interface that enables
the transmission of digital audio and video signals using a single cable without
compression.
Multimedia interface is a more accurate name for it especially because it allows multiple
channels of digital audio (5.1 channels).
The difference between HDMI and DVI is that the HDMI device is smaller in size, has the
HDCP(High Bandwidth Digital Copy Protection) coding feature installed, and supports
multi-channel digital audio.
Each DVD player/STB has a different back panel configuration.
We recommend the use of cables with a Ferrite Core.
1. Connect an HDMI Cable between the HDMI connector on the TV and the
HDMI connector on the DVD player/Set-Top Box.
HDMI
USB
IN
IN
TV Rear Panel
PC
VGA
AUDIO
IN
IN
L
R
VIDEO
IN
EARPHO NE
OUT
RF
IN
Connecting PC
PC
DC 12V
IN
PC Audio Cable (Not supplied)
D-Sub Cable (Not supplied)
Each PC has a different back panel configuration.
The HDMI jacks do not support PC connection.
We recommend the use of cables with a Ferrite Core.
1. Connect a D-Sub Cable between RGB/PC IN connector on the TV and the PC output
connector on your computer.
2.Plug PHONE out connector into PHONE out jack on the TV the TV speaker will
be muted.
3. Connect the PC audio input jackc on the TV
HDMI
USB
IN
IN
TV Rear Panel
PC
VGA
AUDIO
IN
IN
L
R
VIDEO
IN
EARPHO NE
OUT
RF
IN
Phone Out
Supporting signals
Input
Air
Cable
CVBS
Mode
8VSB
Free 64/256QAM
NTSC 3.58
VGA/PC
640x480/60Hz
800x600/60Hz
1024x768/60Hz
1360x768/60Hz
9
HDMI
480p/60Hz
720p/60Hz
1080i/60Hz
1080p/60Hz
10
Page 9

Basic Operation
OSD Menu Operations
Turning the TV On and Off
How to turn the TV on or off
1
1. Insert the power cord plug into a polarized AC
outlet.
2. Press POWER button on the remote control or
button on the LED TV.
3. Normal picture will be displayed on the screen after
6 seconds. If no signal input, "No Signal" will be
displayed on the screen.
4. If temporary POWER off is required, press POWER button on the remote control or
button on the LED TV.
5. If you want to completely switch off the power for this unit, unplug the power cord plug
for this unit.
6. After switching off the unit, you should turn on the TV again at least 5 seconds later.
Status indication lamp
Green: In power on mode.
Red: In standby mode.
Auto power off
If there is no signal input in any Mode, the TV will automatically accesses the standby
state in about 15 minutes.
Memory before turning TV off
The settings of picture and the preset channels will be memorized at turning off the unit.
When being started up again, the unit will work according to the mode set before being
turned off.
Adjust the OSD S creen
INPUT
TV
AV
HDMI
PC
USB
ENTER
Press SOUR CE b ut to n to d is pl ay the input
source l is t.
Press ▼/▲ butt on t o se le ct t he i np ut source
you want t o wa tc h;
Press ENTE R bu tt on t o en te r th e input source.
BASIC OPERATION
CHANNEL
Press MENU button to display the main menu.
Press◄ / ► button to select CHANNEL in the main menu, it will highlight the first option.
Air /Cable C able
Auto S can
Favo rite
Show /Hide
L
Cha nnel
Chan nel No.
Chan nel Lab el
DTV Si gnal Ba d
Air/Cabl e
press ENTE R bu tt on s to s el ec t it Cable or Air.
AUTO SCAN
Auto Tuni ng c an f in d ou t al l ef fe ct iv e ch an ne l automatically.
Press ▼/▲ to sel ec t Aut o Tun in g, t he n press ENTER to
start auto s ea rc hi ng .
Auto Scan
Scan all channels
Digital channel only
Analog channel only
If you want to s to p se ar ch in g, p ress EXIT.
MENU
ENTER
11
12
Page 10

OSD Menu Operations OSD Menu Operations
Adjust the OSD S creen
PICTURE
Press MENU button to display the main menu.
Press◄ / ► button to select PICTURE in the main menu, it will highlight the first option.
Pic ture Mod e Stand ard
Colo r Mode No rmal
Zoom M ode Nor mal
3DN R Weak
Picture
L
DLC On
PICTURE ME NU
Press MENU t o di sp la y th e ma in m enu, and press ◄ /► to select the Picture M en u.
Highli gh t th e it em a nd p re ss ▼/▲ t o select corresponding sub-me nu .
Picture Mo de : Dy na mi c/ St andard/Soft/ Personal.
Color mo de :T hi s it em c an a dj ust the saturation of the color bas ed o n yo ur o wn l ik e.
Zoom mode: F ou r se le ct ab le Z oom Modes, Normal, Zoom, Cinema , Wi de .
3DNR: Us ed f or t he n oi se r ed uc tion adjustment to get a better ima ge e ffects.
DLC: Dyn am ic b ri gh tn es s co ntrol
AUDIO
Press MENU button to display the main menu.
Press button to select AUDIO in the main menu, it will highlight the first option.◄ / ►
Equa lizer P erson al
Audi o Langu age Eng lish
Surr ound Of f
Audi o Only Of f
Audio
L
AVC Off
Adjust the OSD S creen
TIME
Press MENU button to display the main menu.
Press◄ / ► button to select TIME in the main menu, it will highlight the first option.
Sle ep Timer O ff
Time Z one Atla ntic
DST Of f
Time F ormat 2 4-hou r
Time
L
Auto S ync On
Cloc k 2012/ 1/1 12: 0
Wake Up 2012 /1/1 12 :0
TIME MENU
Press MENU t o di sp la y th e ma in m enu, and press ◄ /►
to select th e Tim e Me nu .
Sleep Tim er : Se le ct t he t im e in m inutes(5min,10min,15min ,3 0m in ,6 0m in ,90min,
120min ,1 80 mi n, 24 0m in,Personal) that you want the TV to shut off automatically
after you se t th e ti me . Ca nc el b y setting it to Off.
Tim e Zo ne : Se t to choose the time belt.
Tim e Fo rm at : Set to choose time display format .
Auto Sync: S yn ch ro no us a ut omatic.
Clock: Pre ss E NT ER t o se t ti me .
Wak e Up : En di ng the state of sleep.
SETUP
Press MENU button to display the main menu.
Press◄ / ► button to select SETUP in the main menu, it will highlight the first option.
Menu L angua ge Engl ish
Tran spare ncy 25%
Clos ed Capt ion
Res tore De fault
Setup
L
Set up Wizar d
Blue S cree n Off
AUDIO MENU
Press MENU t o di sp la y th e ma in m enu, and press ◄ /► to select the Sound Men u.
Equali ze r: Ad ju st a ud io f re quency band.
Audio La ng ua ge : Se t th e la ng uage.
Surrou nd S ou nd : Su rr ou nd e ff ec t on o r off.
Audio On ly : Au di o On ly e ffec t on o r off.
AVC: When set the AVC on, quick volume change will be smo ot he d.
13
SETUPMEN U
Press MENU t o di sp la y th e ma in m enu , and press◄/► to select the Sepu t Me mu .
Menu Lan gu ag e: S et t he O SD d is play language. (English/ Fren ch / Sp an is h)
Tra ns pa re ncy: Set transparency of OSD.
Closed C ap ti on : Se t to h id e th e caption
Restore De fa ul t: R ec al l th e default setting.
Setup Wiza rd : In st al la ti on guide.
Blue Scree n: S et t he b ac kg ro und color to blue or black when no inpu t si gn al .
14
Page 11

OSD Menu Operations
OSD Menu Operations
Adjust the OSD S creen
LOCK
Press MENU button to display the main menu.
Press◄ / ► button to select LOCK in the main menu, it will highlight the first option.
Par ental Co ntrol s___
L
Lock
Press MENU b ut to n to d is pl ay t he main menu.
◄ / ►
Press butt on t o se le ct L oc k in t he main menu. It will highlight the f ir st o pt io n.
Enter the co de 0 00 0 to e nt er t he p arental menu (see the picture bel ow ),
or press MEN U to c an ce l.
Cha nge Pass word
Sys tem Lock O n
Unr ated Loc k Off
L
Lock
CHANGE PASSWORD
Press ENTER button and enter a new 4 digit password.
SYSTEM LOC K
Press ENTE R to s el ec t th e sy st em lock on or off.
UNRATED LOCK
Press ENTE R to s el ec t th e Un ra ted lock on or off .
Inpu t Block
US
Cana da
RRT Se tting
Res et RRT
Adjust the OSD S creen
LOCK
INPUT BLOC K
Press ENTE R to d is pl ay t he I np ut Block , AVPress ▼ / ▲ butt on t o se le ct ( TV、 、
HDMI PC )
、 、USB
press◄/►
US
Press ENTE R or r ig ht a rr ow f or t o enter to US ratings menu, which con ta in s tw o
sub-me nu s: M ov ie R at in g an d TV R at in g.
Canada
Press ENTER or right arrow for to enter to CANADA ratings menu, which contains two
sub-menus: Canada Eng and Canada Fre.
button to se le ct “ Un Bl oc k” o r “Block”.
US
TV
MPAA
MENU
ENTER
Canada
Canada Eng
Canada Fre
MENU
TV-Y
TV-Y7
TV-G
TV-PG
TV-14
TV-MA
G
PG
PG-13
R
NC-17
X Lock
N/A
ENTER
TV RATING
ALL
ALL
FV
ALL
ALL
V S L D
ALL
VVSSLLD
ALL
Block
MPAA
MENU
Enter Old Password
Enter New Password
Confirm Password
Clear Cancel
15
Canada Eng
C
C8+
G
PG
14+
18+
EXEMPT
MENU
Lock
Canada Fre
G
8 ans+
13 ans+
16 ans+
18 ans+
EXEMPT
Lock
MENU
16
Page 12

USB USB
USB Operation
Note: Befo re o pe ra ti ng M ed ia menu, Plug in USB device, then press S OU RC E
button to se t th e In pu t So ur ce t o US B.
Press button to se le ct P ho to /M us ic , and then press ENTER button to enter.◄ / ►
Choose P HO TO to enter the phot o sc an m od el , if t he re are many zones in mobile
equipm en t, i t wo ul d sh ow n be low:
USB Operation
Enter the mo de l of s ca nn in g mu sic can scan the music files, as show n be lo w:
Pitch up the M P3 f il es , pr es s En ter to play, as s ho wn b elow, can setup the playing
more bel on g to t he t oo lb ar, s uc h as: suspend, fast forward, fall s pe ed , lo op , et c.
Choose C z on e, c an s ca n th e fo ld er and photos.
Selected t he p ho to s, p re ss E nter to show slides, press the Ente r ag ai n wi ll s ho w
the toolba r of m en u, a s sh ow n, c an do various operating to the show s li de s,
for exampl e: s us pe nd , st op , play music etc.
17
Press◄ /►t o se le ct t he d iffe re nt m en u pa ge s.
Press the re mo te c on tr ol o f EN TER to turn into the selected sub men u.
Press the re mo te c on tr ol o f ME NU to come back the previous menu or qu it .
Press the re mo te c on tr ol o f EX IT to ex it m en u di re ctly.
18
Page 13

Troubleshooting
Picture defects and the reason
Snowy Picture
plugge d in .
MUTE
been
8
19
20
 Loading...