

Page 1

TFTLCD″DIGITALTVWITH10
MODELNO.:NT-1001
AUTO/OK
CH- CH+EPG ZOOM MODEMENU VOL- VOL+
InstructionManual
BEFOREUSINGTHISPRODUCT,READ,UNDERSTAND,
ANDFOLLOWTHESEINSTRUCTIONS.
Savethisbookletforfuturereference.
Page 2

Page 3
IMPORTANTINSTRUCTIONS
SAFETYINSTRUCTIONS
CAUTION
RISKOFELECTRICSHOCK
DONOTOPEN
CAUTION:TOREDUCETHERISKOFELECTRICSHOCK.
DONOTREMOVECOVER(ORBACK).
NOUSERSERVICEABLEPARTSINSIDE.
USETHERECOMMENDEDACCESSORIESONLY.
REFERSERVICINGTOQUALIFIEDSERVICEPERSONNEL.
Thegraphicsymbolsonthebackcoverofthesetmeanthefollowing:
Thelightingflashwitharrowheadsymbolwithinanequilateraltriangleis
intendedtoalerttheusertothepresenceofuninsulateddangerousvoltage.
Withintheproduct'senclosure,theremaybefullofsufficientmagnitudeto
constituteariskofelectricshocktopersons.
Theexclamationpointwithinanequilateraltriangleisintendedtoalertthe
usertothepresenceofimportantoperatingandmaintenance(servicing)
instructionsintheliteratureaccompanyingtheappliance.
WARNING:
-TOAVOIDTHERISKOFFIREORELECTRICSHOCK,DONOT
EXPOSETHISPLAYERRAINORMOISTURE.ANDDONOTCLOSE
TOFIRE,HEATSOURCES,
-KEEPGOODVENTILATIONOFTHEPRODUCTANDACADAPTER.
-DISCONNECTFROMPOWERSOURCEDURINGLIGHTNING
STORM,OUTFORLONGTIMEORDOINGKINDSOF
CONNECTIONS.
-HAVETHEPRODUCTUNPLUGGEDFROMTHEPOWERSOURCE
BEFORECLEANINGRELOCATINGORSERVICING.
1
Page 4

PRECAUTIONS
-TOPROLONGUSETIME,PLEASEMAKESURETHEINTERVALOF
SWITCHINGONANDOFFISNOTLESSTHAN5SECONDS.
PROTECTTHEPOWERCORDFROMBEINGWALKEDONOR
PINCHED,PARTICULARLYATPLUGS,CONVENIENCE
RECEPTACLES,ANDTHEPOINTWHERETHEYEXITTHE
PRODUCT.
USINGOFPOWER
-DONOTCONNECTTOPOWEROVERPRESCRIPTIVEVOLTAGE,
USETHECORRECTVOLTAGEANDCURRENTMARKEDONTHE
PRODUCTELECTRICALRATINGSLABEL.ELECTRICPOWER
OVERLOADWILLCAUSEFIREORELECTRICSHOCK.
-DONOTPULLCABLES,SHOULDHOLDPLUGWHENUSING
POWERSOCKET.
-UNPLUGACCABLEFROMPOWERSOCKETIFNOTUSETHE
UNITFORLONGTIME.
BATTERYUSAGEANDHANDING:
-KEEPBATTERYAWAYFROMCHILDRENANDPETS.
-REMOVETHEBATTERYFROMTHEREMOTECONTROLWHEN
THEPRODUCTWILLNOTBEUSEDFORANEXTENDEDPERIOD.
-NEVERTHROWBATTERYINTOAFIRE.DONOTEXPOSE
BATTERYTOFIREOROTHERHEATSOURCES.
:
FEATURES
10” TFTDISPLAY
This ”playerhasabuiltin10TFTdisplaywindowtoprovideclearvisionandlowradiation.-
AUTOTVSCANNINGFUNCTION
MEMORYFUNCTION
SUPPORTVIDEO/AUDIOINPUT
DIGITALBROADCASTINGRECEPTION
2
Page 5
GENERALTROUBLESHOOTING
CheckthefollowingpointsbeforeassumingmalfunctionsoftheTVset:
MULTI-SUBTITLESFUNCTION(OSD)
Subtitlesmaybedisplayedinoneofamulti-languagedependingonthesoftware.
Phenomenon
Nopicture&sound
Nopicture
Nosound
Volumeistoolow;Mutefunctionisswitchedon.
Reasons
ImproperconnectionofACadaptororthebatterypowerisnot
.
enough
TVreceptionchannelisnotrightandtrytoresettheunit.Relocatethe
TVsettotheplacewherereceptionisbetterorselectthesoundkey.
Theheadphonehasbeenpluggedinorthesignalistooweak.
Poorreception
Darkorblurredpicture
Unclearorunstablepicture
Picturemovesup&
blursorfolds
down,
over
Interferedsnow
picture
Nocolor
TVantennaisnotcorrectlyadjustedorTVchannelisnotright.
Thebright&contrastistoolow.Thebatteryvoltageistoolow.
TVantennaisnotproperlyadjustedorinweaksignal
reception
area.
too
TVantennaisnotrightlyadjusted.
Thesignalreceptionistooweakorcausedbysignalreflection
fromthebuildingsnearbyormountains.
Thesignalisinterferedbycar,sengine,railway,hightension
wires,neonsignsorradiofrequency.
Colororcolorsystemisnotsetproperly.
MAINTENANCE
BesuretopressPOWERtosettheplayertothestandbymodeanddisconnect
theACadaptorbeforemaintainingtheplayer.
FULLREMOTECONTROLFUNCTION
WITHRECHARGEABLELITHIUMBATTERY
GUIDEDISPLAYLETSOPERATIONMOREEASILY
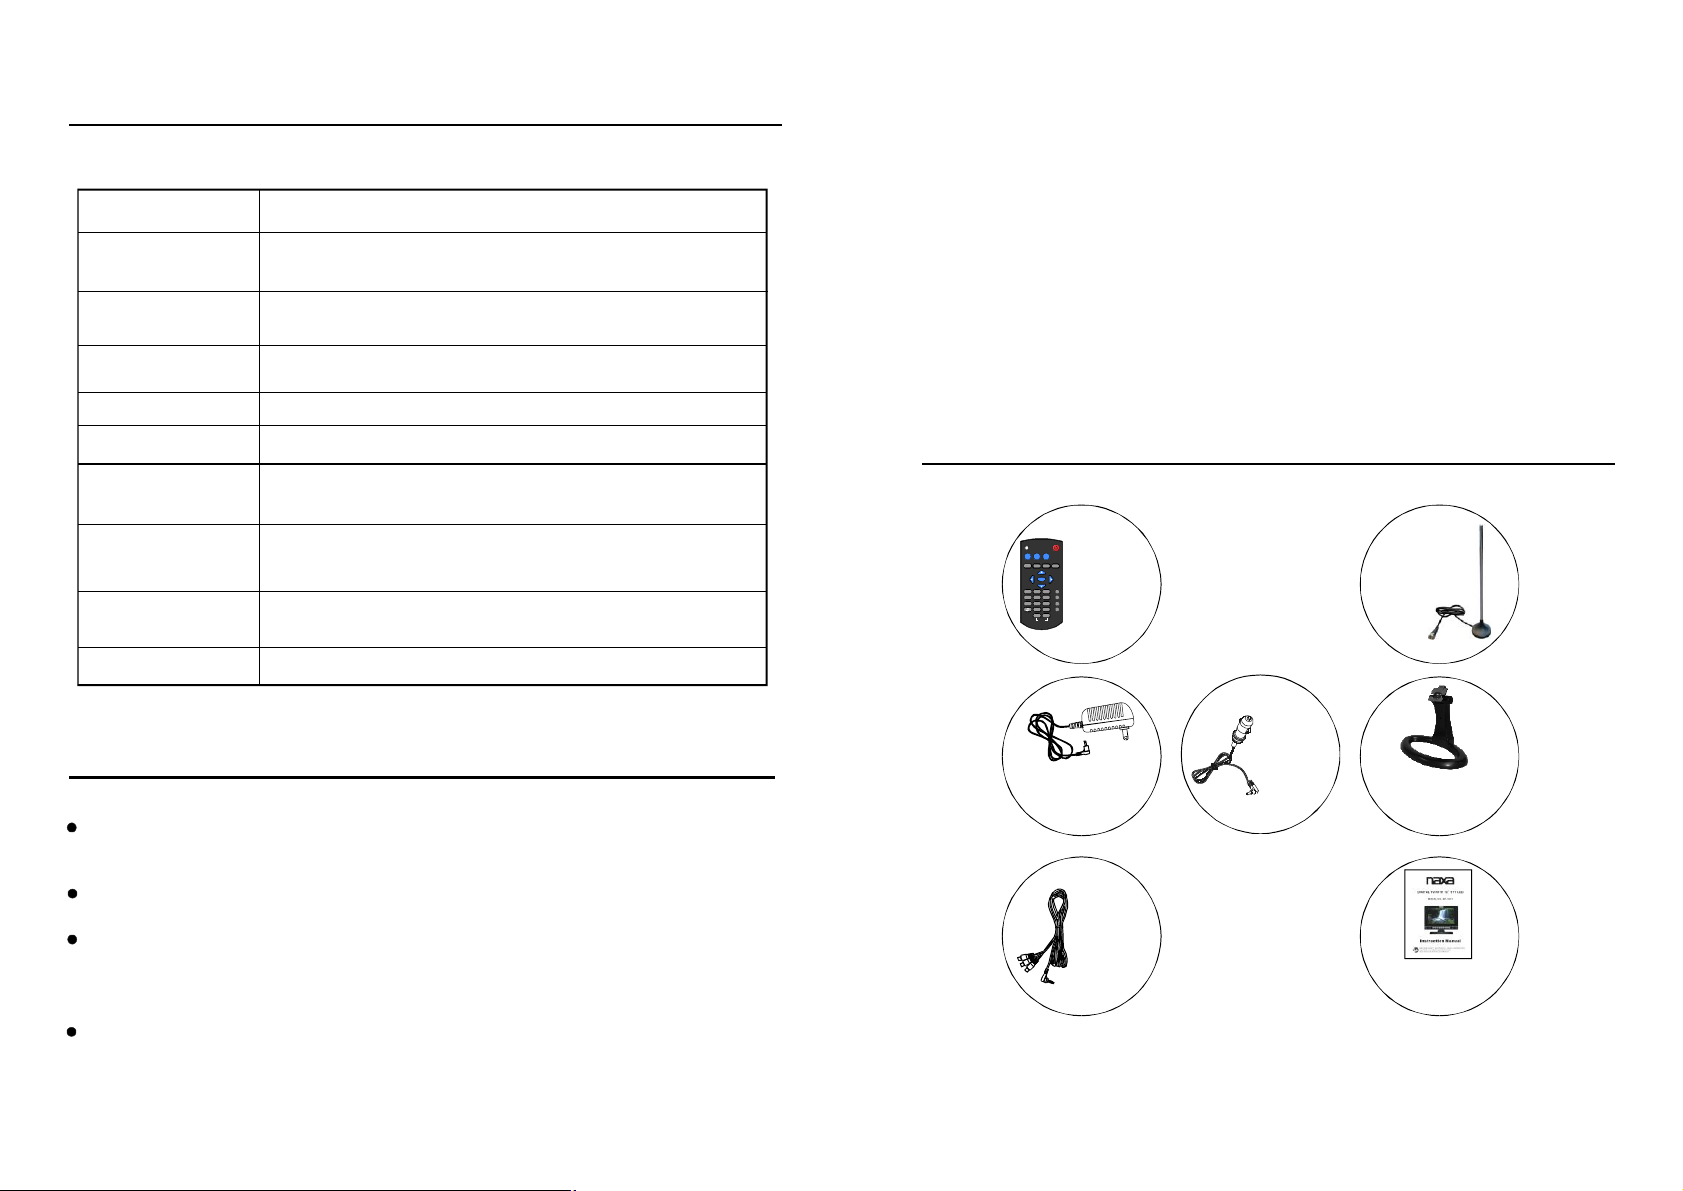
ACCESSORIES
POWER
MUTE
Remote
PICTURE MTS ZOOM
MENU SLEEP EPG EXIT
control
ENTER
(included
TV/AV
1 3
2 3
INFO
4 5 6
4 5 6
CH+
8 9
777 8 89
battery)
CH-
0
770 77
-
77 77
-
+
VOLUME
.........1
Carcord
...........1
ACadaptor
.................1
External
antenna
..........1
Standholder
..................1
Wipetheplayerwithadry,softcloth.
Ifthesurfacesareextremelydirty,wipecleanwithaclothwhichhasbeen
dippedinaweaksoap-and-watersolutionandwrungoutthoroughly,andthen
wipeagainwithadrycloth.
Neverusealcohol,benzine,thinner,cleaningfluidorotherchemicals.Anddo
notusecompressedairtoremovedust
22
AVcable
...........1
Instruction
manual....1
Allthepicturesintheinstructionmanualarejustforyourreference,specificationshouldreferto
actualaccessories.
3
Page 6

Specifications
TABLEOFCONTENTS
GETTINGSTARTED:
IMPORTANTINSTRUCTION......................................................1-2
FEATURES...................................................................2-3
ACCESSORIES.................................................................3
GENERALPARTSANDCONTROLS...........................................5-7
MAINUNIT............................................................................5-6
REMOTECONTROL.................................................................6-7
BASICCONNECTION........................................................7-8
INSTALLBATTERY..............................................................9
REMOTECONTROLPREPARATION........................................10
OPERATIONS:
OPERATIONS.........................................................11-14
MAINMENU.........................................................................15-20
1.EarphoneOutput:
2.DisplayDevice:
3.DisplayScreenSize:
4.InputResistance:
5.PowerConsumption:
6.StandbyPowerConsumption:
7.Resolution:
8.DotsDistance:
9.VisibleRange:
10.PowerSource:
11.VideoInputLevel:
12.AudioInputLevel:
13.OperationTemperature:
14.Measurement:
15.Weight:
16.ConnectionTerminals:
800RGB*480
Approx.1321.5g(includeknock-downstandholder)
250mW(MAX)
≥
ColourTFTLCD
10inches
75
Ω
24W
≤
0.2745(H)X0.2745(V)mm
219.6(H)X131.76(V)mm
ACadaptornormal:DC12V---2A)
1.0Vp-p
1.2V
285(L)X200(W)X42(D)mm
1.AntennaJack
2.HeadphoneJack
3.ExternalPowerSourceInputJack
4.AVInputJack
(
OO
-5C+45C.
Specificationsaresubjecttochangewithoutnotice.
≤
to
0.3W
FORREFERENCE:
SPECIFICATIONS..................................................................21
TROUBLESHOOTING.......................................................22
MAINTENANCE..............................................................22
4
21
Page 7

-PressENTERbuttontostarttoscanprograms.
GENERALPARTSANDCONTROLS
PICTURE AUDIO TIME OPTION CHANNEL
RFCH0
Found0
/ /
Show/Hide
Itwillshoworhighthechannelswhichyouselected.
-Pressupordownbuttontoselectitandpressleftorrightbutton
-Pressupordownbuttontoselectthechannelswhichyouwantedittoshoworhigh.
Favorite
Itisusedtostoreyourfavoritechannels.
-PressupordownbuttontoselectitandpressENTERorrighttogetinfavoritechannels
page.
-Pressupordownbuttontoselectthechannelswhichyoulike,pressENTERtoconfirmit
asFavoritechannel.
ChannelNO.
Itisusedtoswapsettingsbetweentwochannels.
-Pressupordownbuttontoselectit.
-Presstheleftbuttontoswapthecurrentchannelnumberwiththepreviouschannel’s.
-Presstherightbuttontoswapthecurrentchannelnumberwiththenextchannel’s.
CHANNELLABEL
-Itisusedtosetthechannellabelasdesired.
-PressupordownbuttontoselectandpressENTERtoenter:
PICTURE AUDIO TIME OPTION CHANNEL
ADJUST:EXITMENU
togetinit.
MAINUNIT
FRONTVIEW
1
2
34567
1.
TFTDISPLAYWINDOW
2.BUILT-INSPEAKER
3.EPGBUTTON-
informationofcurrentdayorlatterdays.
4.MENUBUTTON-
page.
5.CH-/BUTTON-
channelormovedown.
6.CH+/BUTTON-
channelormoveup.
7.AUTO/OKBUTTON-
automatically,orconfirmyourselection.
Displaytheprogram
Toentermenusetting
Toselectprevious
Toselectnext
Toscanthechannel
AUTO/OK
CH- CH+EPG ZOOM MODEMENU VOL- VOL+
891011
8
volumelowerormoveleft.
9.VOL+/BUTTON-
10.ZOOMBUTTON-
displaymodewideornormal.
11.MODEBUTTON-Toswitchtheinput
sourcebetweenTVandAVINmode.
12.REMOTECONTROLSENSOR
12
.VOL-/BUTTON
louderormoveright.
-Toadjustthe
Toadjustthevolume
T
oselectthedesired
/ /
-Pressupordownbuttontoinputsymbolorletterasdesired.
-Pressleftorrightbuttontoenterthepreviousornextitem.
-Thenthelabelwilldisplayonthescreenunderchannelnumber.
ADJUST:EXITMENU
20
SIDEVIEW
13.ANTENNAJACK
16.AVINJACK-
15.HEADPHONEJACK-
headphoneforprivatelistening.
16.POWERSWITCH
17.DCIN9-12VINPUTJACK
18.POWERINDICATOR
CHARGEINDICATOR
Usetheunitasamonitor.
Connectto
13
14
15
16
17
18
5
Page 8

BACKVIEW
OPENOPEN
BATTERYCOVER(KNOCK-DOWN)INSIDEWITHRECHARGEABLE
LITHIUMBATTERY
STANDHOLDER
NOTE: YoumustconnectexternalantennatotheunitbeforeTVreceiveroperation.
REMOTECONTROL
1.MUTE
2.PICTURE
picturedisplayeffectbetweenDynamic,
soft,personalorstandard.
3.MENU
canalsoreturntopreviousmenuinmenu
setuppage.
4.SLEEP
beinstandbymodeautomaticallyinaperiod
oftimeyouset.)
5.LEFTbutton
6.NUMERRICBUTTONS
numericinformation,suchaschannel
numberandsoon.
7.Button
previouslyselectedchannel.
8.VOLUME-button
9.POWERbutton
mode;pressitagaintoswitchiton.
10.MTS
11.ZOOMbutton
displaymodewideornormal.
12.EXIT
13.EPG
14.UPbutton
15.ENTERbutton
16.RIGHTbutton
17.DOWNbutton
18.TV/AV
19.INFO
modeandsoon.
20.CH+
21.CH-
22.BUTTON
23.VOLUME+button
-Tomutethesound.
-Pressthisbuttontoselectthe
-Displaythemainmenu.Pressit
MUTE
1
PICTURE MTS ZOOM
2
MENU
SLEEP EPG
POWER
EXIT
3
-Tosetthesleeptime.(TheTVwill
4
5
ENTER
-Tomoveleft.
-Toinputthe
-Pressthisbuttontogoto
-Toadjustvolumelower.
-TosettheTVinstandby
6
7
8
1
2 3
5
4
4 5 6
8 9
77
7 889
0
77 77077
77 77
-
VOLUME
TV/AV
3
INFO
6
CH+
CH-
-
+
-Tochangethesoundtrack.
-Usedtoselectthedesired
-Toexitthemenupage.
-Displaytheprograminformationofcurrentdayorlatterdays.
-Tomoveup.
-Toconfirmaselectionoraoperation.
-Tomoveright.
-Tomovedown.
-ToswitchthesignalsourcebetweenTVandAVIN.
-Todisplaycurrentprograminformation,suchaschannelnumber,soundtrack
-Toselectprogramforward.
-Toselectprogrambackward.
-UsedtodirectlyinputTVchannels.
-Toadjustvolumelouder.
6
9
10
11
12
13
14
15
16
17
18
19
20
21
22
23
5.CHANNELSETUP(TVmodeonly)
Pressleftorrightbuttontoentersetuppage:
PICTURE AUDIO TIME OPTION CHANNEL
AntennaAir
AutoScan
Show/Hide
Favorite
ChannelNo.14-1
ChannelLabel
/ /
Antenna
Itisusedtosetthetypeofsignalreception.
-Pressupordownbuttontoselectitandthenpressleftorrightbuttontoset.
-Options:Air/CATV.
AutoScan
Beforenormalwatchingyoumustsearcheffectivechannelfirst.
-PressupordownbuttontoselectitandpressENTERtogetinscanningsetuppage:
PICTURE AUDIO TIME OPTION CHANNEL
CablesystemAUTO
StarttoScan
/ /
ADJUST:EXITMENU
ADJUST:EXITMENU
19
Page 9

ClosedCaption
-Itisusedtosetthecaptionmode.
-PressupordownbuttontoselectitandpressENTERbuttontogetinsettingpage:
PICTURE AUDIO TIME OPTION CHANNEL
CCModeOff
BasicSelectionCC1
AdvancedSelection
Service1
BASICCONNECTION
EnsureallthecablesaredisconnectedfromthemainunitbeforeconnectingtoAC
powersourcebyACpoweradaptor.
Readthroughtheinstructionsbeforeconnectingotherequipment.
1.CONNECTINGTOACPOWERSOURCE
INPUT9-12V- --
PHONE AVIN
OFF-ON
POWER
/ /
ADJUST:EXITMENU
CCMode-Pressupordownbuttontoselectitandpressleftorrightbuttontosetthecaption
mode:OnorOff.
BasicSelection-Pressupordownbuttontoselectitandpressleftorrightbuttontosetas
desired.
AdvancedSelection-Pressupordownbuttontoselectitandpressleftorrightbuttontoset
asdesired.
RestoreDefault
-Itisusedtoresettofactorysettings.
-PressupordownbuttontoselectitandpressENTERbuttontoconfirm,thenthescreen
displaysasbelow:
PICTURE AUDIO TIME OPTION CHANNEL
Areyousure?
No Yes
/ /
-PressleftorrightbuttontoselectYESorNO,andthenpressENTERtoconfirm.
ADJUST:EXITMENU
ToDCIN9-12Vjack
Mainunit
NOTE:
BeforeconnectingtoACpower,slidethe
POWERON/OFFswitchtoOFF.
Topoweroutlet
ACadaptor
2.CONNECTEXTERNALANTENNATOUNIT
Installexternalantennaintoantennajackforbestpicture.
InsertantennatoRINjackF
R
FIN
3.CONNECTINGTOHEADPHONE(OPTIONAL)
-AdjusttotheminimizevolumebytheVOLUME(+/-)button
-Connecttheheadphonetophonejack.
-Adjustthevolumetothelevelthatyouwant.
18
PHONE AVIN
PHONE
7
INPUT9-12V ---
OFF-ON
POWER
Page 10

4.CONNECTINGTOEXTERNALDVD/VCR
DVD/VCR
TOAVOUTJACK
Video/audiocable
TOAVINJACK
INPUT9-12V---
PHONE AVIN
OFF-ON
POWER
USETHISPLAYERASAMONITOR
INSTALLBATTERY
Flute
Flute
SleepTimer
-Selectitandpressleftorrightbuttontoswitchthetimerfunctionofforsetdifferentsleep
time.
-
Thesleeptimecanbesetas15/30/60/90/120/180/240Min.bypressingleftorright
button.(TheTVwillbeinstandbymodeautomaticallyinaperiodoftimeyouset.)
TimeZone
-Pressupordownbuttontoselectitandpressleftorrightbuttontosetthetimezone
accordingtothezonethatyouarein.
-Options:Eastern/Central/Mountain/Pacific/Alaska/Hawaii
DaylightSavingTime
itisusedtosetdaylightsavingtime(summertime)
Pressupordownbuttontoselectitandpressleftorrightbuttontoswitchthisfunctionon
oroff.
Clock
-TheclockcandisplaythetimeofcurrentdigitalTVprogramsourcewhentheunitisin
digitalTVmode.
4.OPTIONSETUP
Pressleftorrightbuttontoentertimesetuppage:
PICTURE AUDIO TIME OPTION CHANNEL
OPENOPEN
MenuLanguageEnglish
TransparencyOFF
ColorModeNormal
ZoomModeWide
ClosedCaption
RestoreDefault
OPEN
OPEN
BATTERYCOVER
BATTERY
INSTALLTHEBATTERYASFOLLOWS:
1.Pushthecovertoopenit.
2.Putthelithiumbatteryintheflute.
3.Closethecover.
Note:
-
Beforeinstallthebattery,pleasepushthePOWERON/OFFswitchtoOFF.Makesureall
theconnectorsareunconnected.
-Thedirectiont
oopenthebatterycover
showedonthecover.
-Whenclosingthecover,youshouldaimattheslotaccurately.
8 17
/ /
ADJUST:EXITMENU
MenuLanguage(OSD)
-PressupordownbuttontoselectitandpressleftorrightbuttontochangetheOSDlanguage.
-Options:Englishorotherlanguages.Itdependsonthesoftware.
Transparency
-PressupordownbuttontoselectitandpressleftorrightbuttontoswitchitONorOFF.
-ON:ItwillmaketheOSDmenutransparency,OFF:Willturnoffit.
Colormode
-Pressupordownbuttontoselectitandpressleftorrightbuttontochangethecolormode.
-Options:Normal/Warm/Cool.
ZoomMode
-Pressupordownbuttontoselectitandpressleftorrightbuttontochangethezoommode.
-Options:Wide/Normal
Page 11

2.AUDIOSETUP
Pressleftorrightbuttontoenteraudiosetuppage:
PICTURE AUDIO TIME OPTION CHANNEL
Balance0
AudioLanguageEnglish
RechargeableBatteryUse
TheplayerwitharechargeableLithiumbattery.
1.Chargethebattery
-ConnecttheadaptortotheDC9V-12INjack,thensettheunitinPOWERONmode(THE
PLAYINGMODE)forfullycharge.
-SetinPOWERONmodebutpressthePOWERbutton(THESTANDBYMODE)orsetin
POWEROFFmodeforfullycharge.
2.Timetorechargethebattery
Rechargeandplaybacktimedependsonbatterycapacityandthetemperaturecondition.
Generally,wheninPLAYINGmode,thebatteryneedstobechargedabout7hours;
POWEROFFmode,thebatteryneedstobechargedabout5hours.
whenin
/ /
ADJUST:EXITMENU
Balance
-pressupordownbuttontoselectandthenpressleftorrightbuttonto
-The
Balancecanbeadjustedfrom-50to50.
adjust.
AudioLanguage
-Pressupordownbuttontoselectit,thenpressleftorrightbuttontochangethelanguage
whatyouwant.Inthisunit,youcanselectEnglishorotherlanguages.
3.TIMESETUP
Pressleftorrightbuttontoentertimesetuppage:
PICTURE AUDIO OPTION CHANNEL
SleepTimerOff
TimeZoneEasten
DaylightSavingTime
Clock
/ /
TIME
Off
----/--/----:--
ADJUST:EXITMENU
3.UsingandMaintainingRechargeableBattery
-Thenormalworkingconditiontemperatureis:0~45C;
-AlwaysunplugAC/DCpowersupplyfortheunitwhenevernotplaying.
NOTE:
Anewbatterypackwhichhasnotbeenusedoronewhichhasnotbeenusedfor
morethanamonth,mayappeartonotrechargedenough,thisisduetothecharacteristic
ofthisbatteryandisnotamalfunction.Inthiscase,rechargeittwoorthreetimesbefore
thefirstuse,anditneedsmorethan8hourstorechargebattery.
Noisesmaybegeneratedduringrecharging.Inthiscase,useamoredistantpowersocket.
Donotrechargeordischargebatterynearaheatingelementsuchasaheaterordirect
sunlight.
Whenbatterystrengthbecomeslow,thelowbatteryiconwillblinkinthelowerrightcorner
oftheLCDScreen(Asthepictureoffollows:)
AUTO/OKCH- CH+EPG ZOOM MODEMENU VOL- VOL+
o
Lowbatteryicon
Charge/PowerIndicatorModes
TheStandby/PowerIndicatorlightwillilluminatedifferentlydependingonvariousoperating
modes,asshownbelow:
Color/Intensity
BrightRed
DimRed
Red
Orange
Green
PowerCordconnected,PowerSwitchsettoON,TVoff
PowerCorddisconnected,PowerSwitchsettoON,TVoff
PowerCordconnected,PowerSwitchsettoOFF
PowerCordconnected,TVon,Batterypackcharging
PowerCorddisconnected,TVon(runningonbatterypower)OR
PowerCordconnected,TVon,Batteryfull
Condition
16
9
Page 12

REMOTECONTROLPREPARATION
MAINMENU
BATTERYINSTALLATION
Installthebatteryasthefollowpicture.Besurenegativeandpositiveterminalsare
positionedasindicatedinthebatterycompartment.(Fig1)
SERVICELIFEOFBATTERIES
-Thebatteriesnormallylastforaboutoneyearalthoughthisdependsonhowoften,and
forhowoftentheremotecontrolisused.
-Iftheremotecontrolfailstoworkevenwhenitisoperatedneartheplayer,replacethe
batteries.
-UsetwosizeAAAbatteries.
Note:
Donotdrop,steponorotherwiseimpacttheremotecontrol.Thismaydamagethe
partsorleadtomalfunction.
Iftheremotecontrolisnotgoingtobeusedforalongtime,removethebatteries.
REMOTECONTROL
OPERATION
Pointtheremotecontrolfromnomore
thanabout6mfromtheremotecontrol
sensorandwithinabout60ofthefront
oftheplayer.
(Fig2)
NOTE:
-Theoperatingdistancemayvary
accordingtothebrightnessofthe
room.
-Donotpointbrightlightsatremote
controlsensor.
-Donotplaceobjectsbetweenthe
remotecontrolandtheremotecontrol
sensor.
-Donotusethisremotecontrolwhile
simultaneouslyoperatingtheremote
controlofanyotherequipment.
o
Fig1
PUSH
OPEN
OPEN
1
OPEN
2
Fig2
REMOTECONTROL
SENSOR
6m
OPEN
OPEN
++
+
+
3
PRESS
4
30
30
MUTE
PICTURE MTS ZOOM
MENU SLEEP EPG EXIT
ENTER
1 3
2 3
4 5 6
4 5 6
8 9
77
7 889
0
770 77
77 77
-
VOLUME
Theunitcontainsdifferentsettingmenus.
retainedinmemoryuntilchanged,thecanalwaysbeoperatedunderthesame
Oncetheinitialprogrammingisentereditis
TV
conditions.
Thesettingswillberetainedinthememoryuntilthesettingsarechangedevenafter
settingtheplayertothestandbymode.
Commonprocedureforinitialsettings
1.PressMENUbutton.
2.UsetheleftorrightbuttonontheremotecontrolorVOL-orVOL+buttonontheunitto
selectpreferredpage,eachpageforsettingthevaluewilldisplay.Thenpresstheupor
downbuttonontheremotecontrolorCH-orCH+buttonontheunittoset.
3.PressMENUbuttonagaintoreturntocurrentsettingitem.
4.PressEXITtoclosethesettingmenu.
1.PICTURESETUP
-Pressthebuttonthescreenwilldisplay:
POWER
-Whenthemenudisplaysonthescreen,pressthebuttonagaintoexit.
-Presstoexitallmenus.
TV/AV
INFO
CH+
CH-
-
+
Picturemode
Pressupordownbuttontoselectit,thenpressleftorrightbuttontosetthepicturemode
asPersonal,Standard,DynamicorSoft.
Contrast/Brightness/Sharpness/Tint/Color
-PressupordownbuttontoselectContrast/Brightness/Sharpness/Tint/Color,thenpress
leftorrightbuttontoadjust.
-TheContrast/Brightness/Sharpness/Colorcanbeadjustedfrom0-100.
-TheTintcanbeadjustedfrom-50to50.
EXIT
MENU
PICTURE AUDIO TIME OPTION CHANNEL
PictureModeStandard
Contrast50
Brightness50
Sharpness50
Tint0
Color50
/ /
ADJUST:EXITMENU
MENU
10
15
Page 13

INFO(INFORMATION)
Itisusedtodisplaycurrentprograminformation.
-PressINFObutton,thescreenwilldisplayasbelow:
CurrentchannelNo.
Resolution
Currentcalendar
&time
5-1
NOEventInformation
720x480AUDIO1/1(L+R)FTA
2007/01/0115:12Bad
Soundtrackmode
EPG(ELECTRONICPROGRAMGUIDE)
Itshowsyoutheprogramguideforthepastandfuture.
Programname
Signal
Channel
number
Episode
summaries
InformationintheEPGincludescurrentandfutureprogramtitles,dates,showlengths,and
episodesummaries.Howfarintothefuturetheprogramguidedisplays,aswellasthe
specificinformationcontainedintheguide,dependsonyoursignalprovider.Presstheright
navigationButtontoaccessfuturetimeslots.
Whenviewingadigitalchannel,presstheEPGbuttontoaccesstheprogramguidesupplied
bythesignalprovider(notavailableinallareas).
ATSC-3
NoInformation
ColorBar1080i16:914-3
:Prev 01/0104:00-05:00 :Next
Date Time
Zoommode
MAKESUREALLTHEEQUIPMENTSANDACADAPTOR
ARECONNECTEDPROPERLYANDTHEUNITISSETIN
CORRECTMODEBEFOREKINDSOFOPERATIONS.
OPERATIONS
1.SCANSIGNAL
-Makesurethatallconnectionsareperfectly.
-Switchtheunittoon.
-PressAUTO/OKbutton,laterthescreenwilldisplayasbelow:
Doyouwanttoproceedautoscan?
No Yes
/
SELECTENTER:CONFIRM
-PressleftorrightbuttontoselectYEStostarttoscanchannelsignal.
-Effectivechannelwillbememorizedautomatically.
-Thenthechannelfirststoredwillbeplay.
NOTE:
1.Youmustscanchannelbeforethefirstwatching,orthereisnoprogramshown.
2.YoucanpresstheMENUbuttononthefrontpanelofunitforthreesecondstoexitthe
AUTOSCANpage.
2.BASICOPERATION
SELECTWANTEDPROGRAM
1.PressCH-buttontoplaynextchannel.
2.PressCH+buttontoplaypreviouschannel.
3.Pressnumericbuttonsontheremotecontroldirectlytoselectprogramwhatyouwant.
Example:Track9,press"threesecondslater,itwillautomaticallyswitchtotrack9,
orpressENTERbuttontoconfirmdirectly.
Track12,p"and"2",threesecondslater,itwillautomaticallyswitchto
track12,orpressENTERbuttontoconfirmdirectly.
Note:Ifonefrequencedothasmorethanonechannel,forexample,youwantselect
<Ch14NO.2>,press1and4,thenpress-andinput2.Oncetheinputisdone,itwillstart
broadcastingtheselectedchannelimmediately.
"9,
ress"1
14
11
Page 14

VOLUMECONTROL
1.PresstheVOL+orVOL-toadjustthelevelofcurrentlyvolume.
2.ThelevelofVOLUMEcanbeadjustfrom0-30.
MUTECONTROL
PresstheMutebuttontomutethesound,pressitagaintoswitchONthesound.
WhentheunitisinMutemode,pressingVOL+buttonwillswitchONthesoundand
NOTE:
turnitup,pressingVOL-buttonwillturndownthesound.
TIMERSETTING
--PresstheSLEEPbutton,thescreendisplayasbelow:
SleepTimer:Off
PICTURE
-PressPICTUREbuttontoenterpicturemode:
Standard
-Keeppressingthisbuttontoselectdifferentmode.
-ThepicturemodecanbeadjustedasStandard,Dynamic,SoftandPersonal.
MTS(SOUNDTRACKMODE)
Itisusedtochangethesoundtrackoutputmode.
-PressMTSbuttontoentersoundtrackselectionmode:
MTS:Stereo
-Keeppressingthisbuttontoselectdifferentmode.
-Thesoundtrackcanbeswitchedbetweenaudiolanguageandaudioeffectoutputmode.
-Keeppressingthisbuttontoselectdifferenttime.
Thesleeptimecanbesetas15/30/60/90/120/180/240Min.
(TheTVwillbeinstandbymodeautomaticallyinaperiodoftimeyouset.)
SCALE
Itisusedtochangethedisplayproportion.
-PressZOOMbuttontochangethedisplaymode.
Wide
-ThedisplayproportioncanbeadjustedbetweenWideandNormalmode.
Normal
12
13
 Loading...