

Page 1
Instruction Manual
Wireless Microphone System
NAM-982
Page 2

Thank You
In the Box
We know you have many choices when it
comes to technology; thank you for choosing
us here at Naxa Electronics. Established in
2001 in Los Angeles, California, we are dedicated to delivering products that entertain
and delight.
We trust that you will be happy with your
purchase. Please read this manual carefully
and save it for reference. You may also nd
the latest FAQ, documentation, and other
product material at our website. Come visit
us at www.naxa.com and see all that we have
to offer!
Page 2 Naxa Electronics
• Microphone
• Antenna adapter
• Wireless receiver
• Cable (1/4” to XLR)
• 1/4” to 1/8” adapter
Page 3
How to Connect
To start using your microphone, connect it to
the input of a speaker system or amplier.
Your microphone can be connected to systems with:
• 1/4” input
• 1/8” input (with the included adapter)
3. Set the switch on the microphone to the
“MIC” position.
3
1
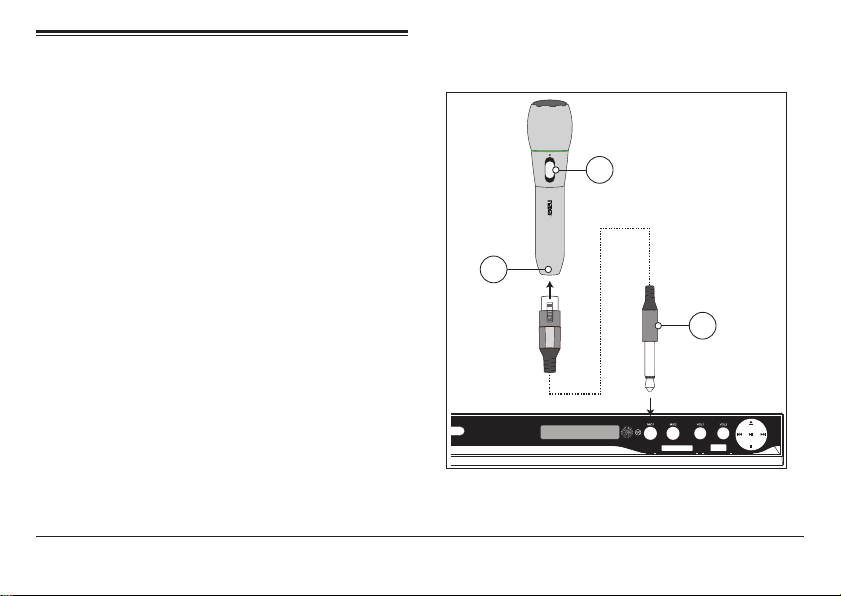
Wired Connection
2
1. Connect the XLR end of the cable to the
bottom of the microphone.
2. Connect the 1/4” end of the cable to a
speaker system input (or use the included 1/8” plug adapter).
www.naxa.com Page 3
SD/MMC/MS USB
Page 4

Wireless Connection
1. Load one “AA” battery into the battery
compartment found on the back of the
wireless receiver.
Make sure to match the polarity
marked inside the battery compartment.
2. Turn the wireless receiver on and extend
its antenna.
Page 4 Naxa Electronics
3. Connect the 1/4” plug of the wireless
receiver to a speaker system input (or use
the included 1/8” plug adapter).
Page 5

4. Twist and unscrew the bottom half of
the microphone clockwise to reveal the
battery compartment. Load one “AA”
battery into the microphone, then screw
the bottom back on.
Disconnect the cable from the
microphone before opening the
microphone. Failure to do so will
damage the microphone.
Make sure to match the polarity
marked inside the battery compartment.
www.naxa.com Page 5
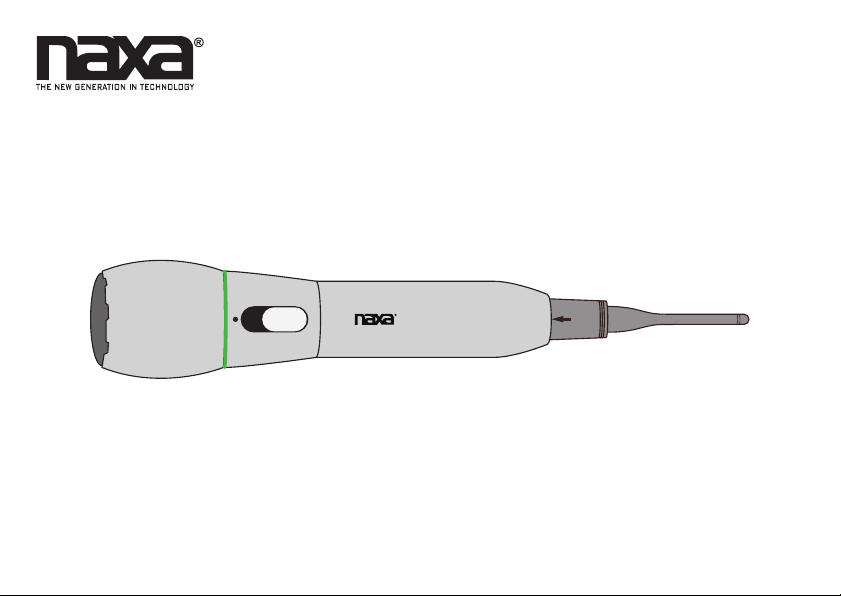
5. Connect the antenna adapter to the bottom of the microphone. (Align the arrow
on the antenna with the switch on the
microphone.)
6. Set the switch on the microphone to the
ON position.
Page 6

• Cardioid microphones are great for vocal
Placing Your
Microphone
The optimal position for your microphone
relative to the sound source depends on a few
factors, but it is mostly a matter of trial and
error.
Experiment with different distances and
positions to see which sounds best, but keep
the following things in mind.
or speech recording.
• When using a microphone for vocal or
speech work, the closer you are to the
microphone the more likely it will pick
up “plosives” when recording. Consider
placing a pop lter between the speaker
and the microphone.
Cardioid
Cardioid microphones are more sensitive to
sounds that are in front of it. Sounds from
behind the microphone will be slightly muted.
Page 6 Naxa Electronics
Page 7

Specications
Support
Sensitivity -72 ± 3 dB
Frequency 50-18,000 Hz
Output impedance 600 Ω
Operation voltage DC 1.5V or DC 3V
Effective distance 15-30 m
Cable length 5.03 m (16.5’)
Cable plug 6.3 mm (1/4”)
Adapter plug 3.5 mm (1/8”)
www.naxa.com Page 7
If you have problems with your device, please
consult the instructions in this manual. Please
also visit us on the web at www.naxa.com to
get up to the minute news, alerts, and documentation for your device.
For additional assistance, please contact
Naxa Technical Support.
NAXA Technical Support
2320 East 49th St.
Vernon, CA 90058
www.naxa.com/naxa_support
Page 8

 Loading...