

W166-VIM
Video in Motion interface for ’16 W166 chassis
NTV-KIT720
BHM
002/04/16
NTV-DOC251
3950 NW 120
th
Ave, Coral Springs, FL 33065 TEL 561-955-9770 FAX 561-955-9760
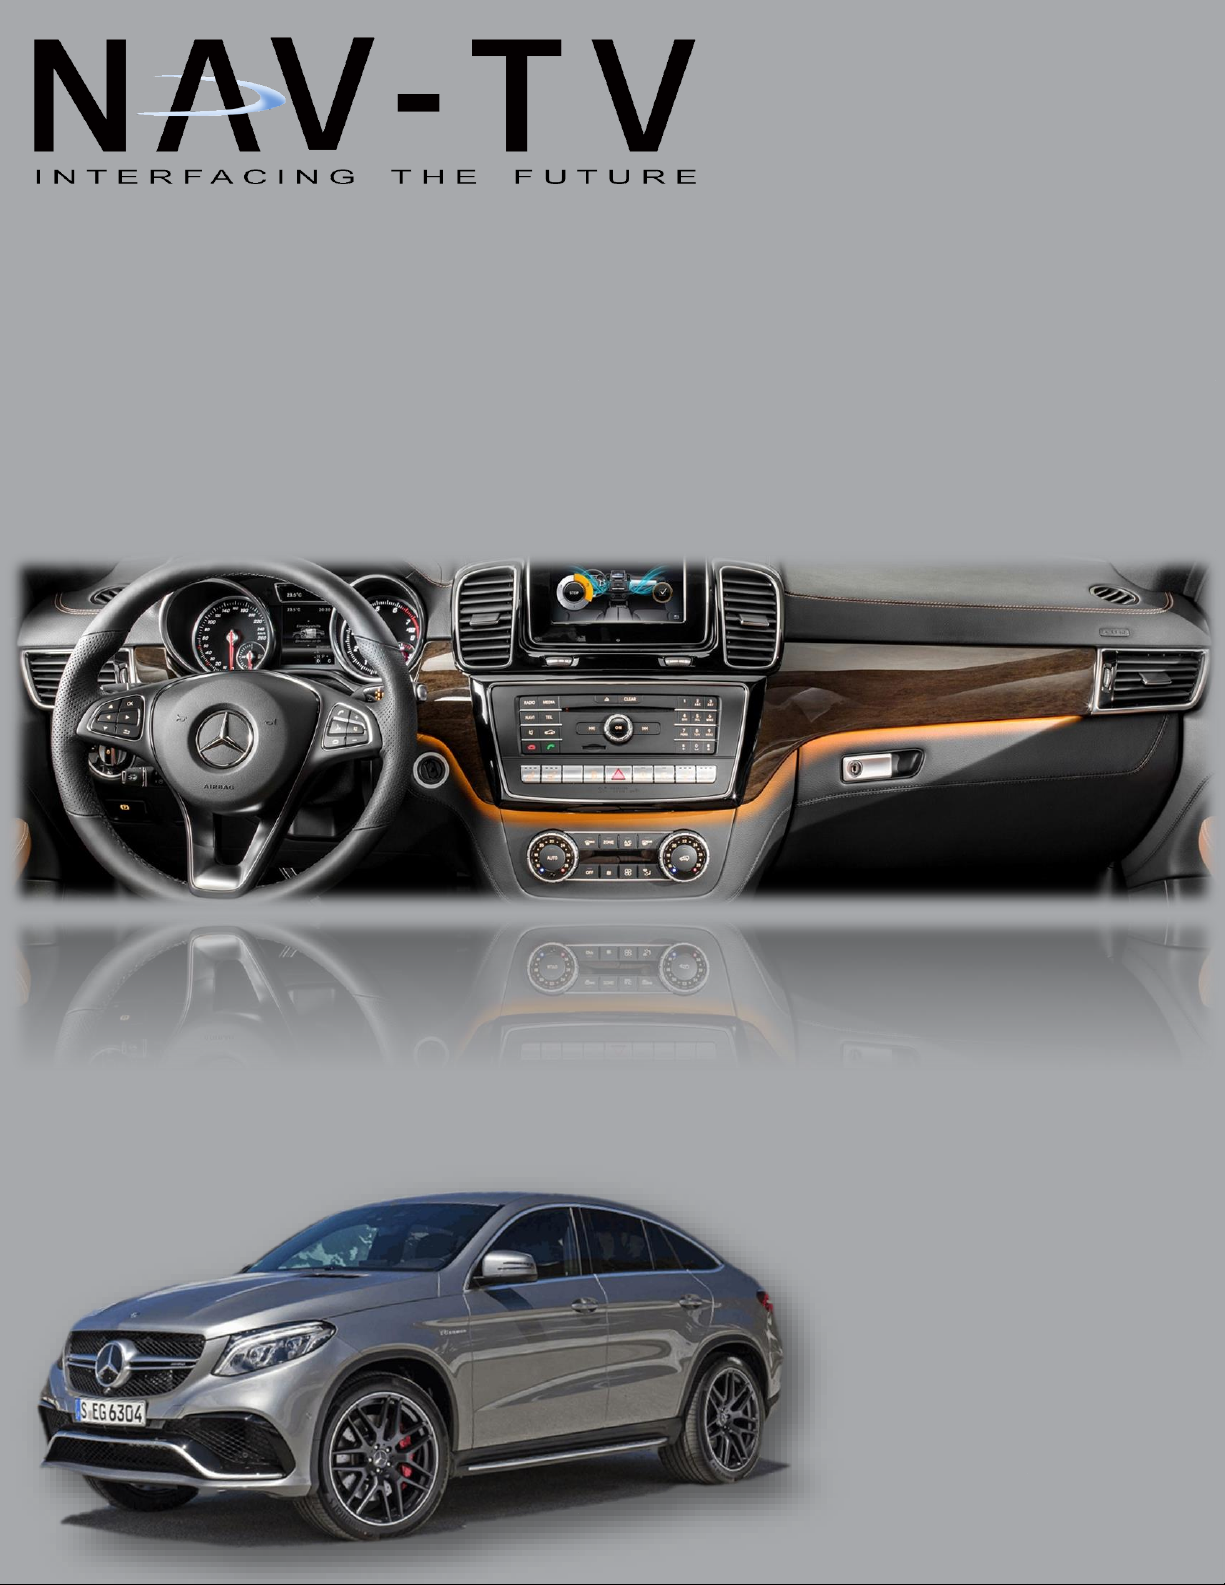
2016 GLE
BHM
Overview
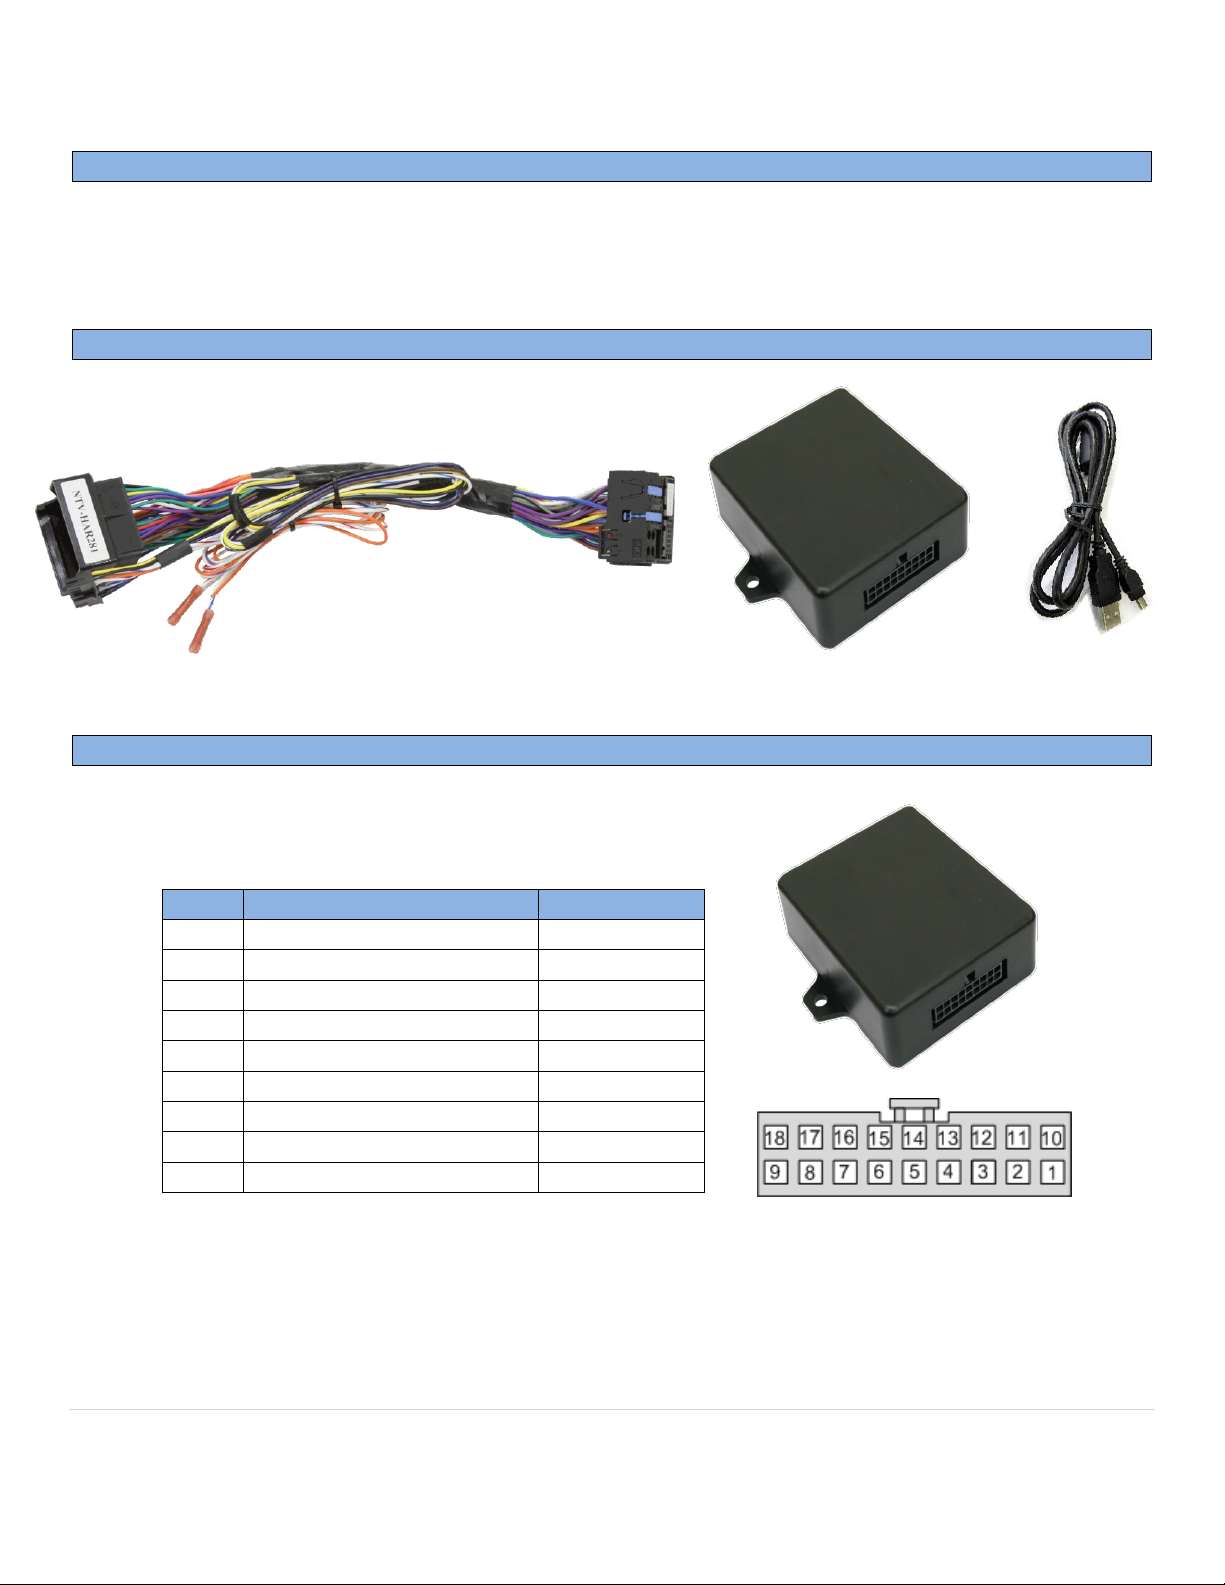
Kit Contents
W222-VIM pin outs
Pin #
Description
Color
1
Constant 12v (+) INPUT
Yellow
2
INPUT 1 VIM Activation
Orange
8
CAN HI (radio side)
White/Blue
9
CAN HI (car side)
White/Brown
10
Ground (-) INPUT
Black
11
OUTPUT 1 ACC 12v (+)
12
OUTPUT 2 Reverse 12v (+)
17
CAN LO (radio side)
Blue
18
CAN LO (car side)
Brown
W166-VIM Module
NTV-ASY166
W166-VIM Plug & Play T-Harness
NTV-HAR281
USB Cable (updates)
NTV-CAB009
Wire side
02/04/16
NTV-DOC251
The W166-VIM adds Video in Motion (DVD, SD and USB) to the 2016 Mercedes GLE vehicles. Installation is
performed entirely behind the radio and VIM is user-activated using a factory steering wheel button or a wire
trigger. Note: more vehicles will be added as they are validated.
Agreement: End user agrees to use this product in compliance with all State and Federal laws. NAV-TV Corp. would not be held liable for misuse of its product.
If you do not agree, please discontinue use immediately and return product to place of purchase. This product is intended for off-road use and passenger
entertainment only.
2 | P a g e

BHM
W166-VIM Radio Removal (GLE)
W166-VIM Installation
02/04/16
NTV-DOC251
1. Remove climate control panel using plastic pry tools
(clips only).
2. Remove radio trim using plastic tools (clips only).
3. Remove (2x) Torx screws on the bottom left and right
side of the radio (previously hidden by radio trim).
4. Once screws are removed, slide the silver metal
brackets downwards (towards floor) to release radio
from sub-dash.
5. Pull radio straight towards you, disconnect all
harnesses and set the radio aside.
1. Locate and remove the OEM (typically orange) MOST fiber optic connector
from the main Euro-style radio plug. This will be connected to the male end
of the NAV-TV harness in step 3.
2. Connect the (female end) of the provided Plug & Play T-Harness to the main
Euro-style radio plug. Drop the 18-pin connector down beneath the radio sub
dash area to behind the climate control area for ease of install.
3. Connect the OEM MOST fiber optic plug to the male end of the provided
Plug & Play T-Harness in the same location it was removed (from the OEM
plug).
4. Connect the male end of the NAV-TV harness to the radio at the proper port.
Reconnect all other harnesses and reinstall the radio into the dash.
Agreement: End user agrees to use this product in compliance with all State and Federal laws. NAV-TV Corp. would not be held liable for misuse of its product.
If you do not agree, please discontinue use immediately and return product to place of purchase. This product is intended for off-road use and passenger
entertainment only.
3 | P a g e

NTV-DOC251
W166-VIM Operation
Double Tap to
5. Connect the W166-VIM module to the 18-pin connector.
6. Optional: if using the wire trigger to activate VIM, connect INPUT 1 to an ACC source though a toggle
(not included). Otherwise, the OEM steering wheel button will activate/deactivate VIM.
7. Re-install radio and Proceed to W166-VIM Operation.
To activate VIM, double tap the MUTE button on the steering wheel. Alternatively, sending 12v power to
INPUT 1 will activate VIM as well. This feature will recycle upon every ignition key cycle.
BHM
02/04/16
Agreement: End user agrees to use this product in compliance with all State and Federal laws. NAV-TV Corp. would not be held liable for misuse of its product.
If you do not agree, please discontinue use immediately and return product to place of purchase. This product is intended for off-road use and passenger
entertainment only.
4 | P a g e
 Loading...