

NAV-TV PathFindIR II Quick Start Guide
PathFindIR II
QuickStart Guide
Ready
Set
Go...
FLIR document number: 421-0053-00-QS, Rev. 100
Quick Start Guide
Installation of the PathFindIR II is quick and easy. Just mount the camera and
ECU, connect to a 12v power source and a video monitor and you’re done.
For the complete user manual and install video please go to our website at the
following link: http://www.ir.com/pf2docs
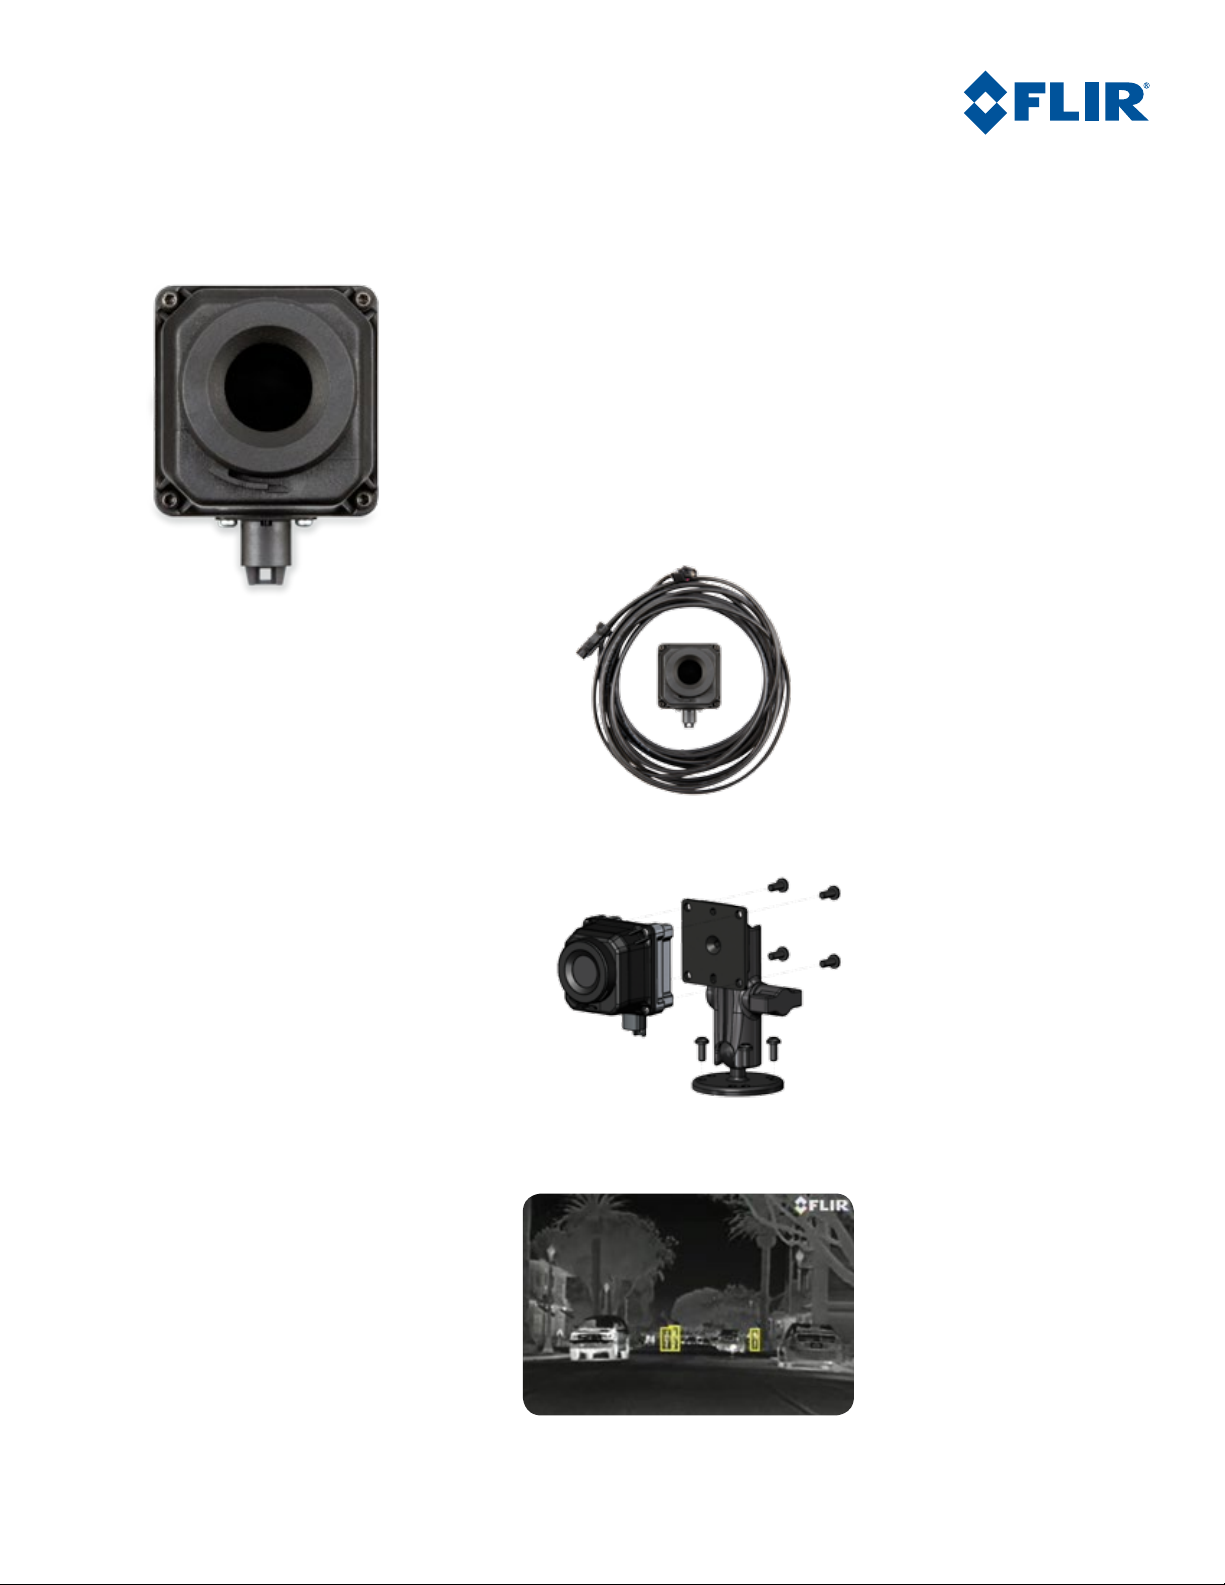
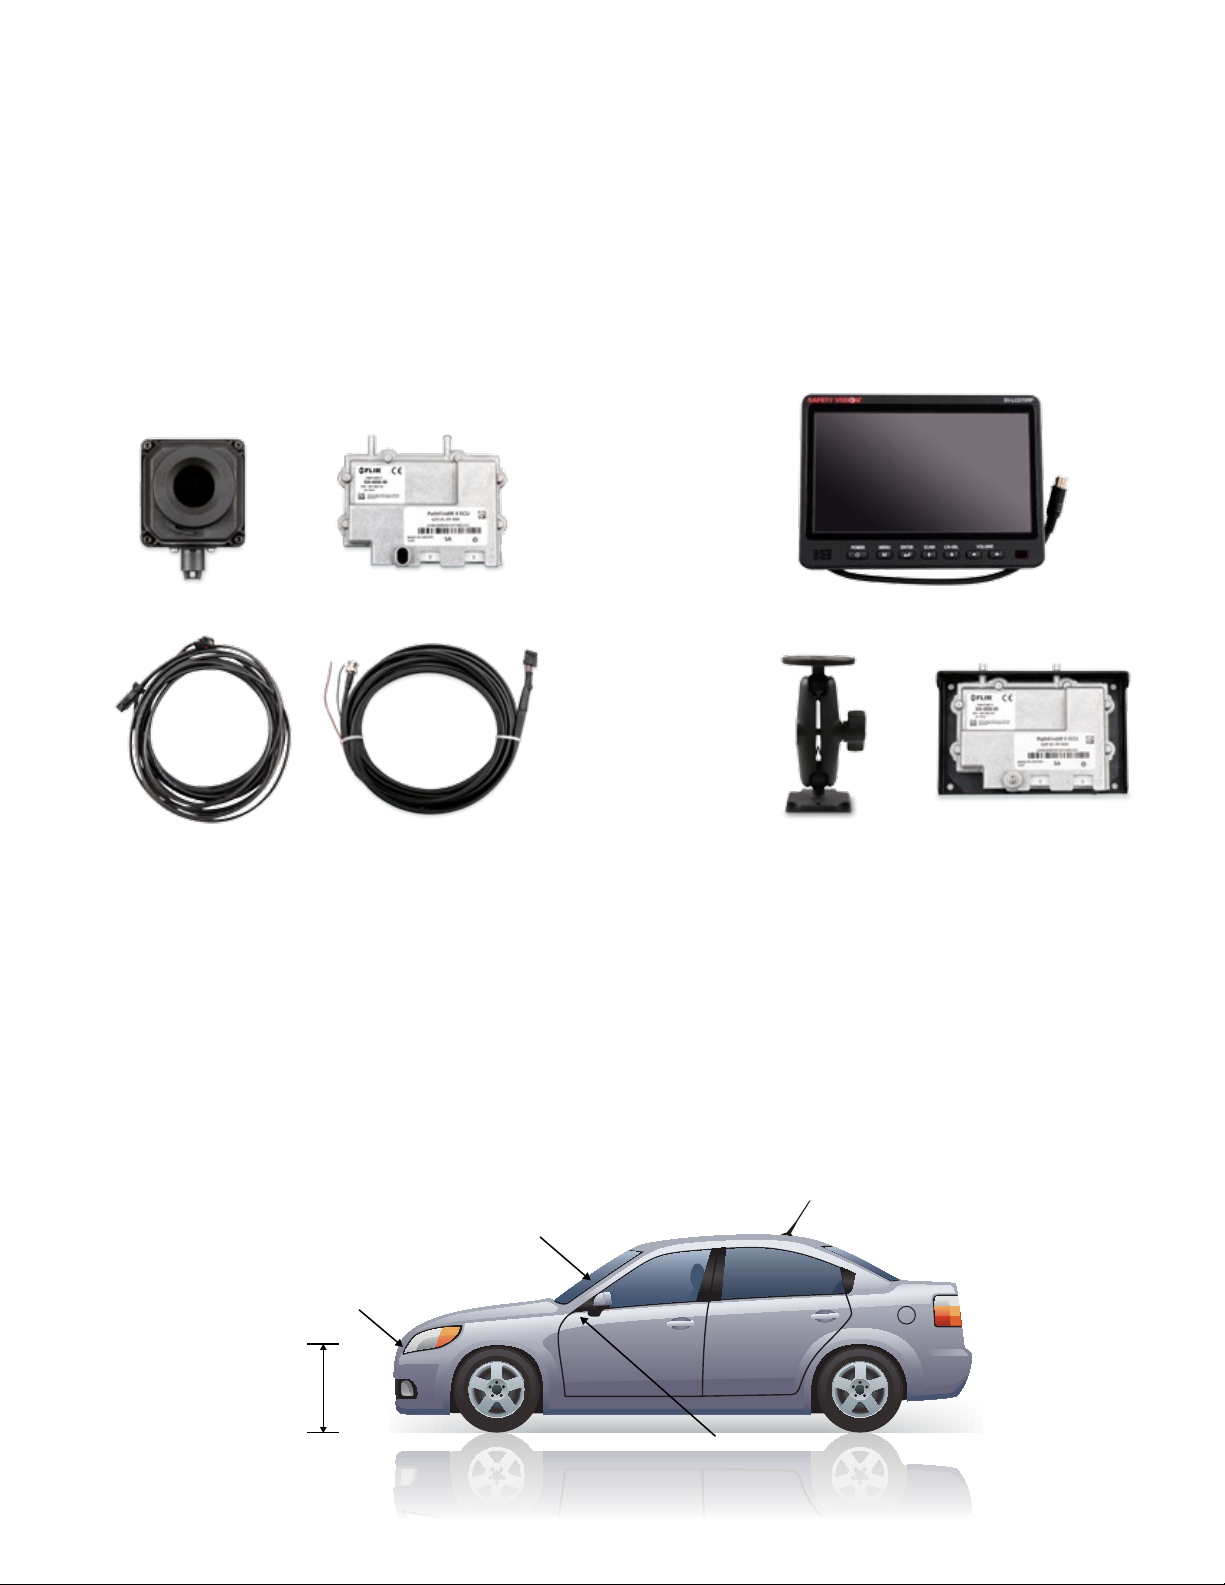
Before you begin, make sure you’ve got all
of the parts you’ll need. Your PathFindIR II kit
1. 2.
should include the following items:
(along with 4 screws for mounting the camera)
PathFindIR Camera Video Monitor
PathFindIR To ECU Cable
ECU
Power/Video Cable
Mounting Bracket
If you purchased the optional
Installation Kit, you will also have:
PathFindIR
ECU Bracket
(with ECU Installed)
3.
First, you need to select an acceptable mounting location for the camera head.
• Mount the camera in the front of the car behind
the grille, but make sure it has no obstructions
in its view.
• Don’t mount the camera inside the passenger
compartment, because it can’t see through glass.
• To get the best performance out of the camera
and its onboard pedestrian and animal detection
algorithms, you need to make sure the camera
is mounted according to factory specications
(see user guide for details).
PathFindIR II
Camera
25.5”+_ 6”
(65cm +_ 15cm)
Display (inside passenger compartment)
• The camera should be mounted between 19 and 31
inches high, with the optimal height above the ground
being 25 and a half inches high (65cm ±15cm). Also
keep in mind that if you can mount the camera higher,
you’ll cut down the chances of the camera getting
damaged by rocks or other road debris.
• Make sure that the camera won’t be exposed to fast
temperature changes, so keep it as far from the
engine as possible.
ECU (inside passenger compartment
FLIR document number: 421-0053-00-QS, Rev. 100
 Loading...