

National Geographic LCD Microscope User Manual
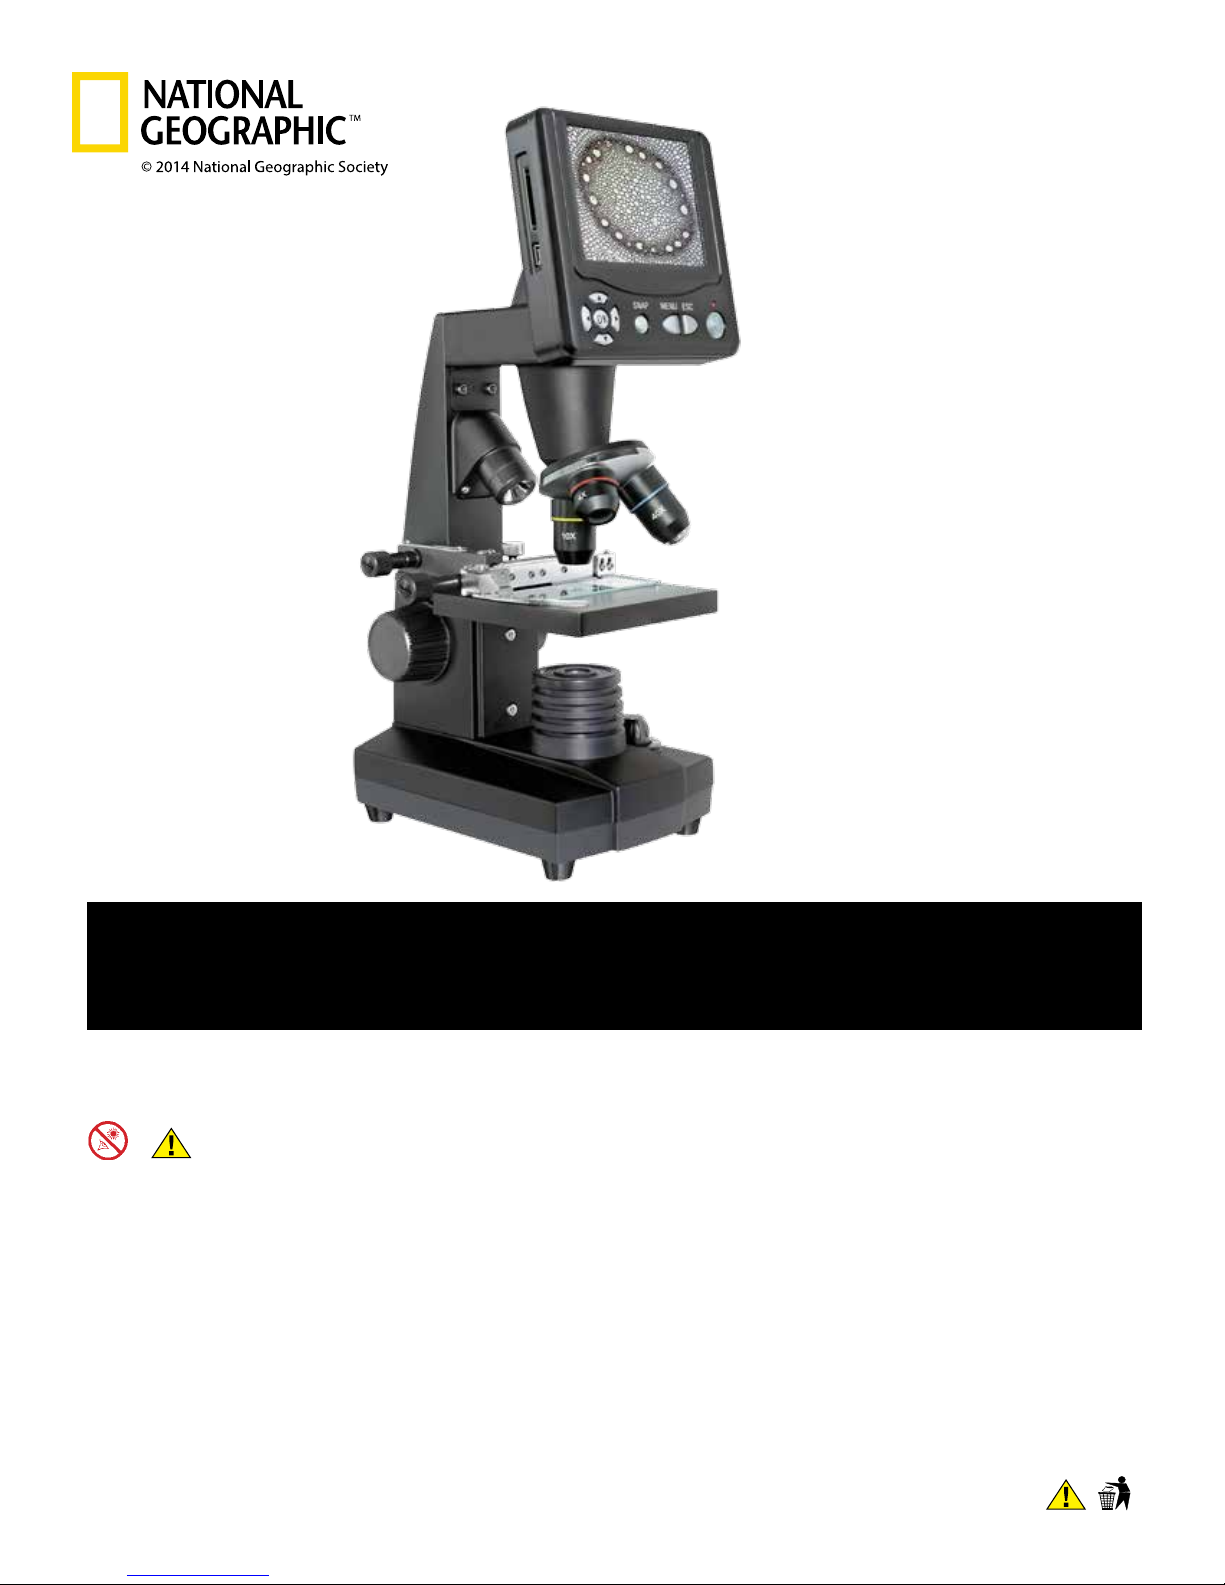
LCD
Microscope
CAUTION:
Never attempt observing the sun with this telescope! Especially keep it in mind while the telescope is used by children! Observing the sun
– even for a very short time – will cause blindness!
Packing material (plastic bags, etc.) has to be kept out of reach of children!
RISK to your child!
Never look through this device directly at or near the sun. There
is a risk of BLINDING YOURSELF!
Children should only use this device under supervision. Keep
packaging materials (plastic bags, etc.) away from children.
There is a risk of SUFFOCATION!
Fire/Burning RISK!
Never subject the device - especially the lenses - to direct sun-
light. Light ray concentration can cause res and/or burns.
RISK of material damage!
Never take the device apart. Please consult your Customer Service if there are any defects. The dealer will contact our service
center and send the device in for repair if needed.
Do not subject the device to temperatures exceeding 140 F.
TIPS on cleaning
Clean the lens (objective and eyepiece) only with a soft lint-free
cloth (e.g. micro-bre). Do not use excessive pressure - this
may scratch the lens.
Dampen the cleaning cloth with a spectacle cleaning uid and
use it on very dirty lenses.
Protect the device against dirt and dust. Leave it to dry properly
after use at room temperature. Then put the dust caps on and
store the device in the case provided.
RESPECT Privacy!
This device is meant for private use. Respect others‘ privacy
– do not use the device to look into other people‘s homes, for
example.
DISPOSAL
Dispose of the packaging material/s as legally required. Consult
the local authority on the matter if necessary.
LCD Microscope
Need Help? Toll Free 866-252-3811

1. Location, connection types
Before you begin with the assembly of your microscope, you must select a suitable
location.
First you should ensure that your microscope is set up on a stable, vibration-free surface.
Power connection (220-230 V) is required for observations using the electrical free
surface.
Power connection (220-230 V) is required for observations using the electrical LED
lighting and the electronic LCD eyepiece (screen module).
Furthermore the microscope possesses an interface to a PC (USB connection).
2. Start-up, electrical LED lighting
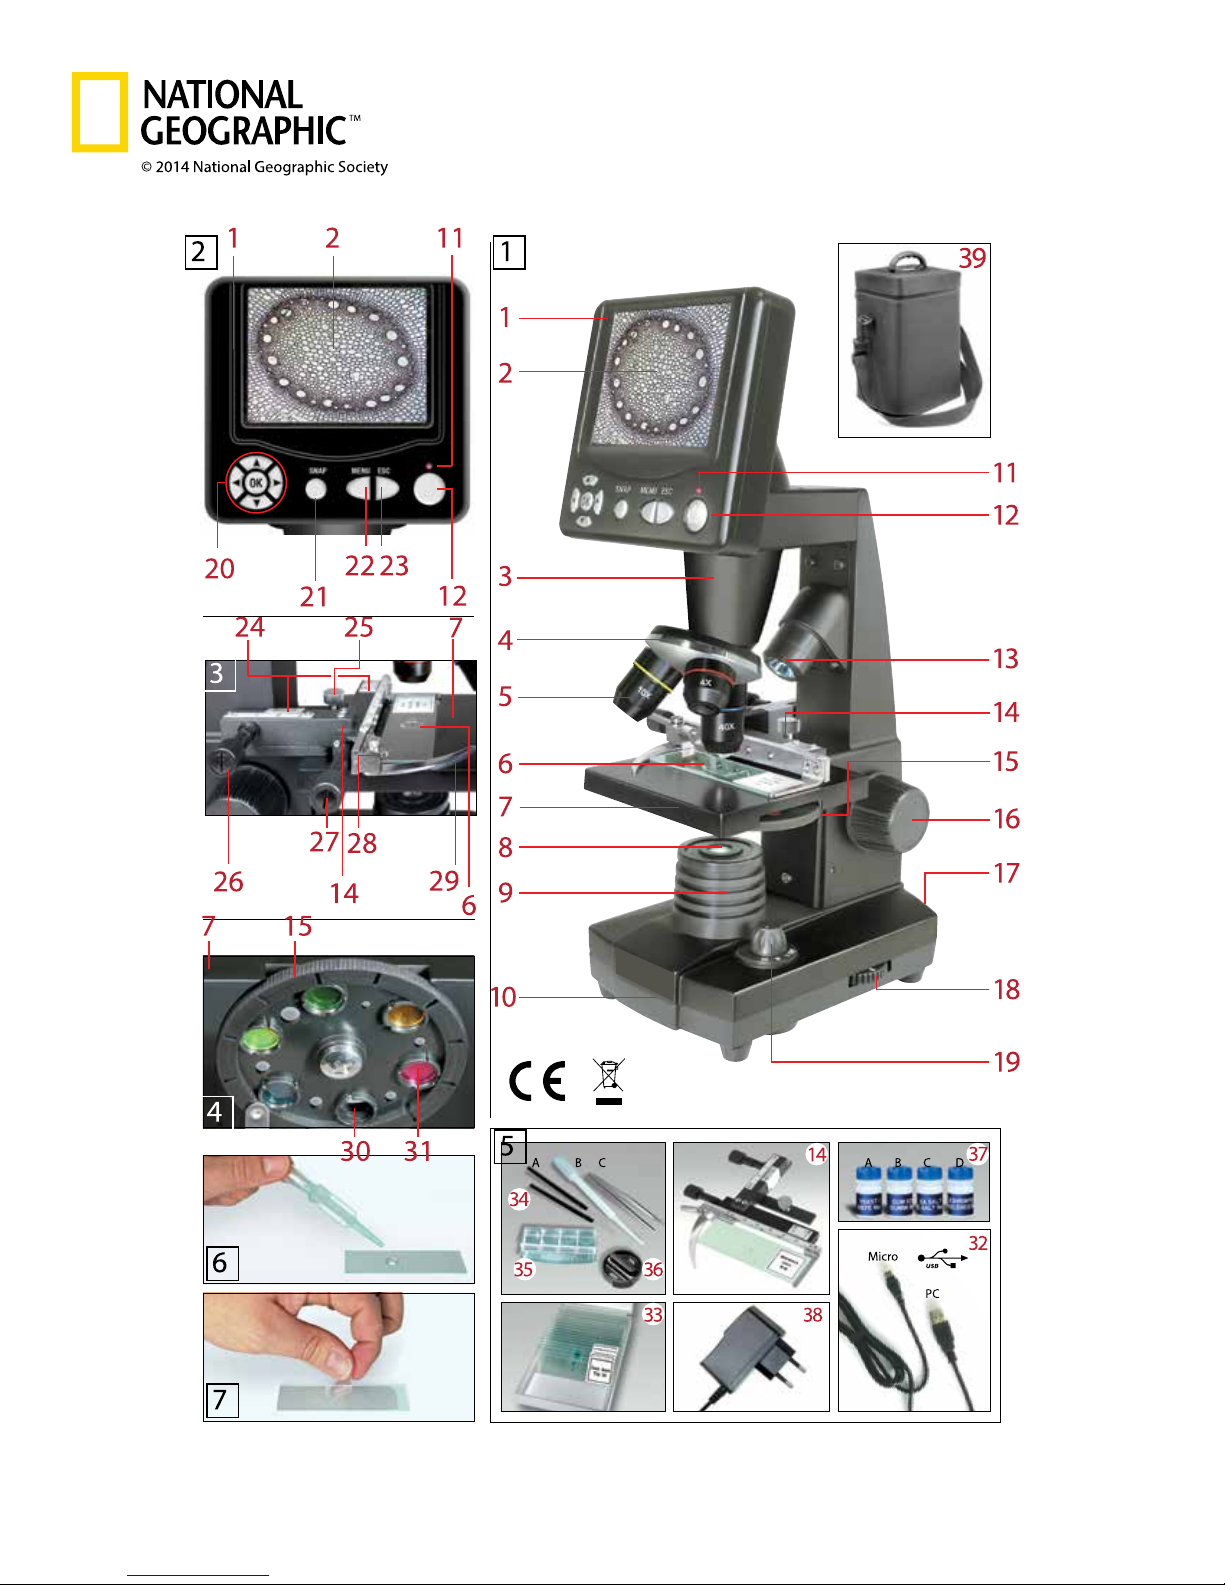
Before start-up, please check that the lighting selector switch (Fig. 1.19) is in the “OFF
position “.
The microscope is equipped with two LED lighting units. The lighting can take place in
three ways. At the selector switch (Fig. 1.19) select position “I”, in order to illuminate
the object from underneath (with transmitted light), or “II “,to illuminate it from above
(with top illumination). With position “III” the object can be illuminated from above
and below at the same time. The transmitted light unit (Fig. 1.9) is used for transparent
preparations (preparations on glass slides). In order to see solid, non-transparent objects,
select the top illumination unit (Fig. 1.13). The top illumination unit is only useful when
using the 4x- objectivee. The use of both lighting at the same time is only useful with
semi- transparent objects. This mode of operation is not recommended for transmitted
light objects on slides, as this can lead to reections on the slides.
To start-up, the power supply plug, which is provided, (Fig. 5.38) is connected to the
power connection (Fig. 1.17) at the rear of the microscope foot (Fig. 1.10) and to a
convenient outlet (220-230 V). Finally, switch on the desired lighting using the lighting
selector switch and set the required brightness with the dimmer (Fig. 1.18).
Since your equipment is tted with innitely variable lighting (dimmer), the optimum
illumination of the object to be observed is ensured.
3. Observation
3.1 Microscope observation in general
Once you have assembled the microscope and appropriately adjusted the illumination,
the following principles apply:
a) Begin each observation with the lowest magnication, thus centering and positioning
of the object to be observed will be easier.
Move the microscope table(Fig. 1.7),using the focusing wheel (Fig. 1.16) completely
down and then turn the lens turret (Fig. 1.4) until it engages on the lowest magnication
(the 4x-objective is vertical).
b) Begin with a simple observation. Place a prepared slide (Fig. 1+3.6) directly under
the objective on the microscope table (Fig. 1+3.7), by clamping it into the stage (Fig.
1+3.14). For this, move the lever for the clamping mounting plate (Fig. 3.28) to the side,
put the prepared slide onto the stage and carefully allow the clamping mounting plate
(Fig. 3.29) to return onto the prepared slide. The object which is to be observed must be
exactly above or below the illumination. In order to achieve this, there are two milled
thumb screws on the stage. This is the so-called stage drive (Fig. 3.26+27). By turning
Need Help? Toll Free 866-252-3811
 Loading...