

Nash DIVX-251DSS User Manual
DIVX-251DSS
DIVXD I V X
DVD PLAYER
Downloaded From DvDPlayer-Manual.com Nash Manuals
Table of contents
1
Getting Started:
Basic Operation:
Contents.......................................1
Features.......................................2
Important notice............................3
Remote control unit preparation...4
Control reference guide................5
..........................6
Basic connection..........................7
Optional audio connection...........9
Karaoke function
Basic play....................................11
Preparations................................11
Basic play....................................11
Stopping play...............................12
Skipping ahead or back...............12
Rapid advance (Repid reverse)...12
Pause or step play.......................12
Zoom play....................................12
Slow-motion play (DVD/VCD).....13
MP3 playback.............................13
Basic play....................................13
Play mode...................................13
Kodak Picture CD/JPEG CD......14
Play mode..................................14
Skip to next/previous picture......14
Enjoying Video CDs with playback
control.........................................15
ON Screen display information...15
Advanced Operation:
Initial Settings:
For Reference:
Repeat play..............................16
Repeat viewing (listening)........16
A-B repeat play.........................16
Changing subtitle language
(DVD only)................................17
Changing subtitle language
(DVD/VCD disc).......................17
Viewing from different angle
(DVD only)...............................17
General setup........................18
Audio setup............................18
Dolby setup............................19
Video setup............................19
Preference.............................20
Definition of terms..................21
Specifications.........................24
Trouble shooting....................25
Disc handling and
maintenance......................... 23
Disc formats supported by
this player..................................22
Downloaded From DvDPlayer-Manual.com Nash Manuals
Features
Important notice
3
2
HIGH QUALITY SOUND AND PICTURE
96 KHz/24 bit audio D/A converter
This player enables 96 KHz/24 bit linear PCM signals, which constitute the highest specifications
in the DVD standards to be reproduced faithfully. To support 96 KHz sampling/24 bit of D/A
converter is kept flat up to 44 KHz, thus preventing the important audio signals from being affected
in any way. In terms of the bottom line,the sound in all of its various modes is reproduced faithfully.
12 bit video D/A converter
With its 12 bit capability, this D/A converter reproduces images faithfully.
Component video output connectors
These connectors are provided to support the kind of top-of-the-line monitors whose specifications
cater to professionals. A frequency band for the colour signals up to 3 MHZ is sup-ported so that
vividly defined colours are reproduced faithfully.
MULTI TV SYSTEM COMPATIBLE
The player can play back discs with signal system of PAL and NTSC.
GRAPHICAL USER INTERFACE SCREEN
Simply by pressing the DISPLAY button on the remote control unit, information on the player and
disc can be displayed on the TV screen for easy identification, The player s operations and
settings can easily be performed by operating the remote control while monitoring the TV screen.
MULTI-AUDIO FUNCTION
The audio soundtrack can be heard in up to 8 languages. (The number of audio sound languages
depends on the software.)
MULTI-SUBTITLES FUNCTION
Subtitles may be displayed in one of a maximum of 32 languages depends on the software.
.
MULTI-ANGLE FUNCTION
This function allows you to choose the viewing angle of scenes which were shot from a number of
different angles. (Limited to DVD recorded with multiple camera angles.)
PARENTAL LOCK FUNCTION
This can prevent play of DVD unsuitable for children.
DISC FORMATS SUPPORTED BY PLAYER
The player can play back discs bearing any of the following marks:
May we take this opportunity to thank you for purchasing this DVD/VCD/CD Player.
We strongly recommend that you carefully study the operating instruction before attempting
to operate the player and that you note the listed precaution.
Dear Customers
Features
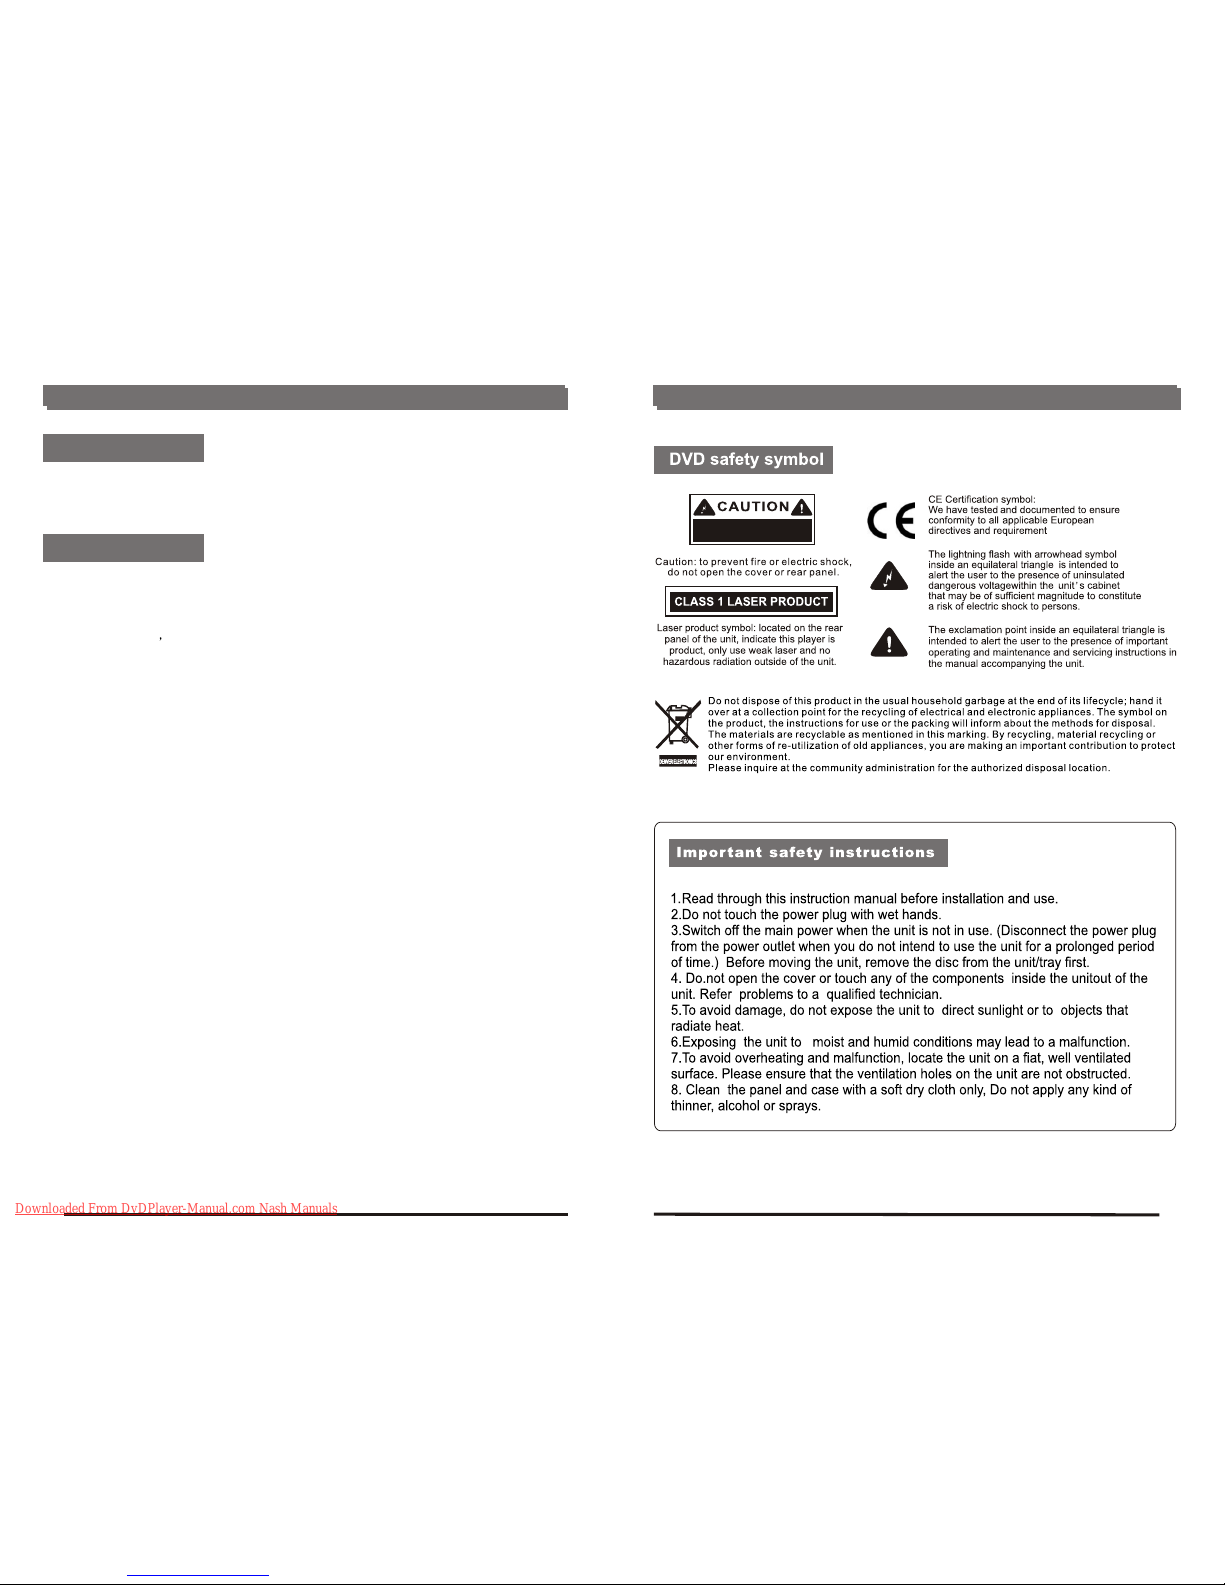
RISK OF ELECTRIC SHOCK
DO NOT PRODUCT
Downloaded From DvDPlayer-Manual.com Nash Manuals

Remote control unit preparation
Control reference guide
5
REMOTE CONTROL:
REMOTE CONTROL OPERATION:
CARE OF REMOTE CONTROL:
-
30
+30
within
7 metres
1. Remove battery cover
2. Insert batteries
3. Close the battery cover
Aim remote control at remote sensor on DVD.
Do not drop the unit from a height or subject it to high impact
Do not locate the remote control in very hot or moist environments
Do not splash water or any other liquid on remote control
point remote control directly at the remote sensor
Distance:
the remote control works best within 7 metres from the DVD player
Do not expose the remote control sensor directly to a heat source or it will be
malfunction
4
1.
2. POWER(STANDBY): power on or off.
3.
4. CLEAR: clear function
5.
6.
7. STEP: Step play.
8.
9.
10.
11.
12.
13.
14.
15.
16.
17.
18. P
19.
20.
21.
22.
23.
24.
25. R/L:
26.
27.
28.
29.
30.
31.
32. OPEN/CLOESE: open or close
disc tray.
33. STOP: stop play
34.
TIME: press TIME, type in the desired
starting time of and press ENTER
Number keys (0-9) (+10) (10/0)
PROG: arrange program (VCD)
ZOOM: zoom in or out the current picture
DISPLAY: time indication, title indication,
chapter indication
RETURN: return to disc menu playback
(VCD)
SETUP: menu setup
DIRECTION KEY: cursor direction
ECHO+/-: increase echo/decrease echo
TITLE: title playback
N/P: Select PAL, NTSC or MULTI
VOL+: Increase volume
PS/IS: VIDEO: select video output mode.
VOL-: Decrease volume
ause: Press to pause
PREV/NEXT: previous or next
chapter/song
Play: Press to play
REV/FWD: fast backward/fast
forward
MENU: enter to menu playback
ENTER: confirm key
PBC: Switch on PBC status (VCD)
Select the mono or stereo when
playing SVCD / VCD
AUDIO: choose output language
SLOW: slow motion
A-B: setup repeat play segment
REPEAT: repeat play of current chapter
ANGLE: select camera angle.
SUBTITLE: select subtitle or cancel
subtitle.
REM: remaining time
MUTE: turn off sound.
Downloaded From DvDPlayer-Manual.com Nash Manuals
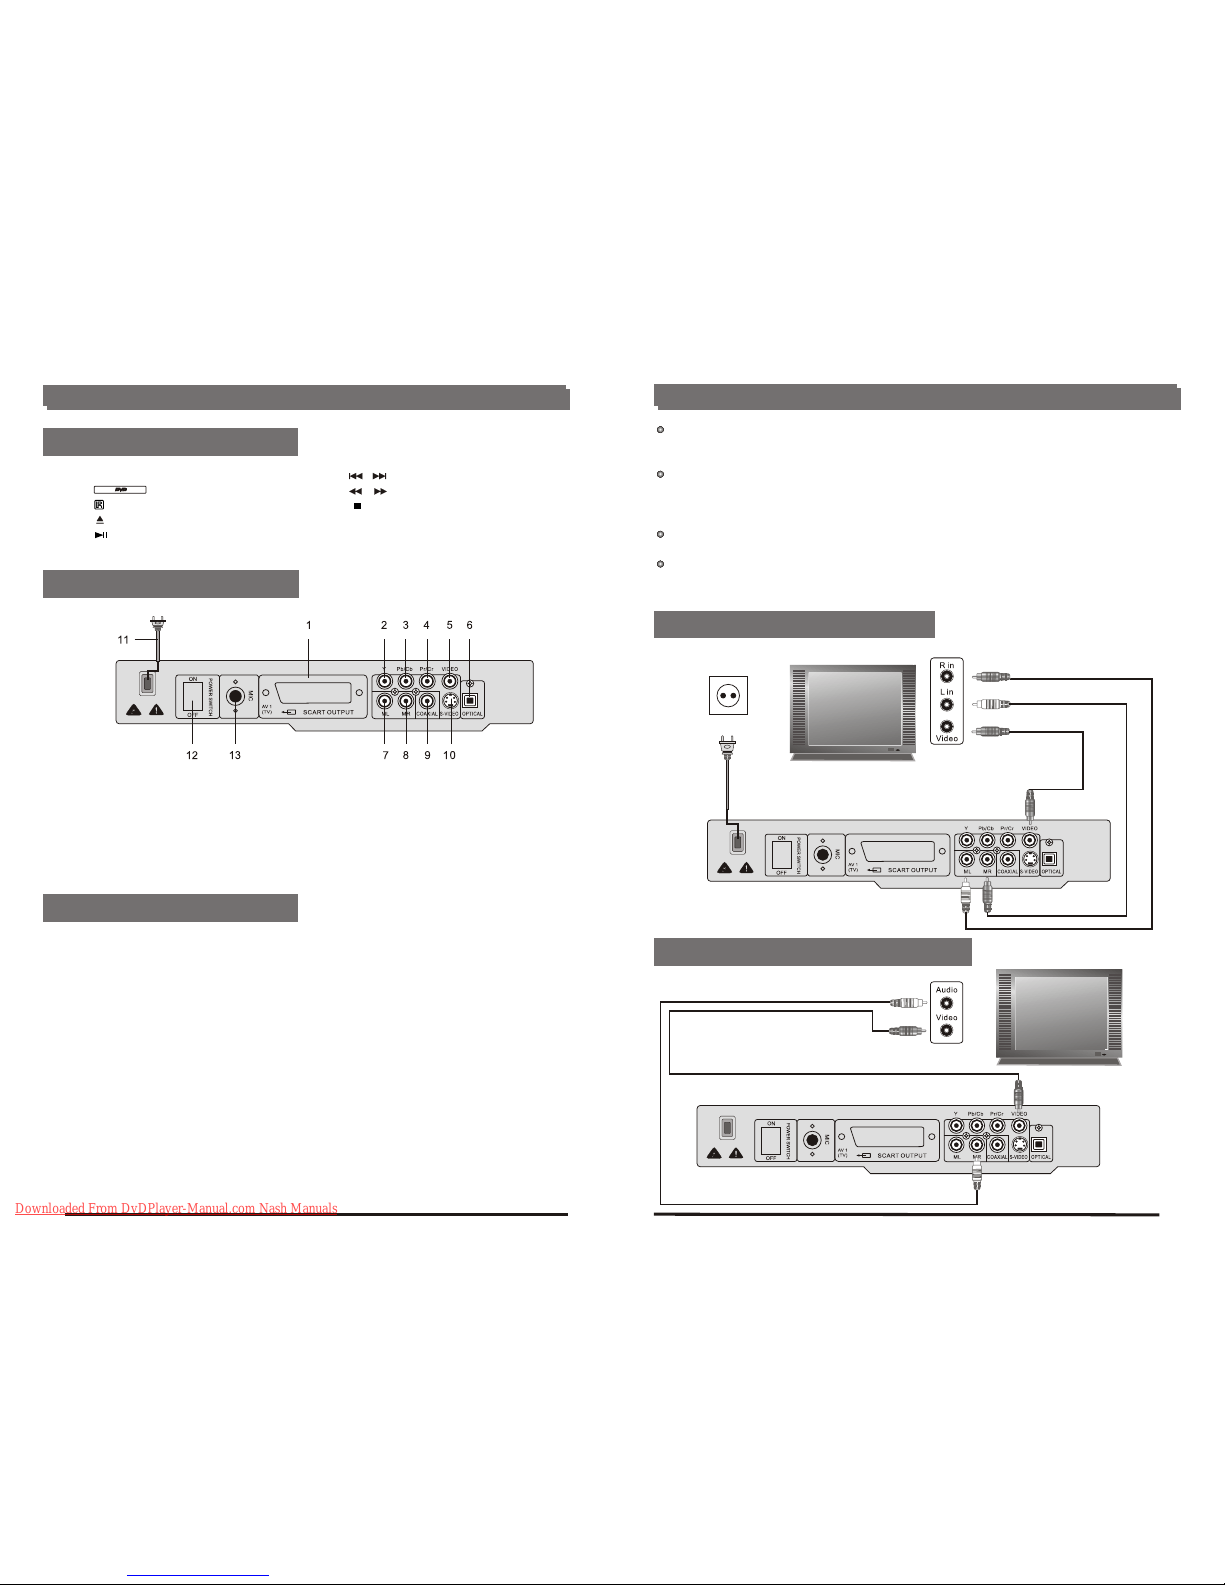
Connecting to a monaural TV set
Red or white
yellow
yellow
To video input connector (yellow)
To audio input connectors(red or white)
Video cable
Audio cable
Red or white to ML or MR
TV set
To power
outlet
Basic connection
Control reference guide
1. POWER: Power on/off
2. :Disc tray
3. : Receiver window
4. : Open/Close key
5. : Play/Pause key
6. : Previous/Next key
7. : Fast backward/Fast forward
8. : Stop play key
9. L/R : Select the mono or stereo when
playing SVCD / VCD
1.
2. Component Video (Y) Output
3. Component Video (Pb/Cb) Output
4. Component Video (Pr/Cr) Output
5. Composite Video Output
6. Digital Optical Audio Output
SCART Output
7. Left Audio Output
7
6
It is recommended to connect a multi-system TV.
Ensure that this player and other equipment to be connected are set to the standby mode or
off and disconnect the AC power cords before commencing connection.
Do not block ventilation holes of any of the equipment and arrange them so that air can
circulate freely. Read through the instructions before connecting other equipment.
Ensure that you observe the color coding when connecting audio and video cables.
Note:
During DVD play, the TV volume may be at a lower level than during TV broadcasts, etc. lf this
is the case, adjust the volume to the desired level.
If the DVD/VCD/CD Player is connected to the TV through a video cassette recorder, the
picture may not be played back normally with some DVDs. lf this is the case, do not connect
the player via the VCR.
FRONT PANEL:
REAR PANEL:
Connecting to a stereo TV set
8. Right Audio Output
9. Digital Coaxial Output
10. S-Video Output
11. Power cord
12.
13.
POWER: Power on/off
Microphone input jack
Before playing KARAOK song, please carries on the following preparatory work first:
1. Make sure output audio Signal with ML/MR or FR/FL ports.
2. Press SETUP button in remote control and enter the system, press the button to choose
AUDIO SETUP \ Karaoke Setup item, setting MIC Setup into ON, setting MIC VOL in 2-15
scope. (This machine has tacitly approved in appropriate position)
3. Insert MIC plug into inlets of MIC 1/MIC 2 in the front panel, turn on the MIC switch.
4. Put Karaoke Disc into the CD-tray
5. Choose the Songs to play
6. Press R/L button in the remote control to delete the original singer's voice.
7. Turn MIC VOL to control the MIC's volume
8. Press the button ECHO+/- in the remote control to control echo, Press the button VOL+/- in the
remote the control to adjustment sound accompaniment and singing sound volume proportion.
Attention: When has the grating sound, please test the following solution:
1) Avoids MIC to be near the television or the speaker
2) Lower the television or amplifier' s volume.
3) Lower MIC's volume
KARAOKE FUNCTION
white
red
yellow
To video input connector (yellow)
To audio input connectors(red,white)
Audio cable
Video cable
white
red
yellow
AC power
cord
TV set
Downloaded From DvDPlayer-Manual.com Nash Manuals
 Loading...