

Page 1
OPERATING
GUIDE
FOR YOUR
MAGNUM
SECURITY
Page 2
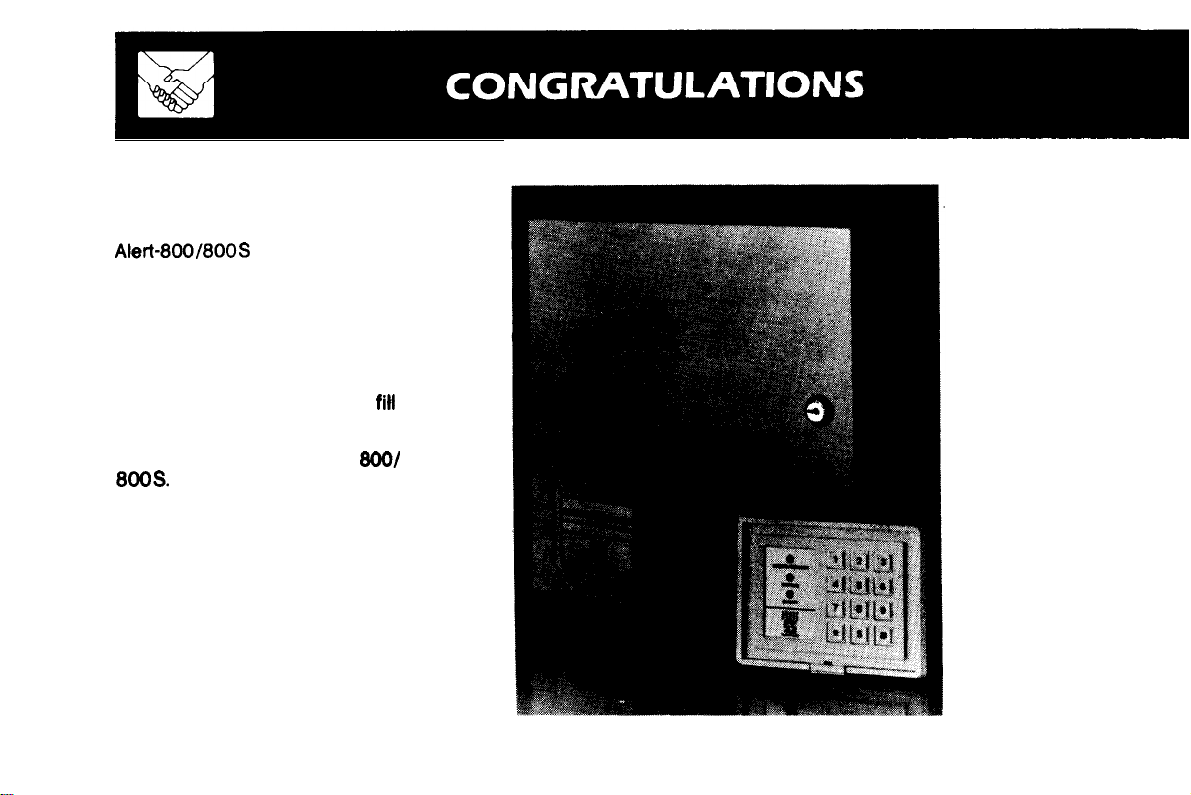
You have taken a major step
in protecting your home or business by having a Napco Magnum
Center installed.
Please read this guide thoroughly to familiarize yourself with
your new security system. Keep
this booklet handy for future
reference. Note especially the
ALARM PLAN on page 15. Your
alarm specialist will help you
it
out and explain the various features and operating procedures
for your new Magnum Alert
Page 3
A delay period that allows the system to
be reset before it reports to a
station.
Reports burglary and emergencies
to the central station over telephone lines.
Labeled%” on the Digit-Key keypad. Lets
you manually remove one or more protective zones from the system.
Identifies the areas of
tected by each zone o
zone features (see page 15).
Turning yours
be done by en enng a code on the D
Ke
keypad, or by turning an optional
sw tch.
A code of up to six digits which is used to
arm and disarm the system from the keypad.
Standb
Center
the event of a power lose.
Monitors
gency messages rom a D gital
(optional feature).
The heart of the
security system; it Gntrols all
functions.
battery is
x to prov de backup protection in
and alerts the proper authorities
our premises proprotection and lists
tern ON or OFF. This can
laced in the Control
burgla and emer-
Alert-800/800!3
Digit-Key keypad puts Control
Center functions at
be mounted
anywhere in your premises.
Lets you exit and enter your premises
without setting off an
system is armed.
Buzzer at each Digit-Key keypad warns
that entry delay time is In progress. It also
sounds when you attempt to arm the s
if a
ve
(optional).
Two buttons
keypad
of an emergency.
A communication sent to a Central Station
indicating a specific change in condition of
the security system (alarm, trouble, low
battery, etc.). (Optlonai)
zone is in
ies contact with a central station
will alert the Central Station
the Control Center or
a
after the
and
on the Dig&Key
It can
It a so
tern
areas of
Auto
“trouble”
the system.
for the feature is in “trouble”
impossible to arm the Control Center.
armed because of an open window, door or
other
ready at all times to respond to an emergency situation.
Zone: When a zone selected
24 Hour Zones: Are always armed and
in the area
protect specific
(shunted)
you attempt to arm
will be
Zones that cannot
3
Page 4
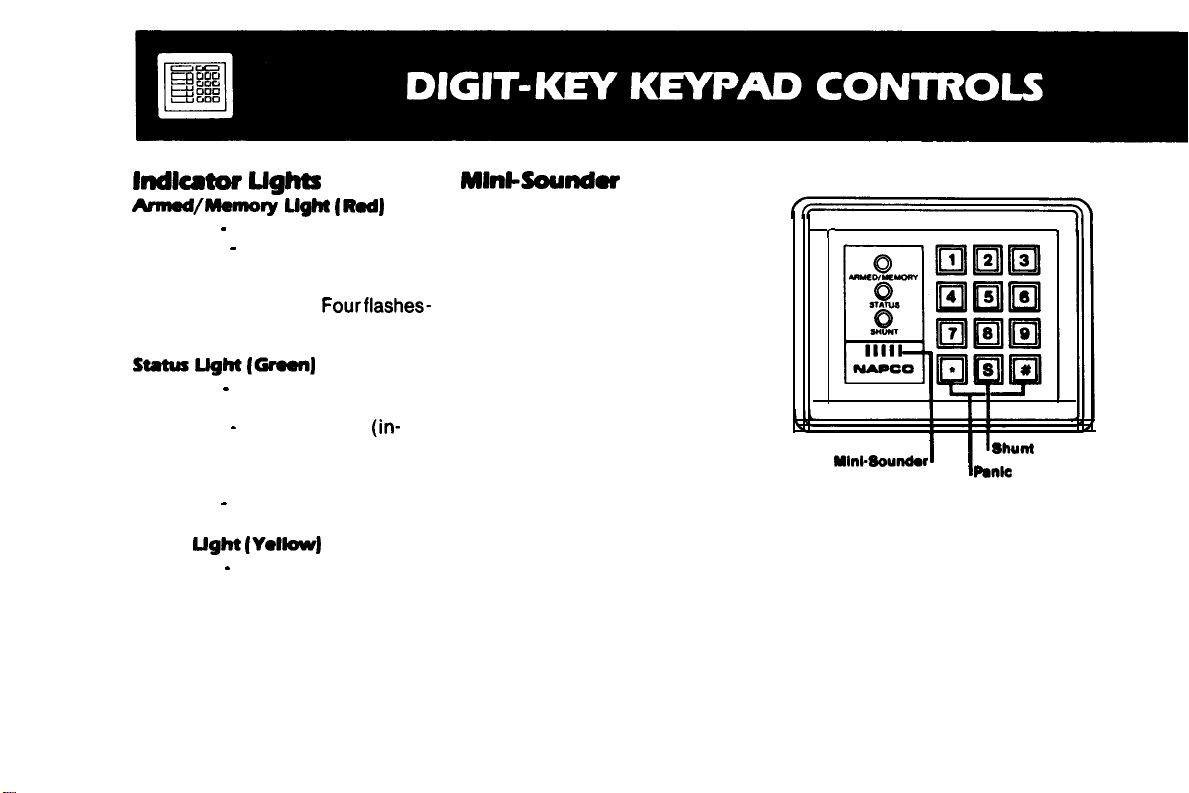
wm
l
Steady
l
Flashes
Count the number of flashes to
tell in which zone the alarm
occurred. Example: Fourflashes-
alarm in Zone 4.
l
Steady
zones okay.
l
Flashes
capable of being armed). Count
the number of flashes to deter-
mine zone(s). Example: Four
flashes
shunt
l
Steady
shunted (bypassed) from the
system.
system is armed.
system is in alarm.
system is disarmed, all
zone in trouble
trouble in Zone 4.
one or more zones are
l
When you enter your premises,
the tone reminds you to reset
the Control Center before the
end of a timed entry period so
you do not activate the alarm.
The Mini-Sounder also sounds
if you attempt to arm the system
when a particular zone is in
trouble.
Faceplate of Digit-Key keypad
lifts up to reveal convenient reference index of zones protected.
Page 5
Each security system is custom tailored to the owner’s needs, but all MAGNUM
have the following:
1.
Your system contains up to six
separate zones. Each zone is
an independent circuit that pro-
tects specific areas of your home.
For example: your
cialist may have set aside a zone
for window protection, exit/entry
delay, interior space protection,
safe and valuables protection
or emergencies. Each zone can
be “programmed” to react in a
specific manner. Check and be
certain that you know what each
zone protects.
Lets you perform the following
functions: arm/disarm the system;
check the status (condition) of
each zone; temporarily shunt
move individual zones from the
system); and send an emergency
alert to a Central Station(optional).
When any zone is activated,
and/or alerting a central station
(optional). Your alarm specialist
has programmed your system
to react in a specific manner to
each type of emergency. Be sure
you understand how your system
responds to these emergencies.
Page 6
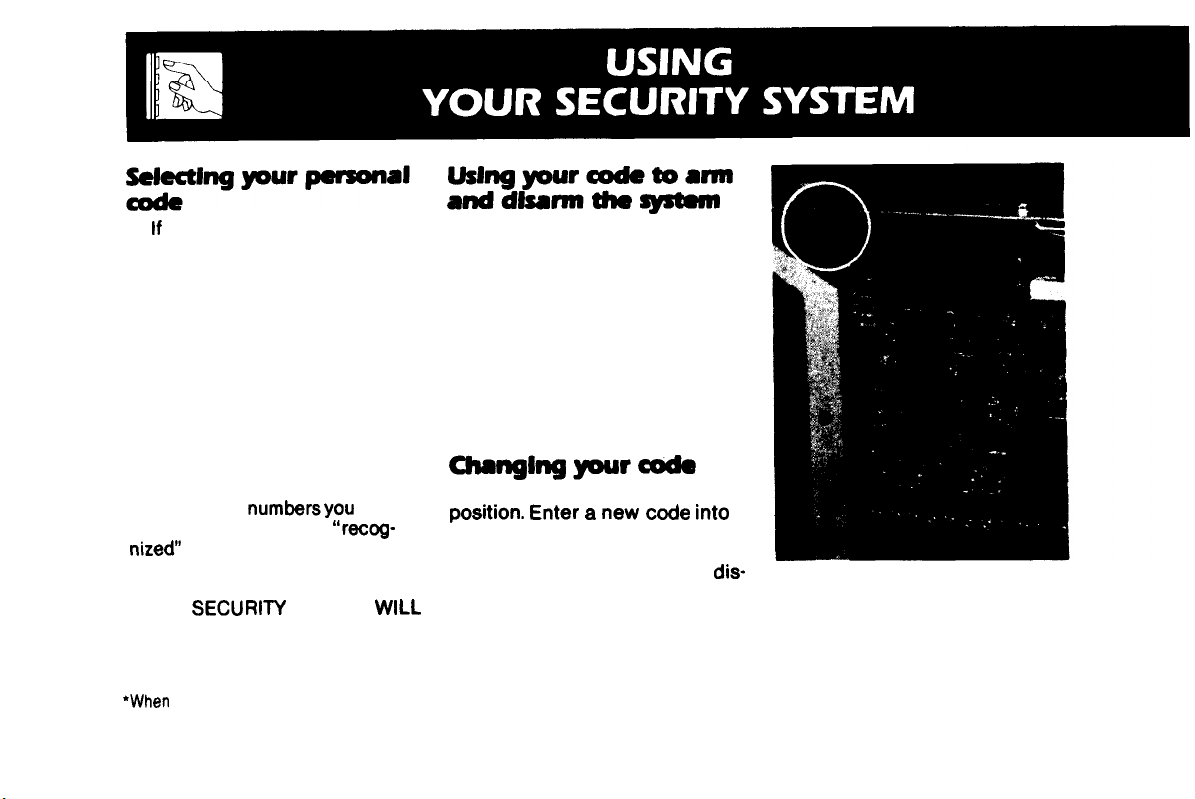
your system includes the
Napco Digit-Key keypad you can
choose your own private code
to arm and disarm the Control
Center. To program your code,
slide the switch (upper left hand
corner of your Control Center)
into the LOAD position. Go to the
Digit-Key keypad and enter any
combination of numbers up to 6
Once you enter your personal
code into the Napco Digit-Key
keypad, the red ARMED/MEMORY
light will go on to show the Control
Center is armed, and off to show
it is disarmed. If you enter the
wrong code, your alarm system will
fail to respond. Be sure to WAIT
5 SECONDS before attempting to
re-enter your code.
digits (there is no zero). Use a
number you will remember such
as your birthday (12-s-47) rather
than something obvious like your
address. The
choose
become the only code
by your system. Return
to the Control Center and slide
the switch to the RUN position.*
YOUR
SYSTEM
NOT OPERATE IN THE LOAD
POSITION.
Slide the switch into the LOAD
new
the Digit-Key keypad. Return the
switch to the RUN position.*
REMINDER: When arming or
arming, if the red light does not
respond, you may have entered
the wrong code. Wait 5 seconds
before trying to enter your code
again.
personal code for the first time, or reentering your code
after an extensive power failure, enter the code again
the RUN position. This will activate the keypad lights and arm the system.
6
after moving the switch to
into
Page 7
First, check the green
STATUS light at the keypad or
keyswitch. If this light is on steadily, enter your code. The red
ARMED/MEMORY light will come
on and the green lamp will go out.
Leave immediately through the
entry/exit doorway before the
delay time runs out. If you delay
too long in leaving the premises,
you will hear the Mini-Sounder
warn you that the exit delay time
has run out. To avoid causing an
alarm, quickly return to the keypad
and enter your code to reset the
Control Center. You may then rearm and try to exit again.
In
When the green STATUS light
is flashing, one or more of your
burglary protection zones are in
“trouble” and incapable of being
armed. The green light will flash
the number(s) identifying the
zone or zones in “trouble”. For
example, if your back door is open
on Zone 1 and a window is open on
Zone 3, the green STATUS lamp
will flash once for Zone
then flash three times for Zone 3.
(Refer to your Alarm Plan for zone
locations.)
Look for something you can
fix yourself in the area protected
by the zone(s) in “trouble”. In this
example, you can fix the zones
yourself by closing the back door
and the window.
If the zone cannot be fixed
immediately, the green light will
continue to flash. Try to arm. If
the zone(s) in “trouble” have
been programmed as
Shunt zones, the red ARMED/
MEMORY lamp will come on,
the green light will go out, and
your system will be armed. The
sounder will come on for 4
pause,
onds to remind you that you
armed with one or more zones
shunted (turned off).
zone programmed as a Priority
Zone in “trouble”, the Control
Center will not arm. Enter your
code again to silence the
sounder. If you cannot fix the
zone, call your alarm specialist.
manual to remind you which
zones are programmed as Priority zones and which are
Shunt.
cate which zones, if any,
manually shunted. Manually
shunt with caution. Shunting too
many zones will leave your premises unprotected, even with
your system armed. To arm with
zone(s) manually shunted, count
the flashes on the green STATUS
light to be sure the zone in
“trouble” is capable of being
manually shunted. Press the
When you try to arm with a
Check the Alarm Plan in this
The Alarm Plan will also indi-
be
7
Page 8
SHUNT button, labeled “S”, and
enter your code. The yellow
SHUNT light and the
MEMORY light will come on. The
green light will be out. All zones
programmed by your alarm spe-
cialist to respond to manual
shunting will be shunted (even if
some are not in “trouble”).
Leave quickly when the red
ARMED/MEMORY light goes on.
Be sure to have all zones in
“trouble” repaired as soon as
possible.
when
When you enter through the
exit/entry door, the entry delay
Mini-Sounder will come on.
red
return
a
ARMED/
Check the red ARMED/
MEMORY light. If it is flashing,
an alarm occurred while you were
gone. Disarm the system with
your code from the keypad to
silence the sounder. NOTE: If
your system has a digital communicator, there may be a delay
while it is reporting an alarm
before your system disarms.
If the red ARMED/MEMORY
light was flashing before you
disarmed, it will go out briefly
then begin to flash a number of
pulses identifying the zone(s)
that had an alarm. Write down
the number of times the alarm
memory lamp flashes, so you will
have a record of which zone(s)
need attention. You may then
arm and disarm to cancel the
flashing alarm memory. If a zone
is still in alarm condition, you
will hear the Mini-Sounder for
three seconds. The red ARMED/
MEMORY light will go out. The
green STATUS light may start
flashing if zones are still in
“trouble” from the alarm.
If there was an alarm and the
red ARMED/MEMORY light did
not flash, the alarm was a 24 hour
zone (see your Alarm Plan). The
cause of the alarm will have to be
removed before you can clear
the alarm signal.
Page 9
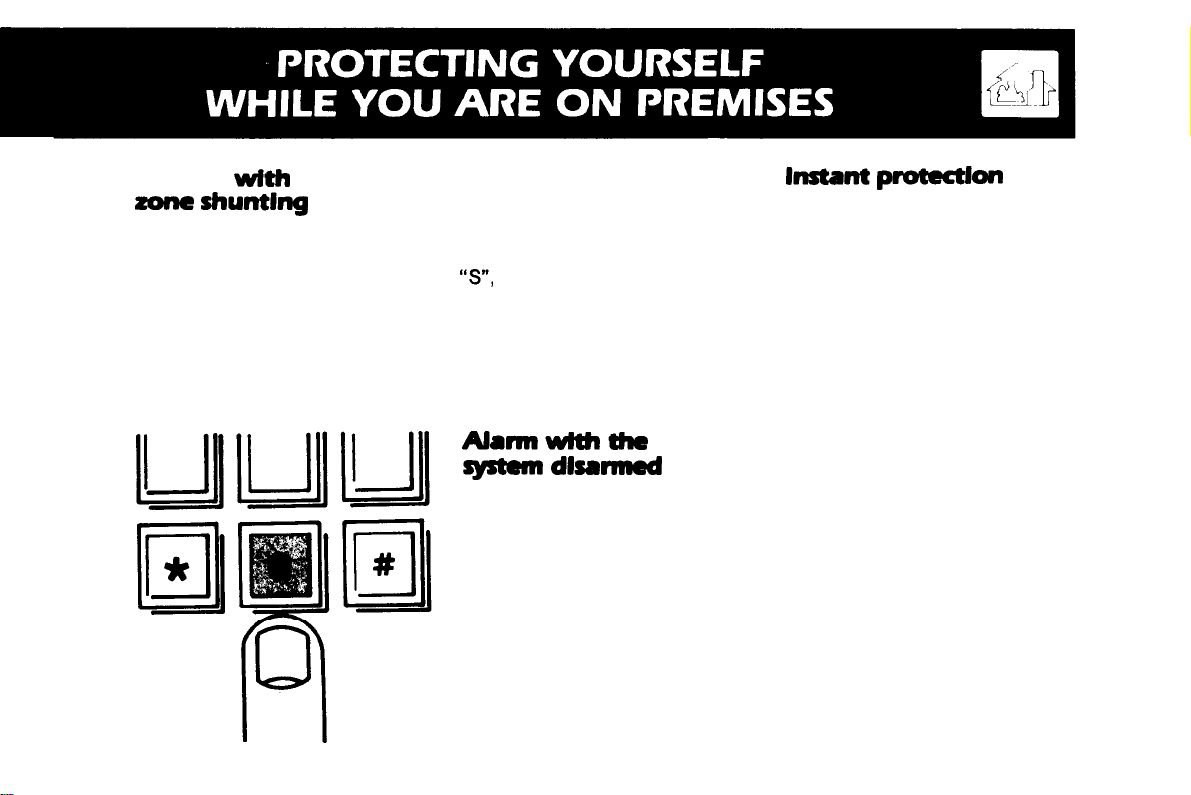
Arming
You might have chosen one
or two zones that you can manually “shunt out” of the system
from the keypad. A shunted
(bypassed) zone cannot cause
an alarm. Zone shunting may be
used for turning off interior
protection, or allowing you to
turn on only your perimeter
protection.
To arm with zone(s) shunted,
first check the green STATUS
lamp to make sure that no perimeter zone is in “trouble”. Then
press the SHUNT button, labeled
and enter your code. The
yellow SHUNT light and the red
ARMED/MEMORY light will come
on. The green light will be out.
The SHUNT light will go out when
you disarm the Control Center.
If an alarm signals at a time
when your system is not armed,
an alarm is occurring on a 24
hour protection zone, or your
standby battery is low. The cause
of the alarm must be corrected
and then the Control Center reset
by arming and disarming again in
order to clear the signal. (Consult
your Alarm Plan to determine
which, if any, of your protection
zones are 24 hour.)
Your alarm specialist may have
installed an optional switch that
may be used to cancel the exit/
entry delay period at the time of
arming the system. Use this feature when at home to sound an
instant alarm upon intrusion
through the exit/entry door.
Activate the switch prior to arm-
ing. Be sure to restore the switch
to the normal position, disarm
the system, and then re-arm the
system if you are leaving the
premises.
9
Page 10
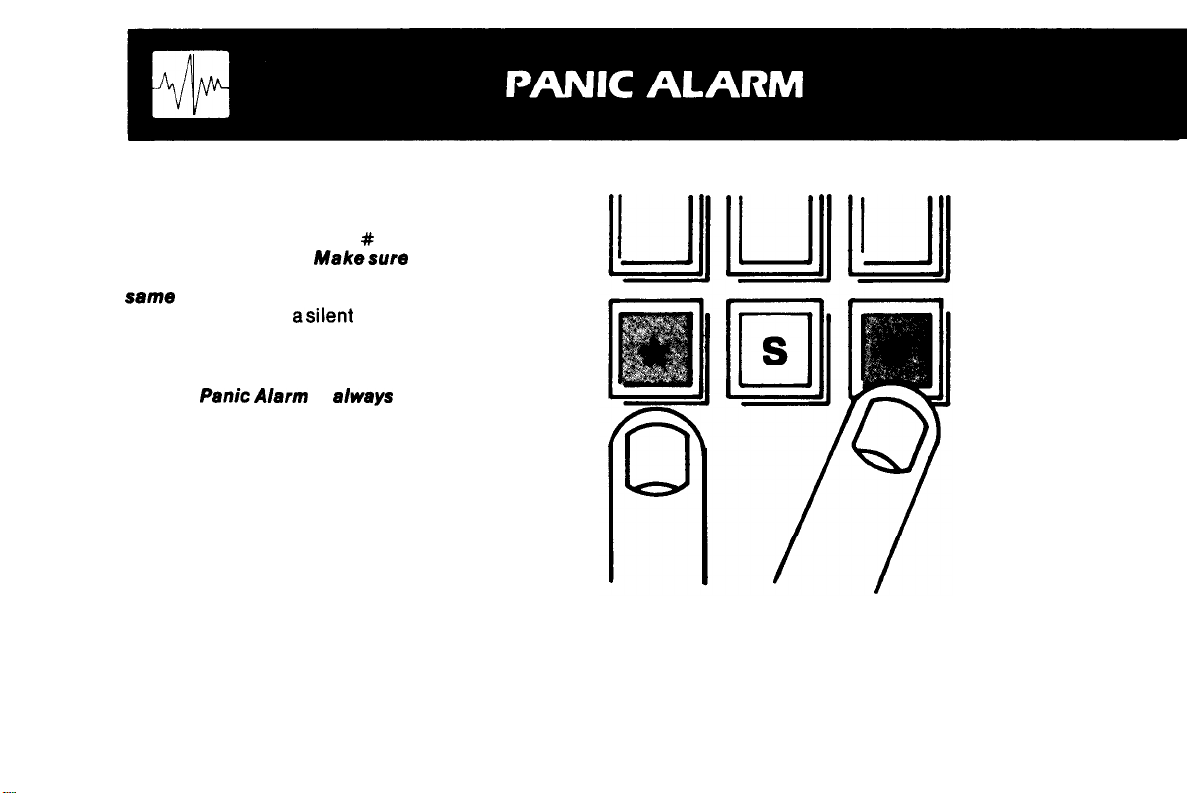
Panic alarm
To activate a panic alarm and
call for outside help, press the
two buttons marked l and
the Digit-Key keypad.
you press both buttons at the
time. The panic zone is
capable of sending
to the Central Station when a
Digital Communicator is being
used (optional).
The
active, whether your system is
armed or not.
10
Ai8rm is
on
signal
Page 11

Your Alarm Specialist may
have programmed your security
system to be monitored by a
Central Station. The built-in
digital communicator can transmit emergency signals to the
Centml Station 24 hours a day.
Page 12
Note which zones on your
alarm plan have abort delay. This
is a 16 second delay that enables
you to reset the system before a
zone condition report is sent to
the Central Station. Non-24 hour
zones, however, must first be
repaired.
12
The Central Station will
knowledge the fact that you have
armed your system by “ringing
back” with a short beep of the
Mini-Sounder.
An optional feature that
mits the Central Station to receive
a signal each time the system
is armed, disarmed or both.
Page 13

The following information is
applicable only where local
ordinance permits use of your alarm
Control Center for fire detection
Your
Fin
If your alarm specialist installed
smoke detectors or heat sensing
thermostats, you have 24 hour fire
protection. This optional Fire Protection Zone is always active, even
though your system may be disarmed. An optional Fire Supervision
and Indicator Station on the Control
Center provides the following fire
circuit controls.
If the yellow AC light on the Fire
Supervision and Indicator Station is
off, the Control Center is not receiving AC power. Press the springloaded SILENCE
switch toshut off the Mini-Sounder.
Check lights to see if there is a
FIRE RESET
general power outage. If there is,
you will be operating from your
standby battery. When AC power is
restored, the Mini-Sounder will
come back on. Press the spring-
loaded switch again to silence the
Mini-Sounder.
The Mini-Sounder on the Fire
Supervision and Indicator Station
signals a problem on the Fire Zone.
Press the spring-loaded SILENCE
8 FIRE
Mini-Sounder. The red TROUBLE
light will come on until the Fire
Zone is cleared. When the zone is
restored, the Mini-Sounder will
signal again to indicate that the
Fire Zone is functional. Press the
SILENCE 8 FIRE RESET switch
once again to turn off the
Sounder.
NOTE: If there is no Fire Supervision and Indicator Station on your Control
Center and your Fire Zone uses smoke detectors, have your alarm specialist
show you and explain the switch he has installed for resetting the smoke
detectors after an alarm.
toshutoff the
After a fire alarm, the red FIRE
ALARM light will be on. Press the
SILENCE 8 FIRE RESET switch to
clear the smoke detectors.
The fire alarm bell/siren and
standby battery should be tested
weekly. Disarm the Control Center.
Push the BATTERY
switch down and listen to the bell/
siren. If the alarm sounds weak,
the battery is faulty. Call for service.
Would You
For information on home fire detection, burn safety, and home fire
safety, contact the National Fire
Protection Association, Public
Affairs Dept.O5A, Battetymarch
Plaza,
BELL TEST
More
MA 02269.
13
Page 14
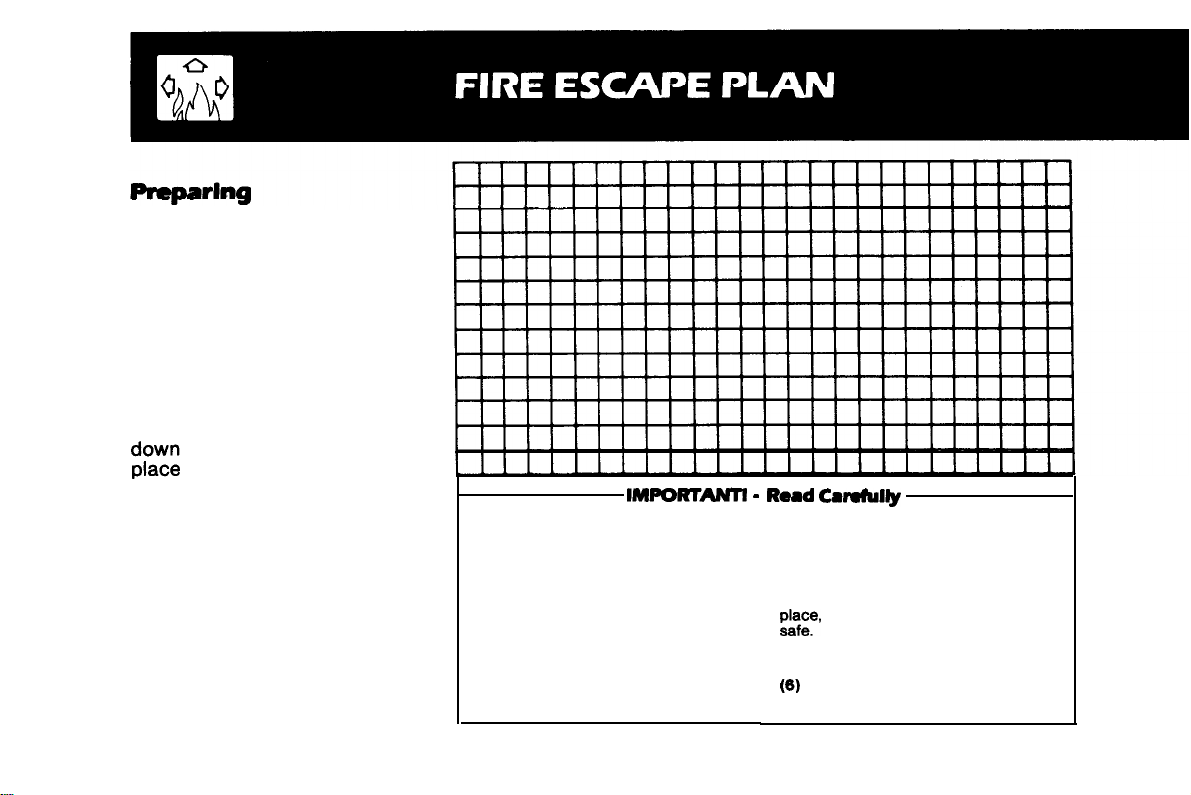
an escape plan
Even with the most advanced
fire alarm system, adequate protection requires an escape plan.
To prepare your plan:
Draw floorplans of your build-
ing (see sample). Show two
exits: a front or back door and
a window from each room. (Make
sure the window works. You may
need a special fire escape ladder
if the window is high up.) Write
your outside meeting
Rehearse: (1) Everyone in
their room with the doors closed.
(2) One person sounds the alarm.
(3) Each person tests his door.
(4) Pretend the door is hot and
use the alternate escape exit.
(5) Everyone meet outdoors at
the assigned spot.
14
Discuss these escape procedures
with those who use the building.
(1) If the premises is a residence,
sleep with the bedroom door closed.
A closed door will hold back deadly
smoke while you escape.
(2) When the fire alarm signals, escape
quickly. Do not stop to pack
(3) Test the door. If it is hot, use your
alternate route through the window.
If the door is cool, brace your shoulder
against it and open it cautiously. Be
ready to slam the door if smoke or
heat rush in. Crawl through smoke,
holding your breath. Close the doors
again on leaving to help prevent the
‘fire from spreading.
(4) Go to your specific outdoor meeting
so you can see that everyone IS
(5) Assign someone to make sure
nobody returns to the burning building.
Call the fire department from a
neighbors telephone.
Page 15
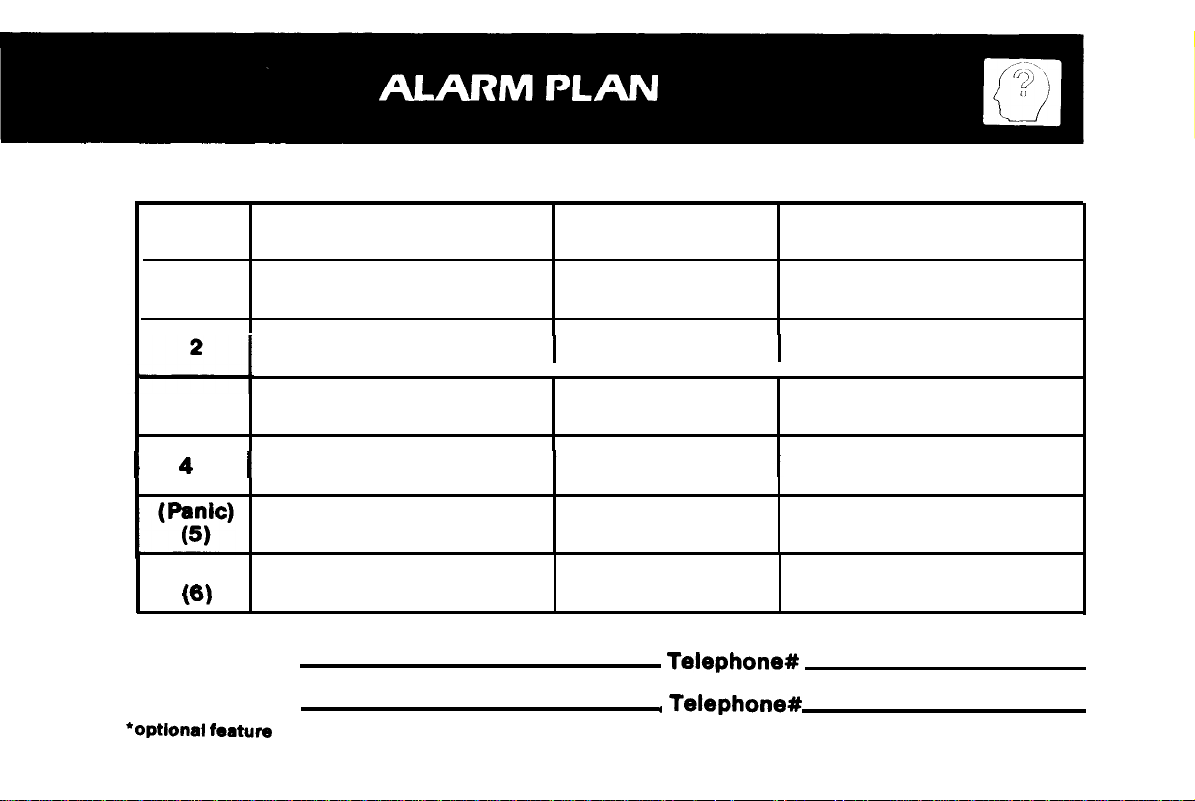
Zone
1
3
Aux.
Central Station?
Area
Protected Zone Features
Contacts
(doors, windows, etc.)
Service Person
15
Page 16
 Loading...