

Nady Systems PMC-3 Owner's Manual
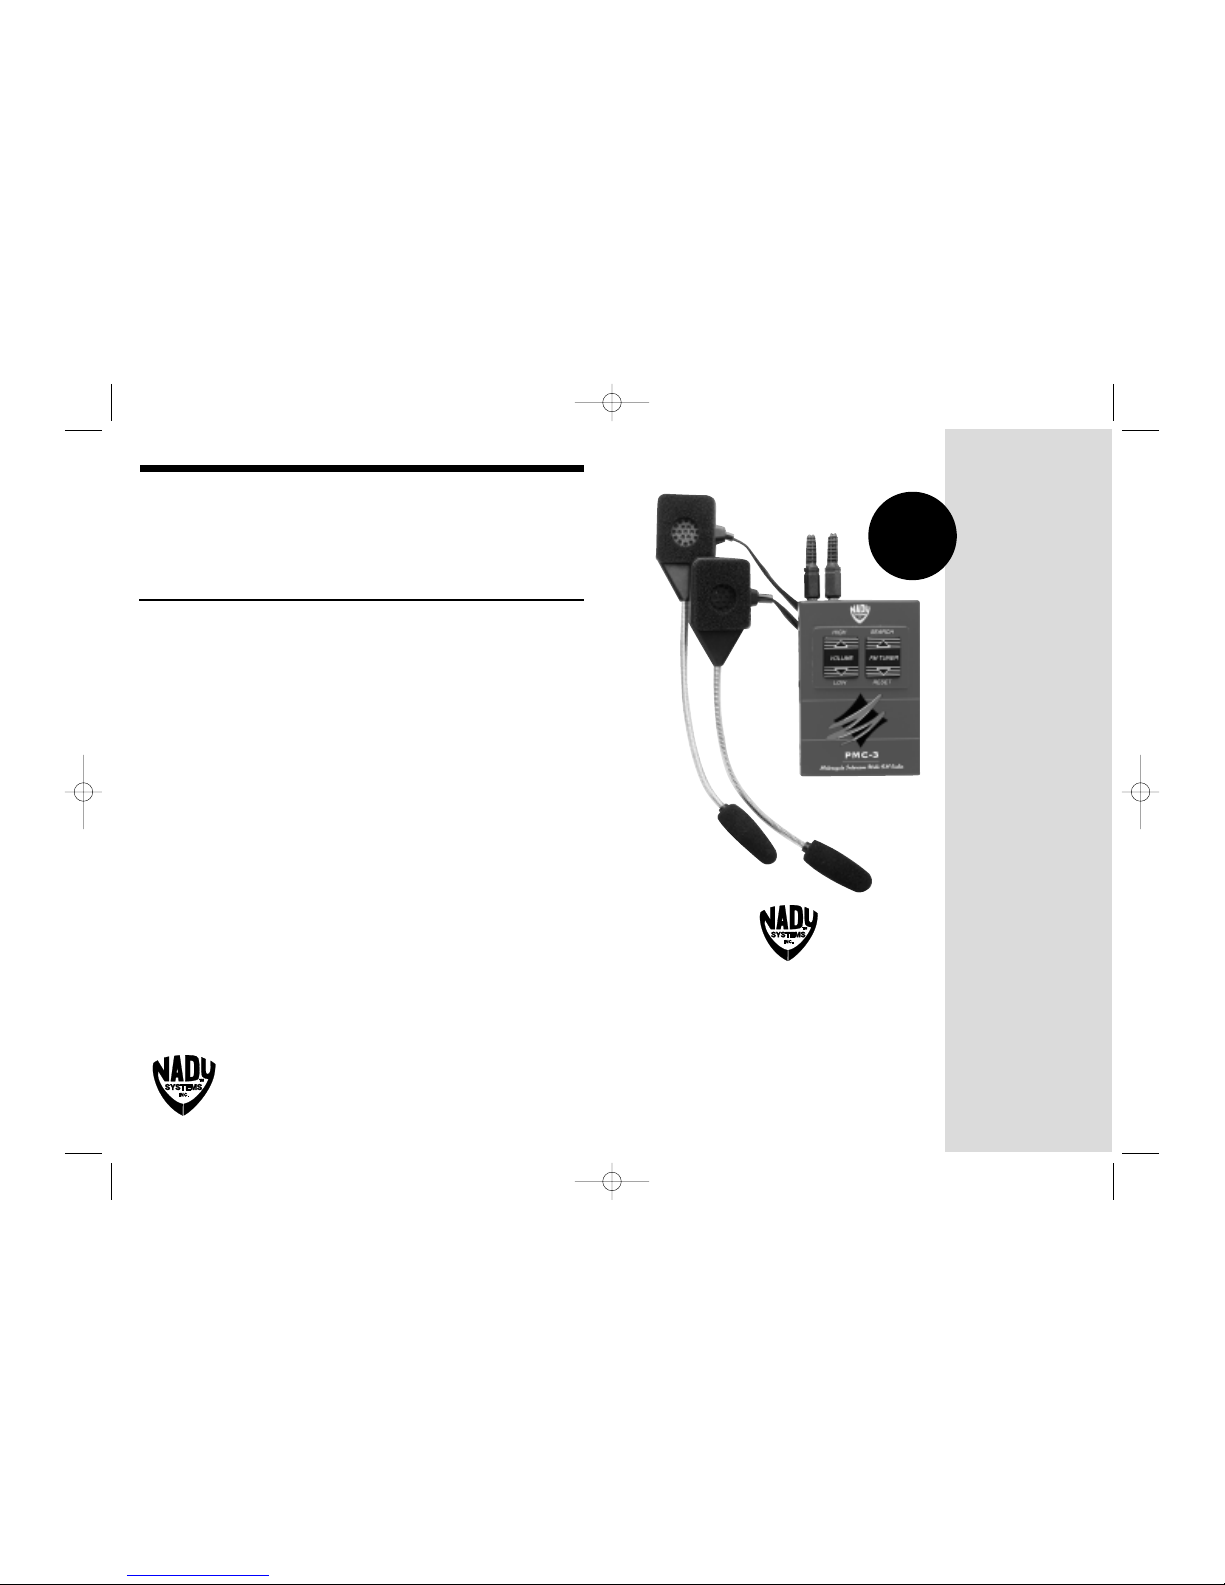
NADY PMC-3
Driver-Passenger
Personal Motorcycle
Intercom with FM Radio
OWNER’S MANUAL
NADY SYSTEMS, INC.
6701 Shellmound Street, Emeryville, CA USA 94608
Tel: 510/652-2411 Fax: 510/652-5075
www.nadywireless.com
MOTORCYCLE
INTERCOM
PLEASE READ BEFORE USING YOUR PMC-3
Before you connect your intercom earphone and mic, it is important to make sure that the
metal parts of the plug and jack are clean and dry, especially in cold weather. To prevent
dirt or moisture from damaging your intercom, always wipe the metal part of the plugs
with a clean, dry cloth before plugging in. We also suggest that you use a tuner cleaner
spray (available at any electronics supply store) to spray the plugs and jacks once a month
to keep the contacts clean.
Note: When either Volume button is pressed you will hear a “clicking” sound. This is
normal, and simply indicates that the control has been activated.
SERVICE FOR YOUR NADYCOMMUNICATOR
(U.S.) Should your motorcycle communicator require service, please contact the Nady
Service Department via telephone at (510) 652-2411 or e-mail to service@nadywireless.com for a Return Authorization (R/A) Number and a service quote (if out of warranty). Make sure the R/A Number is clearly marked on the outside of the package and
enclose a cashier's check or money order (if not prepaid with a credit card). Ship the
unit prepaid to: Nady Systems, Inc., Service Department, 6701 Shellmound Street,
Emeryville, CA 94608. Include a brief description of the problems you are experiencing.
The warranty card enclosed with this system contains additional valuable warranty
and service information. Keep it in a safe place for future possible reference. Do
not attempt to service this unit yourself as it will void the warranty.
(International) For service, please contact the Nady distributor in your country through
the dealer from whom you purchased this product.
Contact your dealer or Nady Systems for more information on our complete line of
advanced products for your motorcycle communication needs.
with
FM
RADIO
PMC-3 Specifications
Specifications subject to change without notice
FM Radio: 88-108 MHz (mono)
Size: 4.0" x 2.75" x .65" (102 x 70 x 17 mm)
Weight: 3.1 oz. (79 grams)
Batteries: 3 AAA, 1.5V batteries
Audio Output to Headphone: 525 mW
Headphone Impedence: 16 or 32 ohms
Mic Impedence: 600 ohms, unidirectional elec-
tret condenser
Housing Material: Cases and headset both
high impact ABS plastic
PMC3manual 7/17/01 2:06 PM Page 1
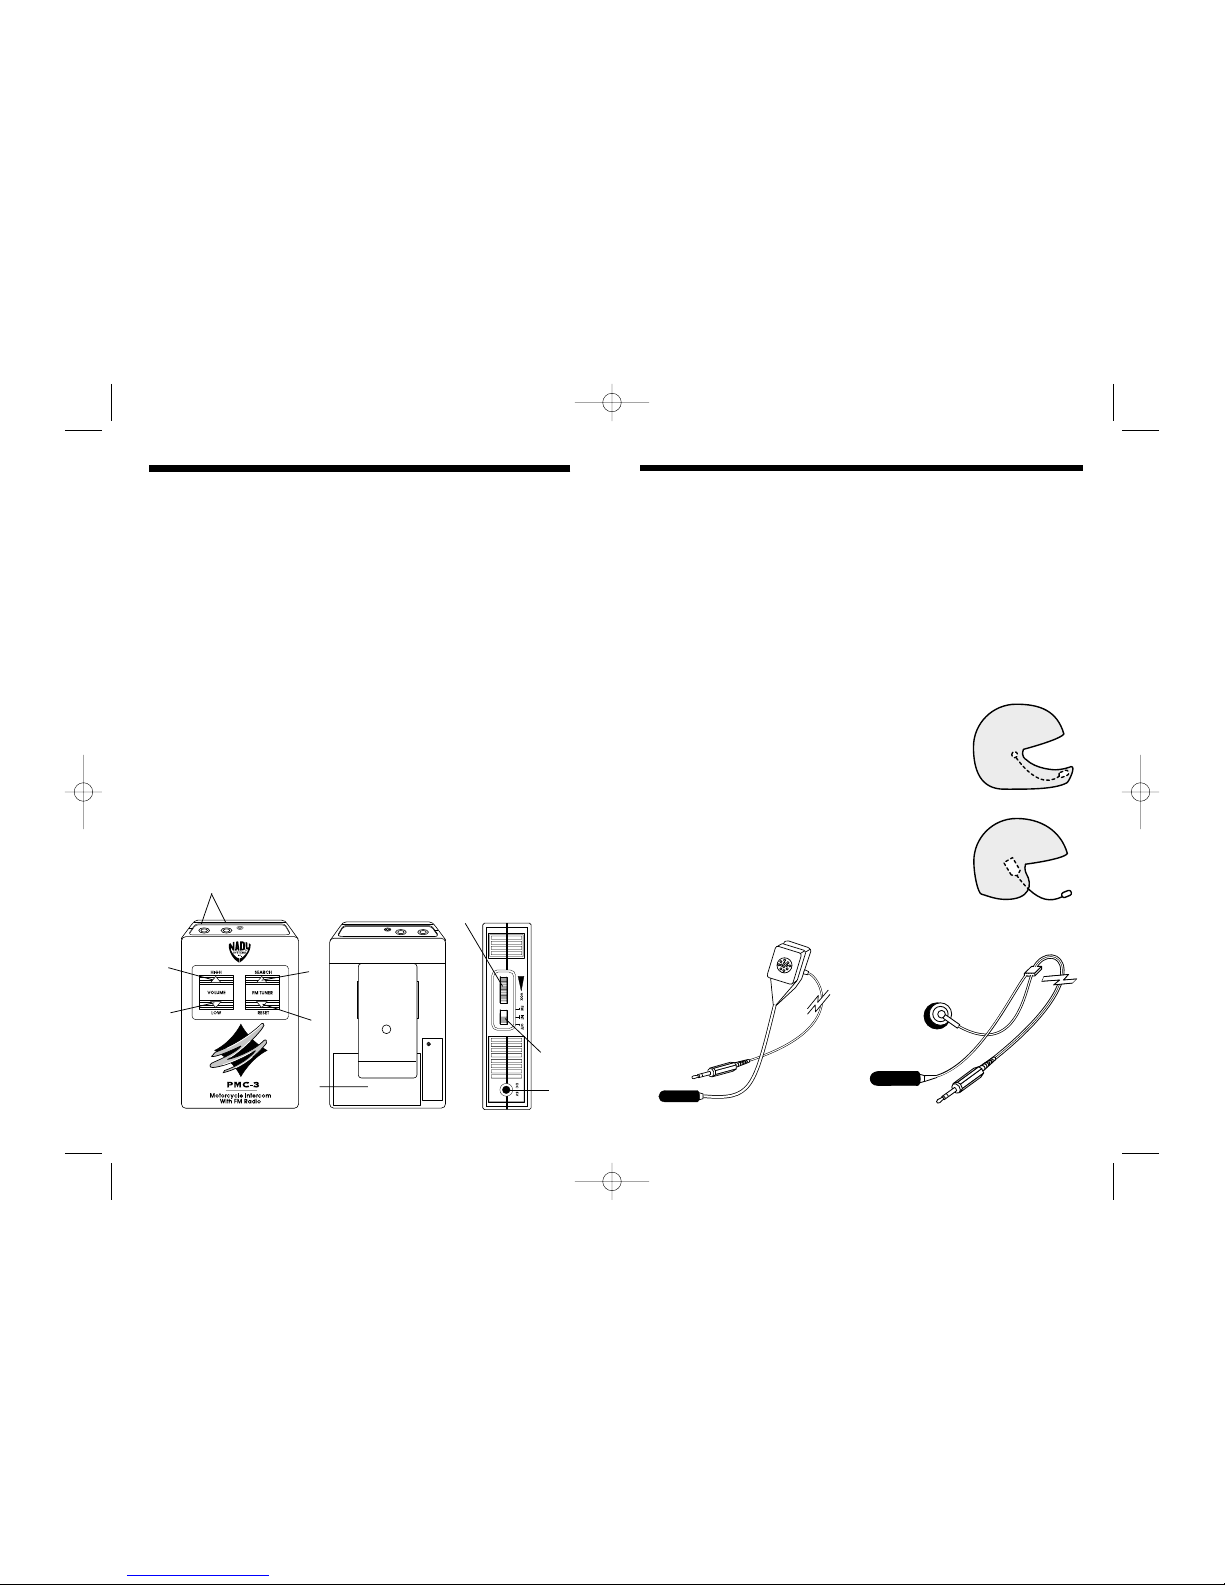
How to use the Nady PMC-3 Intercom with FM Radio
1) Powering the PMC-3: Place 3 fresh AAA, 1.5 volt batteries into battery compart-
ment (1) noting correct polarity. Alkaline batteries are recommended for long duration
performance. If you wish to operate this unit with external power, plug optional DC-03
adapter in external DC jack (2). Connect other end of adapter to your 12V DC motorcycle battery.
2) Connecting Your Headset: Insert both the driver and passenger headsets in the two
headset jacks (3).
3) Intercom Only Operation: Flick FM/INT/OFF switch (4) to middle “INT” position.
A power LED lights to indicate the unit is in operation. The Nady PMC-3 allows full
duplex communication between a motorcycle driver and passenger. Both people can
speak at the same time, as with a telephone.
4) Adjusting the Volume: To Adjust volume control, simply press the Volume Up (5) or
Volume Down (6) buttons to achieve a comfortable listening level.
5) FM Radio Operation: Flick FM/INT/OFF switch (4) to top “FM” position. Tune in
desired FM Station (88-108mHz) with the FM radio tuning buttons (7) and (8). Pressing
the top button (7) scans the FM band from 88-108 MHz, and automatically stops at a
station. Pressing the top button again scans to the next FM station. Pressing the lower
button (8) resets the FM tuner to 88 MHz. Adjust volume control buttons to volume
desired per step four, above.
(9)
(4)
(1)
(2)
(8)
(3)
(6)
(5)
(7)
6) FM Radio-with Intercom Operation: Your PMC-3 is equipped with a voice-acti-
vated (VOX) switchover for switching between conversation and FM radio. The sound
of either the driver or passenger’s voice will trigger the VOX, lowering the volume of
the radio so the conversation can be heard with maximum clarity. At the end of the conversation the radio will increase to its former volume. This operation enables the
smoothest transition between voice and radio. Adjust the VOX sensitivity control (9) as
necessary to set the voice level threshold necessary for optimum VOX triggering. If
radio operation only is desired, turn the control all the way to minimum sensitivity. At
this setting, the VOX will not be triggered by even the loudest voice level.
Helmet Mounting PMC-3 Headsets
MC for Closed Face Helmets:
The MC headset (9) consists of the foam padded ear speaker,
which is placed in the ear, and the separate mic which is
mounted to the side of the mouthguard, close to the lips as
pictured, with the Velcro tape provided.
MO for Open or Closed Face Helmets:
Attach the MO headset (8) to the helmet lining as pictured
with the snap-apart Velcro tape mounts provided. Place the
microphone close to your lips for optimum performance. The
mic boom is flexible and can be adjusted to fit as necessary,
including inside mouthguards of most closed face helmets.
(8)
(9)
PMC3manual 7/17/01 2:06 PM Page 2
 Loading...