

Page 1
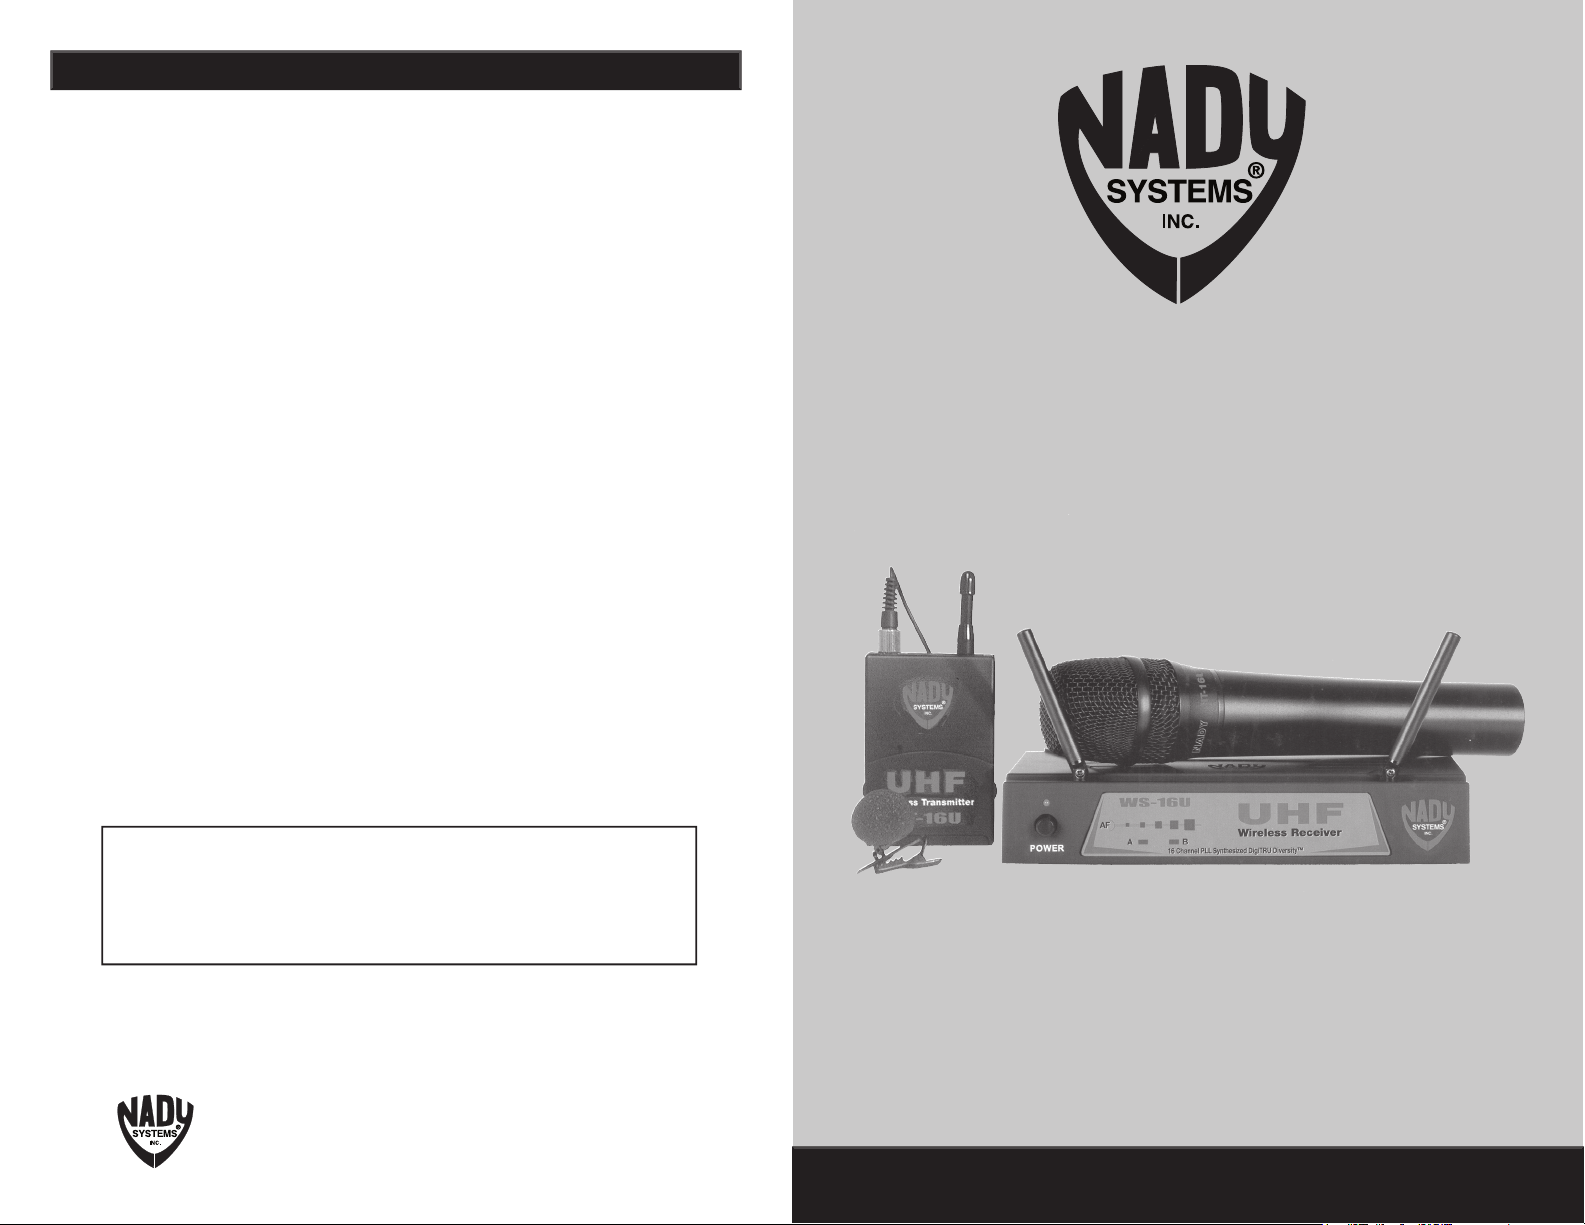
WS-16U
SERVICE
(U.S.)
Should your Nady Wireless Microphone System require service, please contact
the Nady Service Department via telephone at (510) 652-2411 or e-mail to
service@nady.com for a Return Authorization (R/A) Number and a service quote (if
out of warranty). Make sure the R/A Number is clearly marked on the outside of the
package and enclose a cashier’s check or money order (if not prepaid with a credit card).
Ship the unit prepaid to: Nady Systems, Inc., Service Department, 6701 Shellmound
Street, Emeryville, CA 94608. Include a brief description of the problems you are experi-
encing.
The warranty card enclosed with this system contains additional valuable war-
ranty and service information. Keep it in a safe place for future possible refer-
ence. Do not attempt to service this unit yourself as it will void the warranty.
(International)
For service, please contact the Nady distributor in your country through
the dealer from whom you purchased this product.
Nady Wireless Systems are type accepted under FCC rules parts 90, 74
and 15. The device complies with RSS-210 of Industry & Science Canada.
Operation is subject to the following two conditions: (1) this device may not
cause harmful interference and (2) this device must accept any interference
received, including interference that may cause undesired operation.
Tel: 510.652.2411 • Fax: 510.652.5075 • www.nady.com
OWNER’S MANUAL
Page 2

CONTENTS
........................................................................................................
WS-16U RECEIVER
.............................................
...................................................................................................
Thank you for purchasing a Nady WS-16U UHF PLL Synthesized Microphone System
This booklet gives instructions for the operation of the WS-16U wireless, including
This manual will fi rst list the features of the WS-16U and then will take you step by step to
the section of the booklet that covers the type of transmitter used with your new system.
2
WS-16U OVERALL SYSTEM PERFORMANCE
.....................................
Total Harmonic Distortion
................
Up to 500+ feet optimum line-of-sight
.............
16-Channel select
(360 mV/no load), XLR balanced output
(24 mV/600 Ohm)
(5 segments)
......................
Weight
Antennas
........................................
TRANSMITTERS
.................................
Audio Inputs
3.5mm locking mini-jack, switchable inputs:
instrument, head-worn mic, or lavalier mic
Integral Nady DM-10D neodymium
dynamic cartridge
..........................................
Power or Audio ON/OFF, Instrument/
Head-worn Mic/Lav Mic select, 16Ch elect, Input Level Adjust
Power or Audio ON/OFF, 16-Ch select, Level Adjust
................................
Bicolor, Unit “ON” (green), Low Battery Alert (orange)
Two LEDs, Unit “ON” (green), Low Battery Alert (red)
T-16U:
Hours
T-16U:
.....................................
3.62” x 2.44”x 1.22”(9.2 cm x 6.2 cm x 3.1 cm)
2”x 9.25”(5.1 cm x 23.5 cm)
Weight
3.1 oz (88 g) without battery
10.2 oz (290 g) without battery
INTRODUCTION
SPECIFICATIONS
USING THIS MANUAL
Page 3

40
4
5
SYSTEM FEATURES
WS-16U RECEIVER
transmitter ON/OFF switching
true sound, maximum feedback rejection and minimal handling noise
3
Page 4

WS-16U RECEIVER
There are 2 options available for rack mounting the WS-16U receiver: singly or side-by-
from each side of
the receiver (as shown) and slide in the optional
from
and attach the
as shown.
receiver in a rack directly above an amplifi er or other source of high heat — this
could degrade the performance of the WS-16U. Always ensure adequate airfl ow
and heat dissipation in any rack confi guration.)
provided into the
on the back
once to turn on the receiver. The
will now light and
the receiver is operational.
3. Antennas
The WS-16U receiver is equipped with attached dual
These should be extended fully to obtain maximum range. Optimal positions of the
4. Mute (Squelch) Adjustment
should be set clockwise fully to the
factory preset RF level (Max. Sens.). However, in areas of high RF activity, the squelch
DIVERSITY LED INDICATORS (14)
fl icker or stay on, the squelch control should
yield a quieter squelch (mute) function. During operation, especially at ranges greater
than 75 feet, the A or B LEDs may alternate briefl y. This is normal unit’s DigiTRU
4
9
line-of-sight between the transmitter and the receiver whenever possible.)
or connections are used with any wireless system. Therefore, the supplied
INSTRUMENT CORD (40)
has a factory-installed capacitor inside the 1/4” plug. This
capacitor provides fi rst order fi ltering of the RF signal from the cord into the guitar
and eliminates virtually all scratchy noises. Should your equipment still give you
scratchy noises, we suggest these steps to eliminate them:)
this is very important.
volume and tone pots will provide extra fi ltering.
or
by
turning clockwise the slip ring on the plug into the transmitter to thread it on to the
jack. To unplug, reverse the process. To use the lavalier mic, attach it at chest level.
AUDIO SWITCH (34)
to the ON position. Adjust the volume of the receiver
[Note: Observe care in selecting P.A. volume, transmitter location and speaker place-
ment so that acoustic feedback (howling and screeching) will be avoided. Please also
note the pickup pattern characteristics of the microphone selected. Omnidirectional mics
pick up sound equally from all directions, and are prone to feedback if not used carefully.
are directly in front of the mic. Also, mics that are farther from the sound source, such as
lavalieres, require more acoustic gain and thus are more prone to feedback than close-
source mics such as handheld or head-worn models that are used close to the mouth].
is provided. Adjust the
tion on the high level peaks.
signal-to-noise and is not recommended.)
Page 5

BT-16U BODYPACK MICROPHONE TRANSMITTER
by pulling the door ears and lifting up. Insert
two fresh AAA ALKALINE BATTERIES into the
by pushing it down at
the middle between the door ears. Fresh alkaline batteries can last up to 5 hours in use,
will not be optimal — a muddy or distorted sound may result.
to one of the sixteen channels. The slot on the switch shaft should match a number
must be OFF when selecting a new channel. When selected, the transmitter will then be
at the new selected channel when turned ON. If you attempt to change the channel when
step must be repeated any time for selecting a new channel.)
for connecting the audio
or the
or
as desired according to the unit type supplied. To
it onto your
AUDIO SWITCH (34)
to the OFF position fi rst
then slide the
to the ON position. The Bi-Color LED INDICATOR
To preserve battery life, turn the transmitter off when not in use. The A or B
on the WS-16U receiver should now be lit, indicating a received
by turning the slip ring on the plug into
the transmitter clockwise to thread it on the jack. To unplug, reverse the process. Plug
the 1/4” phone plug into the instrument. When ready to play, slide the
AUDIO SWITCH
to “ON” position or to mute the audio, turn it to OFF again. Adjust the volume of the
INPUT LEVEL CONTROL (39)
is deactivated and not
8
5
5. Channel Selection
Turn the frequency agile rotary
to one of the sixteen channels. The slot
The WS-16U receiver is equipped with a fi ve segment
transmitter is normal. If all LED lights continuously, or stay lit continuously, turn down the
The WS-16U receiver provides both a fi xed mic level
and an adjustable line level
AUX AUDIO OUTPUT 1/4” jack (10)
sound system damage.)
or the 1/4” line level
AUX AUDIO OUTPUT (10)
can be
AUX AUDIO OUTPUT (10)
socket could be used and follow the
you may overload your mixer or amp.
Page 6

6
HT-16U HANDHELD MICROPHONE TRANSMITTER
and remove, exposing the
ALKALINE BATTERIES (27)
to one of the sixteen
mitter must be OFF when selecting a new channel.
selected channel when turned ON. If you attempt to
change the channel when the transmitter is ON it will
not change until the unit is turned OFF and ON again.
new channel.)
AUDIO SWITCH
to the OFF position fi rst. Then slide the
to the ON position. The
TX LED INDICATOR (23)
will stay on and the
will stay off, indicating usable battery strength. In the case
will either not go on at all or
will stay on continuously, indicating that the batteries should be replaced with fresh ones. To
A or B DIVERSITY LED INDICATORS (14)
on
the WS-16U receiver should now be lit, indicating a received signal from the transmitter. When
AUDIO SWITCH (21)
to the ON position or to mute the audio, turn
volume of the receiver as per the Audio Output Microphone Connection section of the above
WS-16U receiver instructions.
[Note: Observe care in selecting P.A. volume, transmitter loca-
Note: The windscreen of the HT-16U functions as a built-in antenna. For proper operation,
never remove the windscreen during use, or exchange with another type. For optimum range
maintain line-of-sight between the transmitter and the receiver whenever possible. Holding the
microphone tightly, bridging across the windscreen and mic tube, will also lessen range. Hold
by the mic tube housing only for optimum operation.
]
is provided. Adjust the
noise and it is not recommended.)
 Loading...