

Page 1
Nady wireless systems are type accepted under
FCC rules parts 90, 74 and 15.
This device complies with RSS-210 of Industry
& Science Canada. Operation is subject to the
following two conditions: (1) this device may not
cause harmful interference and (2) this device
must accept any interference received, including
interference that may cause undesired operation.
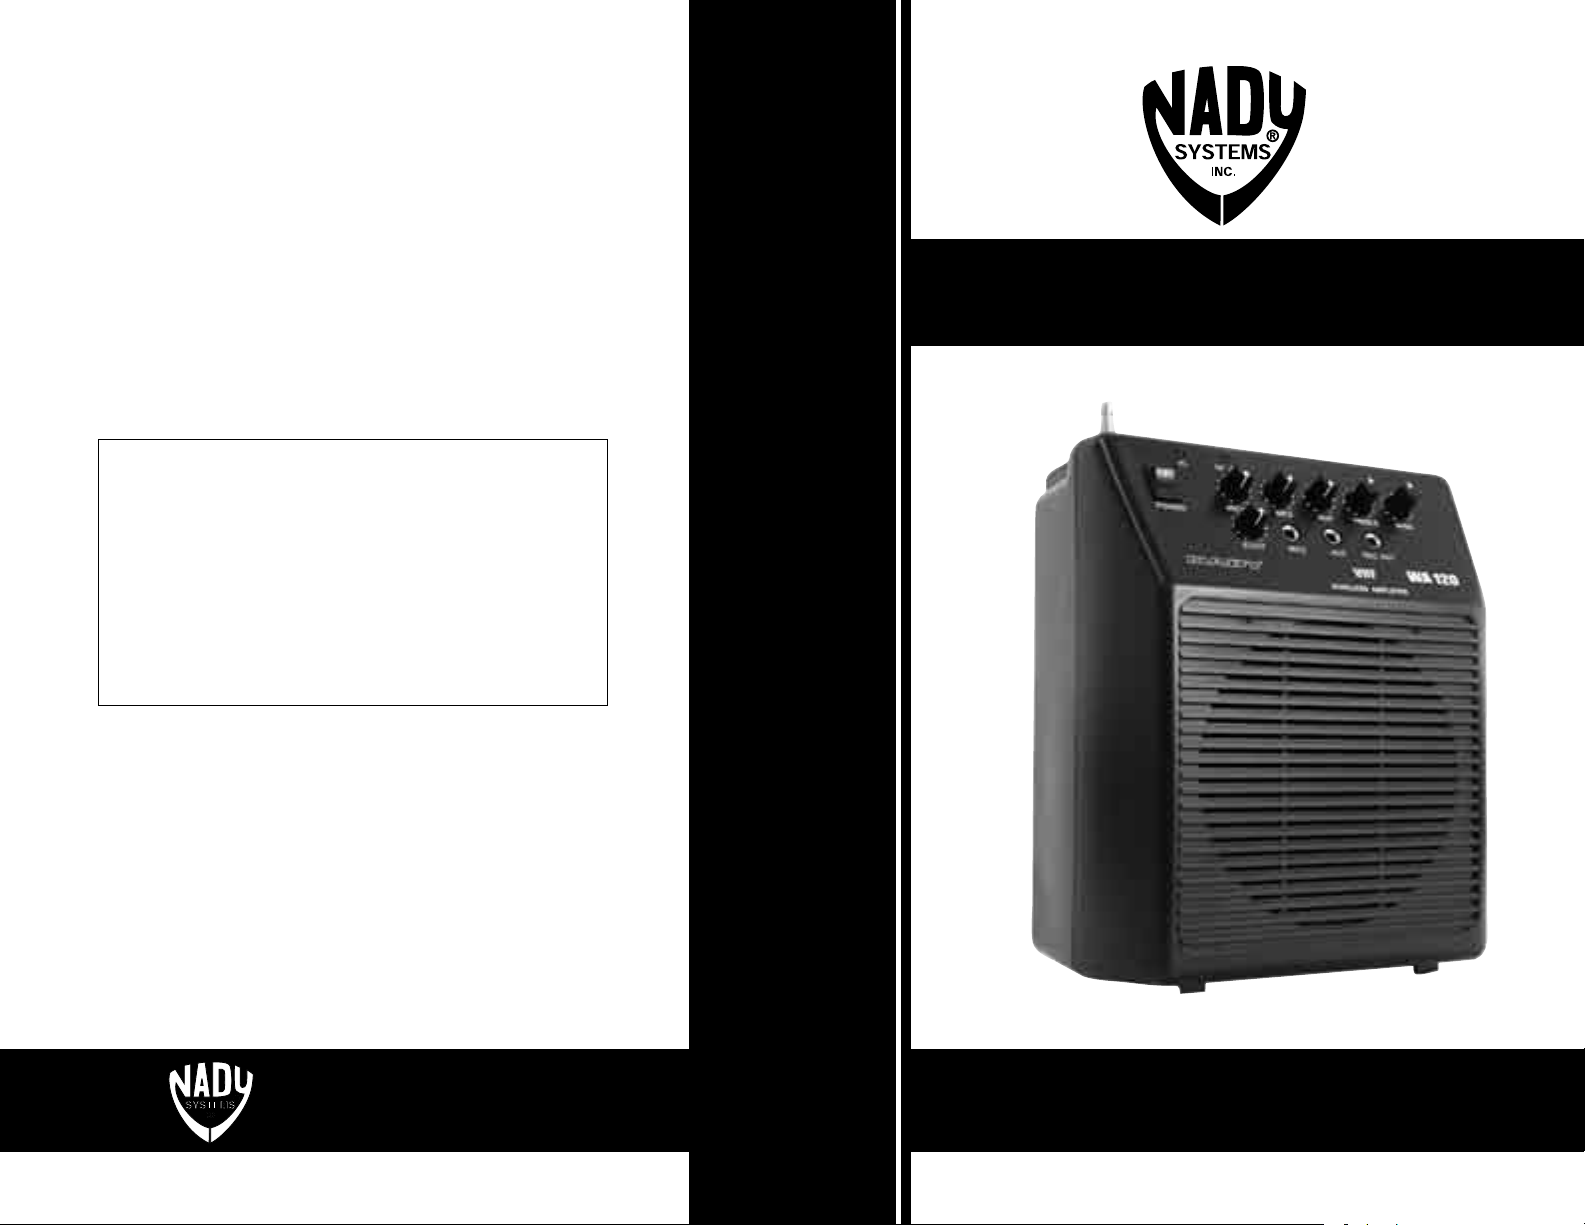
WA 120
NADY SYSTEMS, INC.
Emeryville, CA, USA
www.nady.com
ULTRA PORTABLE WIRELESS PA
Page 2

Page 3

SPECIFICATIONS
Audio Power Output: 20W maximum, 4 ohms
External AC Power: 100~120VAC/60Hz or 200~240VAC/50Hz
(as supplied)
AC Power consumption: 40 VA
External Power: 13V 1500mA AC/AC adapter
Internal Batteries: 8 “D” size alkaline batteries (SUM-1)
Input Sensitivity/ MIC/TS: -52dB +/-2dB, 150-15KHz +/-3dB
Frequency Response: MIC: -52dB +/-2dB, 150-15KHz +/-3dB
AUX: -18dB +/-2dB, 100-15KHz +/-3dB
T.H.D.: 1%
Inputs: One wireless mic, hardwired mic and
AUX line inputs
Tone Control Range: Treble: +/-5dB at 10KHz
Bass: +/-4dB at 200 Hz
REC output level: 280mV at 100 Kohms
Charging current,
9V battery charger: 5-70mA (DC)
Wireless Operating
Frequency Range: 170-216MHz, FM(3E)
Wireless Operating
Distance: 100 ft. typical, up to 200 ft. line of sight
Dimension: 8.3” X 10.6” X 5.4” (211 X 270 X 137mm)
Weight: 5.3 lbs. (2.4 Kg.)
CONTENTS
INTRODUCTION ....................................................................................2
CONTROLS AND CONNECTIONS .......................................................3
OPERATING INSTRUCTIONS FOR THE NADY WA 120 ......................5
WA 120 WIRELESS MICROPHONE RECEIVER OPERATION ............8
WHT HANDHELD MICROPHONE TRANSMITTER ..............................9
WLT LAVALIER/HEADMIC BODYPACK TRANSMITTER .....................9
SPECIFICATIONS ................................................................................12
SERVICE ..............................................................................................12
SERVICE
(U.S.) Should your Nady WA 120 require service, please contact the
Nady Service Department via phone at (510) 652-2411 or e-mail at
service@nady.com for a Return Authorization (R/A) number and a
service quote (if out of warranty). Make sure the R/A number is clearly
marked on the outside of the package, cashier’s check or money order
is enclosed (if not prepaid with a credit card), and ship the unit prepaid
to: Nady Systems, Inc., Service Department, 6701 Shellmound Street,
Emeryville, CA 94608. Include a brief description of the problems you are
having.
(International) For service, please contact the Nady distributor in your
country through the dealer from whom you purchased this product.
DO NOT ATTEMPT TO SERVICE THIS UNIT YOURSELF AS IT CAN
BE DANGEROUS AND ALSO VOID THE WARRANTY
12 1
Page 4

INTRODUCTION
Transmitter Set-up and Operation
Thank you for purchasing a Nady WA 120 Wireless Portable P.A.—and
congratulations on your choice. The WA 120 is the most affordable
and compact of the popular line of Nady wireless P.A.’s. Ideal for
many applications, including use in classrooms, conference/meeting
rooms, churches, health clubs and small auditoriums, it is powerful, yet
lightweight and easily portable. We are sure you will find this versatile
system a powerful and useful tool for your presentations.
The Nady WA 120 includes a full-range speaker system with built-in
amplifier, mixer, and high band VHF wireless receiver. Special features
include:
• Wireless system features noise reduction companding circuitry for
quietest operation with a wide dynamic range.
• Built-in echo/reverb
• Available with choice of WHT handheld mic or WLT lavalier/headset
mic bodypack transmitters. One WA 120 wireless P.A. and one
WHT or WLT Transmitter on the same channel comprise a system.
• Powerful 20W audio output
• 1/4” unbalanced input jacks (1 MIC, 1 AUX) and one 1/4” unbalanced
RECORD OUT, treble and bass controls
• Powered externally with provided AC adapter, or internally with either
the optional RB-120 rechargeable battery or 8 “D” Cell alkaline or
rechargeable batteries
• Convenient internal charging ports for 9V rechargeable transmitter
batteries (NiCad or Ni-MH) and RB-120 optional rechargeable battery
• Small and lightweight—only 8.3” x 10.6” x 5.4” (211 x 270 x 137mm)
and 5.3 lbs. (2.4 Kg)
• Snap open the battery compartment (1) and insert a fresh 9V battery
(2), observing the correct polarity. Close the compartment.
• The WLT is provided with a 3.5 mm locking jack (3) for connecting
themicrophone. Plug in either the Lavalier/Lapel (4) or the Headworn
microphone (5), as supplied. To secure the connection, turn the metal
slip ring on the plug clockwise to thread it on to the jack. To unplug,
reverse the process. Slip the transmitter into a pocket or clip on to your
clothes. To use the lavalier mic, attach it at chest level. Do not place too
close to the mouth – a distance of about six inches usually works best.
To use the headworn mic, place it on the head and adjust the mic boom
so that the mic is about one inch to the side of the front of the mouth.
(Note: The lavalier or headworn mic wire is also the transmit antenna,
and rolling up or shortening the wire may reduce the effective operating range. Extend the wire fully during use, and keep it as straight as
possible.)
• Turn on the WLT by sliding the OFF/STANDBY/ON SWITCH (6) to the
STANDBY position (transmitter on, audio muted) or the ON position
(transmitter and audio both on). The battery indicator LED (7) will give
a single quick flash, indicating usable battery strength. In the case of a
dead or low battery, the LED either will not go on at all or will stay on
continuously, indicating that the battery should be replaced with a fresh
one.
• The RF ON light on the WA 120 should now be lit.
• Re-position the microphone farther from the source or adjust the audio
input level control (8) if the monitored volume is to loud or distorted
after adjusting the receiver.
• Adjust the volume control of the WA 120 to a comfortable listneing level
as desired.
[Note: Observe care in selecting volume, transmitter location and
speaker placement so that acoustic feedback (howling and screeching)
will be avoided. Please also observe the pickup patterns of the microphone selected: omnidirectional mics pick up sound equally from all
directions and are prone to feedback if not used carefully. Unidirectional
mics are more resistant to feedback, but pick up sound sources best that
are directly in front of the mic. Also, mics that are farther from the sound
source, such as lavaliers, require more acoustic gain and thus are also
more prone to feedback than close-source mics such as handheld or
headworn mics that are used close to the mouth.]
(Note: Microphone elements can easily be destroyed by the buildup of
salts and minerals from perspiration and saliva. It is good practice to put
a windscreen on the mic element at all times to protect it.)
2 11
Page 5

OFF/ST
ANDBY/ON
BA
T
LOW
HI
MIC
�
CONTROLS AND CONNECTIONS
WLT Bodypack Transmitter
8
7
6
1. Wireless mic receiver antenna Pull out and extend fully for
optimum range
3
2. Power ON/OFF switch
3. Signal input jacks
4. Speaker
5. Power ON LED indicator
6. RF ON LED indicator Indicates reception of transmitter signal
7. Volume controls
8. Tone controls
5
9. Record out jack Provides signal for recording or additional
amplification
10. Echo level control Controls the amount of echo/reverb in the
channel signal
6 7
5
4
1
8
2
9
10
3
10
Opening Battery Compartment
4
1
2
3
Page 6

11. Battery charging LED indicators Indicates internal charging
mode for 9V rechargeable transmitter batteries
12. Battery charger for one 9V rechargeable transmitter battery
13. AC power cord outlet
14. AC fuse
15. Mounting hole for use with optional MST-4B tripod stand
16. Battery mount for 8 X “D” batteries Used for internal battery
operation of unit
17. External DC input jack
18. Electrical specifications label
19. RF mute threshold (squelch) adjust
20. Battery charging LED indicators
21. AC Fuse
11
18
19
20
17
WHT HANDHELD MICROPHONE TRANSMITTER
The Nady WHT is a sleek tapered microphone with these special
features:
• Features the Nady DM -10D unidirectional neodymium dynamic
cartridge for optimum true sound, maximum feedback rejection and
minimal handling noise
• OFF/STANDBY/ON switch allows convenient audio muting with the
transmitter “ON”
• Low battery LED indicator flashes once for unit “ON”; lights steady for
low battery alert
Transmitter Set-up and Operation
• Unscrew the battery compartment cover end cap (1) and remove,
exposing the battery compartment. Insert a fresh 9V battery, observing
polarity. Re-attach the battery cover.
• Turn on the microphone power switch (2) on the handle of the
microphone. The battery indicator LED (3) will give a single quick flash,
indicating usable battery strength. In the case of a dead or low battery,
the indicator will either not go on at all or will stay on continuously,
indicating a need to replace the battery. To preserve battery life, turn the
transmitter off when not in use.
• The RF ON indicator on the WA 120 should now be lit.
• Adjust the volume of the WA 120 to the desired level.
WLT LAVALIER/ HEADMIC BODYPACK TRANSMITTER
The Nady WLT is a rugged compact bodypack designed for use with
12
13
16
14
21
15
4 9
lavalier or headworn mics, and includes these special features:
• OFF/STANDBY/ON switch allows convenient audio muting with the
transmitter “ON”
• Low battery LED indicator flashes once for unit “ON”; lights steady for
low battery alert
• Locking 3.5mm mini-jack provides secure connection for removable
microphones
• Easily accessible input level adjust control for optimum sound
• Operates on 9V batteries for economical and long life operation.
Page 7

WA 120 WIRELESS MICROPHONE RECEIVER OPERATION
OPERATING INSTRUCTIONS FOR THE NADY WA 120
The WA 120 contains a built-in high quality quartz-locked, fixed frequency
VHF wireless receiver precisely matched to the Nady WHT or WLT
transmitter supplied; therefore no adjustments besides audio volume are
required.
• After the amplifier has been turned on by the main power switch
(2), turn the wireless receiver’s MIC/TS volume control (7) slightly
clockwise.
• Switch on the wireless microphone and the RF receiving indicator (6)
will light up indicating normal reception.
• Adjust the MIC/TS volume control (7) clockwise for the desired audio
level.
Note: If using more than one wireless microphone (handheld and/
or bodypack) on the same frequency, switch only one on at a time.
Microphones on the same frequency will interfere with each other.
However, one wireless microphone can be used with two or more
WA 120 wireless amplifiers with the same frequency simultaneously to
increase the overall sound level.
WHT Handheld Microphone Transmitter
Powering the WA 120
• External Adapter
Plug the external AC adapter provided into the Power input jack (14)
on the back of the receiver. Then plug the AC adapter into a standard
115VAC outlet. Turn on the unit using the Power switch (2).
(Note: To avoid damaging your unit, use only the provided AC adapter
connected to the power input jack.)
• RB-120
The WA 120 can be powered internally using the optional RB-120 rechargeable battery. Plug the RB-120 into the Battery Power/Recharge
jack (17) while the WA 120 is connected to AC power with the provided
AC adapter. If the Battery charging LED (20) turns red, the RB-120 is
not fully charged and should be allowed to charge while the WA 120 is
powered by the AC adapter. (Note: Turning off the WA 120 Power switch
(2) will allow the RB-120 to recharge more quickly.) If the Battery charg-
ing LED indicator (20) lights green, the RB-120 is fully charged and
ready to power the WA 120 alone. Shut off the Power switch (2) and
disconnect the AC adapter. Turn the unit back “ON” and the RB-120 will
power the unit while still connected to the Battery Power/Recharge jack
(17). The RB-120 can be easily stored in the Storage compartment (12)
while in use or transporting.
Power Switch
2
(Note: Connecting the AC adapter will automatically disconnect the internal battery power.)
3
Battery LED
1
Battery Tube
8 5
• (8x) “D” Cell Batteries
The WA 120 can also be powered internally with (8x) ”D” cell batteries.
Insert the batteries while observing the correct polarity as marked. For
longest operation use only alkaline or rechargeable batteries. Replace
the batteries when the output volume drops or the range of the wireless
decreases.
(Note: The WA 120 does not recharge “D” cell batteries.)
Page 8

Attention:
P
O
W
E
R
R
F
O
N
M
IC
/T
X
M
IC
E
C
H
O
M
IC
A
U
X
A
U
X
R
E
C
O
U
T
T
R
E
B
L
E
B
A
S
S
O
N
W
IR
E
L
E
S
S
A
M
P
L
IF
IE
R
POWER AMPLIFIER
PORTABLE RECORDER
PORTABLE CASSETTE
RECORDER
PORTABLE CD PLAYER
1. If feedback (howling sound) occurs, try first turning down the
treble control (8). If feedback still is present, try turning down the
volume (7) or repositioning the WA 120 with respect to the wired
or wireless mic being used.
2. Extend the antenna (1) fully whenever using the wireless microphone to ensure optimum performance and maximum range.
Wiring Illustration
The AUX input (3) can be connected to a cassette or CD player or other
such sound source.
The REC OUT (9) can be connected to a recording device or to the input
jack of a power amplifier to further amplify and enlarge the audio power.
For stereo to mono conversion of the signals, wire the connecting cord as
per the the following illustration:
Transmitter Battery Charging Operation
The WA 120 has a port in the rear compartment for charging a single 9V
battery (13). This battery charger can be used whenever the WA 120 is
operated from AC power. If you are using rechargeables in your transmitter you can replace them as necessary with freshly charged ones, even
during use. The discharged battery can immediately be put on charge.
The charging LED indicator (10) will light red whenever a battery is
taking a charge. When the battery is fully charged, the indicator will turn
green.
Attention: This battery charger (13) can only be used for NiCad or
Ni-MH rechargeables. Never use them for any other type of battery
under any circumstance as this can result in damage to your unit
and even danger from exploding batteries.
Stand Mounting the WA 120
The WA 120 can be mounted on
the optional MST-4B aluminum
tripod stand for convenient place-
6
ment in a higher position. Contact
your dealer or the Nady service
department. (See Page 12)
7
 Loading...