

Page 1
“2”, “PlayStation”, “Ø”, “Ô and “KHJL” are registered
trademarks of Sony Interactive Entertainment Inc. All rights reserved.
NACON and DAIJA are registered trademarks.
User gUide
Page 2

EN /
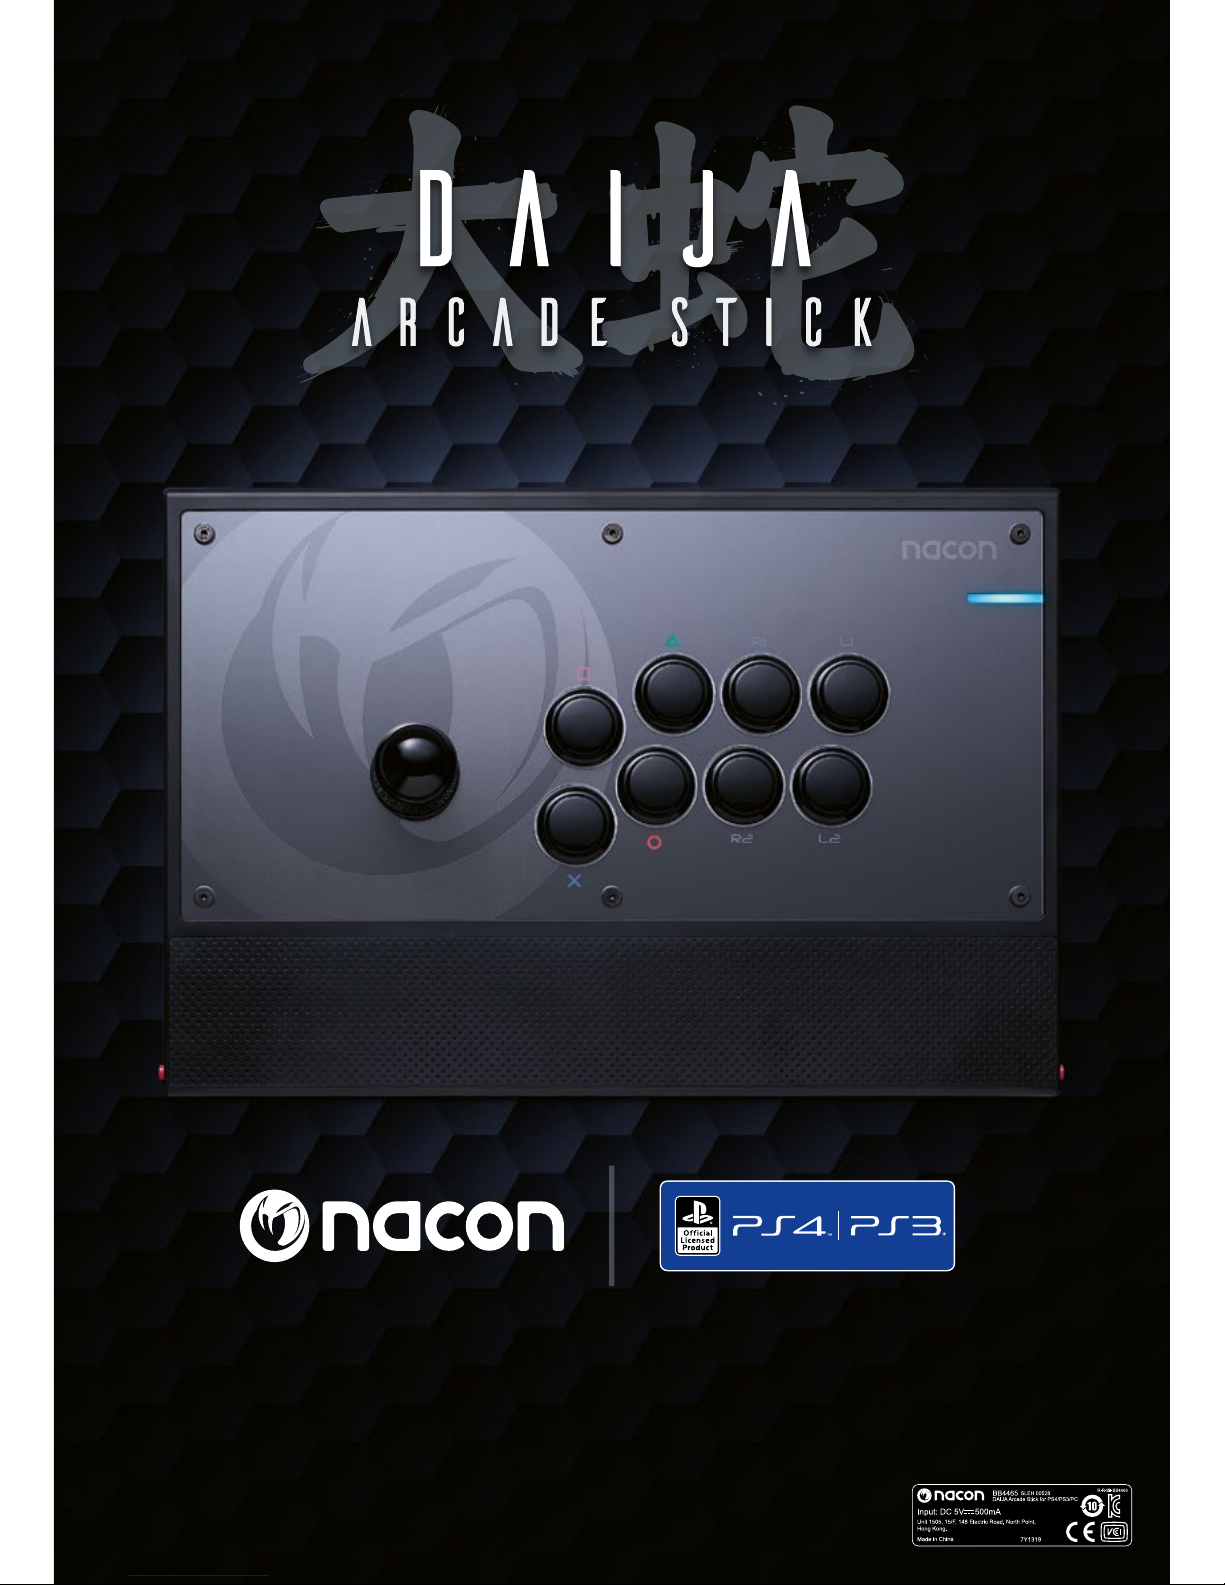
Thank you for purchasing the NACON® DAIJA® ARCADE STICK.
This product has been designed to enhance your video gaming
experience. Please keep this instruction manual for future reference.
I Warranty
This product bearing NACON trademark and it is manufactured by Bigben
Interactive. Please refer to product packaging for warranty details.
I Package contents
1 x DAIJA Arcade Stick
1 x Quick guide
1 x Bat top joystick
1 x Screwdriver (for the front cover)
1 x Key (to change joystick head)
1 x Additional front cover inlay
1 x Stickers sheet
I ConnectyourDAIJAArcadeStick,entertheght,win!
The DAIJA Arcade Stick has been developed especially to enhance your
performance in ghting and brawling games. NACON teamed up with leading
eSports players to create a product that will give you the winning edge in your
upcoming ghts.
Note: To improve the usability of this product, rmware updates might be published on our website
https://uk.nacongaming.com/. Please check this website regularly.
Page 3
EN /
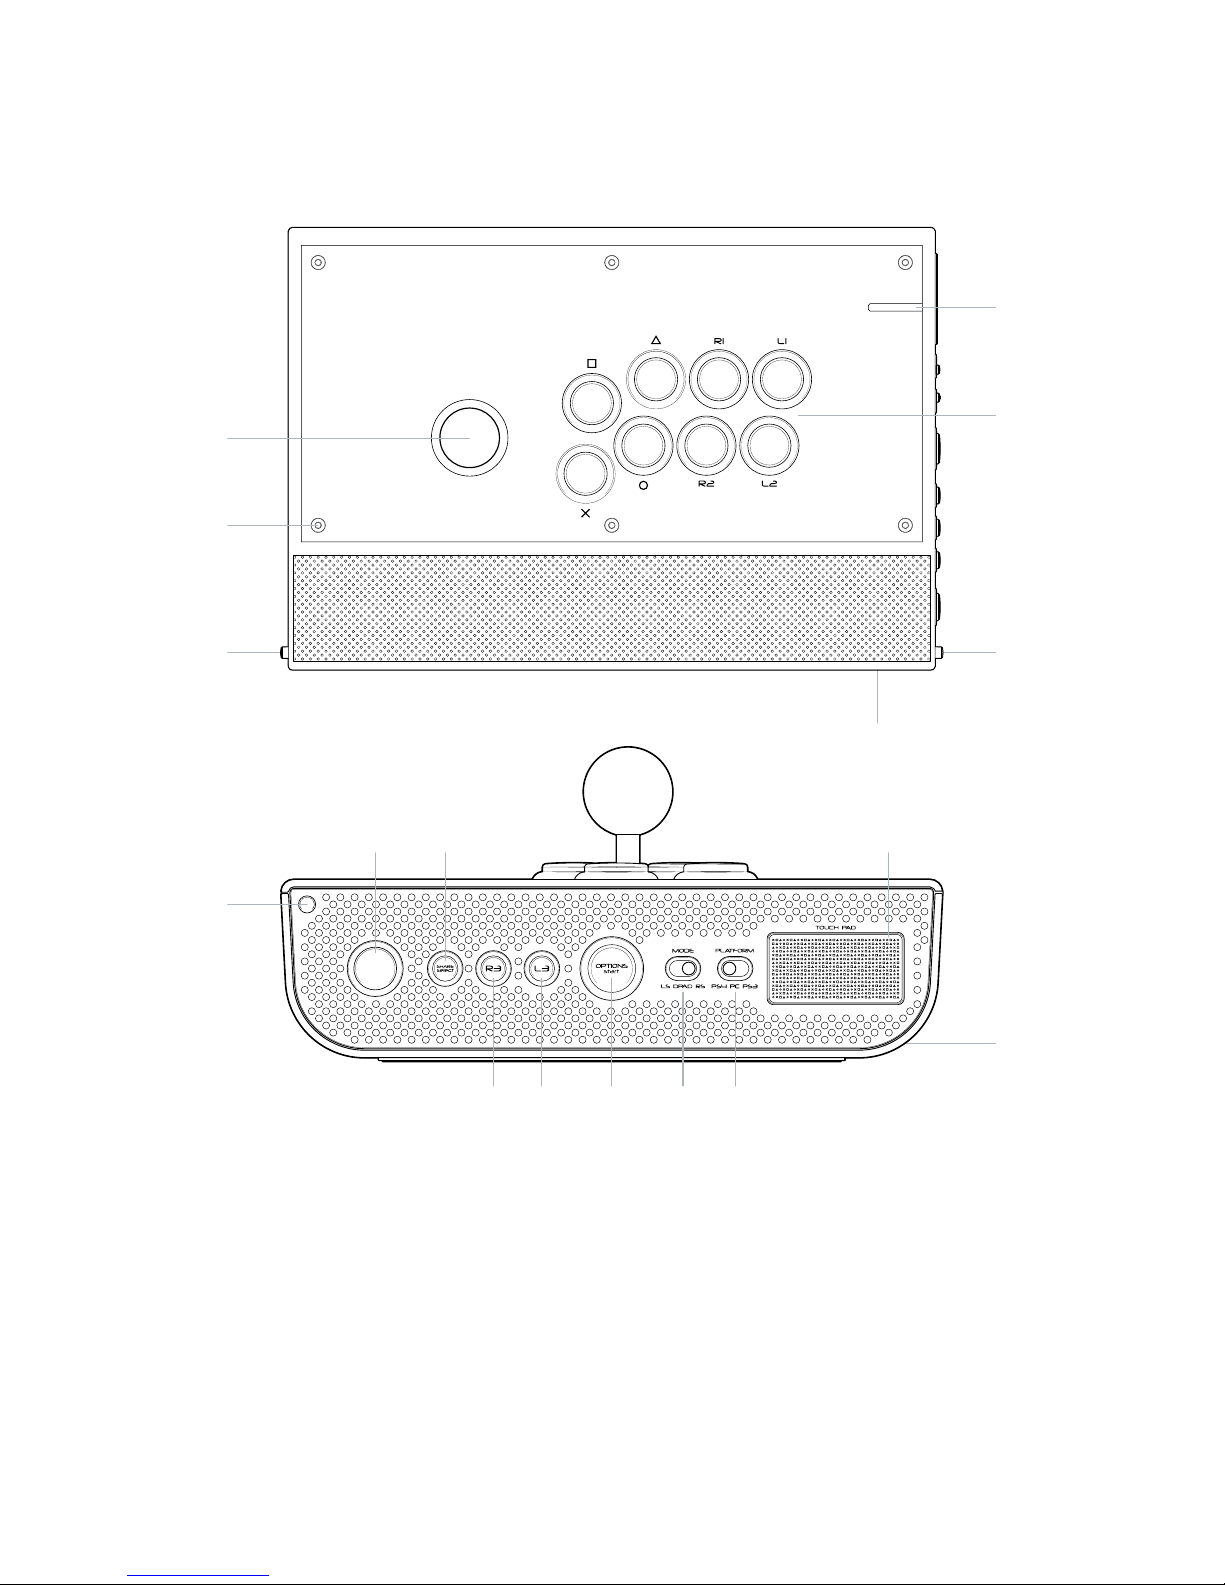
I Description of elements
1
1
7 8
9 10 11 12 13
14
1
5
15
4
6
2
3
1/ Top lid release buttons
2/ Front plate screws
3/ Joystick (digital mode only)
4/ Action buttons (KHJL / L1 / R1 / L2 / R2)
5/ 3.5mm headset socket
6/ LED player status indicator (for PS4™)
7/ PS button
8/ SHARE (PS4™ mode) / SELECT (PS3™ mode)
9/ R3 button
10/
L3 button
11/
OPTIONS (PS4™ mode) / START (PS3™ mode)
12/
Joystick mode selection
13/
Platform selection (PS4™ / PS3™ / PC*)
14/
Touchpad
15/
Cable storage compartment (on the rear)
*
PC compatibility not tested nor endorsed by Sony Interactive Entertainment Inc.
Page 4

EN /
Compatibility
The DAIJA Arcade Stick can be used with the PlayStation®4,
the PlayStation
®3 or on a Windows® PC (X-Input only)*. To choose the
respective mode, use the platform selection switch (13) on the right
side of the DAIJA Arcade Stick.
I PlayStation®4
Plug the DAIJA Arcade Stick’s USB plug into a free USB port on your PS4™ system.
Power on your system and press the “PS” button on your DAIJA Arcade Stick.
The LED player status indicator will light up, similar to the colour indicator on the
DUALSHOCK®4 wireless controller. Please note the player status indicator can
react to in-game action, if supported by the software.
Note: The LED indicator does not interact with the PlayStation®Camera.
You are now ready to play.
Note: Please note that certain games, which usually require the use of two joysticks on one controller,
cannot be played with the DAIJA Arcade Stick. It also does not support the following functions of the
DUALSHOCK®4 wireless controller: analogue joysticks, analogue triggers, vibration motors, integrated
speaker and Six-Axis motion sensor.
I PlayStation®3
Plug the DAIJA Arcade Stick’s USB plug into a free USB port on your PS3™ system.
Power on your system.
You are now ready to play.
Note: Please note that certain games, which usually require the use of two joysticks on one controller,
cannot be played with the DAIJA Arcade Stick. It also does not support the following functions of the
DUALSHOCK®3 wireless controller: analogue joysticks, analogue triggers, vibration motors and Six-Axis
motion sensor.
I PC
Plug the DAIJA Arcade Stick’s USB plug into a free USB port on your PC*.
The DAIJA Arcade Stick supports the X-Input protocol and is a Plug’n’Play device*.
Upon rst time connection it might be possible that a driver is required to be installed.
The installation process will start automatically and might require some seconds
to nish. When done, you will see the Corresponding Windows message.
You are now ready to play.
*Compatible with Windows™ 7/8/10.
PC compatibility not tested nor endorsed by Sony Interactive Entertainment Inc.
Page 5

EN /
Exchangeable components
The DAIJA Arcade Stick already uses high quality components for the
best gaming experience possible. Still, you might wish to customise
the elements of your DAIJA Arcade Stick, so we made personalisation
as easy as possible.
1 To open the top
On the sides of the DAIJA Arcade Stick, press the two Red lid release buttons (1).
2 To change the buttons
Remove the cable from the button which you want to take out, by simply pulling
them off the contacts of the button. Make sure to grip the cable on the isolated
front, to prevent damaging the cable. The buttons are just clipped into the front
plate and can be easily removed by pressing the springs on the left and right side
of the button.
Clip the new button into the front plate and make sure to re-plug the correct wires
to the correct button. Each button is connected with a differently coloured cable
and the colour codes can be found on a label on the inside of the DAIJA Arcade
Stick.
3 To change the joystick
Changing the joystick will require a
Cross head type screwdriver. Just like
the buttons, the cables can be simply
unplugged and reconnected.
Page 6

EN /
4 To change the joystick head
Depending on the game and the player, a different type of joystick head might be
preferred and that’s why the DAIJA Arcade Stick comes supplied with a second,
differently shaped head. The head can be exchanged simply by unscrewing it from
the joystick.
Note that you will need to use the supplied key or a regular flat head type
screwdriver to hold the axis in place when you are unscrewing the joystick head.
5 To change the front plate design
To give your DAIJA Arcade Stick a more personal note, you can change your front
design. At uk.nacongaming.com you can download the template le to create
your own front plate. Once printed, just change the original design sheet under-
neath the front plate. This is held by 6x hex type screws. The required screw
driver is included and can be found inside the DAIJA Arcade Stick. Before it can
be removed, you will also have to remove all the action buttons and the joystick
head (see points 2 and 4).
Joystick mode selection
Use the mode selection switch (12) to select if the joystick of the
DAIJA Arcade Stick functions in left joystick, right joystick or D-Pad
mode.
Please note that analogue joystick functions are not supported.
Page 7

EN /
Recycling
This product should not be disposed of in normal household
rubbish. Please take it to a nominated collection point.
Recycling is important and will help to protect our environment
from reduced landll waste.
I Important Safeguards & Precautions
1/ This Unit is for indoor use only. Never expose to direct sunlight or wet weather
conditions.
2/ Do not expose the unit to splashing, dripping, rain or moisture. Do not immerse
in liquid.
3/ Do not expose to dust, high humidity, high temperatures or mechanical shock.
4/ Do not use if the equipment is damaged.
5/ For external cleaning, use a soft, clean, damp cloth only. Use of detergents may
damage the nish and leak inside.
6/ Never carry the product by its cable.
7/ This device is not designed to be used by anyone (including children) with
impaired physical, sensory or mental capacity, or by anyone without appropriate
experience or knowledge unless they have received prior guidance or
instructions related to the use of this device from someone who is responsible
for their safety. Do not leave the DAIJA Stick Arcade unattended, keep this
device out of the reach of children.
I Ergonomics
Holding your hand in the same position for a long period of time can lead to aching
and pain. If this occurs repeatedly please consult your doctor. As a preventive
measure, we recommend that you take a 15-minute break every hour.
I Technical Helpline Information
Email: support@nacongaming.com
Website: uk.nacongaming.com
Page 8

uk.nacongaming.com
@NaconGaming Nacongaming Nacon International
 Loading...