

Page 1

OWNERS MANUAL FOR THE ST40BT SWEEPER
Before operating this machine, be sure to fully read the owners manual.
NaceCare Solutions
1205 Britannia road east
Mississauga, Ontario, Canada
L4W 1C7
Toll Free: 1 800 387 3210
Toll Free Fax: 1 800 709 2896
Page 2
OVERVIEW
Quick, extremely manoeuvrable and yet capable of handling large areas, the ST 40BT is an
excellent choice for retail, health care, education, hospitality, casinos and office
environments. Its low 62 dB noise level allows for day-time cleaning and the 9 brush
settings make it capable of cleaning virtually any surface including all types of hard floors
along with carpet and textured flooring.
GENERAL PRECAUTIONS
The battery supplied with this unit is a sealed lead acid (SLA) battery that requires no
maintenance.
Do not attempt to open the battery at any time as it will damage the battery.
Do not use this machine in the presence of flammable liquids or gasses.
Do not use this machine on wet surfaces
Do not attempt to pick up toxic materials, oils, or chemicals.
Do not pick up lighted cigarette ends or any other material that could cause combustion of
debris inside of the hopper.
Minimum working temperature: -20°C (-4°F)
Maximum working temperature: +40°C (+104°F)
UNPACKING AND SETUP OF THE MACHINE
1. Remove the packing material and set the machine on the floor.
2. Open the debris hopper located in the rear of the machine and you will find the side broom
inside.
3. Unscrew the bolt and washers from the bottom side of the gear motor shaft and assemble the
side broom to the gear motor as indicated below. The bolt should be hand tight plus ¼ turn
with a wrench.
Page 3

UNPACKING AND SETUP OF THE MACHINE (CONT’D)
4. Remove the 4 allen screws holding the grey cover to the frame.
5. Remove the cover to expose the battery compartment as shown in Fig 2 below.
Fig 1 Fig 2
6. Once the cover is removed, you must connect the battery cables to the battery. When
connecting the battery terminals, do not reverse the polarity. Ensure that the red wire goes to
the + terminal and the black wire goes to the – terminal on the battery.
NOTE: If the polarity of the battery cables is reversed, the battery and charger can suffer severe
damage. The battery connection may only be made by qualified personnel.
NOTE: Once the battery connection is made, the machine will not run until the cover and 4 allen
screws are back in place. This is done as a safety precaution to prevent bodily injury from the rotating
belts and motors. DO NOT
try to override this safety feature.
MAIN AND SIDE BROOM ADJUSTMENTS
MAIN BROOM ADJUSTMENT
The main broom adjustment is located on
either side of the machine as indicated by
the arrow on the figure to the right. To
adjust the height of the main broom, pull
on the knob and move the slider up or
down. This adjustment must be the same
on both sides as the main broom must be
level while operating.
Page 4

SIDE BROOM ADJUSTMENT
The side broom is easily adjusted by
turning the knob indicated in the picture
to the right. Turning the knob clockwise
lowers the side broom and counterclockwise raises the side broom.
ST ARTUP AND OPERA TION
DESCRIPTION OF THE CONTROLS
1. Push button filter shaker
2. Main switch
3. Side broom switch
4. Suction switch
1. Switch the main broom on using the switch indicated. You will see
a green LED on the control panel which indicates normal
operation of the main broom.
2. Switch the side broom on using the switch indicated. Once on, the
side broom will start immediately.
3. Switch the suction fan motor on using the switch indicated. Once
on, you will hear the suction fan running.
Page 5

4. Once you have completed sweeping the area and are ready to put
the machine away, press the filter shaker button to knock off any
debris or dust from the filter.
NOTE: When the filter shaker button is pressed, all other functions will
stop until the shaker button is released.
BATTERY
When the battery reaches a discharged state, a red LED indicator will come on to indicate that the
battery needs to be charged. When this indicator comes on, the machine should be plugged in to
charge. Leaving the battery in a discharged state can damage the cells inside, greatly reducing the life
of the battery.
NOTE: The battery in this machine is maintenance free sealed lead acid (SLA) battery and requires
no maintenance other than regular charging. If the machine is going to be stored for long periods of
time, we recommend that you bring the battery to a fully charged state and disconnect the battery
terminals.
BATTERY CHARGER
The ST40BT comes with an on-board charger. The cable is located on the rear right side from the
operator’s perspective and is tucked inside the body for storage.
A complete recharge takes approximately 10 hours to complete. During the charging cycle, all
functions are disabled.
MAINTENANCE
1. After every use, use the filter shaker to knock any debris off of the filter.
2. Empty the hopper into a garbage bag wearing the appropriate apparatus (Gloves, respirator).
3. Re-install the hopper on to the machine and plug the machine in to charge.
Periodically check that the main broom is making proper contact with the floor. If the main
broom is in the lowest setting and is not making contact with the floor, replace the main
broom.
Periodically check the condition of the side broom. If the bristles are worn or the shape of the
side broom is distorted, replace the side broom.
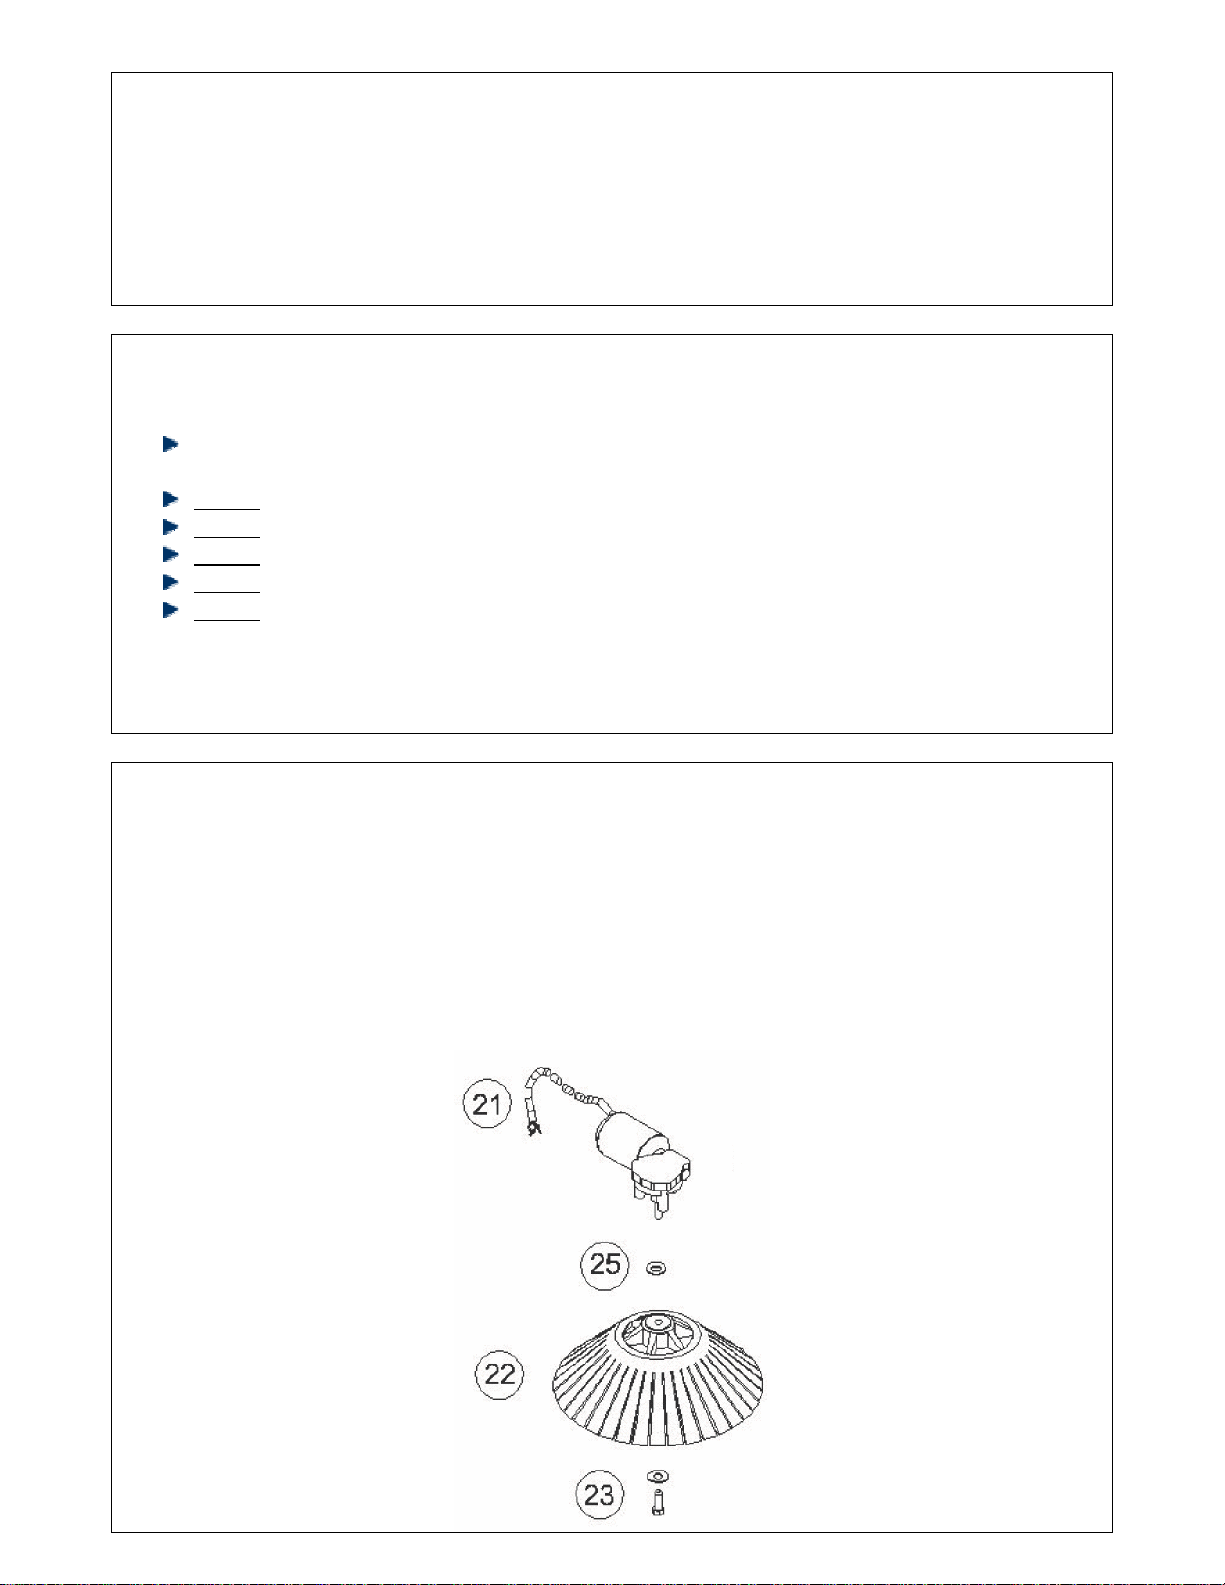
Periodically check the condition of the filter. The filter can be removed (as shown in fig 3
below) and blown out with compressed air. If this does not clean the filter, replace the filter
with a new one.
Any maintenance procedures other than the ones listed above may only be carried out by
qualified service personnel.
Page 6

Fig 3
 Loading...