

Page 1
Owners Manual for the AV18AX
PRIOR TO USING THIS MACHINE, MAKE SURE THAT YOU HAVE READ, AND
UNDERSTAND THE SAFETY AND OPERATING INSTRUCTIONS FOR THIS MACHINE.
NaceCare Solutions
1205 Britannia Road East
Mississauga, Ontario, Canada
L4W 1C7
Toll Free: 1 800 387 3210
Toll Free Fax: 1 800 709 2896
Page 2

Safety instructions (read carefully)
Every electrical device must be used for its particular function only, respecting the manufacturer’s
instructions. Failure to adhere to these instructions could result in serious bodily injury to the operator
(shock, electrocution, etc.).
Please read the following safety instructions carefully and ensure that you understand them prior to
using the machine.
• Before putting the machine’s plug in the wall socket, check that the voltage available is the same
indicated on the label of the machine.
• Be sure that the electrical system is well grounded and that it has a GFI.
• Verify that the cable plug is the same as the outlet.
• Do not use adapters or multiple sockets
• If any electrical extension is used, ensure it is the correct gauge of wire and make sure it is
watertight.
• Take care of the electrical cable. Do not repair the cable in case of tears, but replace it with a new
one.
• Do not pull the cable to drag the machine or to pull the plug out. Pull the plug out only when the
machine is switched off.
• Do not handle the plug with wet hands.
• Do not spray water near electrical outlets. Do not use the machine to spray or to suck dust,
corrosive liquids (acids or bases) and explosive or inflammable liquids.
• Do not use the machine in an explosive atmosphere.
• Do not let the machine be used by children and people unable to understand the danger
connected with the use of electrical power.
• Do not bring the end of the suction hose or one of the accessories near your face or others’,
particularly near ears and eyes: the sucked air could seriously damage them.
• If the machine is used as a wet vacuum cleaner, you must check the level of water in the recovery
tank, in order to prevent water from being sucked through the vacuum motor.
• If the chemical you are using produces foam, or if you are cleaning carpet previously treated with
shampoo, you must
add defoamer into the recovery tank to prevent damage to the vacuum
motor.
• In case of abnormal working (very noisy motor, pump not running, extreme temperature rise, or
other suspicious signals) switch off the machine and pull the plug out.
• After using, store the machine, well cleaned, in a cool and dry place.
Attention:
all electrical repairs must be performed by qualified personal only!
2
Page 3

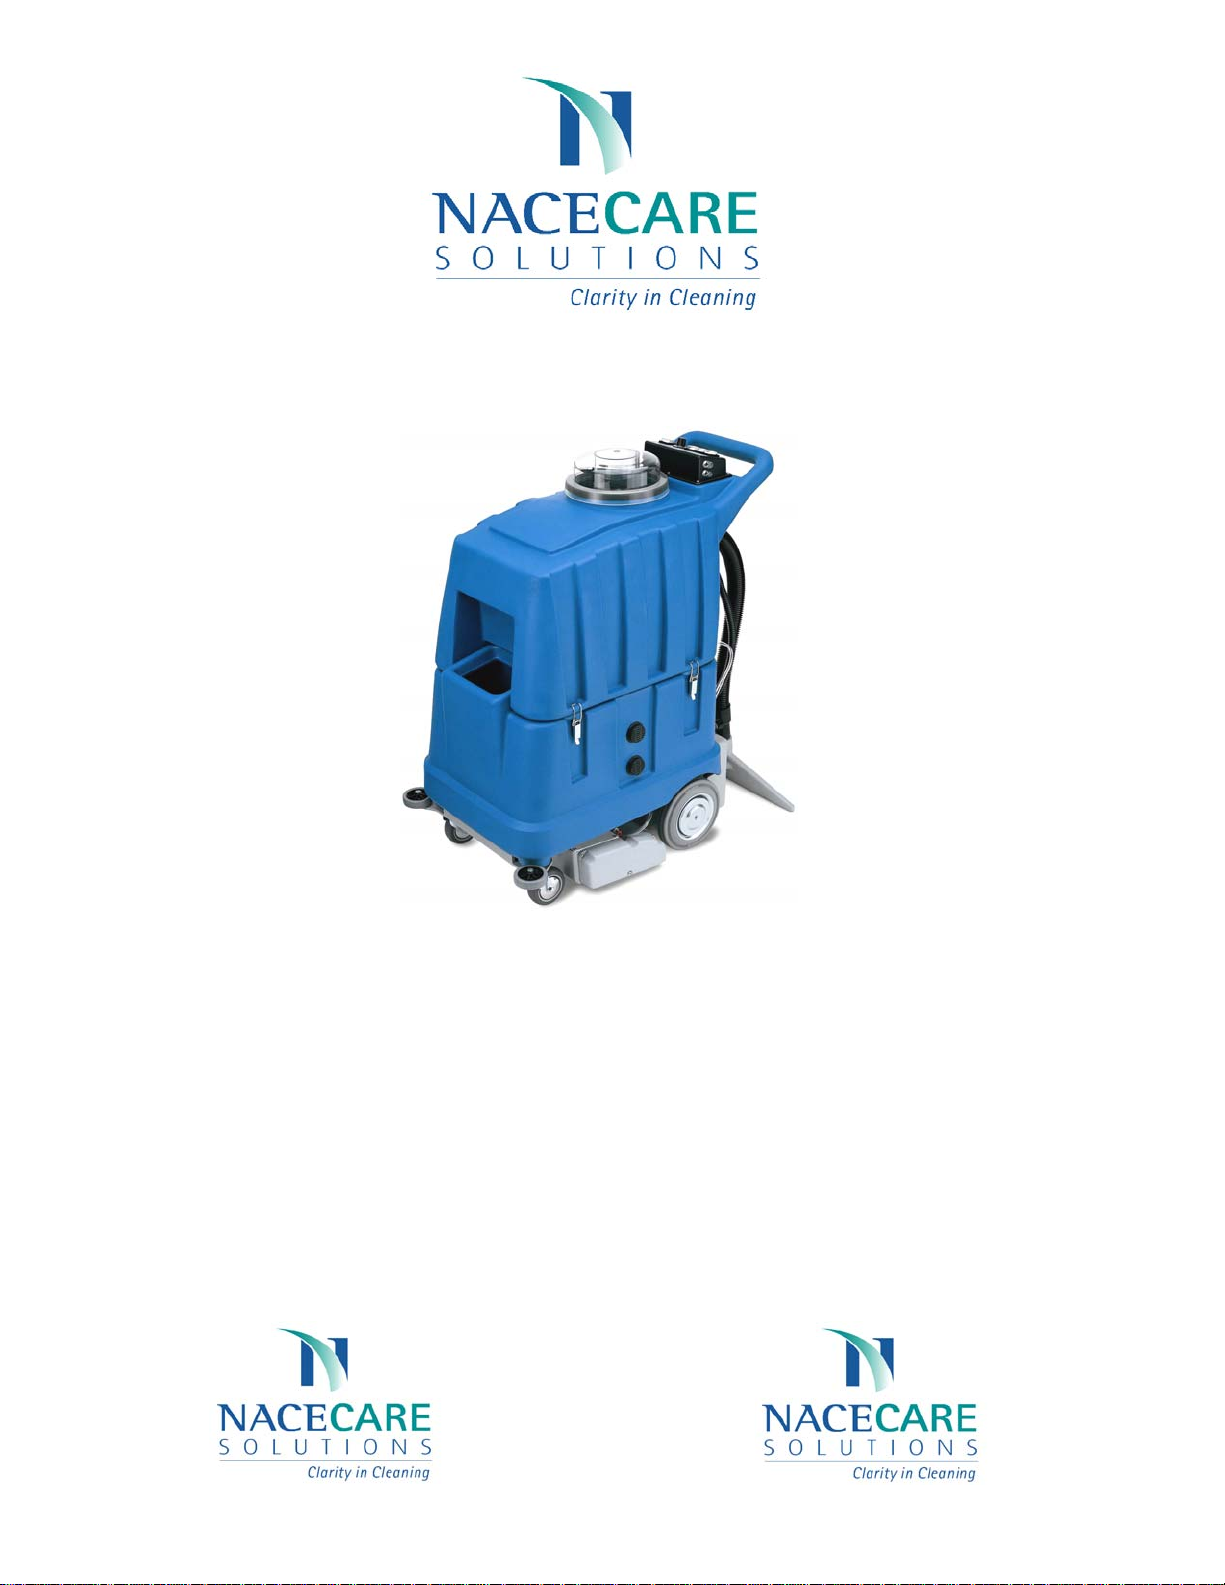
SETUP
This machine is designed to clean large areas of carpet. For normal operation, the machine drives
forward, cleaning a path of 20 inches of carpet (see Using as a Self-propelled Machine
It can also be used to clean small areas of carpet, with an additional hose and floor wand (see Using
with Accessories
The following steps explain how to prepare the machine for use:
1. Fill in the lower tank (solution tank) with cold or warm water, through the filling hole, adding
chemical according to the manufacturer’s specifications.
)
).
Attention: wool carpet must be washed with cold water only!
2. Plug the power cord into the wall outlet (see Safety Regulations
3
).
Page 4

Using as a Self Contained Extractor
CONTROL PANEL TOP VIEW
TRACTION
SPEED
I I
O
O O O
I I II
TRACTION
MOTOR
PUMP BRUSH VAC MOTOR
DRIVE
CONTROL
1. Turn the vac motor, drive motor, and brush motor switches to the “I” position.
2. Adjust the traction speed using the traction speed knob located on the top of the control panel.
When starting out, the recommended speed is between 4 – 5.
3. To activate the drive of the machine, you must push down on the drive lever, which is located
on the control panel, near the handle of the machine. By pushing down the drive lever the
machine goes forward. By releasing, the machine stops.
4. If you need to pull the machine backwards, you have to switch off the traction motor switch.
5. Set the pump switch to the “I” position. In the “I” position, the pump will only work when the
solution control lever is engaged.
6. On the lower left side of the machine, you can adjust the water flow by turning the knob with
the + and – symbols on it. Turning the knob clockwise reduces the water flow. Turning the
knob counter clockwise increases the water flow. When priming the pump, this knob should be
turned counter clockwise for maximum water flow. (See next page for illustration)
7. Regulate the brush height with the brush running. To adjust the brush height, pull the steel
adjustment knob on the bottom left side of the machine and turn it counter clockwise. Once
you hear the brush hitting the carpet, lock it in place.
ATTENTION
: The brush motor is protected by a circuit breaker located on the top control panel. If the
circuit breaker trips, reduce the brush pressure on the carpet.
The traction motor is protected by a circuit breaker as well. If the circuit breaker trips, reduce the
speed on the control panel. If the problem persists, contact a repair facility for repair.
8. Lower the vacuum shoe by pushing on the foot lever, which is situated on the lower right side
of the machine.
4
Page 5

Water-flow
adjustment
Brush height
adjustment
Attention: Do not let the pump function without water!
Foot pedal for
vacuum shoe
Never activate the traction motor with people or objects in front of the machine. Keep an adequate
distance from other people when using.
5
Page 6

Using with accessories
After filling the tanks with solution and plugging the power cable in to the wall outlet (see steps 1 and
2 of the paragraph SETUP
), you need to perform the following operations:
1. Connect the machine to the wand or to the hand-tool using the solution and the vacuum hoses. To
connect the hoses to the machine, remove the vacuum hose, which connects the solution tank to
the vacuum shoe, and the solution hose.
Vacuum
hose
Solution hose
2. Connect the longer vacuum hose to the machine
3. Connect the longer solution hose to the machine
4. Switch on the vacuum motor by setting the switch to the "I" position.
5. Turn the pump to the "II" position. In this position, the solution pump is always on.
6. To spray water you need to pull the lever situated on the handle of the floor wand or hand tool.
6
Page 7

AFTER USE, FOLLOW THESE STEPS
1. Empty solution tank.
2. Put some fresh water in the solution tank and pump this through the system. This will help
keep the pump system clean.
1. Clean the recovery dome and gasket.
2. Thoroughly rinse and drain the recovery tank to prevent odors from developing.
3. Run the vacuum motor for 1 to 2 minutes. This will help remove any moisture from the motor
fans and fan casing.
4. When storing the machine, make sure to leave the recovery dome off of the machine. This will
allow any water left in the recovery tank to evaporate into the air. This will also help prevent
odors in the recovery tank.
5. Periodically check and clean the filter for the vacuum motor. It is located below the recovery
dome.
6. Periodically clean the water filter located inside the solution tank.
7. Periodically remove and clean the brush. Remo ve any hair or carpet fibres that have built up
on the brush shaft of the machine as well. For this procedure, make sure that the machine
is unplugged.
MAINTENANCE
1. After 500 working hours, the machine should be brought in to be serviced. The carbon brushes on
the vacuum motor and pump motor should be replaced at this time.
2. Worn-out carbon brushes may result in damage to the vacuum motor or to the pump, which are
not covered by warranty. Replacing the carbon brushes should be done by authorized personnel.
7
 Loading...