

MYTRIX Dreamweaver User Manual

Mytrix Technology - http://www.mytrixtech.com
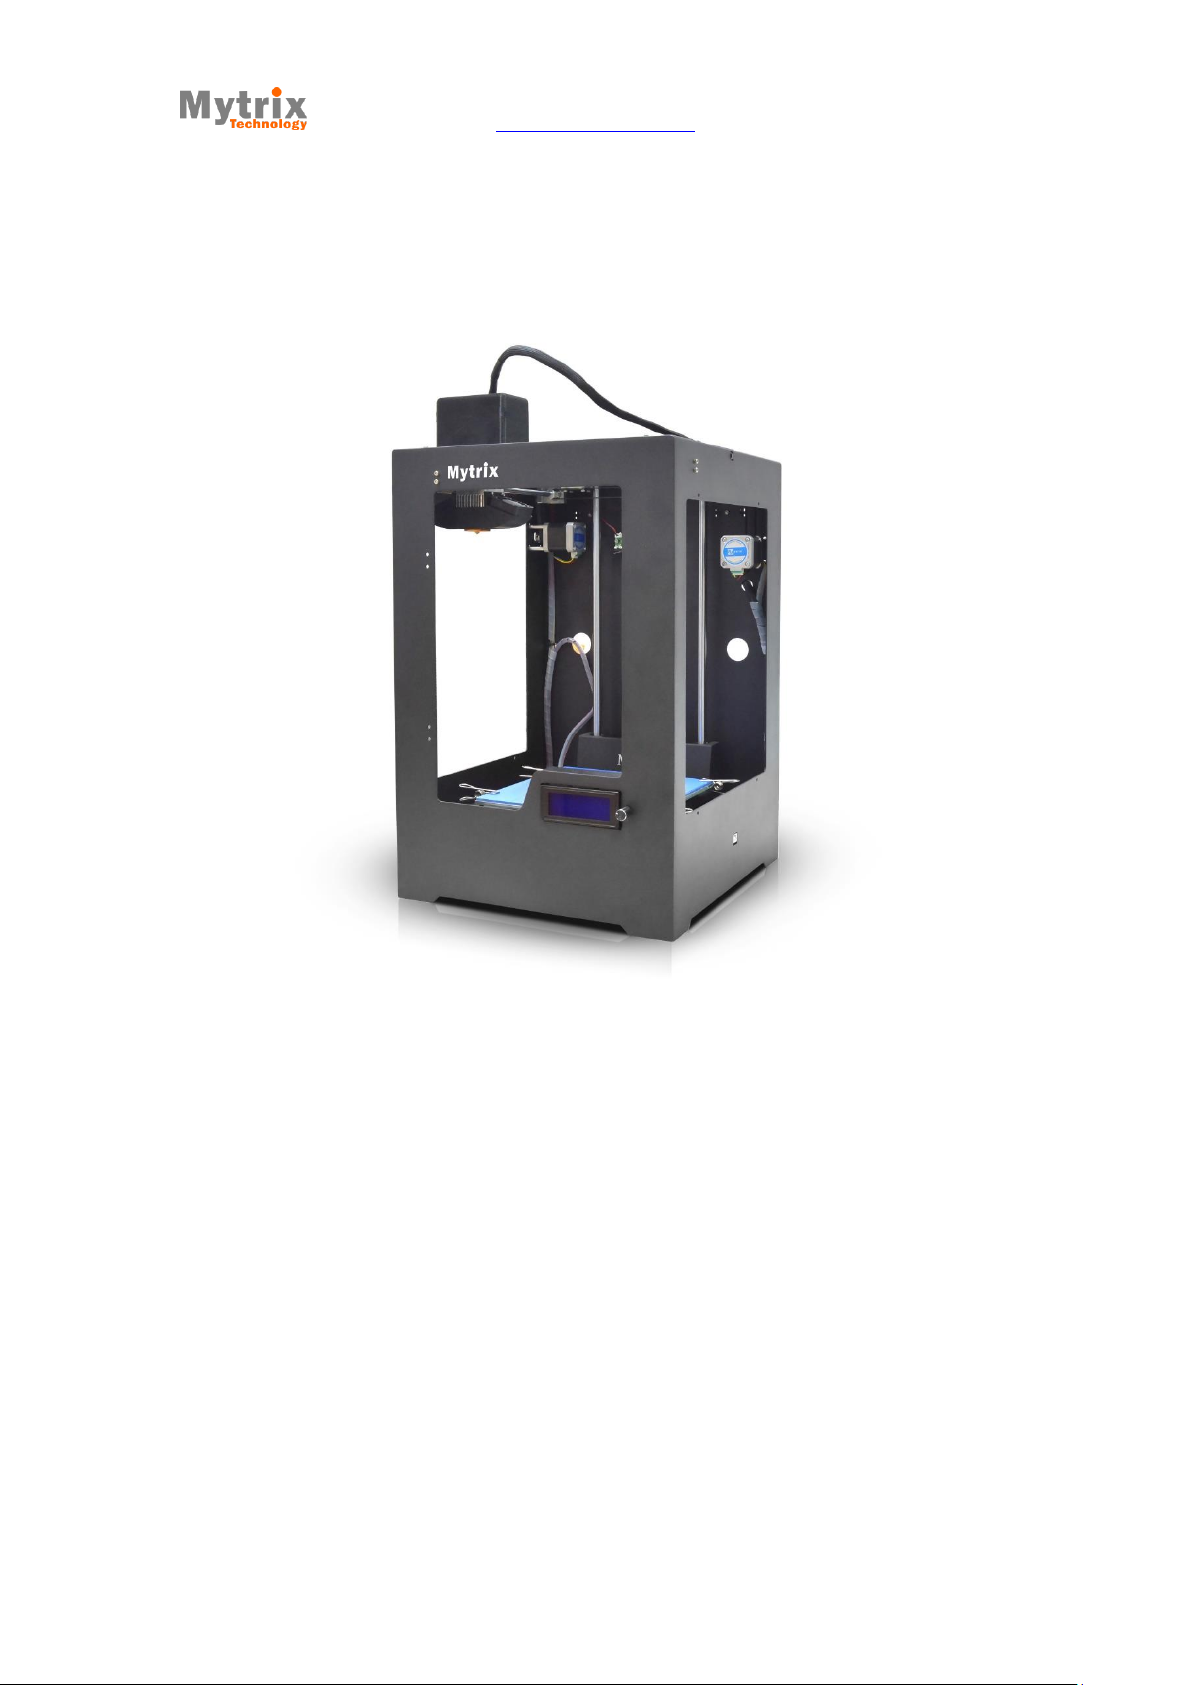
Dreamweaver
Desktop 3D Printer
User Manual
2014 Mytrix Technology
All rights reserved Third Version
Mytrix Technology - http://www.mytrixtech.com
2014 Mytrix Technology
All rights reserved Third Version

Mytrix Technology - http://www.mytrixtech.com
1
Catalogue
Chapter 1 Assembling the printer ........................................................................................ 4
1.1 Installing the extruder ...................................................................................................... 4
1.2 Feeding the filament ...................................................................................................... 11
1.3 Installing glass platform ................................................................................................ 15
Chapter 2 Loading and changing filament ..................................................................... 17
Chapter 3 Off-line print and LCD control Panel ........................................................... 19
3.1 Testing print .................................................................................................................... 19
3.2 LCD screen control introduction .................................................................................. 21
3.2.1 Pause, resume and stop print ................................................................................... 21
3.2.2 Print speed and Temperature adjustment .................................................................. 23
3.2.3 Manual preheat ........................................................................................................ 24
3.2.4 Automatic preheat .................................................................................................... 25
3.2.5 Control the machine to move .................................................................................... 26
3.2.6 Unlock ...................................................................................................................... 27
Chapter 4 Adjusting print platform ..................................................................................... 27
2014 Mytrix Technology
All rights reserved Third Version

Mytrix Technology - http://www.mytrixtech.com
2
4.1 Coarse adjustment ........................................................................................................ 28
4.2 Fine adjustment.............................................................................................................. 28
Chapter 5 Installing software ............................................................................................... 29
Chapter 6 Solution when unable to install Arduino driver ........................................ 30
Chapter 7 Software introduction......................................................................................... 32
7.1 Quickprint ........................................................................................................................ 32
7.2 Full settings ..................................................................................................................... 33
7.3 Parameter introduction .................................................................................................. 33
7.3.1 General setting ......................................................................................................... 33
7.3.2 Advanced setting ...................................................................................................... 35
7.3.3 Print Screen ............................................................................................................. 37
7.4 USB network print .......................................................................................................... 40
Chapter 8 Picture printing ..................................................................................................... 42
Chapter 9 Print technique ..................................................................................................... 45
9.1 Flat bottom ...................................................................................................................... 45
9.2 Avoiding overhang ......................................................................................................... 46
2014 Mytrix Technology
All rights reserved Third Version

Mytrix Technology - http://www.mytrixtech.com
3
9.3 Assembleing matching graphic tolerance .................................................................. 49
9.4 Big size graphic print ..................................................................................................... 49
Chapter 10 FAQ .................................................................................................................... 50
Chapter 11 Notice................................................................................................................. 51
Chapter 12 Maintanence ................................................................................................... 52
2014 Mytrix Technology
All rights reserved Third Version
Mytrix Technology - http://www.mytrixtech.com
4
Chapter 1 assembling the printer
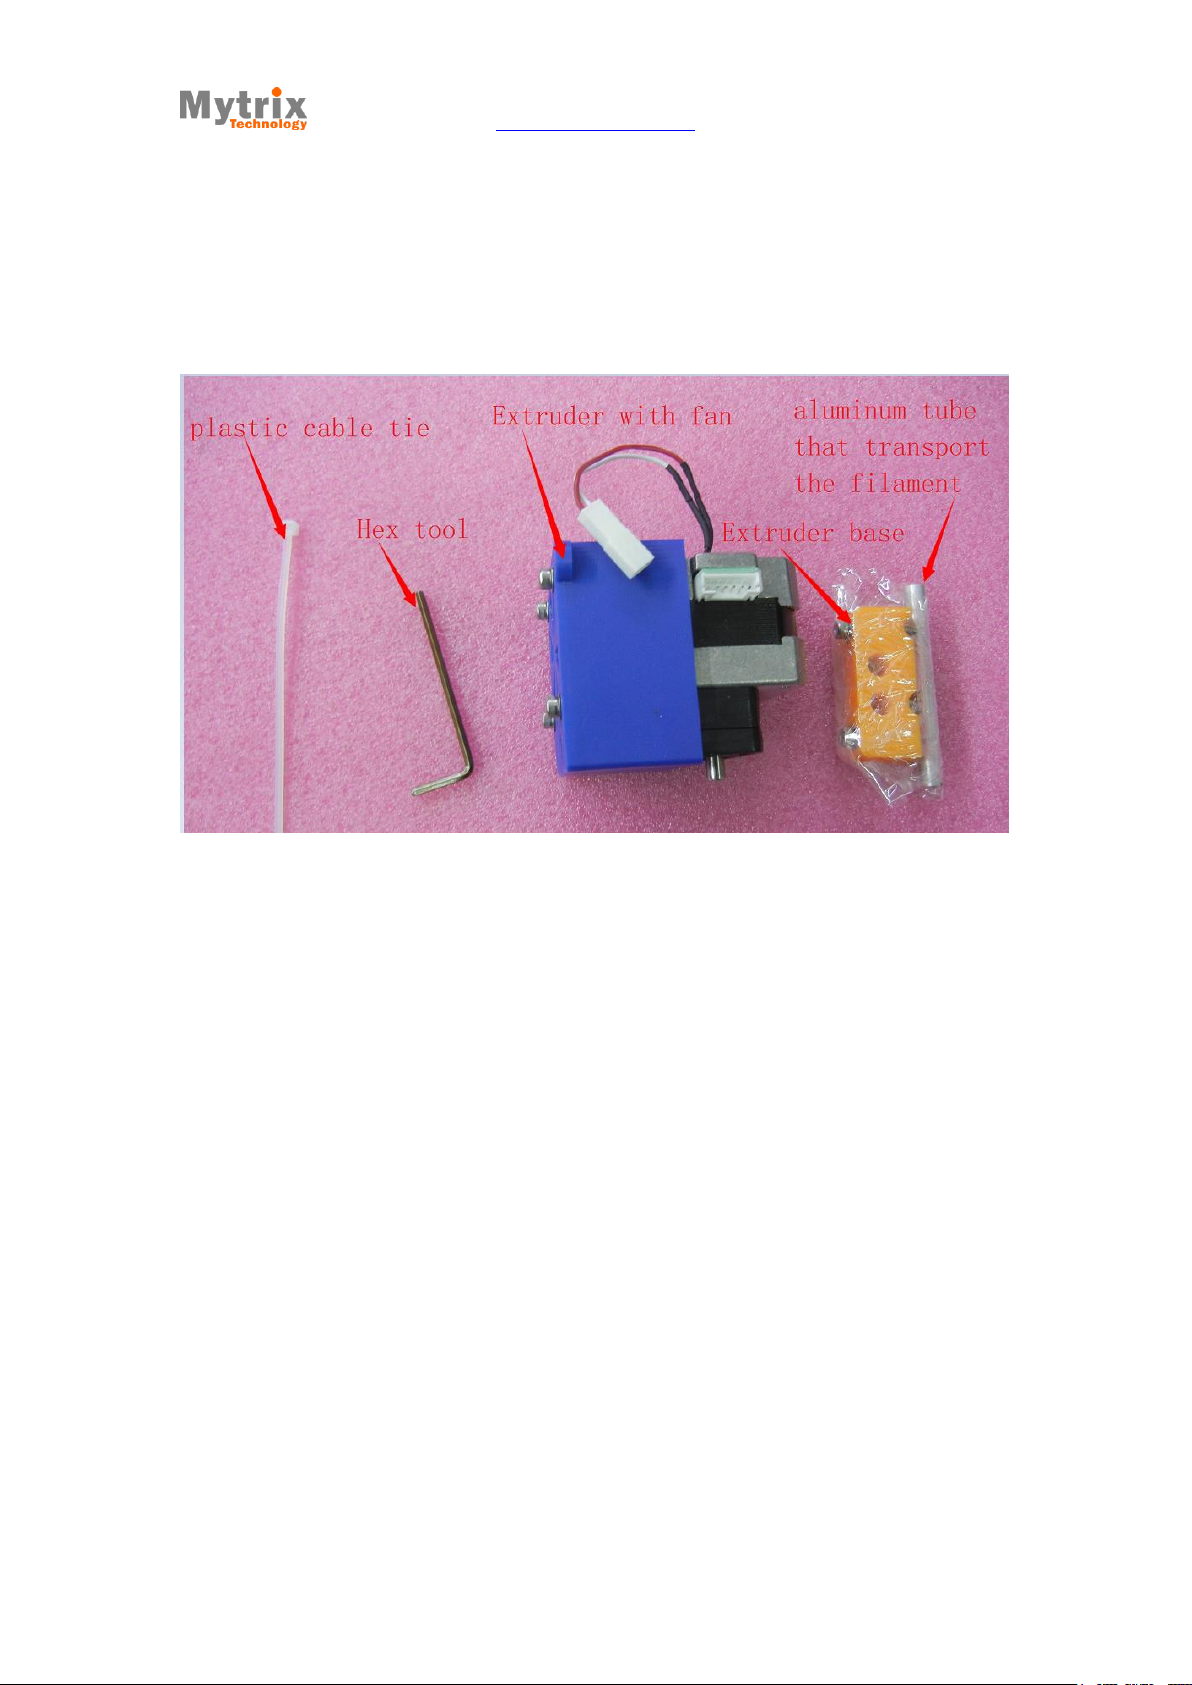
1.1 Installing the extruder
Find the white PTFE round base at the cross-shaped sliding table, as shown below.
2014 Mytrix Technology
All rights reserved Third Version

Mytrix Technology - http://www.mytrixtech.com
5
cross-shaped sliding table
white PTFE round base
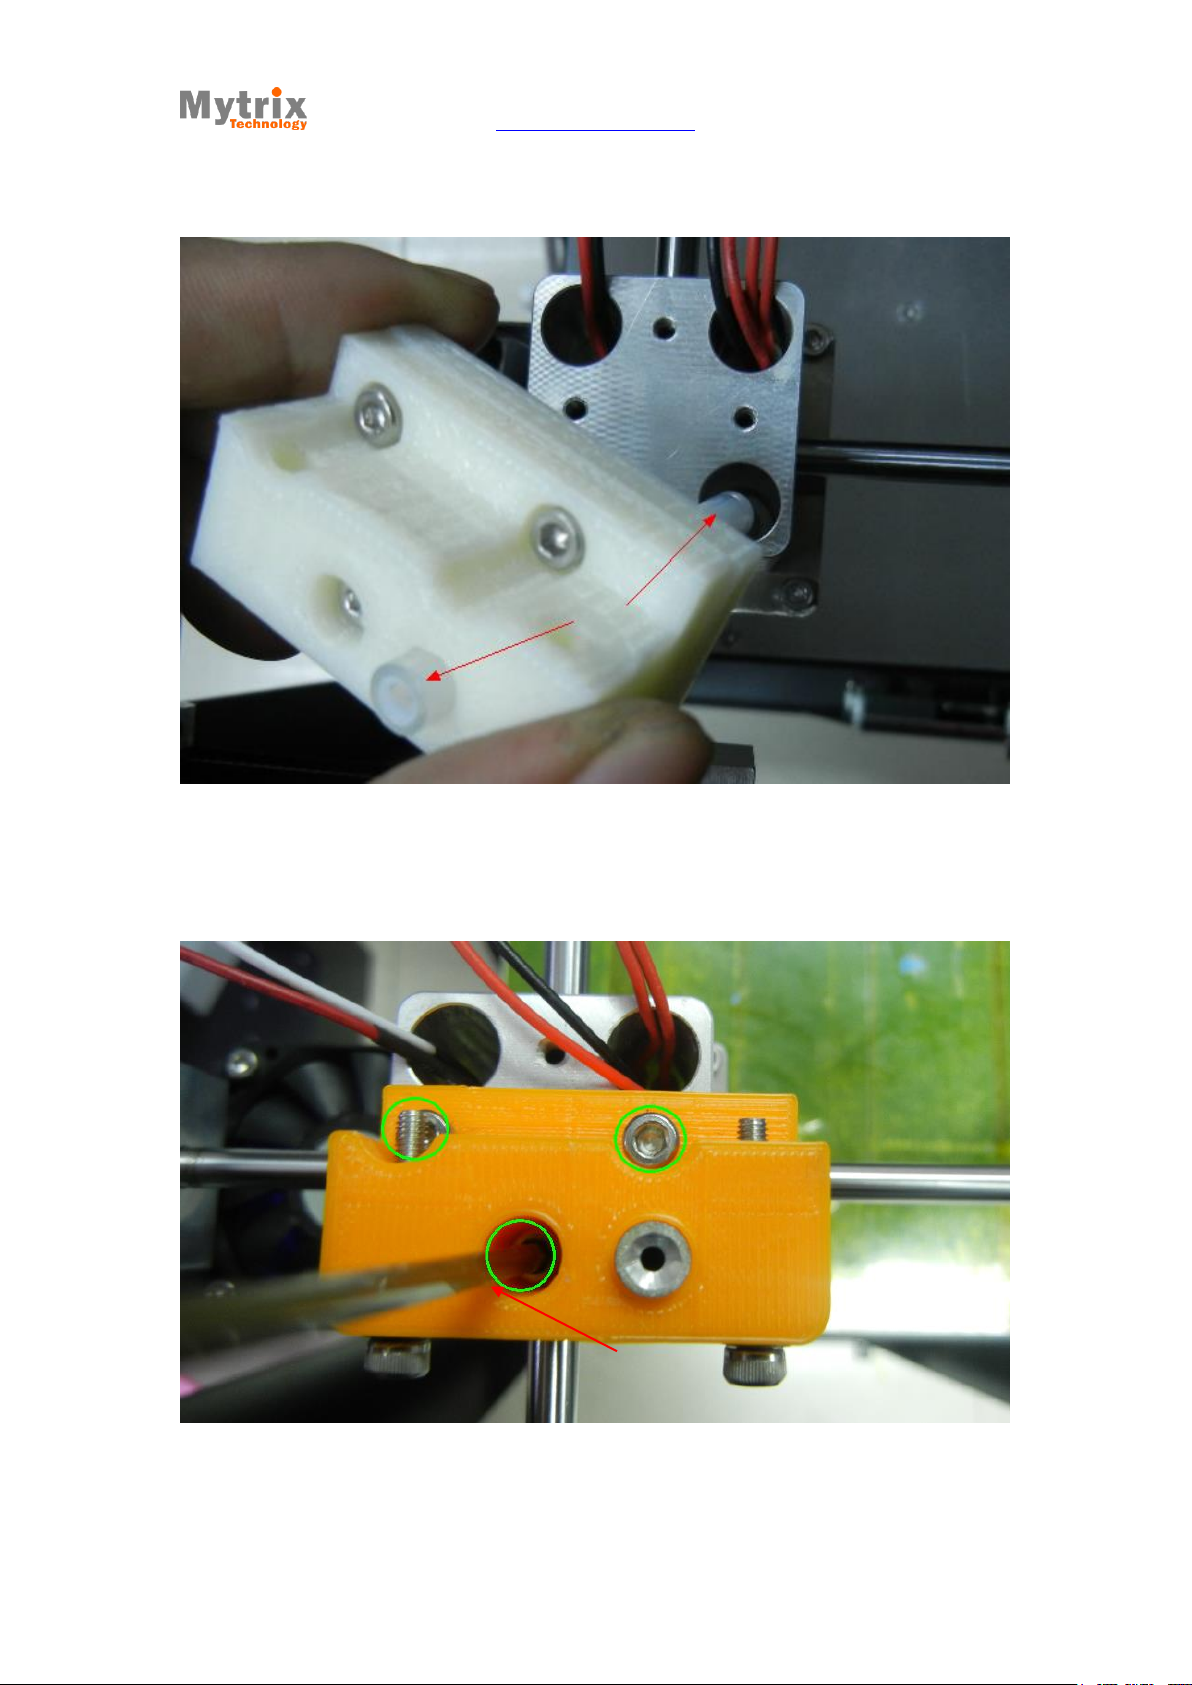
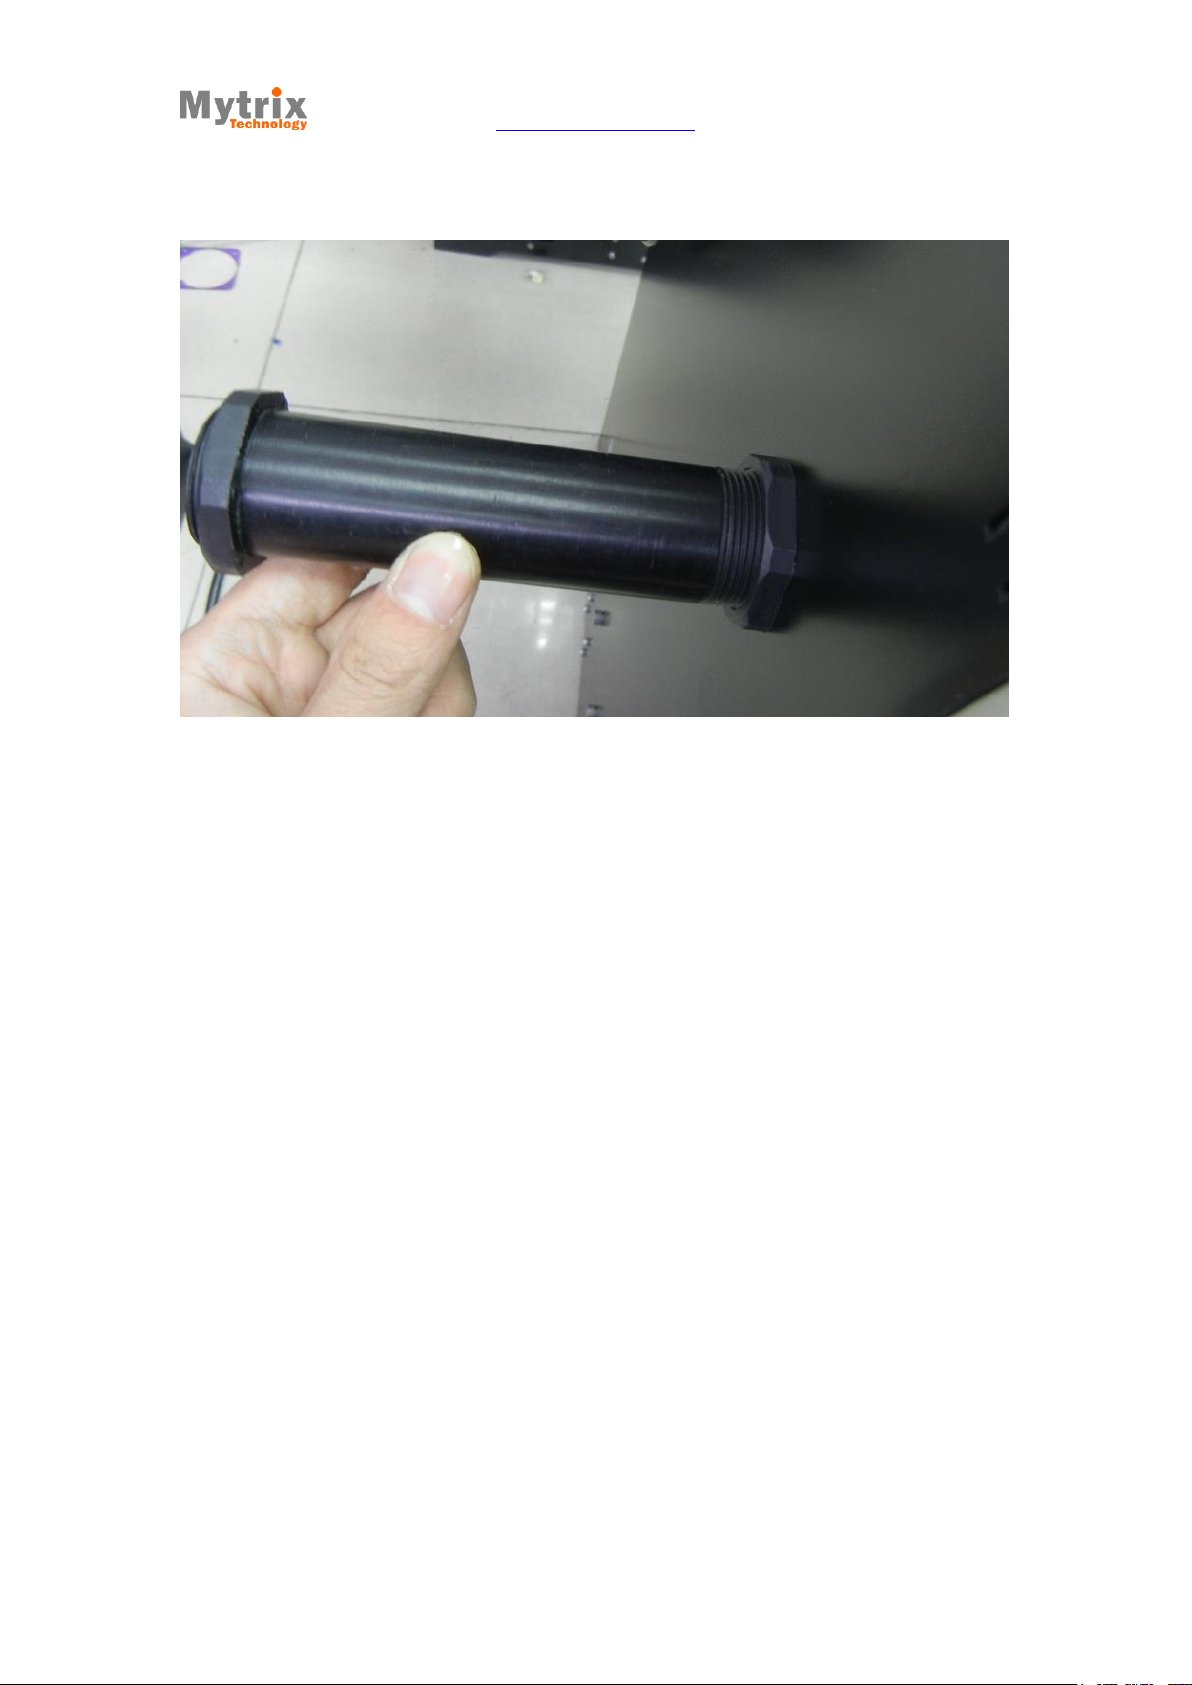
Align the aluminum tube with the PTFE round-shaped hole, press it in slowly, and make
sure it is the right direction, the end with the chamfer should be facing up, as shown
below.
2014 Mytrix Technology
All rights reserved Third Version
Mytrix Technology - http://www.mytrixtech.com
6
use the hex tool to tighten the screws
Align the screw hole, then install the screws, as shown below.
2014 Mytrix Technology
All rights reserved Third Version
Mytrix Technology - http://www.mytrixtech.com
7
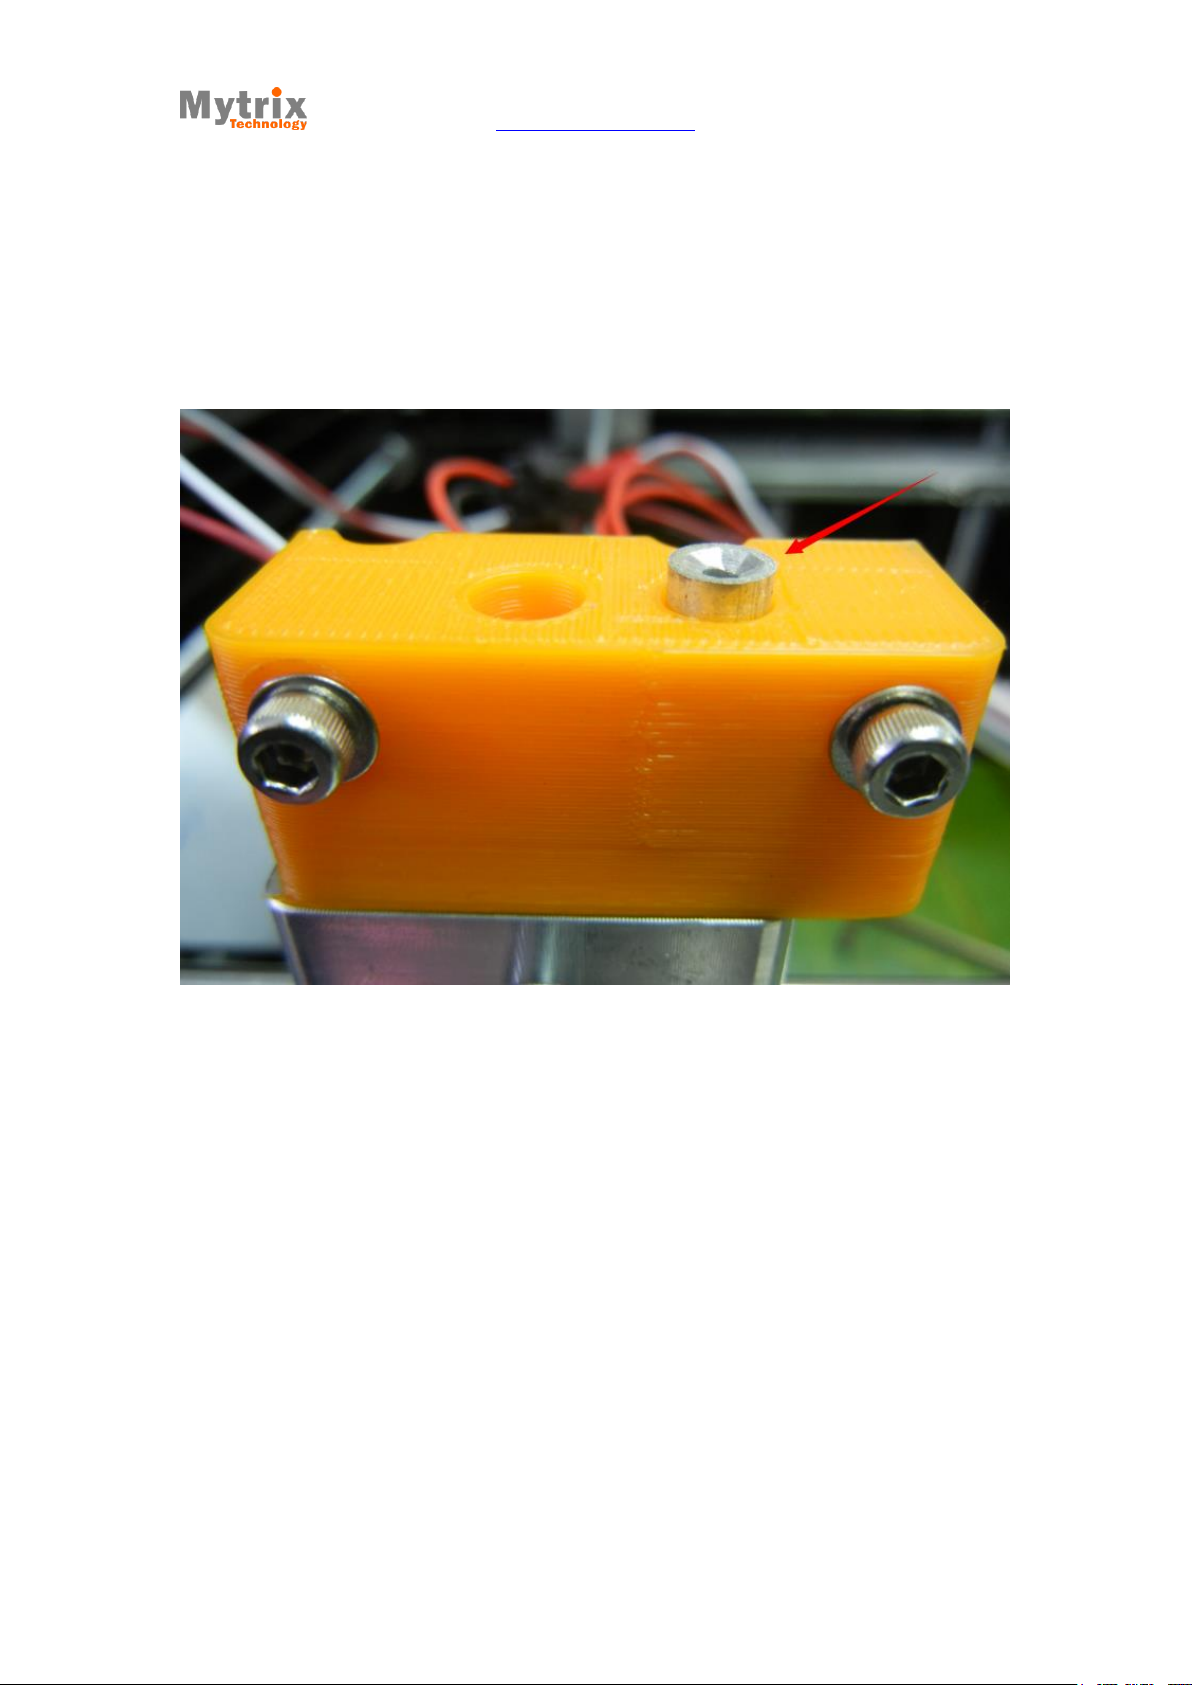
After it is successfully installed, the length of the aluminum tube exposed in the
extruder surface should be the same as shown below.
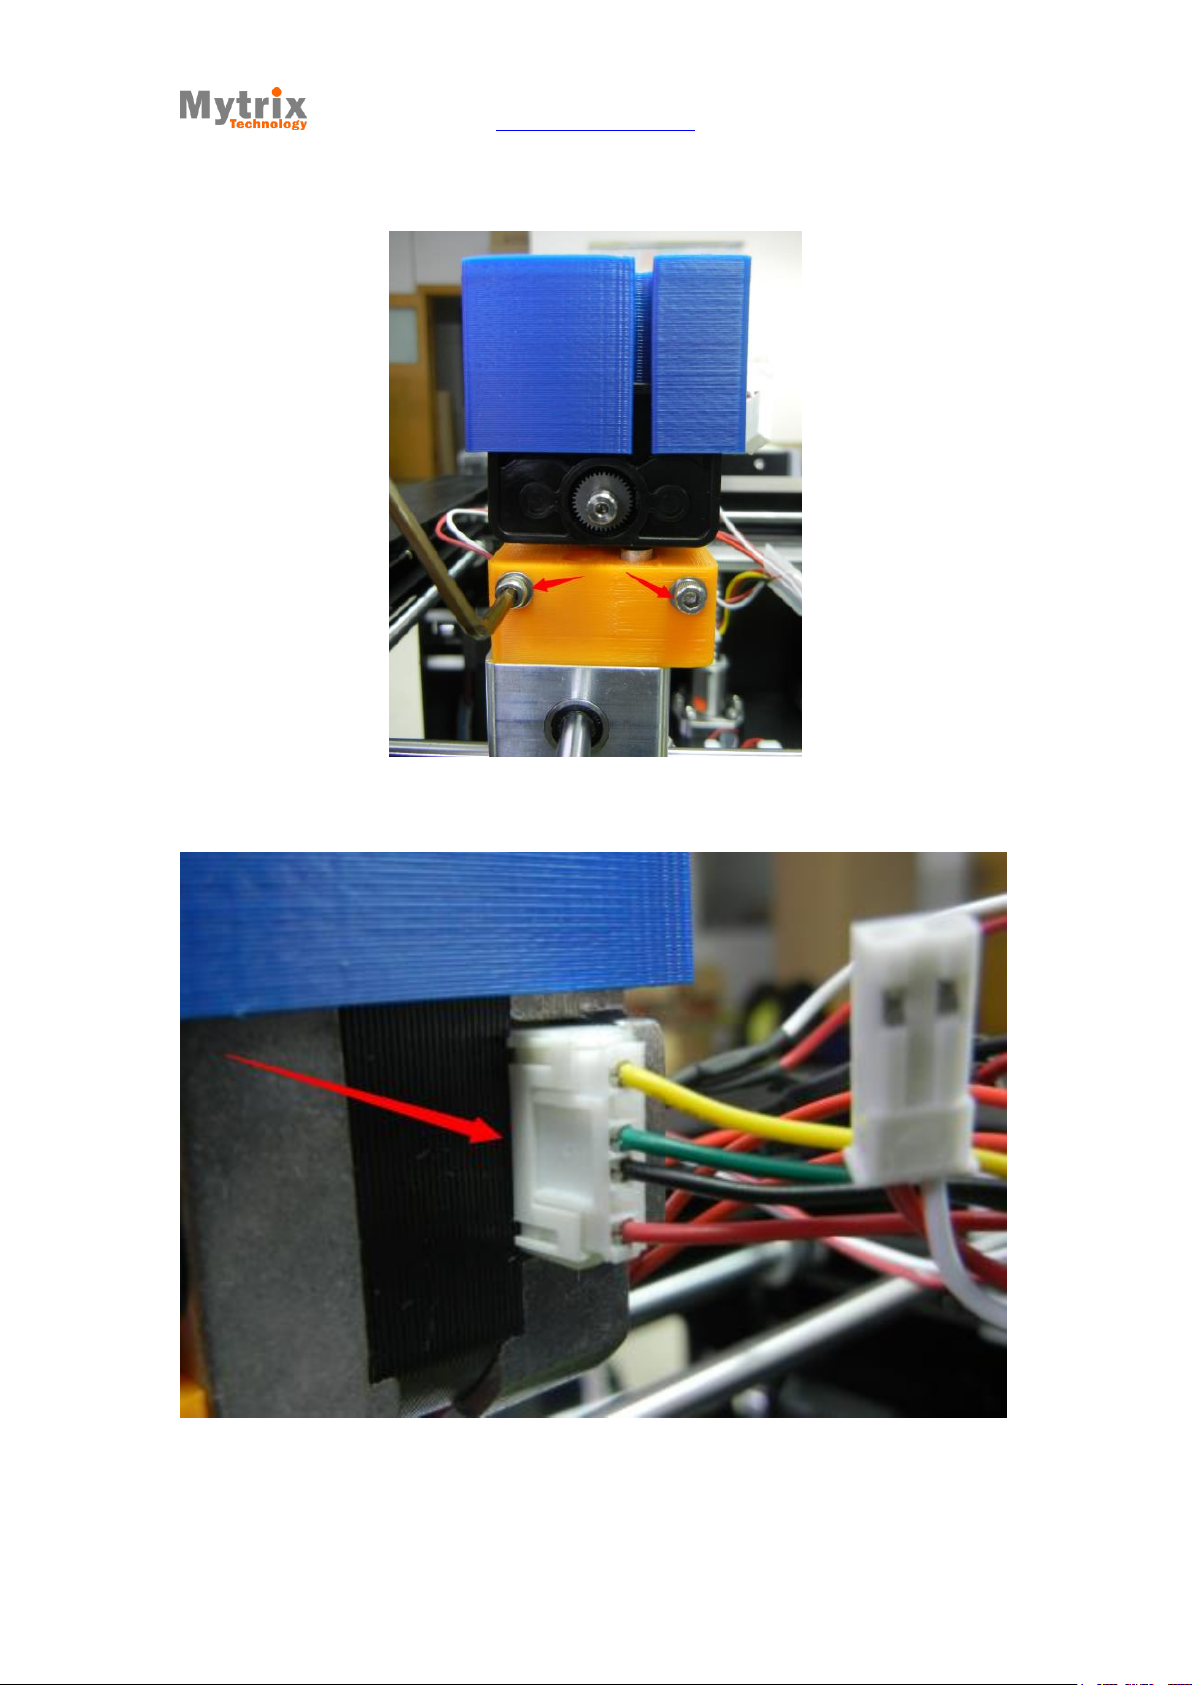
Align the two screw holes from the extruder motor with the screws in the motor settle
socket, and then tighten the screws, as shown below.
2014 Mytrix Technology
All rights reserved Third Version
Mytrix Technology - http://www.mytrixtech.com
8
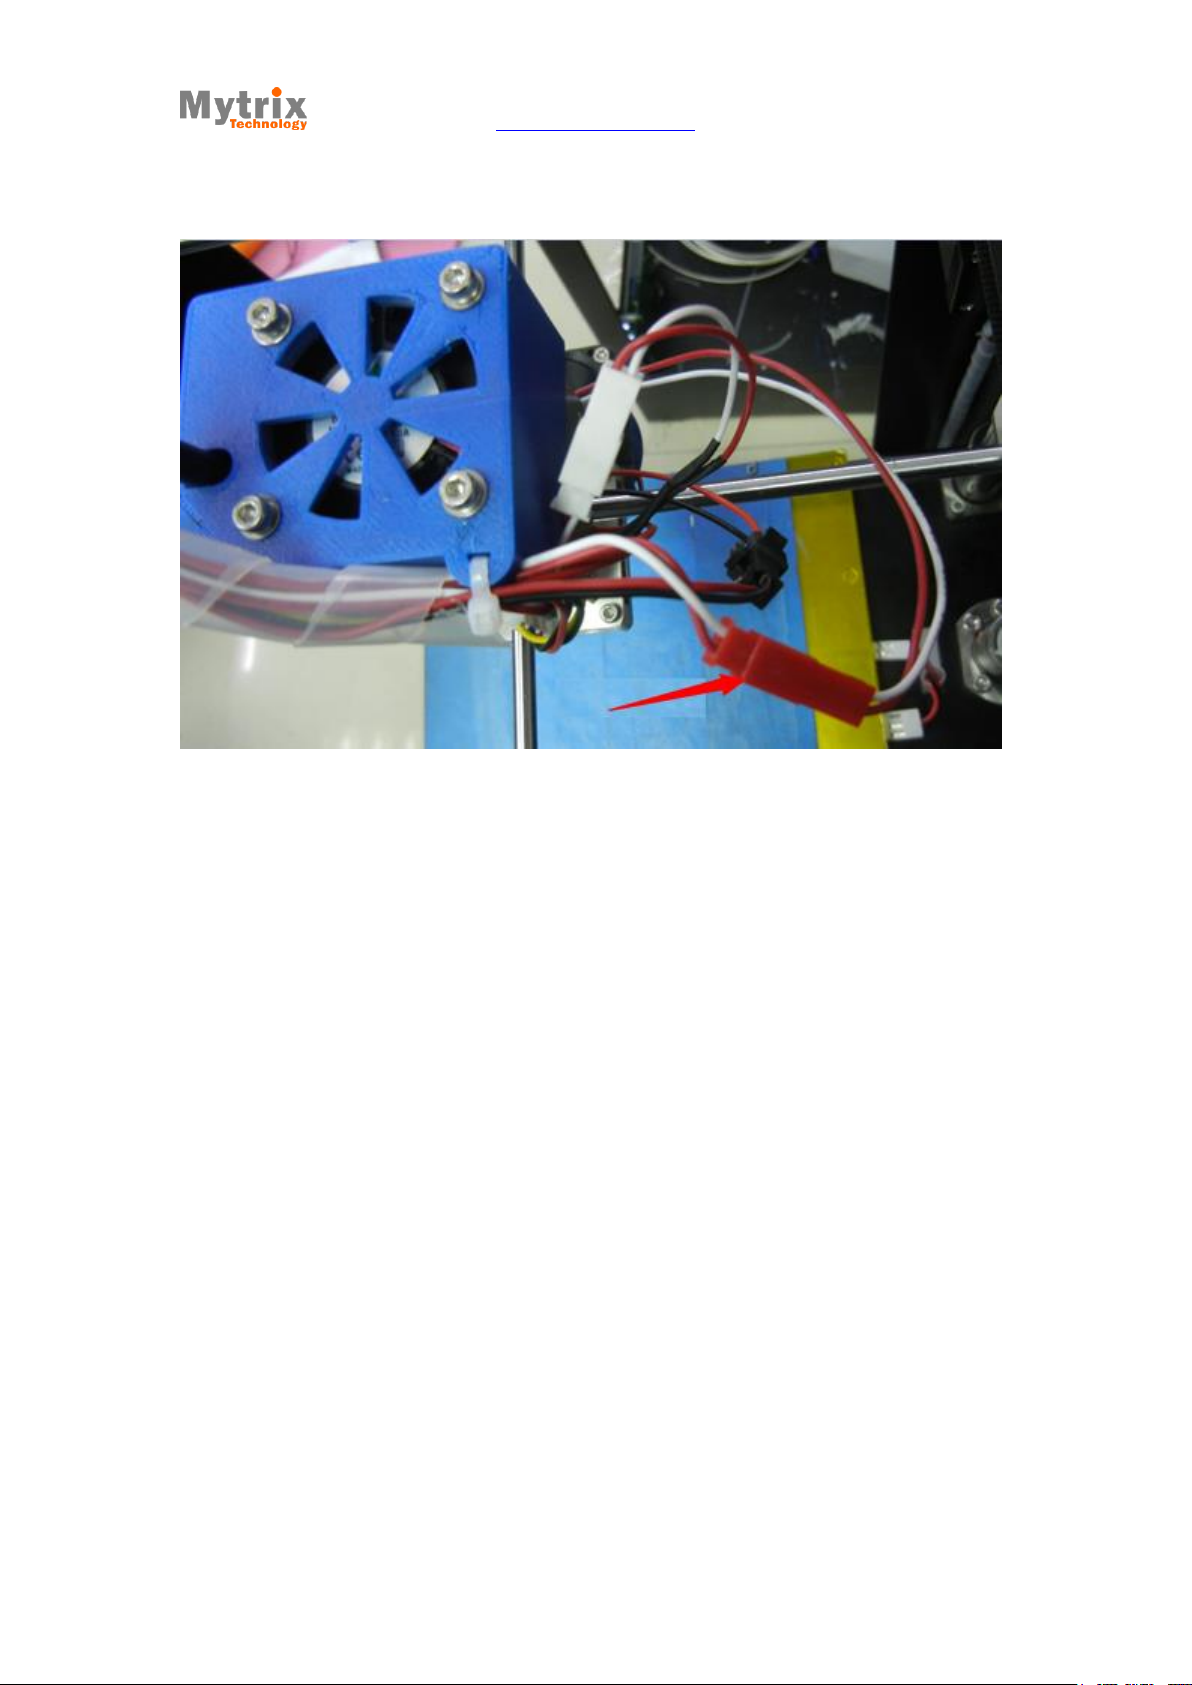
Connect the extruder filaments correctly to the motor, as shown below.
2014 Mytrix Technology
All rights reserved Third Version

Mytrix Technology - http://www.mytrixtech.com
9
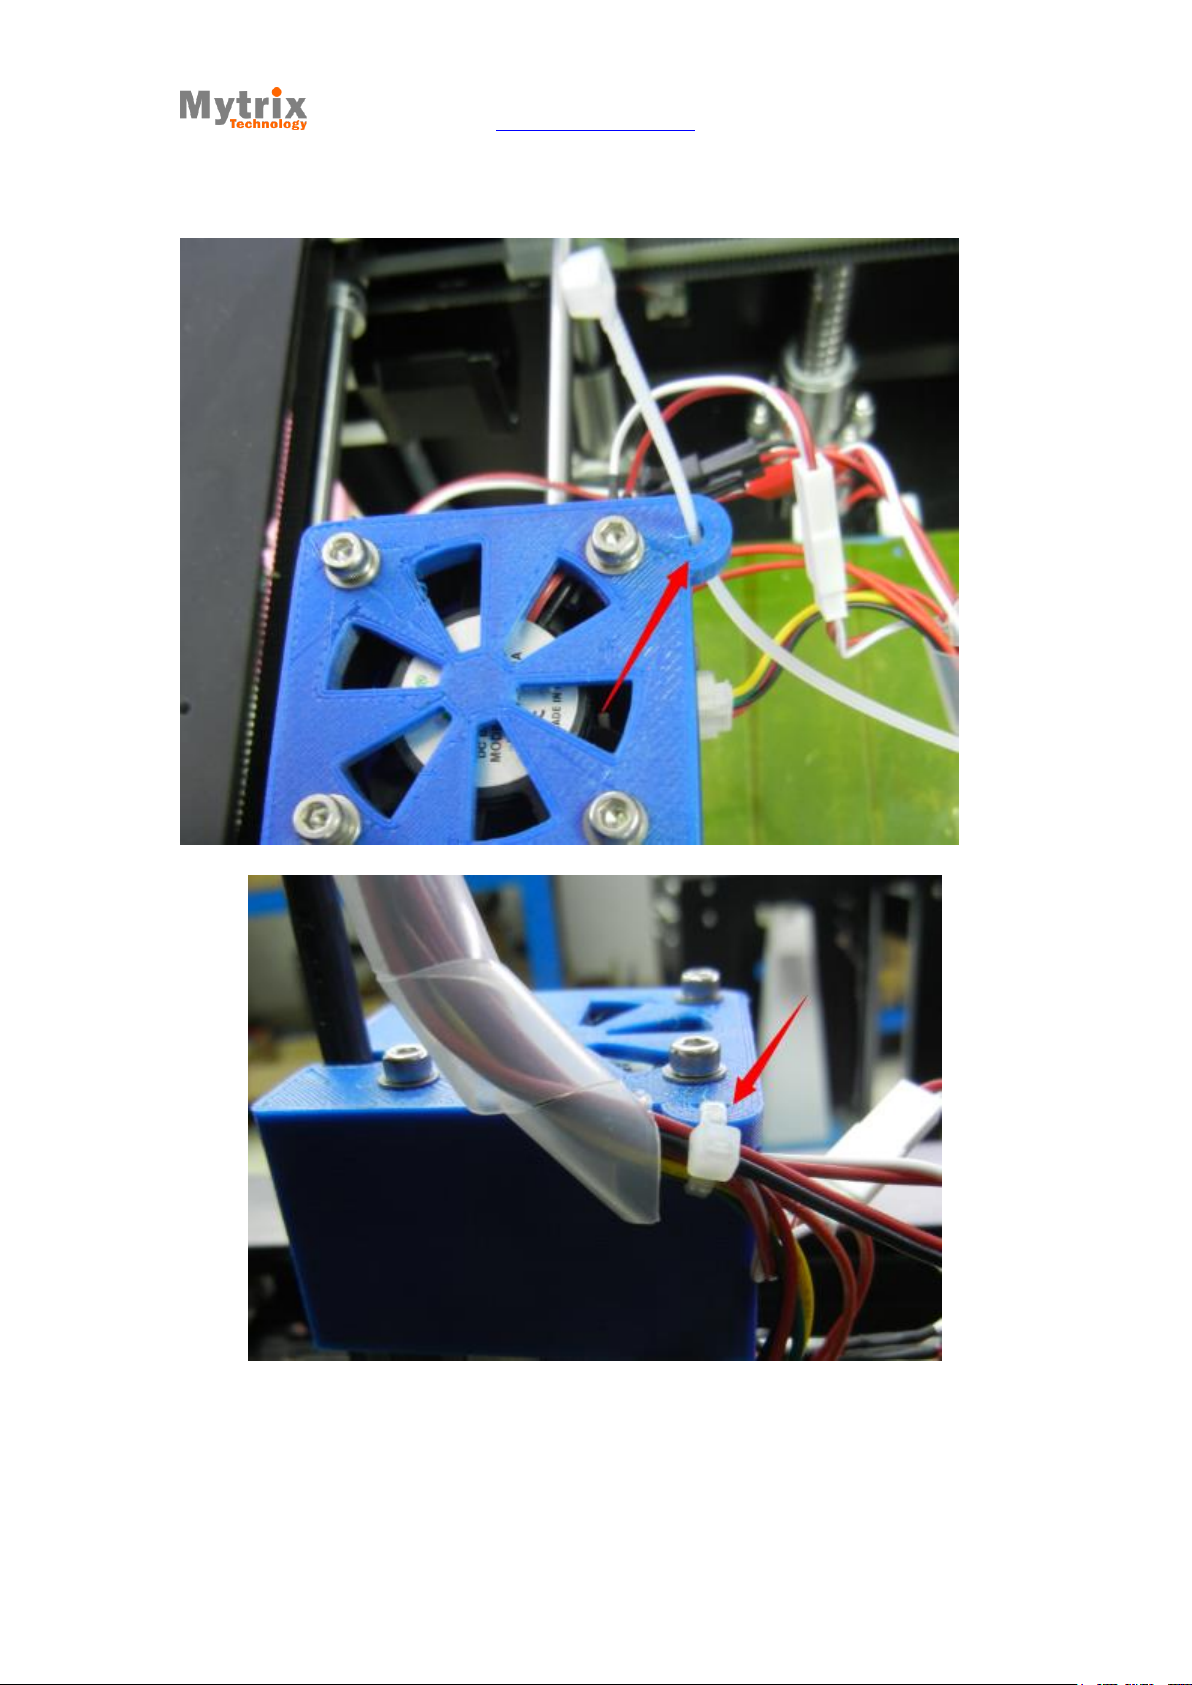
Connect extruder motor cooling fan filament (while plug), as shown below.
Connect the cooling nozzle fan filament (red plug), as shown below.
2014 Mytrix Technology
All rights reserved Third Version
Mytrix Technology - http://www.mytrixtech.com
10
Use the cable tie to tie all the filaments of the extruder, fasten them on the motor cooling
tower.
2014 Mytrix Technology
All rights reserved Third Version
Mytrix Technology - http://www.mytrixtech.com
11
1.2 Feeding the filament
Install the feeding frame, as shown below.
2014 Mytrix Technology
All rights reserved Third Version
Mytrix Technology - http://www.mytrixtech.com
12
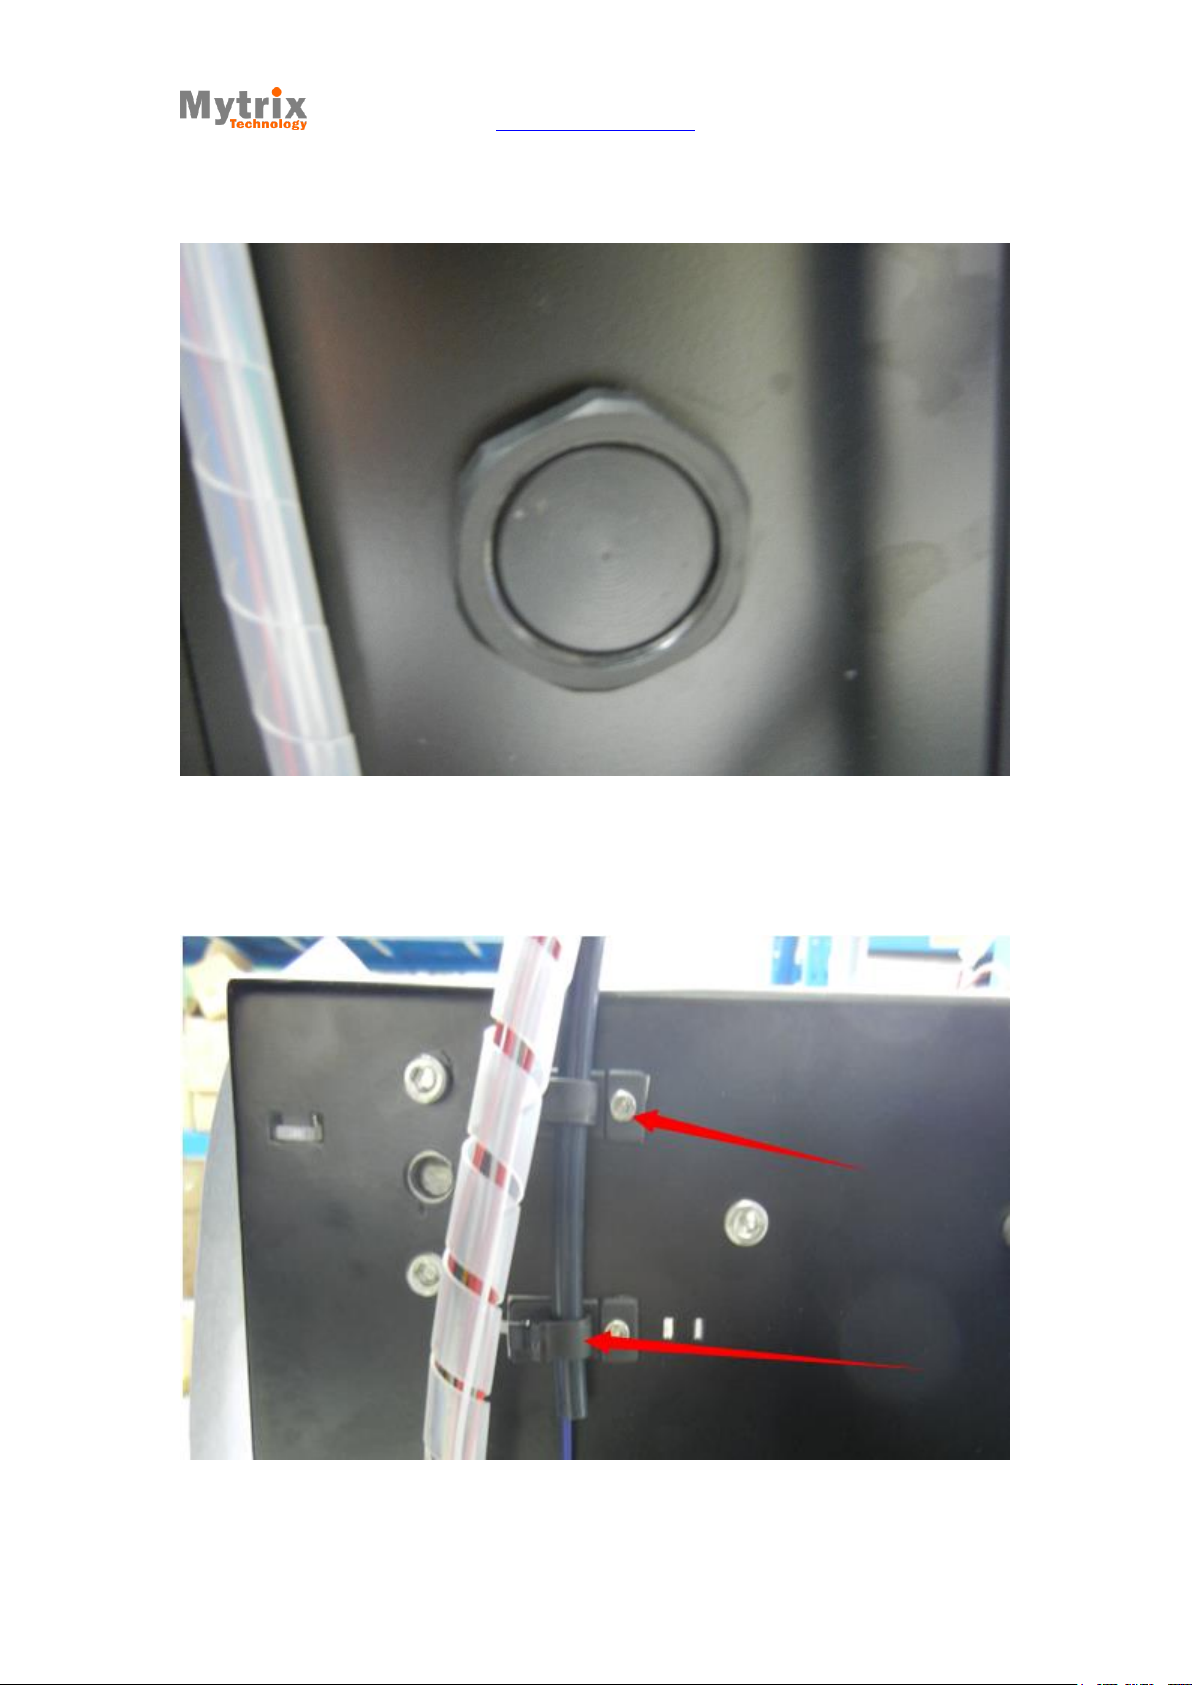
Tighten the screw cap to settle the frame.
2014 Mytrix Technology
All rights reserved Third Version
Mytrix Technology - http://www.mytrixtech.com
13
Install the filament feeding tube, buckle the fixed button, as shown below.
2014 Mytrix Technology
All rights reserved Third Version
Mytrix Technology - http://www.mytrixtech.com
14
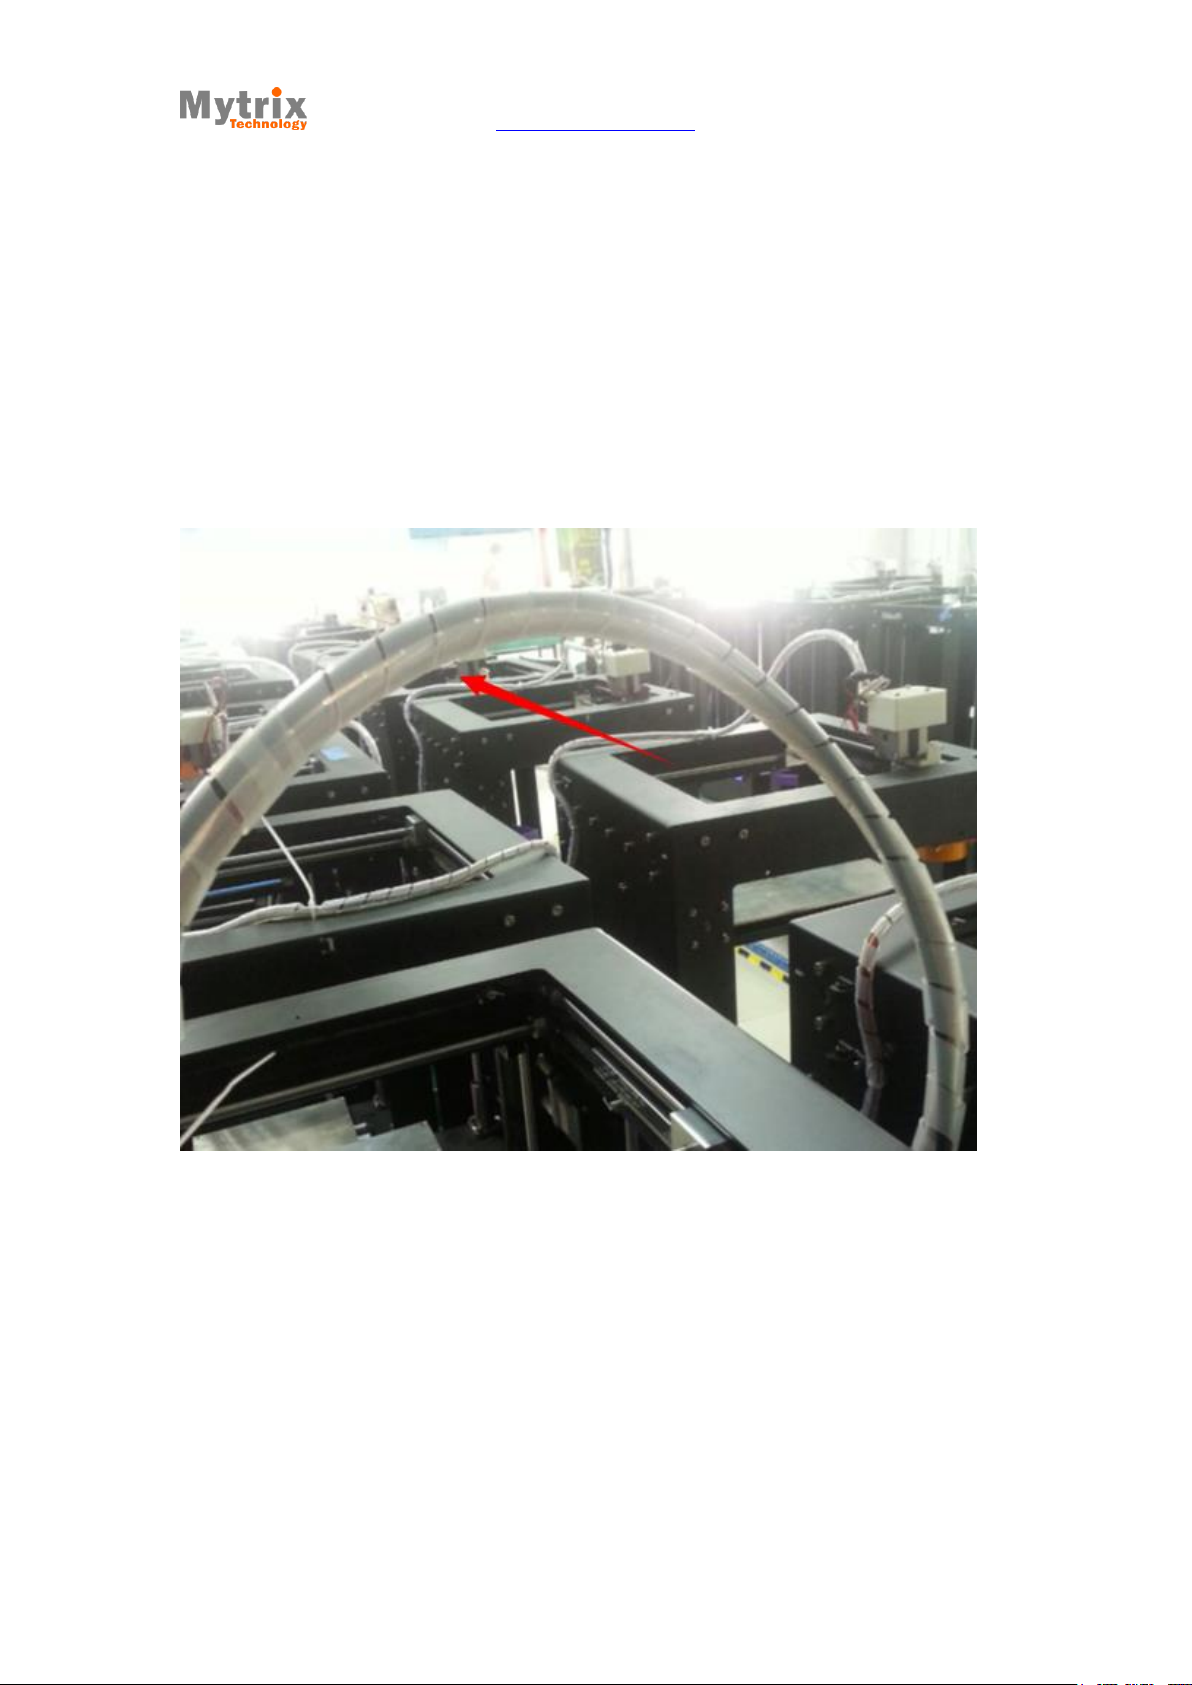
Use the winding pipe (in the accessory box) to fix the electric wires and filament
feeding tube, as shown below.
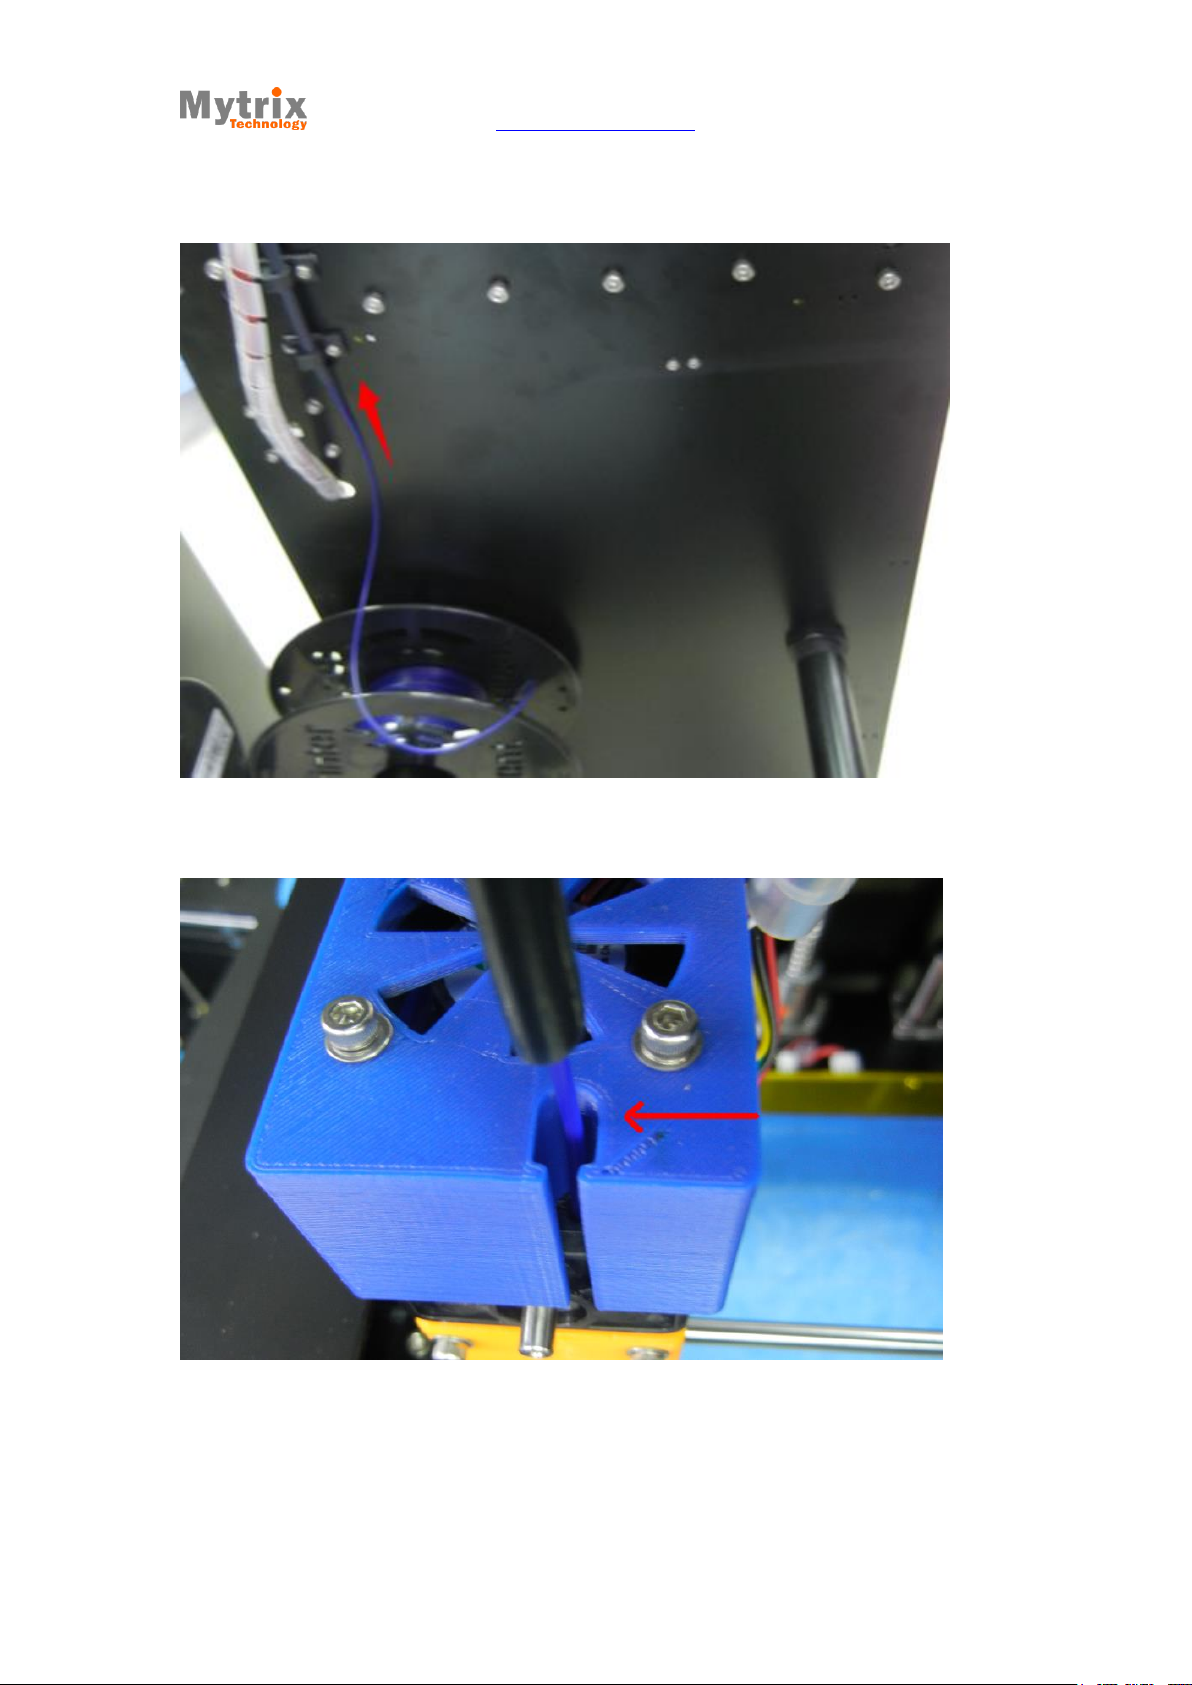
Load the filament from the bottom offilamentfeeding pipe, as shown below.
2014 Mytrix Technology
All rights reserved Third Version
Mytrix Technology - http://www.mytrixtech.com
15
Load the filament into the filament feeding box of the extruder, as shown below.
1.3 Installing glass platform
Use the clamp ( or torsion spring) to fix the glass plate on the print platform, the side
2014 Mytrix Technology
All rights reserved Third Version
 Loading...