

Page 1
ACCU-STIC512 Locator Manual
from MyTana Mfg. Co. Inc.
746 Selby Ave St. Paul, MN 55104
800-328-8170 Fax: 651-222-1739 www.mytana.com
Page 2
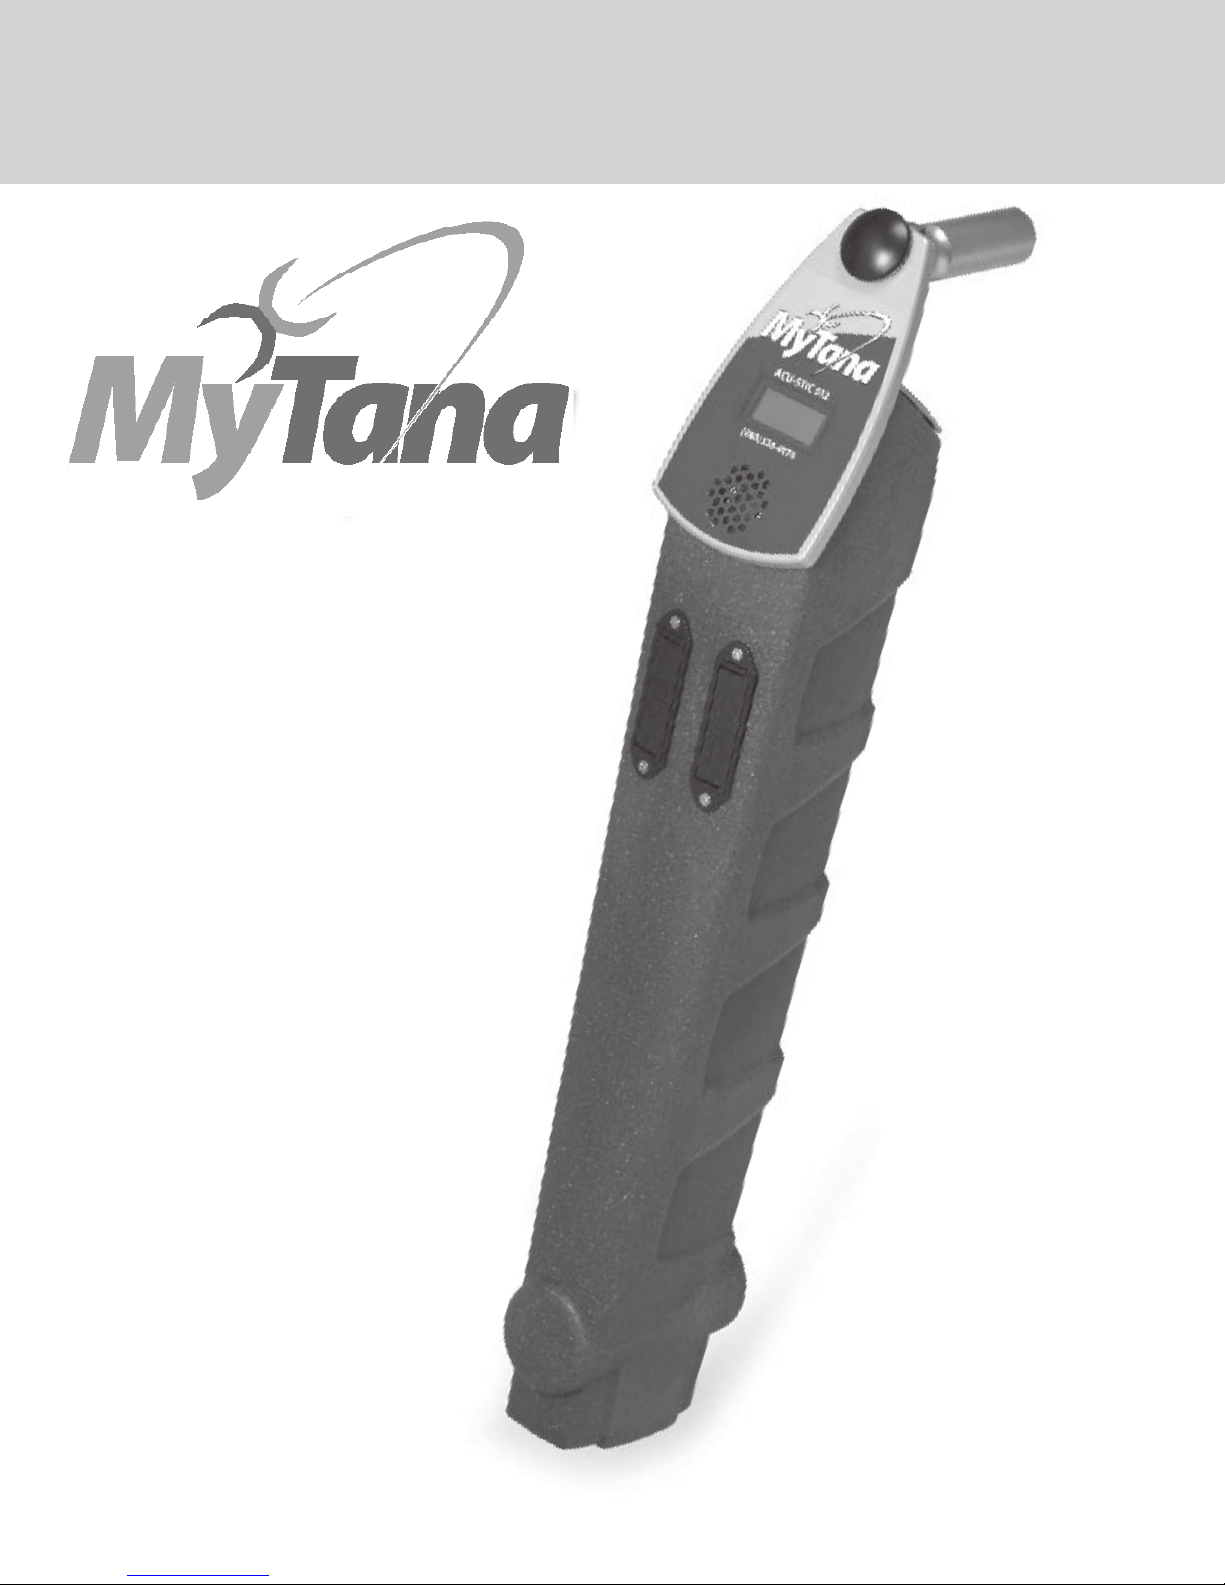
ACCU-STIC512 Locator
The ACCU-STIC512 Locator is designed to locate the source of a 512 Hz signal. This 512 Hz frequency has
been widely adopted as the standard for locating in the sewer industry. This unit is designed to work with
the transmitters that are offered by MyTana. The ACCU-STIC512 will locate 512 Hz transmitters from other
companies. However, these instructions and the depth calibration for the locator are based on the MyTana
transmitters and may vary somewhat when using other transmitters.
Locate by sound and push button depth
The ACCU-STIC512 Locator signals strength uses an audio signal that varies with the signal strength. As the
operator gets closer, the audio signal gets louder. The Gain knob should be turned down as the operator
gets closer to the transmitter. Keep turning the Gain down until the locator produces sound only when
directly above the transmitter. Once the transmitter is located, push the depth button and read transmitter
depth in feet on the display.
Not familiar with locating? Practice locating the transmitter “above ground”.
Carefully observe how the locator signal reacts when the locator is moved, or turned.
A. STARTUP
1. Start with the Transmitter.
MyTana’s camera head contains a 512 Hz transmitter. MyTana also
offers a choice of battery powered Sonde transmitters (512 Hz). Sondes
can be attached to a sewer cable or fish tape and sent down a sewer
pipe. Determine what transmitter you will be using and make sure it is
working properly.
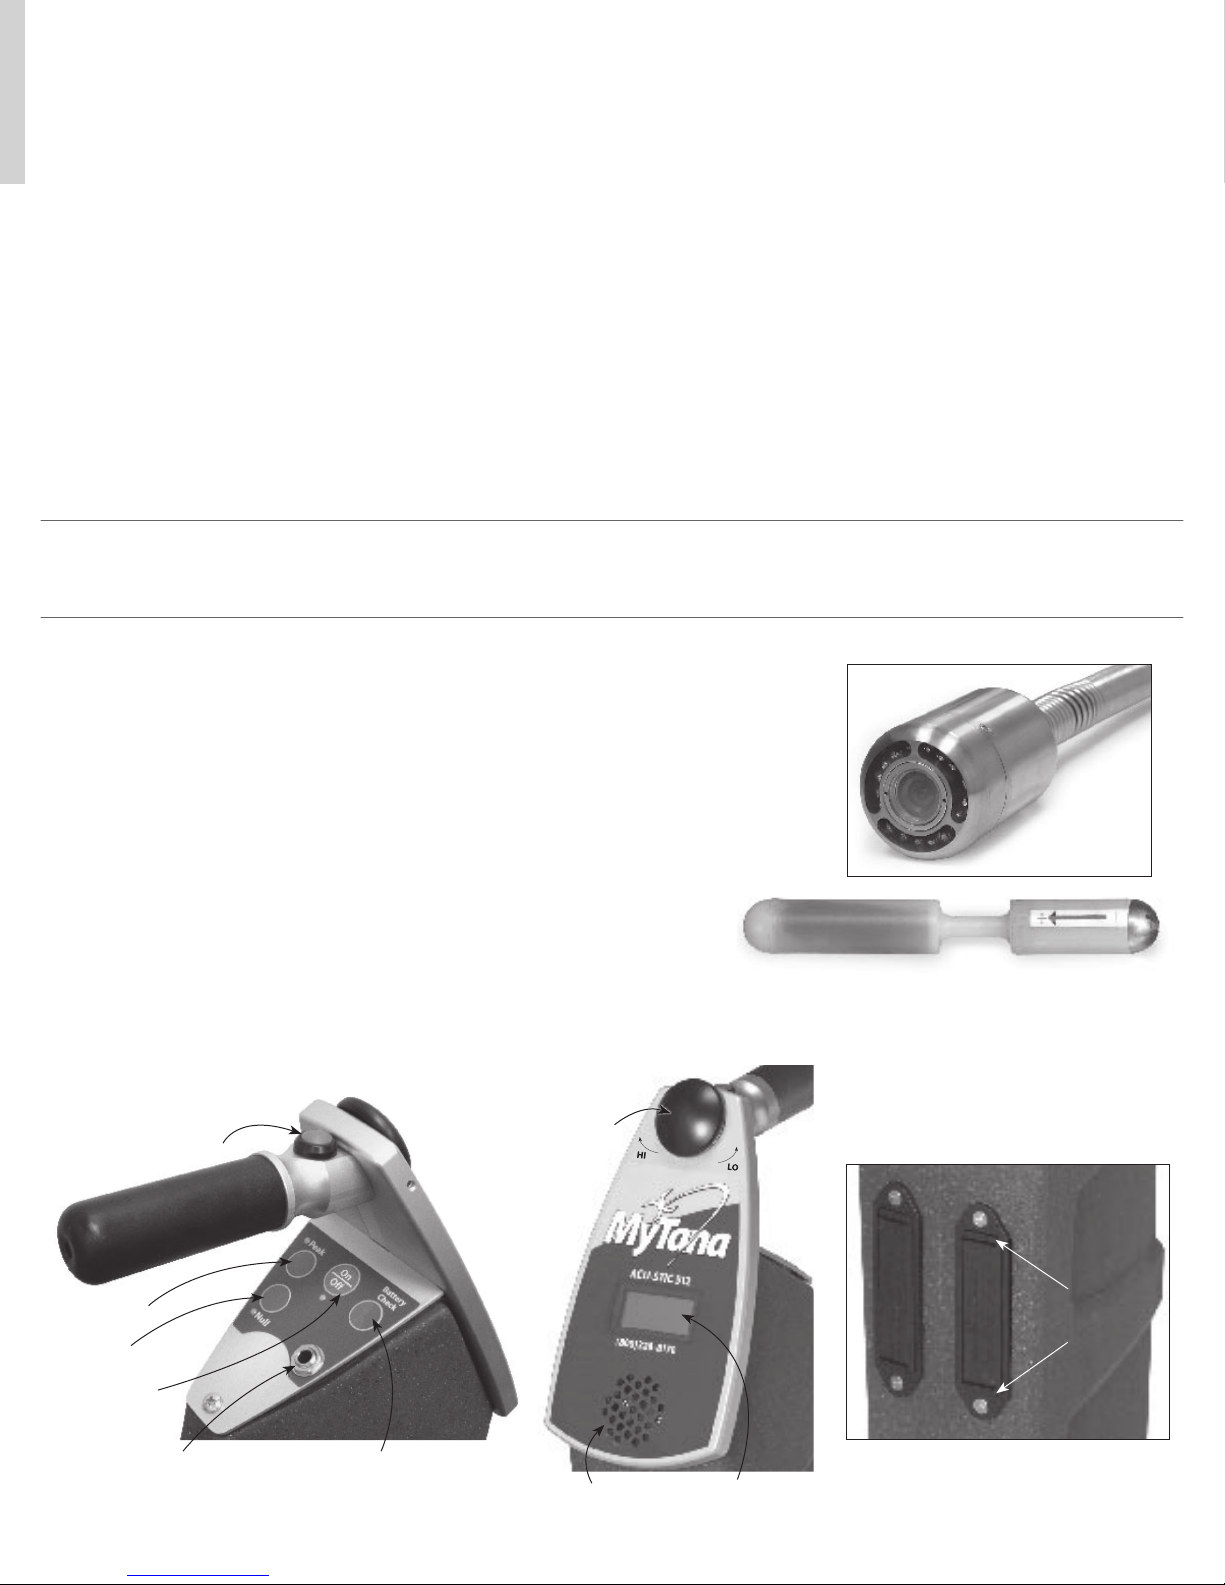
2. Familiarize yourself with the ACCU-STIC512 Locator
Gain knob
Depth button
Camera head
Battery powered Sonde
Peak
Null
On - Off
Battery CheckMic jack
2
Battery
casing tabs
LCD screenWater-proof
speaker
Page 3

3. Position camera head/transmitter at point in
sewer or drain pipe for locating and turn transmitter on. Estimate how far the transmitter is in the
pipe, and determine the most likely direction for
the pipe.
3. Orientation VERY IMPORTANT!!
The nose of the locator must be parallel with the
suspected pipe layout underground. Once the transmitter’s location has been found, continue to refine
by changing the orientation of the locator.
NOTE:
pipe pull back on push-cable a little bit before starting
transmission to ensure that the camera (or sonde) is
laying flat in pipe and not at an angle.
When moving the camera or sonde inside the
B. LOCATE
1. Power up ACCU-STIC512. Battery Check
should read 8.0 volts or more (if it reads less than
8.0 volts, replace batteries). Locator should be
in Peak mode (default). Plug in headphones if
desired. Hold ACCU-STIC512 in dominate hand and
use thumb to engage the Gain knob. Move in the
suspected direction of the transmitter.
2. As you get closer to the transmitter, keep turning the Gain down. As mentioned above, the ACCU-STIC512 will emit louder pitch as it reads a
stronger signal from the transmitter – as the operator gets closer to the transmitter. Turn down
the Gain so that movement in any direction
presents a change in volume.
NOTE:
Automobiles, Electric generators, or Transformers) can
interfere with the ACCU-STIC512 and cause it to pro-
Anything with a strong magnetic field (running
Incorrect Position
Correct
Position
C. Depth
1. Know what material the pipe is made of. The
ACCU-STIC512 reads Non-iron pipes such as clay
or PVC best, but iron pipes partially block the
transmit signal. This means the footage displayed
on the LCD screen will read up to 40% deeper than
actual depth when locating in iron pipes.
2. Put the nose of the locator on the ground directly over the transmitter. Push the red "depth" button
once and give the unit several seconds to calibrate
depth. The depth will show up measured in feet
on the LCD screen. Once depth is established, push
the Depth button once more to return to the locate
functions.
duce sporadic sounds.
REMEMBER TO MARK THE LOCATION ONCE YOU HAVE ESTABLISHED IT
BE SURE TO TURN THE ACCU-STIC512 OFF BEFORE returning it to the carrying case.
NOTE:
you will lose the picture on the monitor screen.
Transmission is indicated by a white snow pattern
dancing across the monitor (Older monitor) or a
blue screen with a white "transmitting" message
(Newer monitors).
Transmitter off Transmitter on
When you flip the Transmit switch on,
3
Page 4

Trouble Shooting:
Problem: Unit won’t power up properly and a 1 shows up on the upper left corner of the
LCD screen.
Solution: This indicates that one of the battery casings are either dead or is simply not
snapped all the way into the contact points of the battery pack. Test batteries or simply make
sure that they are snapped into place properly.
Problem: The unit won’t turn off.
Solution: Unplug battery pack from unit. This sometimes occurs when unit is being used in
very wet conditions. In this event leave battery pack unplugged and place unit in a warm dry
place out of its storage case for several hours.
Proper care to ensure a long life of your ACCU-STIC512 Locator
• Keep unit dry and clean
• Transport in the padded storage case to reduce the effects of vibration and bumps in
road travel
• Handle unit gently. While the ACCU-STIC512 is designed to withstand the accidental
bump or drop, this is a carefully “tuned” unit that is calibrated to precision. Bumps and
careless handling can eventually cause malfunction and require repair or recalibration.
• Keep the Quick Reference guide with the unit at all times. This guide is very useful when
the operator is unsure of procedures, especially if the unit is not used every day.
REMEMBER TO MARK THE LOCATION ONCE
YOU HAVE ESTABLISHED IT
BE SURE TO TURN THE ACCU-STIC512 OFF
BEFORE
returning it to the carrying case
 Loading...