

my.t Smart Box User Manual
USER GUIDE
my.t Smart Box
1. Benefits
2. Your Smart box
2.1) Front view
2.2) Side view
2.3) Back view
3. Oering you the best TV experience is our priority.
4. Getting started
4.1) Connecting your Smart box to the router via the Ethernet cable
4.2) Navigating through the Menu
4.3) Connecting to Wi-Fi
Table of Contents
02
1. Benefits
View HD videos and photos
by connecting an external
drive or SD card to your box
Access my.t services via the
my.t remote control
The world of my.t content
on the menu
More visibility on contents
via This week on my.t,
VoDs & OCS sections
Access to my.t store & Apps
on TV through smart box
03
2. Your Smart Box
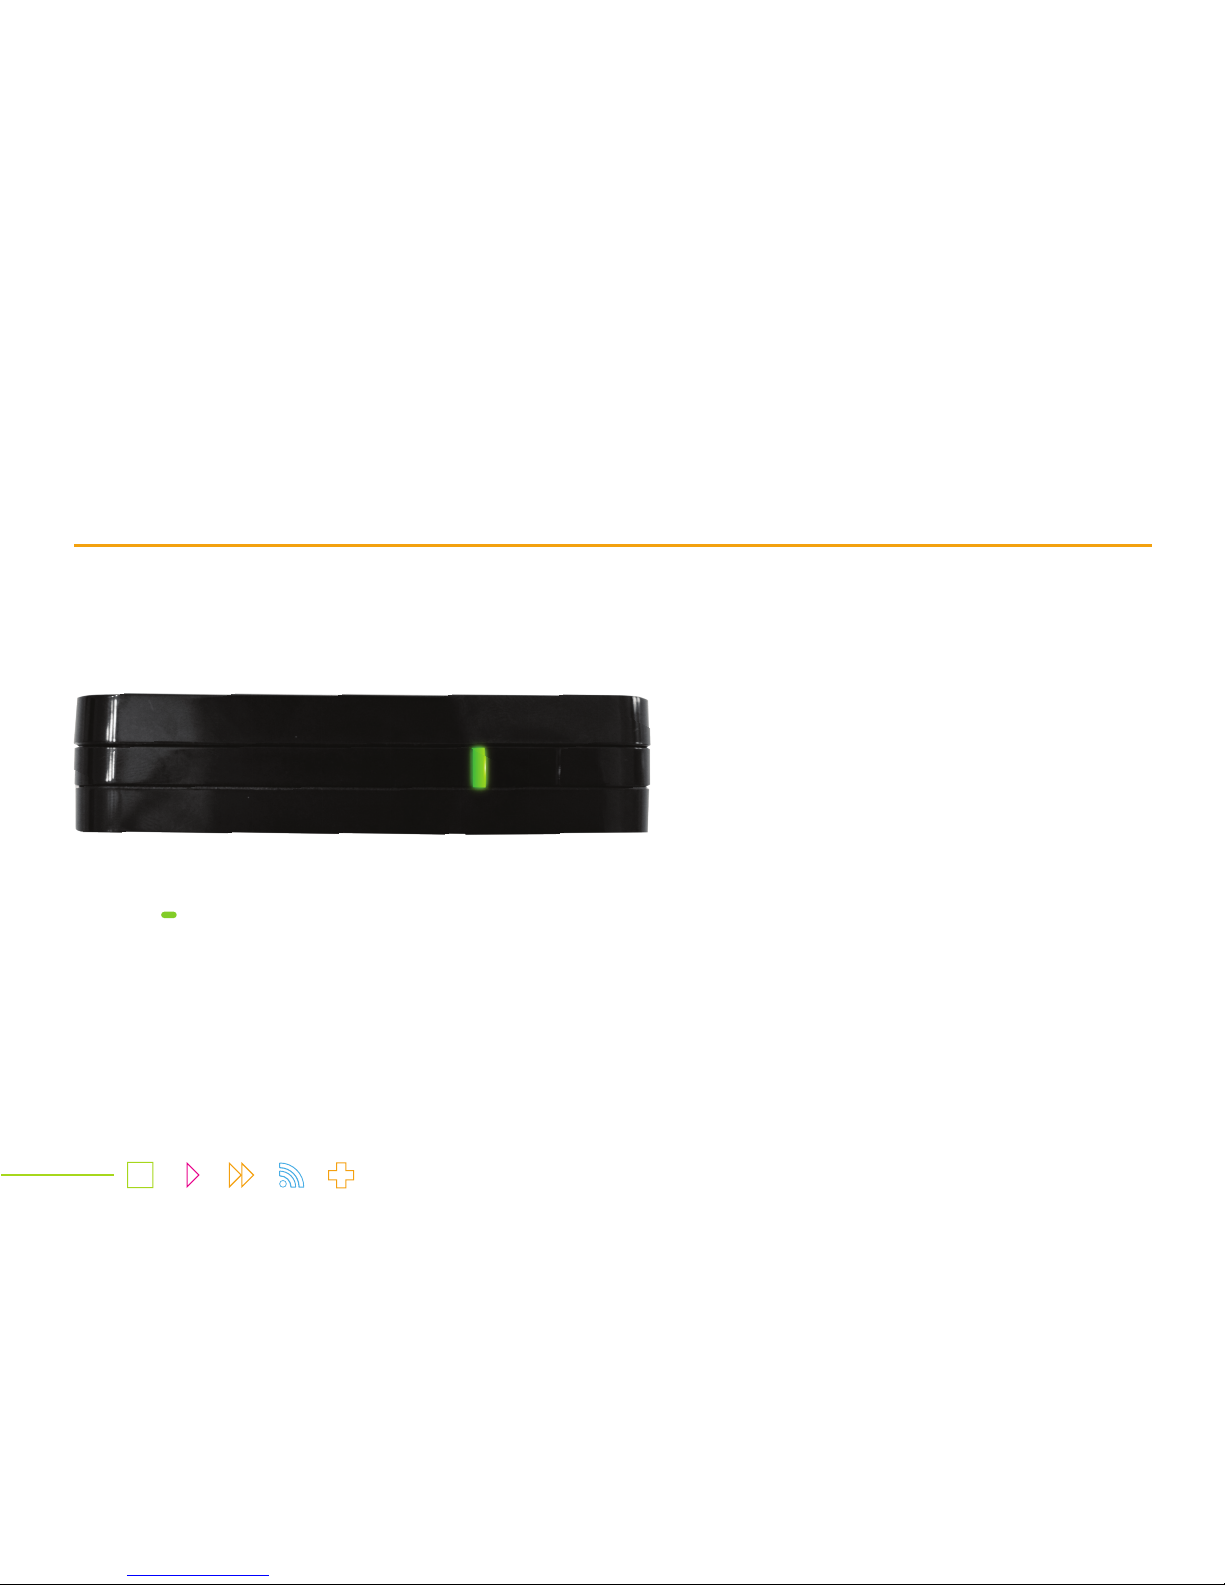
The front panel has one LED which lights up green when the Smart box is switched on.
The LED (
) lights up to green when powered on
2.1) Front View
04
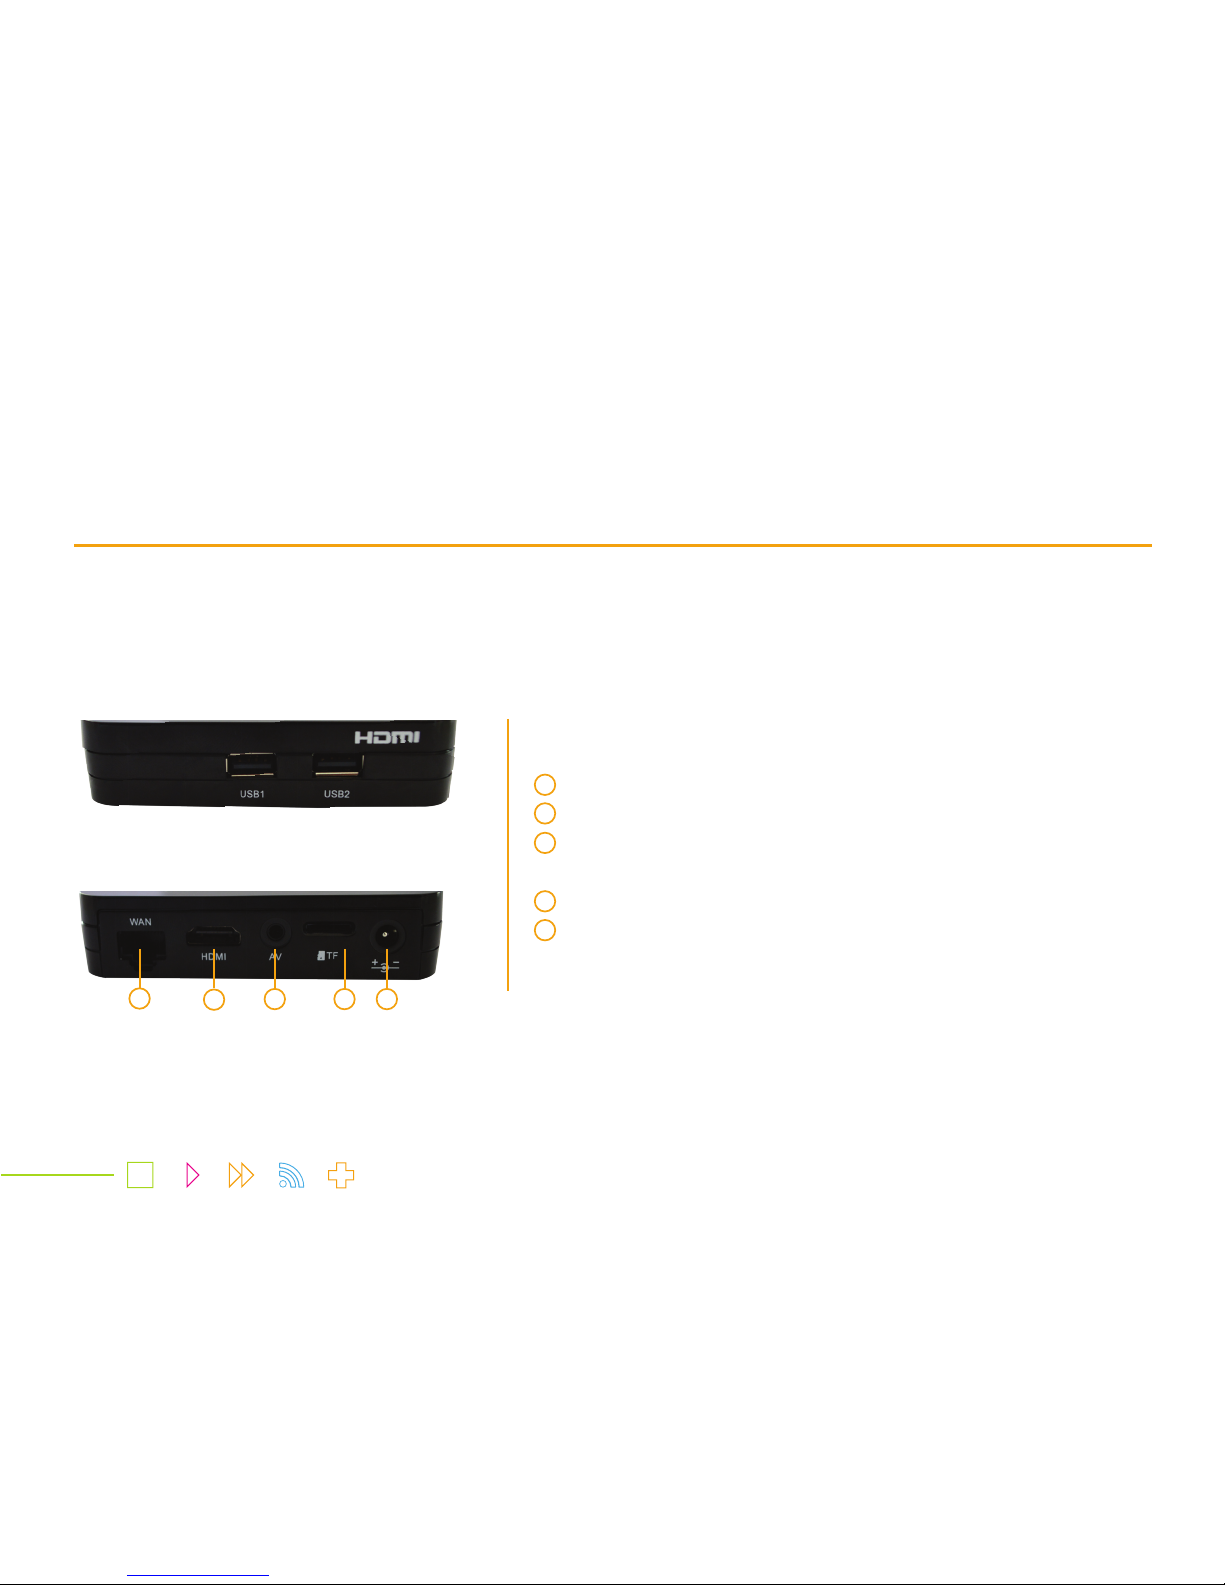
On the side panel, there are two USB ports to connect pen drives or any external
storage device.
On the back panel, there are several ports to make connections as shown below:
2.3) Back view
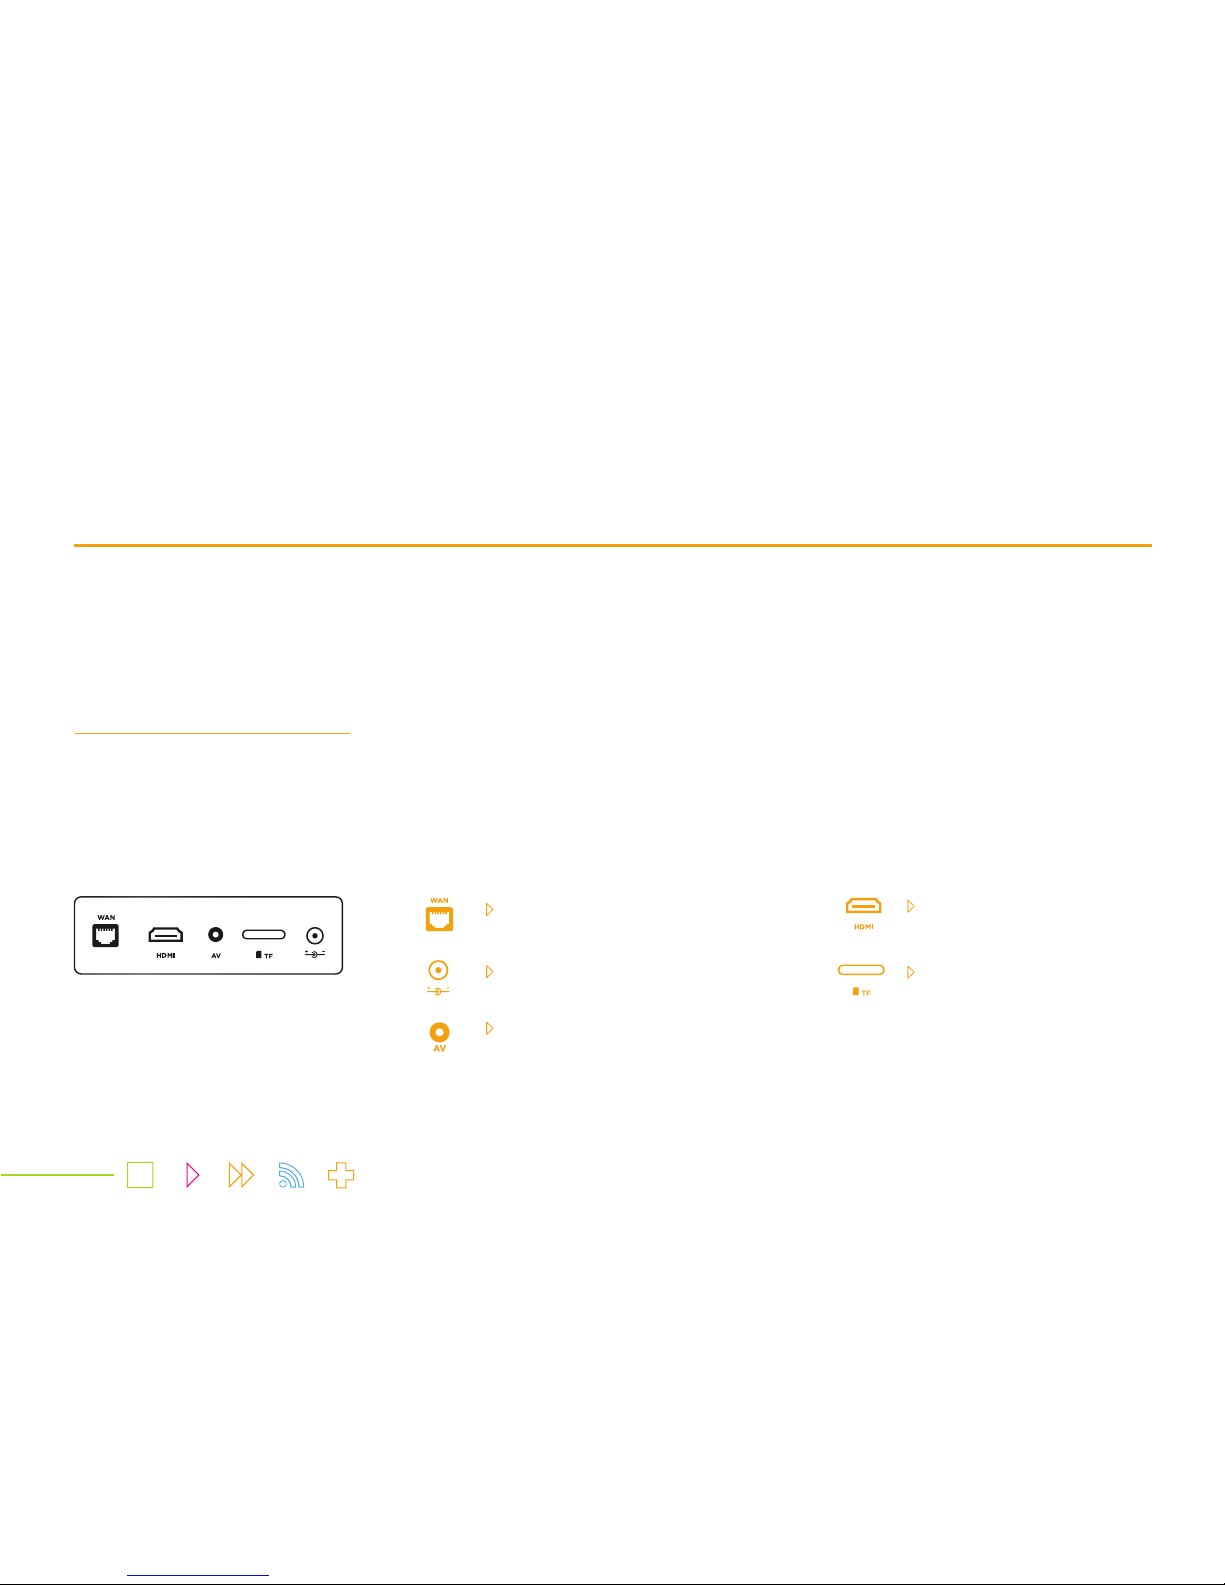
Port to connect Ethernet cable
Port to connect HDMI cable from TV set
In case your TV set has no HDMI cable, you may connect it to the
Smart box via an AV cable through this port
Port to connect SD card
Port to connect power cable
2.2 Side view
1
1
2
2
3
3
4
5
4 5
05
At Mauritius Telecom, you are our priority. Our goal is to ensure that you enjoy an outstanding and innovative TV experience - the best
ever. With the new Smart box, every touchpoint forms part of a new experience.
The new Smart box is a Wi-Fi enabled device bringing you a totally new look and feel, as well as access to the YouTube app to view
as many videos as you wish.
You’ve always wanted to relive those special moments that until now only existed on your camera? Watch them on a larger scale. On
your TV itself? Yes, now you can, with ‘Media’ – a feature that allows you to view and listen to HD videos, photos and music directly
from your phone or an external storage device.
Turn your TV to a smart TV with my.t smartbox
06
4.1) Connecting the Smart box
4.2) Navigating through the Menu
4.3) Connecting to Wi-Fi
4.1 Connecting the Smart box
Plug the power cable in a socket and connect the other cable end to the power port.
Connect your Ethernet cable to the WAN port.
Depending on your TV set, connect the HDMI cable or AV cable to the required port, switch the Smart box and your TV set on.
Getting started
Port to connect
Ethernet cable
Port to connect HDMI
cable from TV set
Port to connect SD card
In case your TV set has no HDMI cable, connect
it via an AV cable through the port
Port to connect Power cable
07

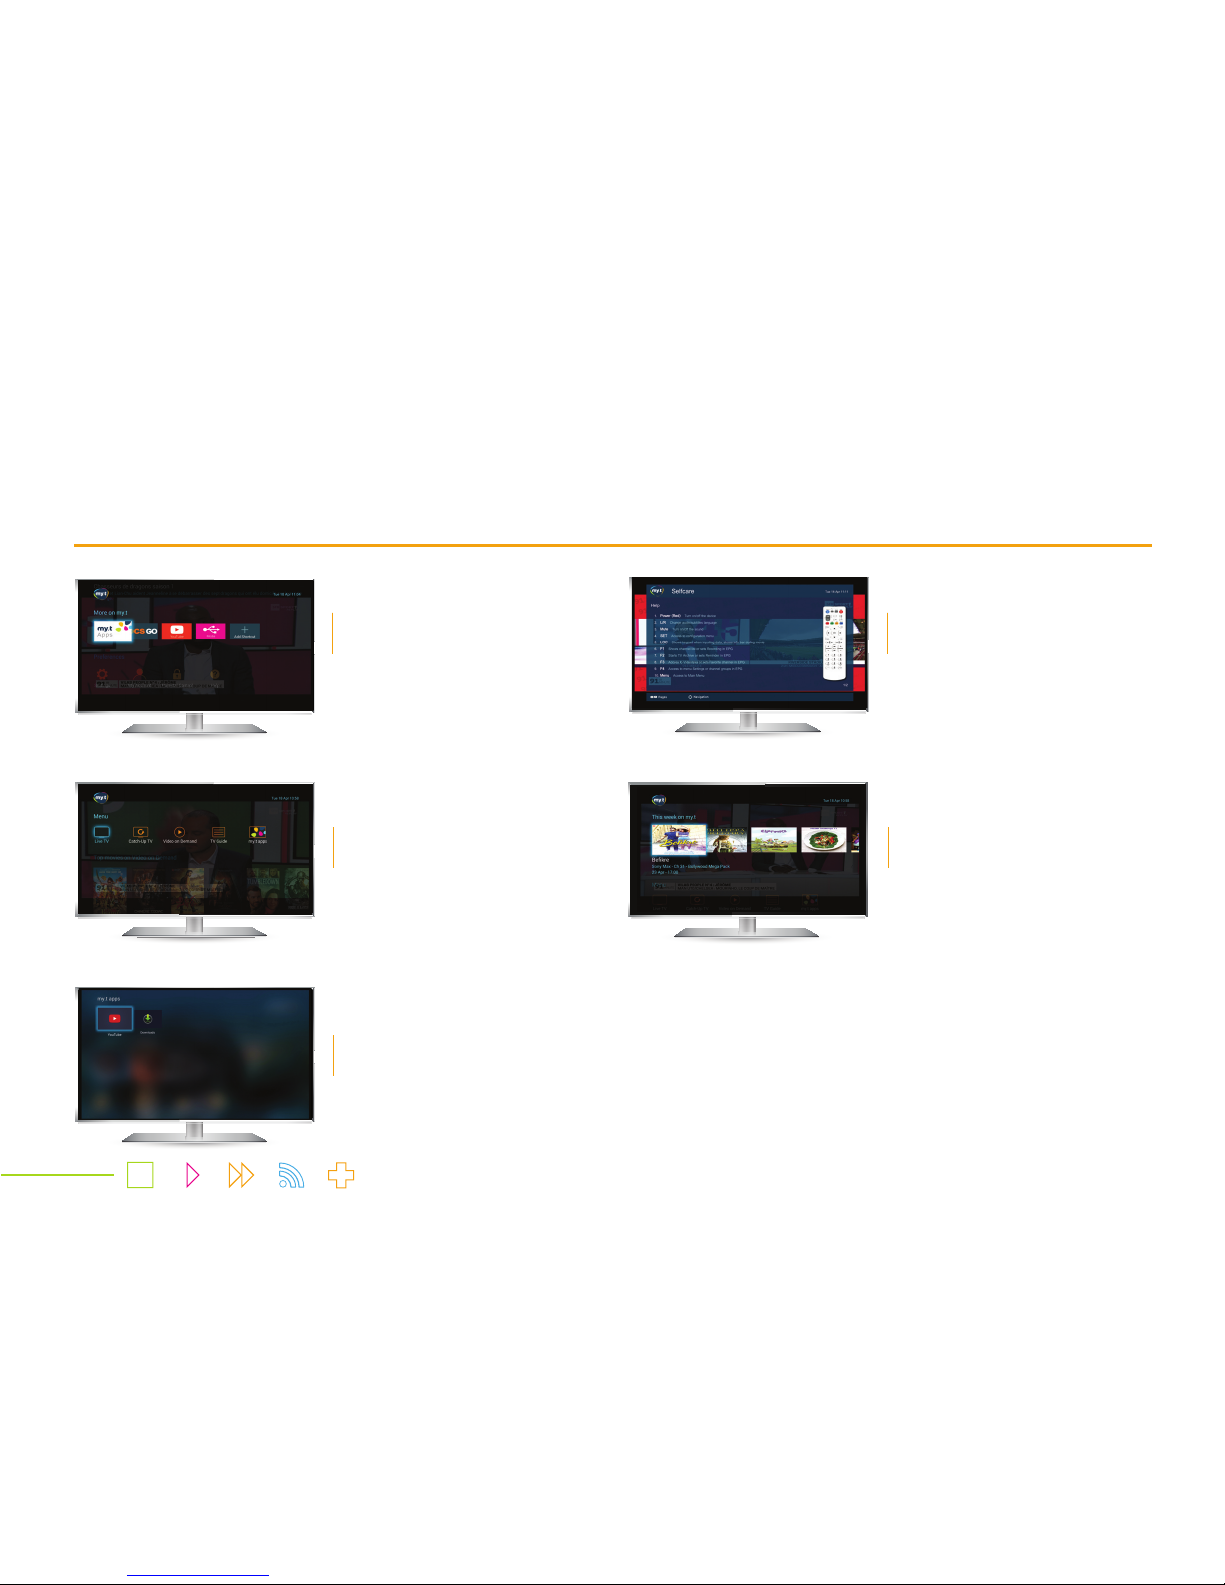
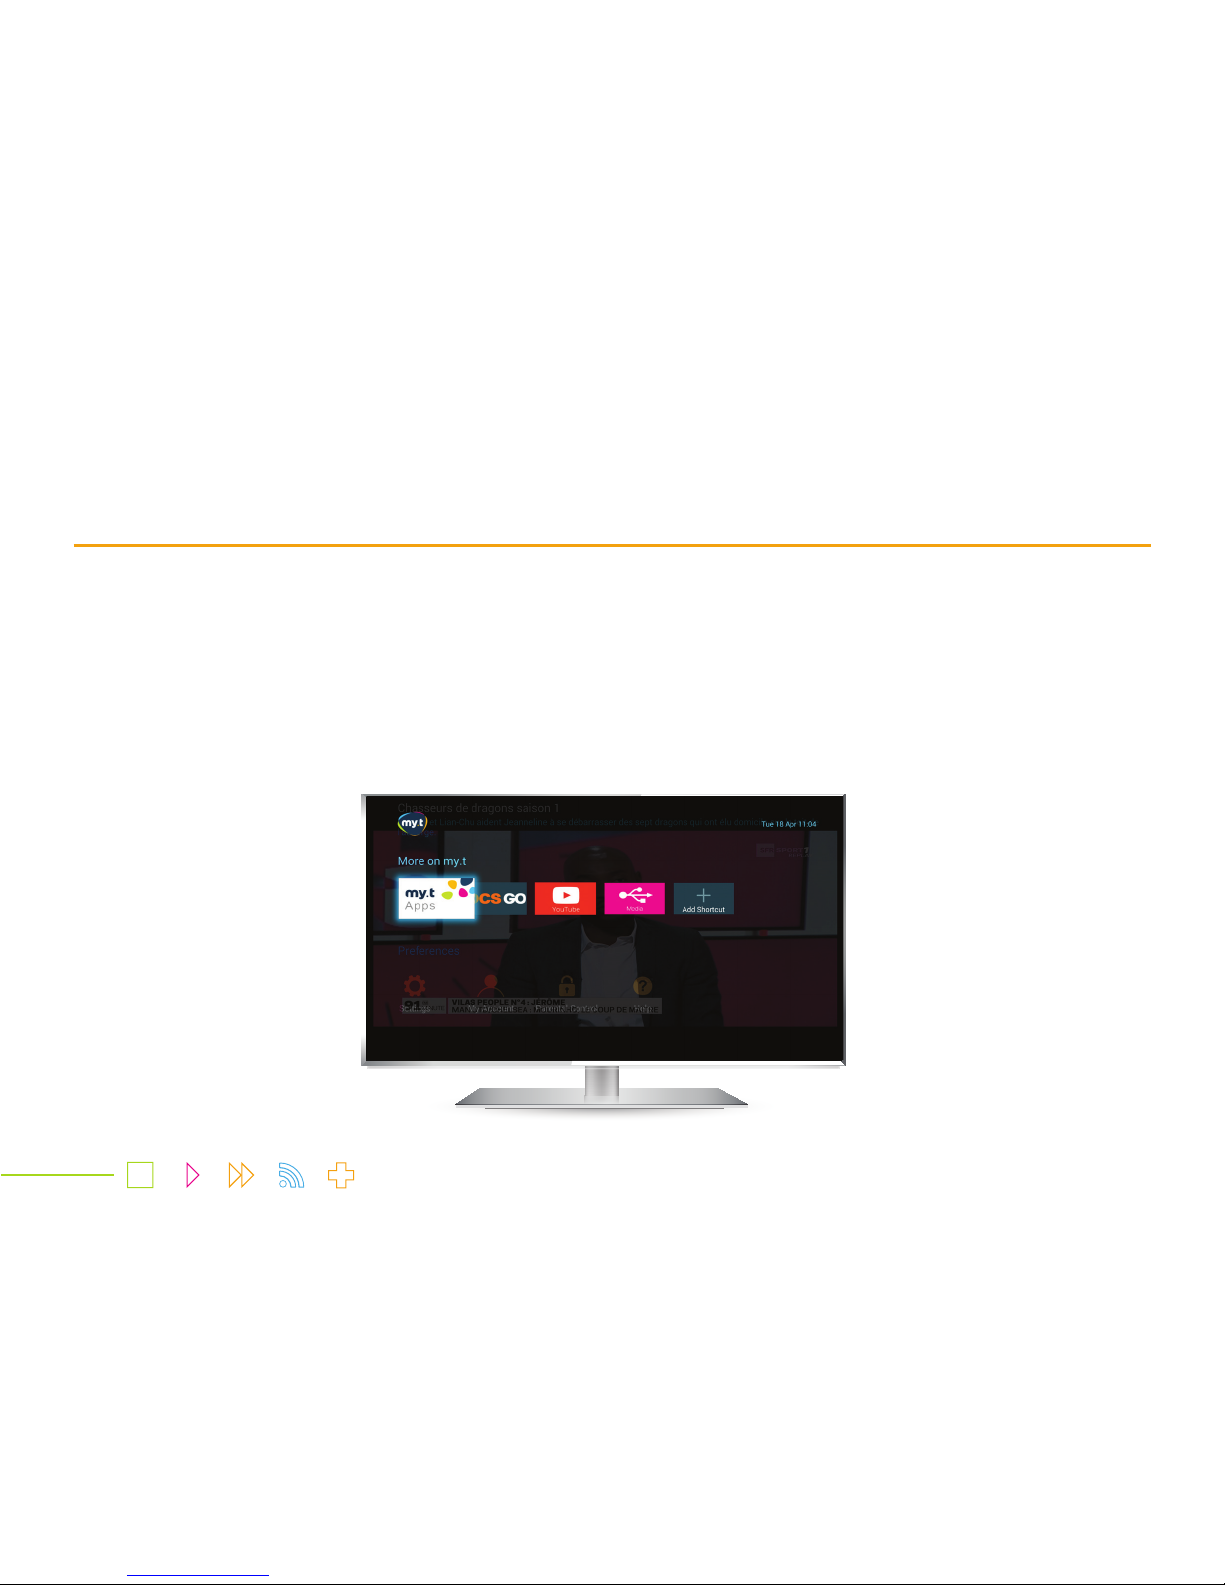
4.2 Navigating through the Menu
As the Smart box is powered on, it goes directly to the channel 0 (where all my.t highlights are aired).
Press the Menu button on the remote control to launch the main menu. The main Menu looks as follows:
The Menu has a transparent background.
Get informed on all the top shows, serials and upcoming movies via ‘This week on my.t”.
Seen something that you want to watch? Select it and just press ‘OK’ on your remote control to go directly to the channel, provided
that you are subscribed to the TV channel.
08
 Loading...