

my:ro
control
Myro:Bridge
Installation & Setup Manual

- Read instructions. Read and understand all the applicable
instructions before installing or operating the product.
- Retain documents. Keep this manual in a con- venient place
for reference.
- Heed warnings. Be aware of all warnings on the product and
in the instructions.
- Follow instructions. Install and use this product only as described in the instructions. Don’t try to use this product in ways
it wasn’t designed for.
- Use indoors only. Don’t expose this product to the weather
or harsh environmental conditions such as continuous sunlight, excessive humidity, or rain.
- Keep product dry. Don’t use the product near water; for
example, near a bathtub, washbowl, kitchen sink, laundry tub,
in a wet basement, or near a swimming pool. Also, don’t handle
the product when your hands are wet or damp.
- Avoid heat. Locate the product away from heat sources such
as radiators, heat registers, stoves or other appliances (including ampliers) that produce heat.
- Maintain ventilation. Locate the product so as not to interfere with its proper ventilation. Don’t use the product on a
bed, sofa, rug, or similar surface that may block the ventilation
openings, or in a bookcase or cabinet that may impede the
ow of air through the ventilation openings.
- Use the right power. Don’t connect the product directly to
electrical line voltage. Use only the power adapter provided
with the product, described in the operating instructions, or as
marked on the product.
- Ground product properly. Make sure the product’s means of
grounding or polarization is not defeated.
- Keep product clean. From time to time, wipe o the product
with a clean soft cloth. Don’t use abrasive materials, thinners,
alcohol or other chemical solvents or materials.
- Avoid spills and foreign objects. Make sure liquids and
objects don’t get into the product enclo- sure through any
openings.
- Get professional service. Have the product serviced only by
qualied service personnel when:
• Liquids have spilled or objects have fallen into the product
• The product has been exposed to rain
• The product doesn’t seem to operate normally
• The product is damaged
Don’t attempt to service the product yourself. Doing so will
void the warranty.
If you have any questions, call Myro Control at 425.522.2579.
For your safety, please read and follow these precautions before installing or using this product:
Safety Precautions
2
3
Product Information
Myro:Bridge allows you to use 3rd Party systems as a remote source for a Russound RNET® multiroom system. It provides
RNET control to devices like Sonos and iTunes (visit www.myrocontrol.com for full list of supported devices).
With a Russound RNET system, Myro:Bridge treats the compatible device as a fully functional RNET smart source. It gives the
system’s keypads, touchscreens, and remotes full control of the connected device: Play, Pause, Next Song, Previous Song.
Myro:Bridge also enables program information to display on the RNET system’s keypads and touch-screens. The keypads
show playlist, genre, artist, album, and song title information.
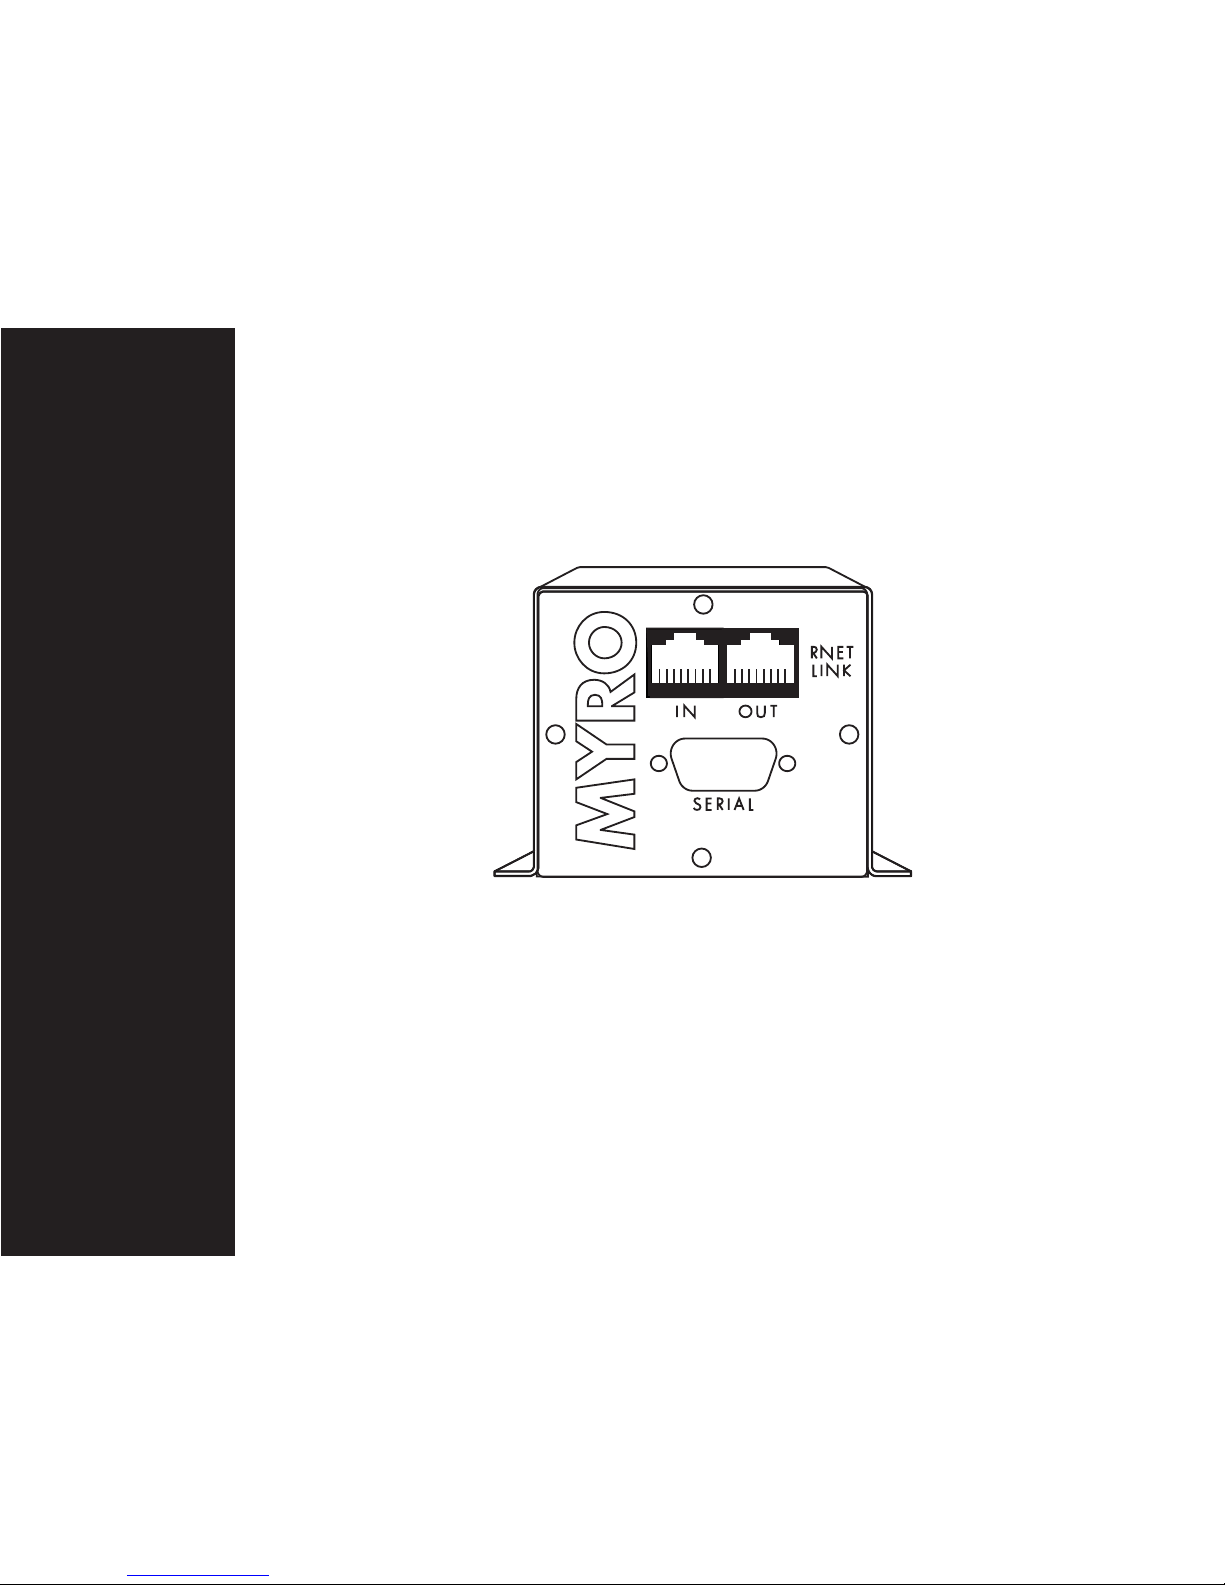
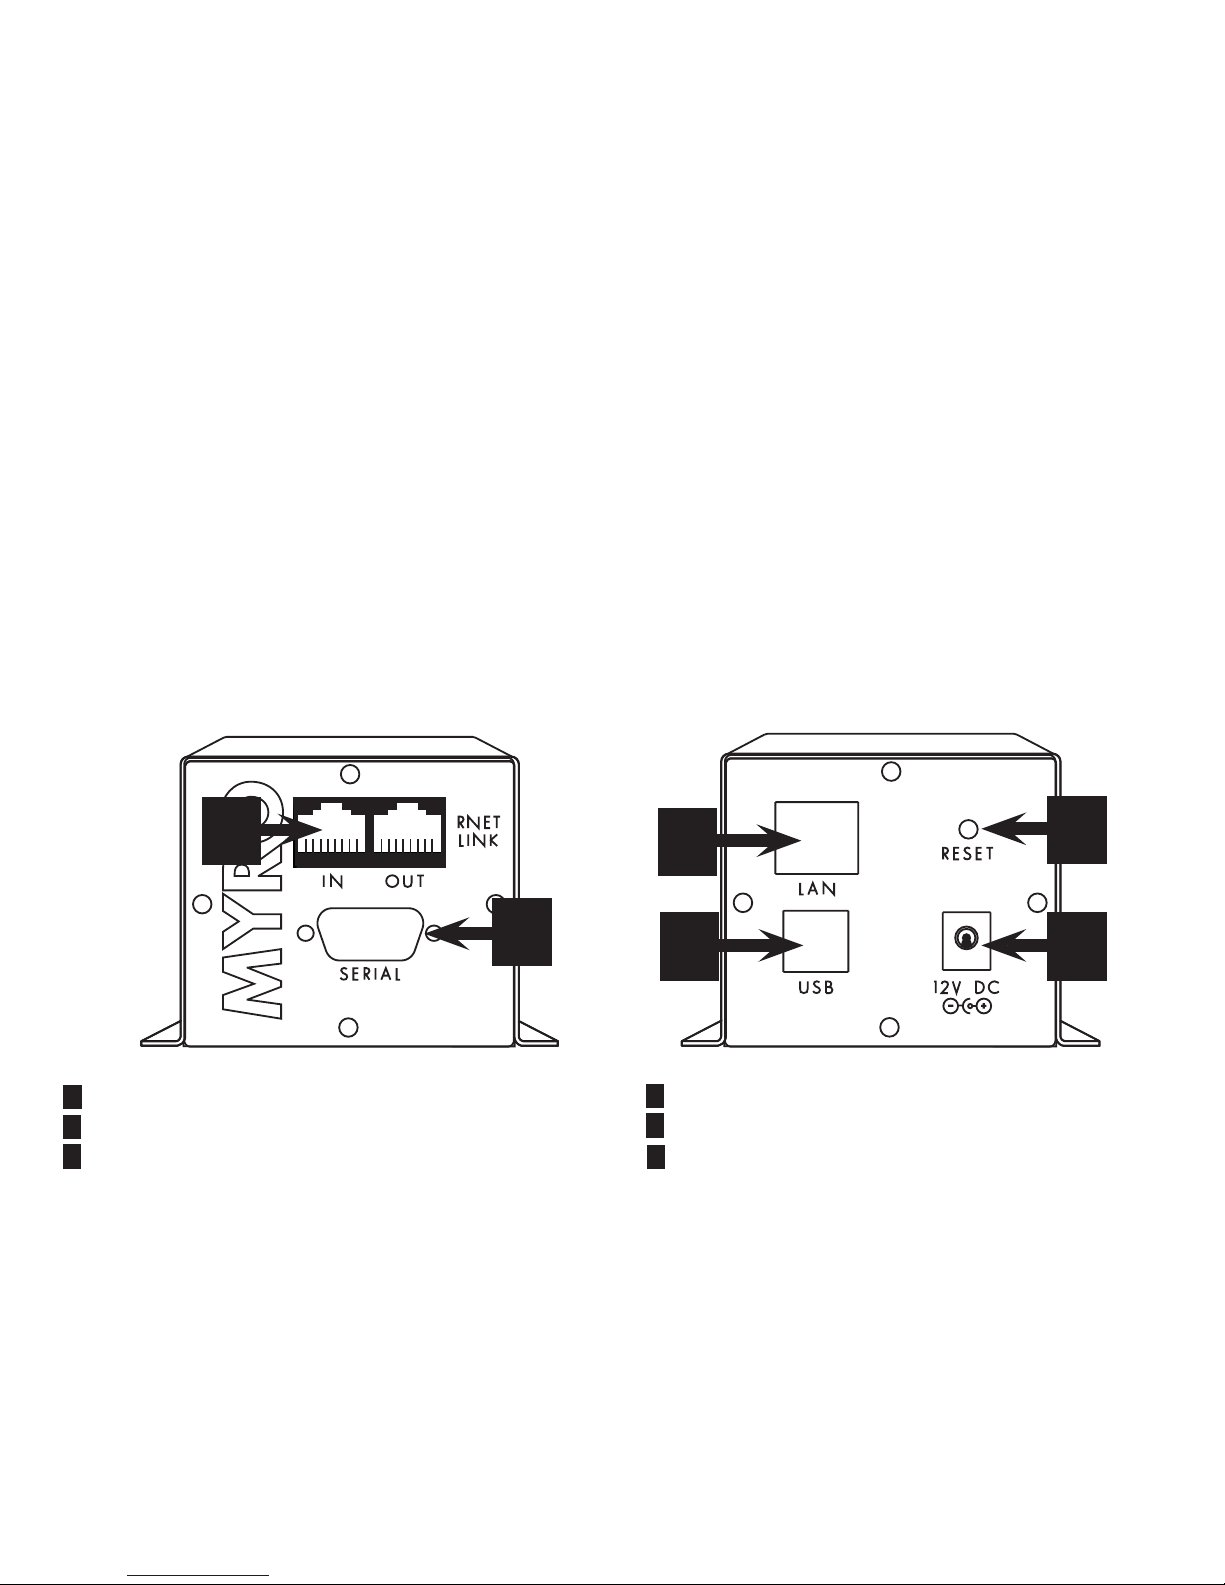
Front and Rear Views
1
1 RNET LINK - RJ-45 connector for RNET connection
2 Serial (RS-232) Port for future device support
3 LAN - ethernet port use Cat5e cable connected to
network with DHCP server
4 USB - used for updating rmware on device
5 Reset - Used to restart device
6 Power Jack - Connector for included 12V DC adaptor
2
3
4 6
5

RCA Patch Cable
Connected to “Line-Out”
RJ-45
Patch Cable
Power Supply
RNET Multiroom Controller
RJ-45
Patch Cable
Front
Back
Required DHCP router
with NAT
RJ-45 Patch Cable
Sonos ZonePlayer must have analog outputs for it to
function as intended (models ZP80, ZP90, ZP100).
Follow instructions that came with the Sonos ZonePlayer
and confirm network and software is functioning before
adding and configuring myro:bridge to the network.
Typical Applications
Sonos ZonePlayer using Anaog Outputs
4

5
Typical Applications
iTunes Remote using Airport Express
RCA
Patch Cable
RJ-45
Patch Cable
Power Supply
RNET Multiroom Controller
RJ-45
Patch Cable
Front
Back
Required DHCP router
with NAT
Airport Express
using Airtunes
(follow instructions
provided with
Airport Express)
RJ-45 Patch Cable
Computer with
iTunes Running

Typical Applications
iTunes Remote using iTunes/PC
6
RCA
Patch Cable
RJ-45
Patch Cable
Power Supply
RNET Multiroom Controller
RJ-45
Patch Cable
Front
Back
Required DHCP router
with NAT
RJ-45 Patch Cable
Computer with
iTunes Running

RJ-45
Patch Cable
Power Supply
RNET Multiroom Controller
RJ-45
Cable
Front
Back
Required DHCP router
with NAT
HDMI Matrix Switcher
M/M DB9
Serial Cable
7
Typical Applications
Matrix Switcher

8
Installation
1. Connect Myro:Bridge to RNET system. With the audio
system turned o, use an RJ-45 patch cable (provided) to
connect from either RNET Link jack on the bridge to an
RNET Link jack on the system or an RNET source compo-
nent.
2. Connect Myro:Bridge to LAN (Local Area Network).
The bridge requires that a DHCP server is on the same
network. If you are unsure of this, please check with your
network administrator (most modern networks have this
feature active). Plug a Cat5e/Cat6 cable into the port
labeled “LAN” to an active port on your network switch (or
wall plate).
3. Turn on audio system. Power up the audio system and
select source input 6 (you will be able to change this later).
If you have another smart source using input 6, temporarily
remove it from the system by unplugging power and RNET
cable from source.
4. Power Myro:Bridge. Plug the provided power adapter
into and AC power receptacle and connect the output barrel to the device power jack labelled “Power”.
5. Check status. When the bridge is powered up, the keypad will display, in the following order:
1) Initializing...
2) MyroBridge-XXXXXXXX (X being alpha-numeric
values)
3) Obtaining IP
4) XXX.XXX.XXX.XXX (X being numeric IP address)
Once an IP has been obtained, it will display on the keypad
as XXX.XXX.XXX.XXX (make a note of this for the next step).
The bridge is now available online and can now be congured as a dierent source input ID.
6. Change RNET Source ID. If you would like to change
the RNET source ID from the default of 6, you will need to
access the built-in web server on Myro:Bridge. To do so
access: http://XXX.XXX.XXX.XXX:1400/ (Note: IP from step 5)
from a web browser on the same network and then select
the RNET ID you would like to use from the drop down
menu (1-12).
UPDATING FIRMWARE:
The bridge ships from the factory with the latest rmware already installed. Occasionally, we add features and
updates and it’s also useful if you decided to change the
purpose of the bridge to serve another use. To update the
rmware visit www.myrobridge.com and select “Downloads”. From there you can download the latest rmware
and instructions.
TROUBLESHOOTING:
If the bridge does not make it past the “Initializing...” or any
other step, pressing the “RESET” button on the bridge for a
few seconds typically xes the issue. If the issue is still present, check the network and all connections and repeat the
steps above again.

Operation
9
Supported Devices
• Sonos ZonePlayer (ZP80, ZP90, ZP100)
• Apple iTunes (using Apple Remote protocol)
• Matrix Switchers (Check website for full list)
• Kalidescape
The list of supported devices is constantly
expanding. Please check our website,
www.myrobridge.com for the latest supported
devices.
Specications
• Ethernet Port (requires DHCP server)
• USB Port for uploading rmware
• RS232 Port for future product support
• RNET IN/OUT Ports for connecting to Russound RNET Systems
• Built-in web server to monitor device status and setup RNET Source ID
• Includes USB programming cable
• 3’ RNET (Cat5) cable
• 12v DC Power Supply.
• Case footprint: 4.125”W x 4.5”L x 2.25”H
• Weight: 1 lbs.
• 90 day parts and labor warranty, 1 year parts
C/E Series Keypads:
Setup the controller (see controller installation instructions) to use the “iPod (iBridge)” source for the RNET source ID which the
Myro:Bridge has been setup to use (in previous “Installation” step). After selecting the source the bridge is setup as, you can
press the >| and |< keys to select songs. Play and Pause buttons will control the transport and media meta data will automatically appear on the screen when a track changes.
UNO-TS2 Control:
If using Myro:Bridge with a UNO-TS2 setup with the “iPod (iBridge)” source template (see touchscreen installation instructions).
Note: UNO-TS2 screen version 2.00.01 is required for use with Myro:Bridge.
UNO-S2 Keypad Control:
The UNO-S2 keypad also provides convenient control of the bridge through an RNET system. After selecting the source of the
bridge, you can press the >| and |< keys to select songs. Play and Pause buttons also control the transport. The song title will
automatically appear on the LCD screen when a track changes.
To access internal webserver of Myro:Bridge, open a web browser on the same network as the bridge and enter the IP address
which was displayed on the keypad during the installation process and access: http://XXX.XXX.XXX.XXX:1400/

The Myro:Bridge is fully guaranteed against all defects in materials and workmanship for one (1) years from the date of
purchase. During this period, Myro Control will replace any defective parts and correct any defect in workmanship without
charge for either parts or labor. For this warranty to apply, the unit must be installed and used according to its written in-
structions. If service is necessary, it must be performed by Myro Control. The unit must be returned to Myro Control at the
owner’s expense and with prior written permission. Accidental damage and shipping damage are not considered defects,
nor is damage resulting from abuse or from servicing by an agency or person not specically authorized in writing by Myro
Control.
This warranty does not cover: damage caused by abuse, accident, misuse, negligence, or improper installation or operation;
power surges and lightning strikes; normal wear and maintenance; products that have been altered or modied; any product whose identifying number, decal, serial number, etc. has been altered, defaced or removed.
Damage to or destruction of components due to application of excessive power voids the warranty on those parts. In these
cases, repairs will be made on the basis or the retail value of the parts and labor. To return for repairs, the unit must be
shipped to Myro Control at the owner’s expense, along with a note explaining the nature of service required. Be sure to pack
the unit in a corrugated container with at least three (3) inches of resilient material to protect the unit from damage in transit. Before returning a unit for repair, call Myro Control at 425.522.2579 for a return authorization number.
Copyright © 2011 Myro Control, LLC. All rights reserved. All trademarks are the property of their respective owners. Specications are subject to
change without notice. Myro Control, LLC. is not responsible for typographical errors or omissions.
Warranty
my:ro
control
www.myrocontrol.com
 Loading...