

MyCharge Amp6000, AMPxt 6000, RFAM-0239 Owner's Manual
myCharge name and logo are registered trademarks of RFA Brands.
©2012-2013 RFA Brands. All Rights Reserved. Patent Pending.
Made in China. IB-RFAM0232
Owner's Manual
For latest instructions please go to
www.mycharge.com/instructions

2 3
Thank you for
choosing myCharge
Amp 6000™
4 5
Thanks for choosing myCharge.
Visit mycharge.com/videos/AMP to view
the product demo video!
In The Box
• myCharge AMP 6000
™
• Micro-USB charging cable
• Owner’s manual
Section I: Quick Start
1. Charge up your AMP 6000 with the included USB to
Micro-USB cord through your computer or USB AC
power adapter.
2. As AMP 6000 charges, the battery icon will ash the color
of the battery level. When the unit is fully charged, the
battery icon will turn solid green. Press the level check
button to see how much power is available.
3. AMP 6000 comes equipped with two built-in USB ports for
use with your own charging cables. Connect your device(s)
to one of the ports available. Charge up to two devices
simultaneously by using both USB ports. You must press
and hold the AMP power button for 3 seconds to begin
charging if the AMP is not already turned on.
4. Unplug your device when it's charged, and go! Your AMP
6000 will automatically power off after your devices
are unplugged.
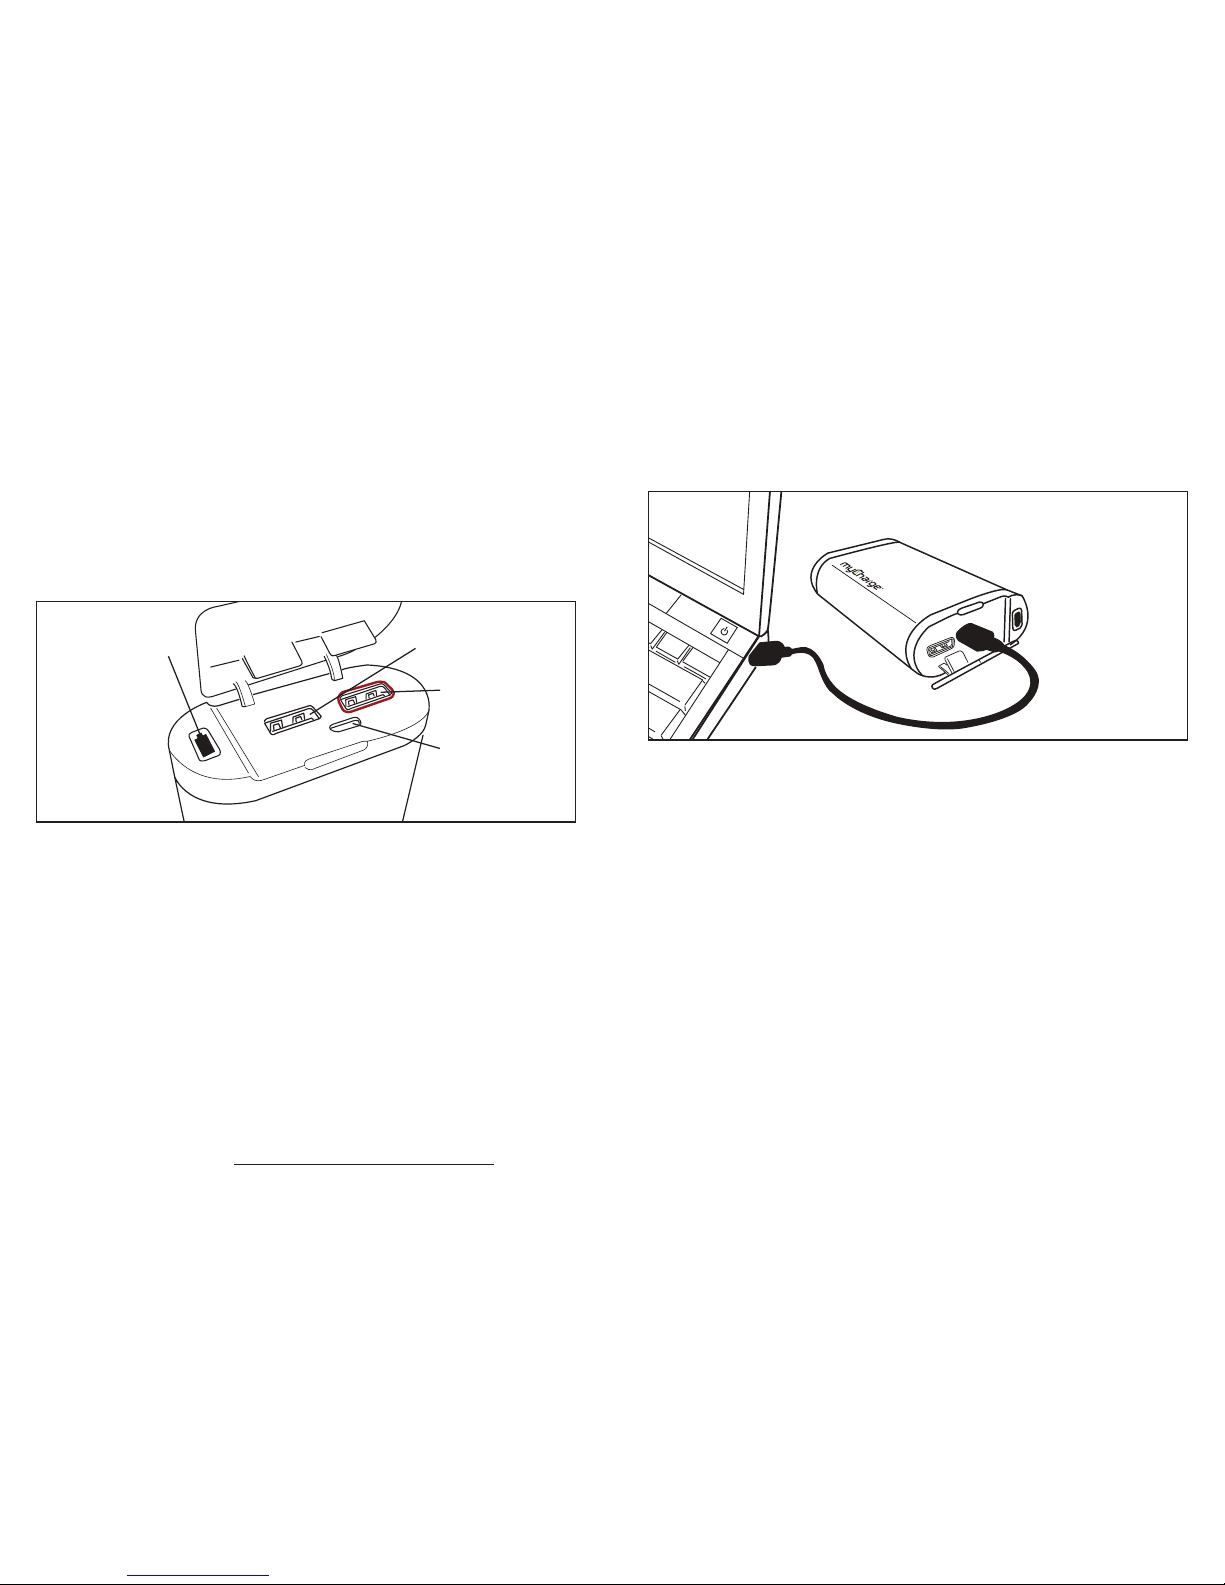
Section II: Charging AMP 6000
Connect the included USB to Micro-USB cord through your
computer’s USB port or a USB AC power adapter. Times to
charge the AMP 6000 vary based on what it’s plugged into.
You can expect a full charge from a USB AC power adapter
in about 7.5 hours or from a standard USB port in about
13.5 hours.
As your AMP 6000 charges, the battery icon will ash
according to the energy level:
Solid Green: 100%
Flashing Green: 71–99%
Flashing Yellow: 41–70%
Flashing Red: 0–40%
Note: It is normal for your AMP 6000 to be warm to the
touch while in use.
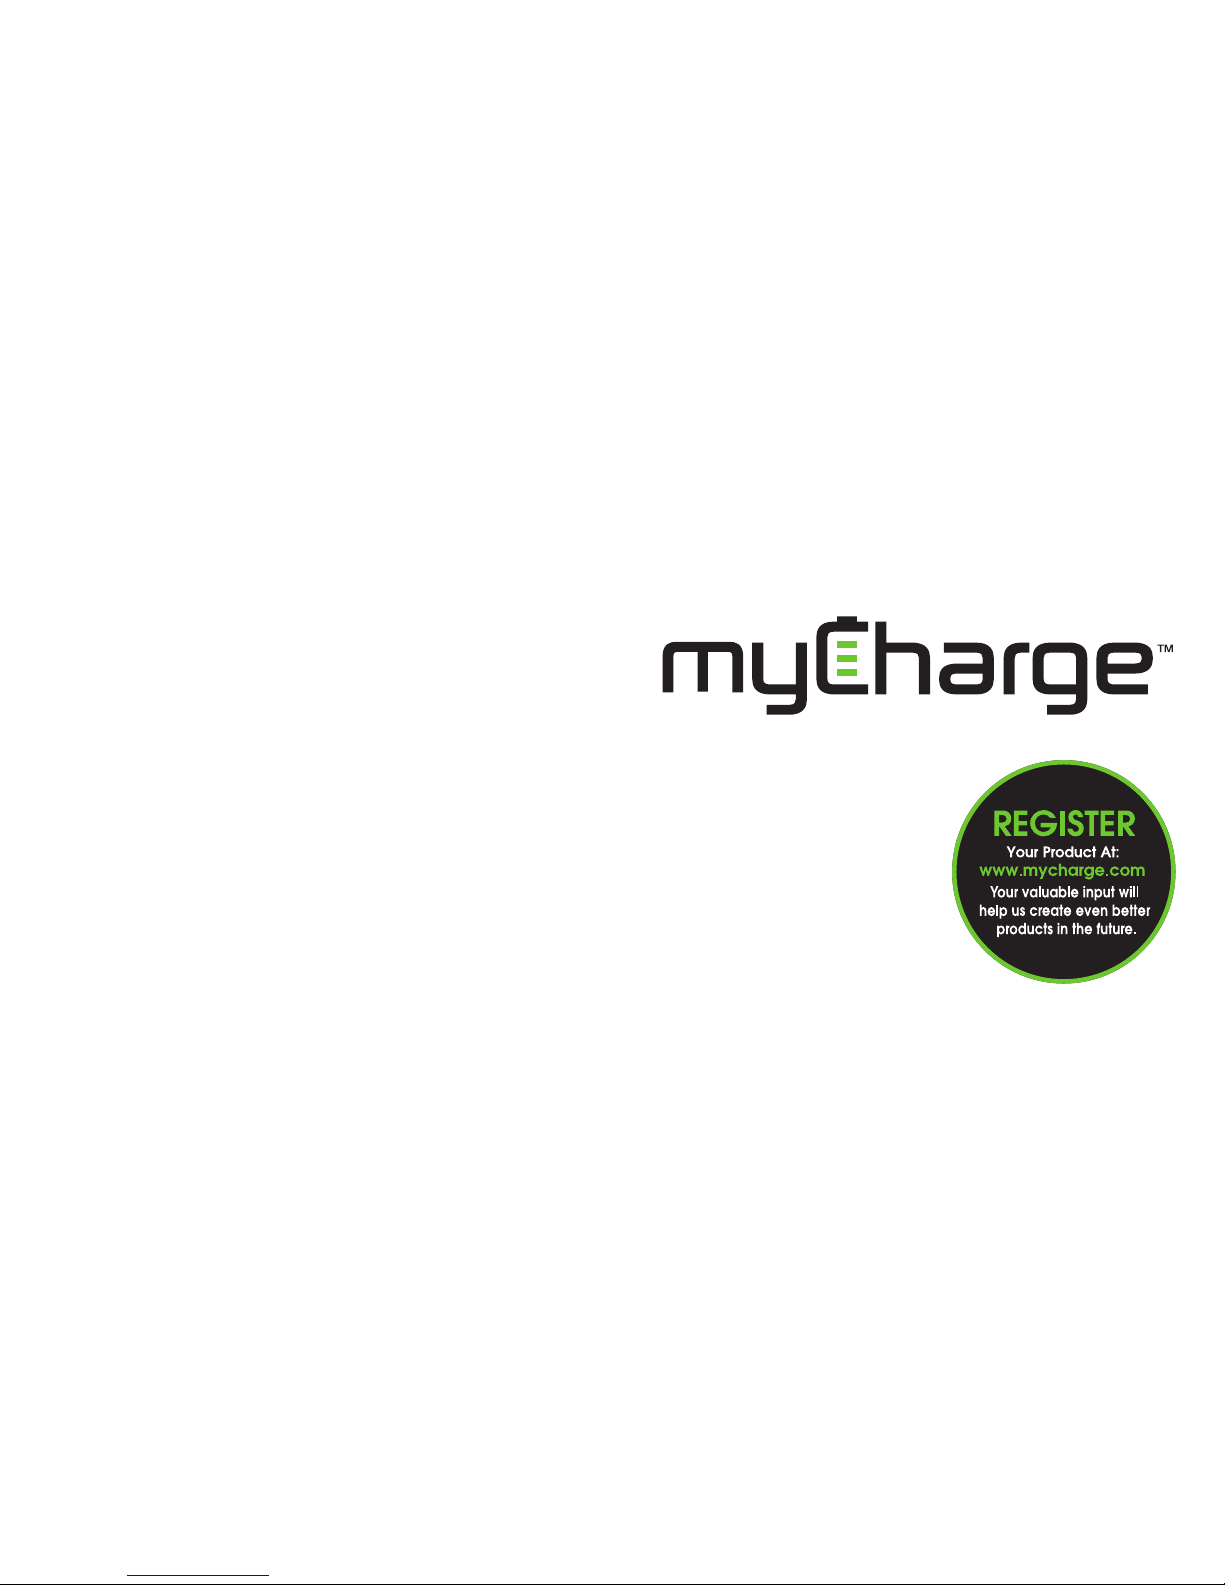
1.0A USB-A Port
Micro-USB Input
Power and battery
level check button
2.1A USB-A Port
Charge from your computer
 Loading...