


Provided By
http://www.MyBinding.com
http://www.MyBindingBlog.com
MBM 87M Manual
Folder
Instruction Manual
[120 V]


To ensure correct usage, please read this instruction manual thoroughly, especially the section
entitled “Safety Precautions”.
The aim of this instruction manual is to ensure safe and proper use of the equipment.
For this reason, do not attempt to remodel, modify or adapt this equipment or to use it for any other
purpose than that intended by the manufacturer.
After reading, please keep this instruction manual handy for future reference.
INTRODUCTION
P.2
Thank you for purchasing this MBM folder. This machine is designed to efficiently fold
Font Letter, Legal and A4 size ( or equivalent ) paper.
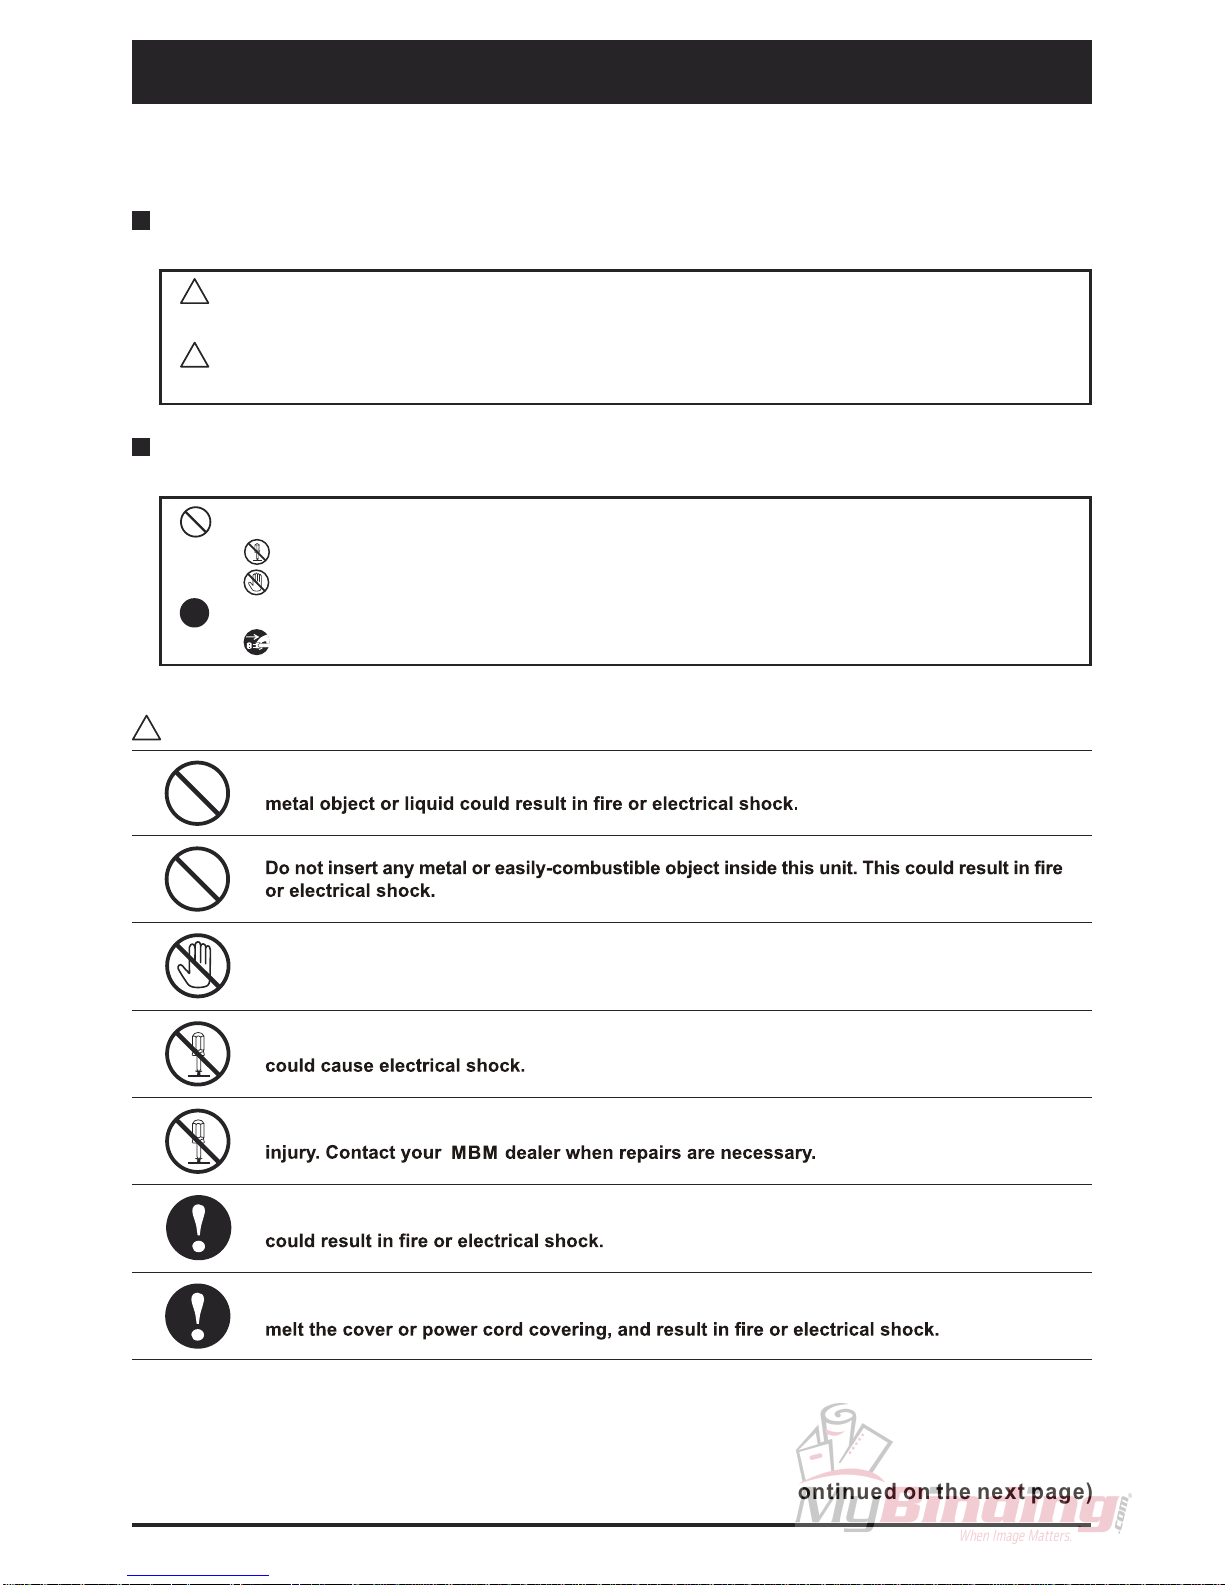
The following graphic symbols indicate the various types of action to be performed or
avoided.
This graphic symbol indicates a forbidden action.
means "Do not disassemble."
means "Do not touch."
This graphic symbol indicates actions that must be performed.
means "Disconnect the power plug."
The degree of danger and damage that could occur is indicated on two levels by the
following marks.
WARNING : Ignoring this mark could result in the possibility of serious injury or
even death.
CAUTION : Ignoring this mark could result in the possibility of injury or physical
damage.
SAFETY PRECAUTIONS
!
!
WARNING:
!
Do not place metal objects or vessels containing liquids on top of the unit. The entry of any
Do not touch or insert foreign objects into any rotating part during operation. This could
result in injury.
Do not remove the cover or back panel. This unit contains high-voltage components that
Do not disassemble, modify or repair this unit. There is a danger of fire, electrical shock or
Use only the power supply voltage specified on the main nameplate. Using other voltages
Keep this unit and the power cord away from heaters and heater vents. Excessive heat could
Always observe the cautions and warn ings given below to pre vent personal injury or propert y
damage.
(Continued on the next page)
P.3
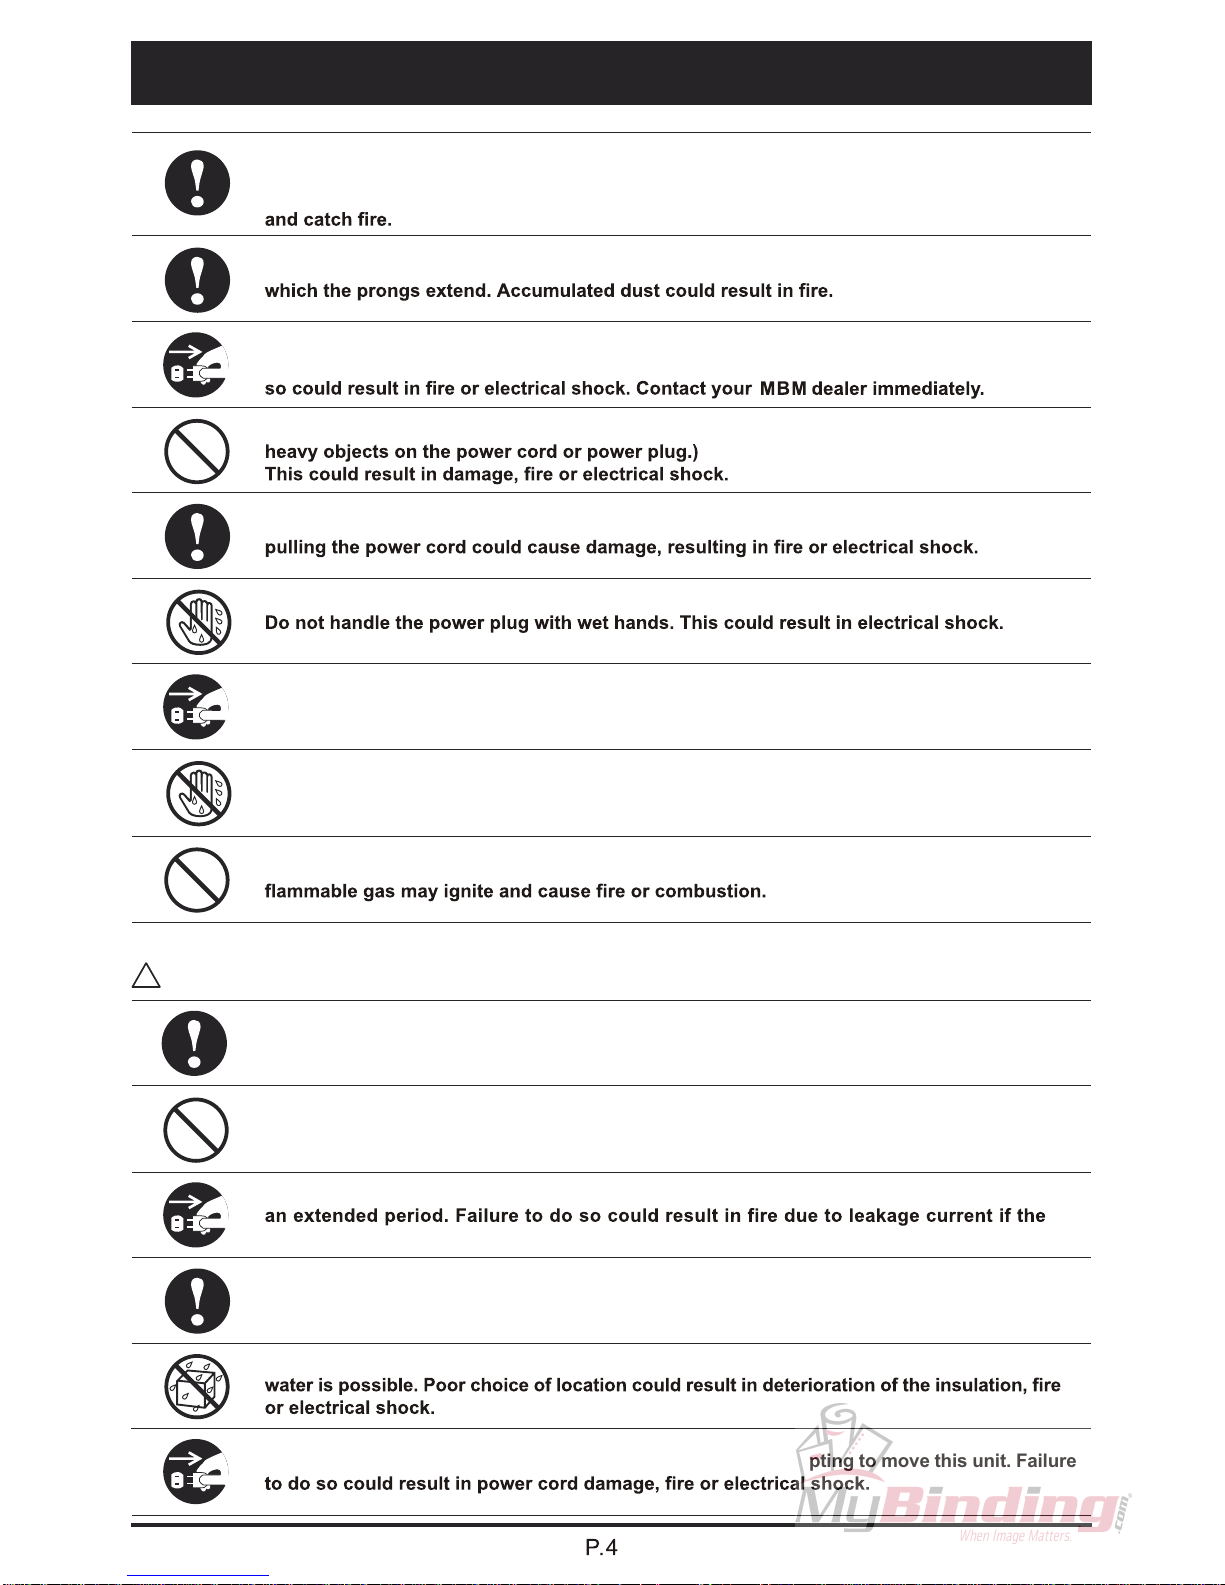
Make sure that the combined power consumption of the appliances to be connected does not
exceed the capacity rating of the power outlets or plug receptacles. Exceeding the capacity
rating could cause the power outlets, plug receptacles, or power extension cords to overheat
Remove any dust that accumulates on the power plug prongs and the surface of the plug from
If any foreign object such as metal or liquid should enter this unit, immediately turn the unit
off at the power switch and disconnect the power plug from the power outlet. Failure to do
Do not damage the power cord or power plug. (Do not scratch, alter, bend, twist, pull or place
Always grip the plug when disconnecting the power plug from the power outlet. Forcibly
Before cleaning this unit, turn the unit off at the power switch and disconnect the power plug
from the power outlet. Accidental operation of the unit during cleaning could result in injury.
CAUTION:
!
Always disconnect the power plug from the power outlet when the unit is not to be used for
insulation should deteriorate.
Install this unit on a level, stable stand or floor, with sufficient space around it. Failure to do
so could result in the unit overturning and causing injury.
Do not install this unit in a location where there is excessive humidity or where contact with
Disconnect the power plug from the power outlet before attempting to move this unit. Failure
Do not touch the power switch with wet hands. Otherwise electric hazards may occur.
SAFETY PRECAUTIONS (continued)
Keep away long hair, ties, jewelry and loose clothing. This could result in injury.
Do not use flammable sprays inside or near the unit (e.g. when cleaning the unit). Such
Do not use solvent inside or near the unit (e.g. when cleaning the unit). Such solvents may
damage the rubber rollers and resin inside the unit, resulting in malfunctions.
USAGE PRECAUTIONS
1. Power Supply
This equipment shall be installed near the socket-outlet where the plug on the power supply
cord is easily accessible.
Make sure the power supply used is always within the following range.
120 VAC, 60Hz
When you power other appliances from the same AC outlet, make sure that the combined
power consumption does not exceed the power supply capacity.
Rated power of this equipment: 75 W
2.
Operating Environment
Operate this unit in the following environment:
Temperature range between 41 F ( 5 C ) to 86 F (30 C).
Humidity range between 10 and 80% RH (no dew condensation).
Not subject to direct sunlight.
P.5
For continued protection against risk of fire, replace only with same type and rating of fuse.

Warning Sticker
P.6
Please kindly contact your MBM dealer to get new stickers if any of these stickers are damaged
or missing.
WARNING:
Hazardous Moving Parts.
Keep Fingers a nd Other Bod y Parts Away.
Specifications
P.7
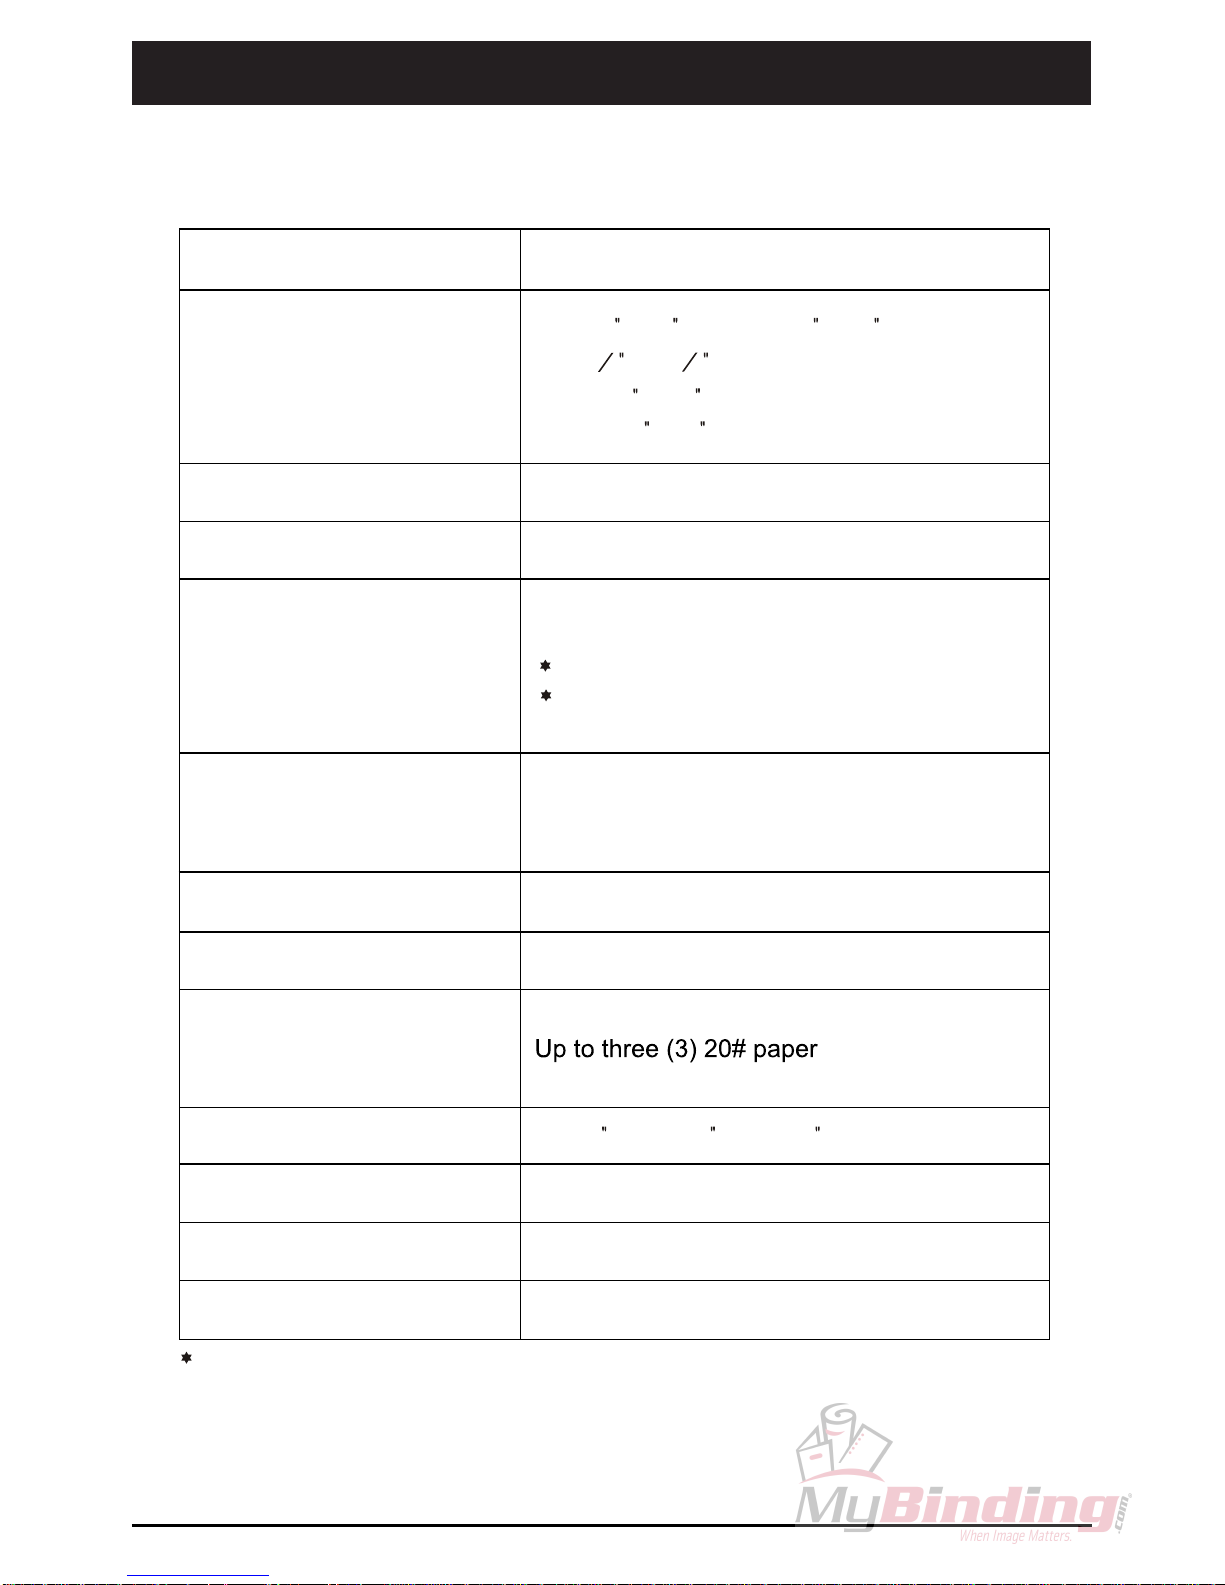
Paper size
Paper weight
Paper quality
Folding speed
Folding mode
Loading capacity
Feeding mode
Maximum number of
Dimension
Net weight
Power consumption
Power source
LT(8 ½ x 11 ), LGA(8 ½ x 14 ) and
A4(8 x 11 ) only
Width: 4 - 8½
Length: 5 - 14
16 - 80 lbs.
Fine quality paper, recycled paper
Dual selectable speed
HIGH: 120 sheets/min. (Default setting)
LOW: 100 sheets/min.
Single fold, Double parallel fold,
Letter fold, Z fold
150 sheets (80 gsm paper)
Auto / Manual
26.57 (W) x 15 (D) x 10 (H) (In operation)
24 LBS.
75W
120VAC/60Hz
Due to quality improvement, the specifications given above are subject to change without prior notice.
sheets fed manually
Model
MBM 87M Manual Folder
May vary due to va riations i n paper and power s upply.
3
4
1
4

1. Manual Knob
2. Power Switch
3. Receiving Tray
4. Upper Plate
5. Dial
6. Manual Feed Cover
7. Paper Width Guide
8. Auxiliary Feed Table
9. Folding Instruction
10. Control Panel
11. Paper Delivery Sensor
13. Fold Stop
14. Paper Separator
15. Side Guide
16. Lower Plate
17. Extension Table
18. Feed Roller Unit
19. Folding Roller
20. Feed Table
21. Auxiliary Feed Ring
P.8
18
19
17
16
15
9
13
8
20
21
Parts Name
12. Delivery Auxiliary Guide
14

P.9
1
2 3
4
5
No
1. Power Lamp
2. Start Button
3. Stop / Reset Button
Name
Lights up when the power is ON.
Press this button to start folding
Press this button to stop folding.
The machine stops also when sheets on the feed
table run out.
4. Speed Button
5. Low Speed Lamp
Switches high speed and low speed.
When turning the power on, it is set to high speed.
(It will not function when the machine is running.)
Indicates the machine is running at low speed.
Press this button to reset the machine after clearing a
jam in manual mode.
Operation
Control Panel

P.10
Delivery Auxiliary Guide

improperly
8 ½ x 11
Upper / Lower Plate guide line
Fold
Upper/Lower

P.12
Z fold
A
B
B
A
When A is Lo nger
When A is Shorter
When B i s Longer
When B i s Shorter
When A is Lon ger
When A is Shorte r
When B i s L onge r
When B i s S horter
When A is Lo nger
When A is Sho rter
When B i s L onge r
When B i s S horter
A
B
Fold Type
Misalignment
Single fold
A
When A is Sho rter
Correcting Folding Misalignment
1
8
Move the stop as arrow indicates
1
4

P.13
Low Speed Button
2. Auto Mode
1. Turn on the power switch.
2.
3. Pull the Receiving Tray fully out.
4. Select folding speed according to the weight of paper.
5. Open the Auxiliary Feed Table and pull out the Extension Table.
CAUTION
1.
DO NOT touch any moving part during operation.This could result in injury.
2.
Extension Table
Auxiliary Feed Table
Receiving Tray
3.
Selecting folding speed
Two folding speeds are available for better fold quality.
High speed: 120 sheets / min.
Low speed: 100 sheets / min.
To select low speed, press the Low Speed button. The Low Speed Lamp lights
up when running at low speed.
Select folding speed according to the weight of paper to be folded.
Operation
Folding s peed may vary due to variatio ns in paper an d power supply.
( Default setting: suitable for normal weight of paper, more than 20LB Bond)
(Optional setting: suitable for thinner paper, light weight less than 20LB Bond)
DO NOT let hair, a necktie, or a necklace hang above the drive of the machine. Doing
so may cause injury.
Position the Fold Stop referring to the Folding Instruction.
Fold Stop

Holding down the Feed Table, load sheets on it. Move the Side Guides to the edge
of sheets without any clearance. Do not push the guides hard up against the edge.
6.
P.14
Operation
7.
8.
1
2
Note
When the Manual Knob is pressed in during Auto mode operation.

Note
P.15
20LB Bond.

P.16
MBM Roller Wash.
and replace with a
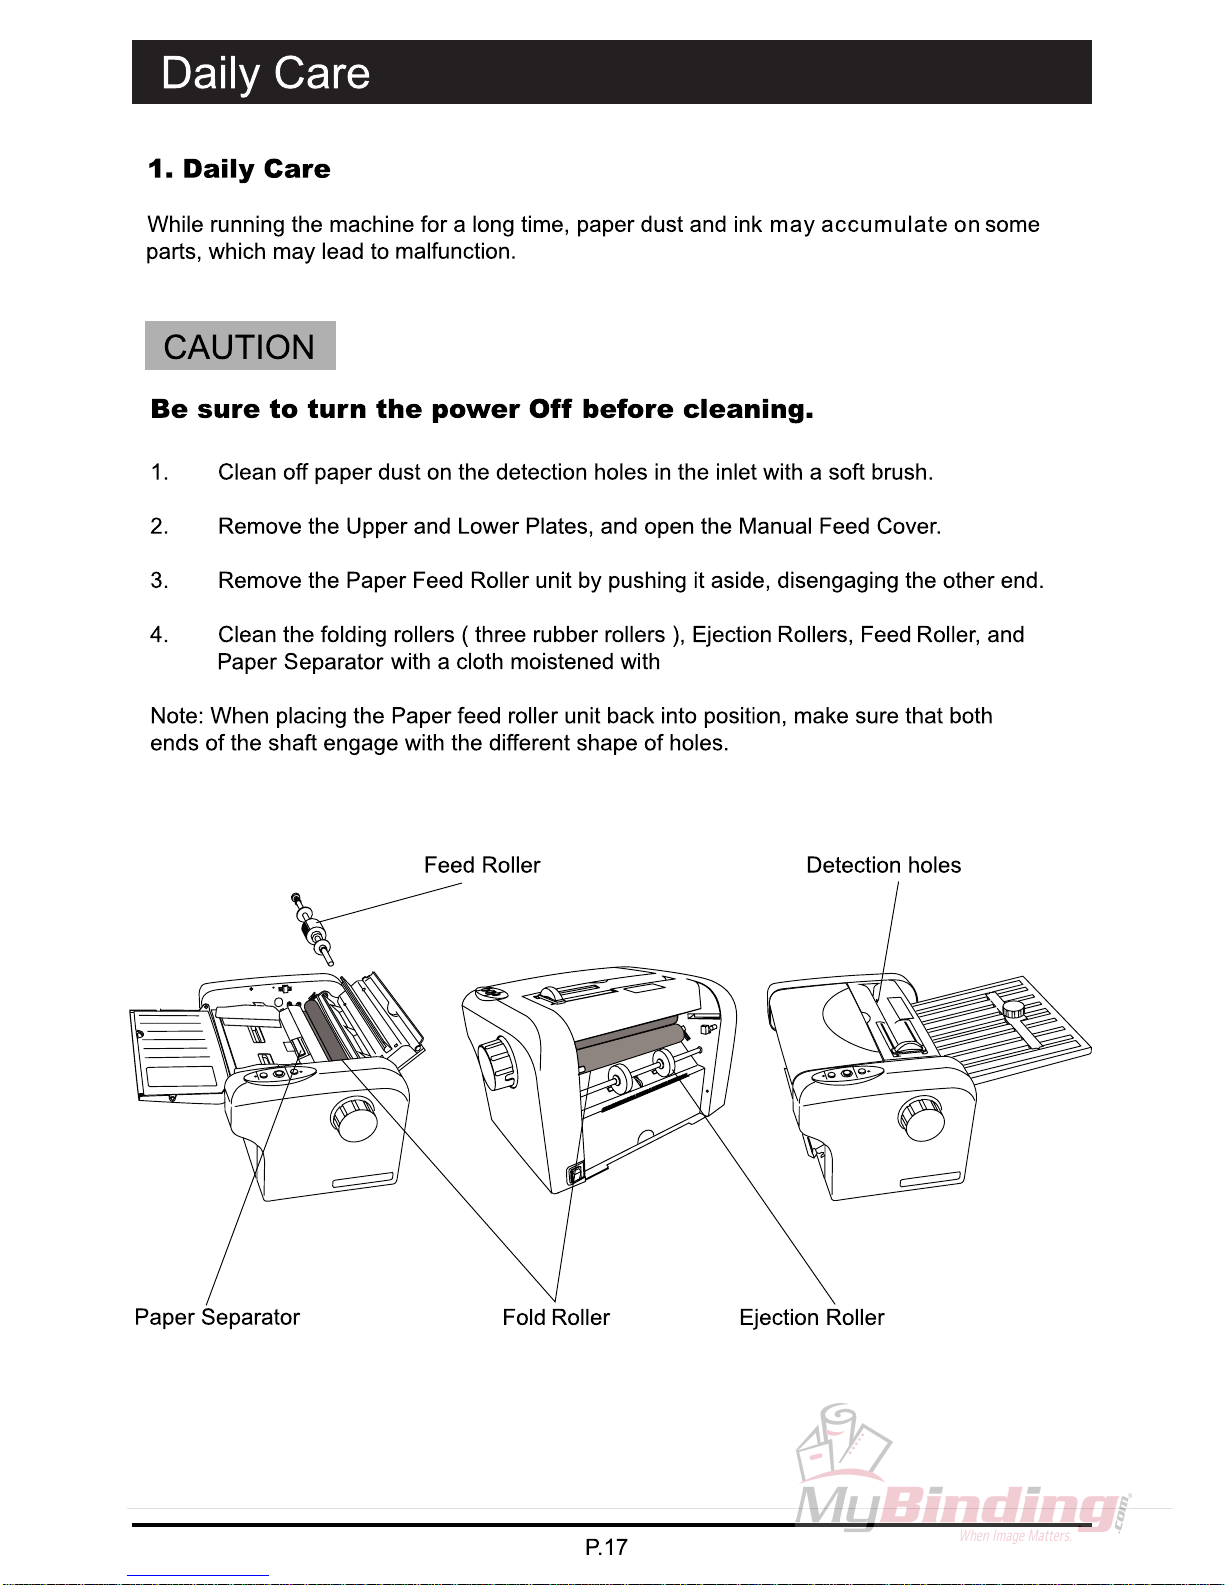
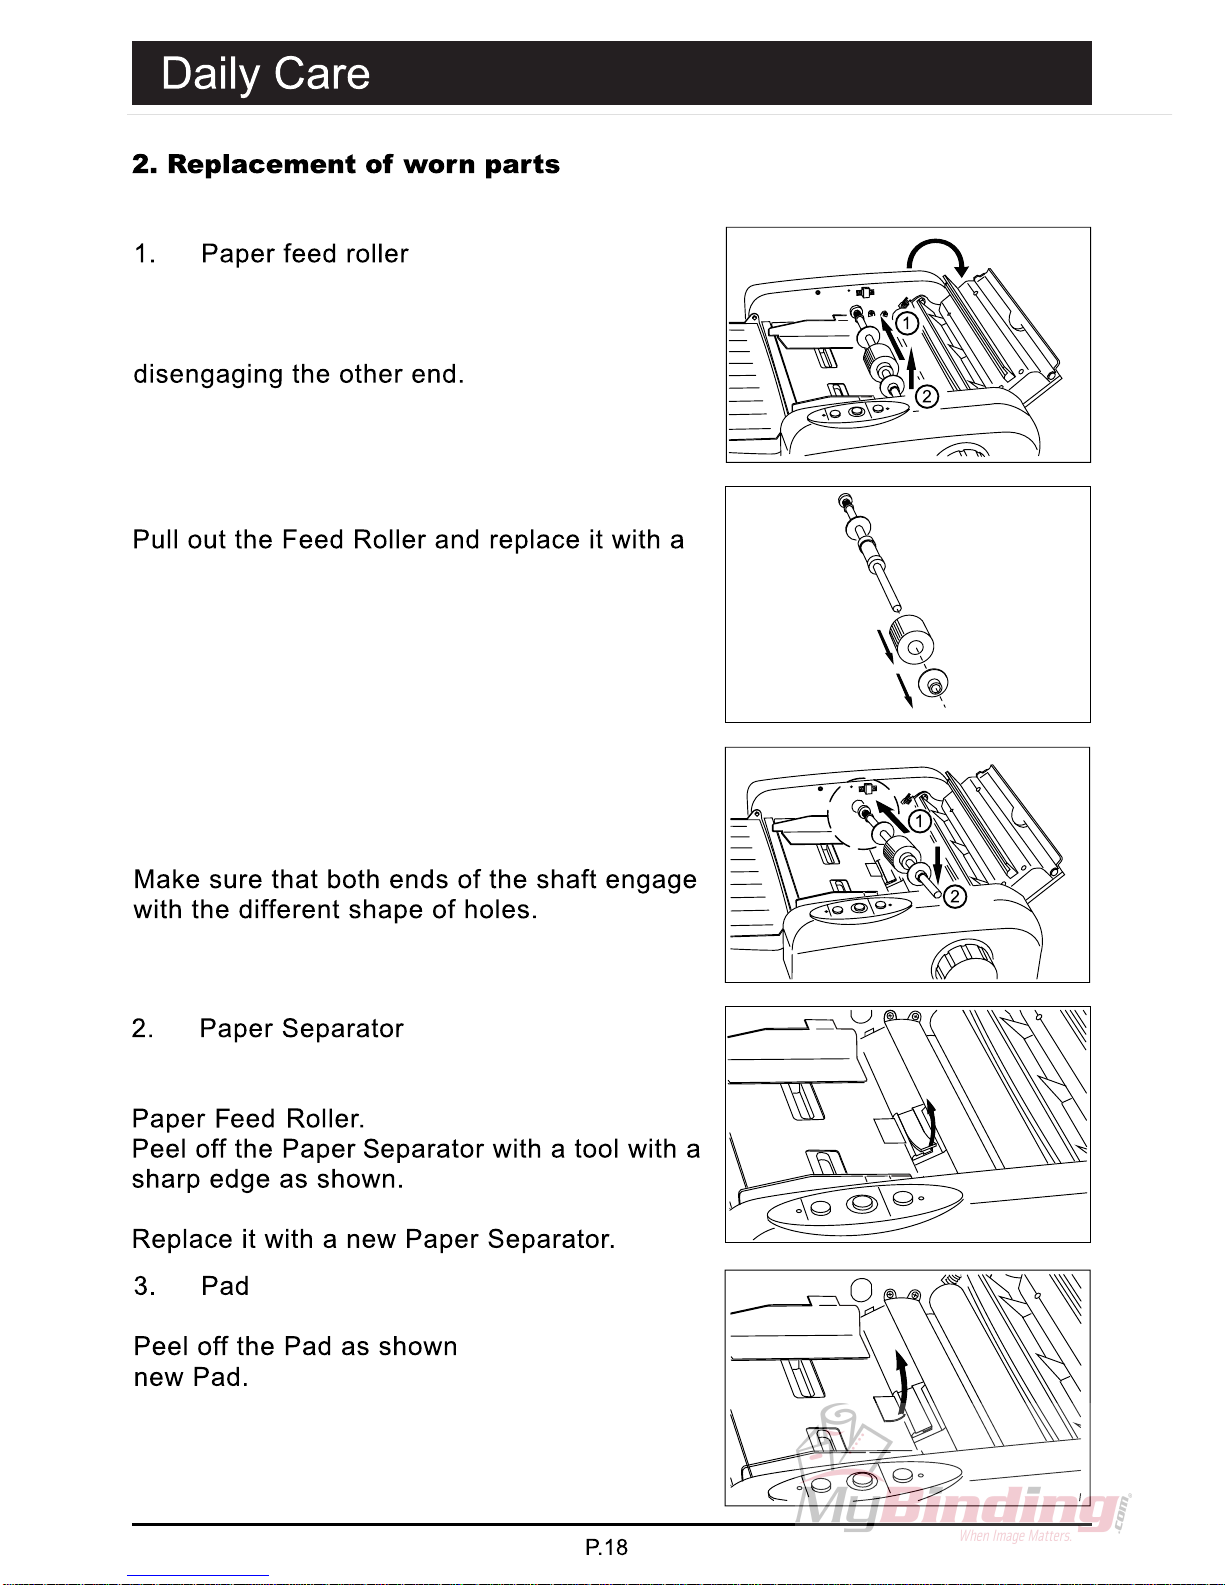
Open the Manual Feed Cover. Remove the
Paper Feed Roller unit by pushing it in,
new Feed Roller.
Reverse the steps, reinstalling the Paper
Feed Roller unit.
Open the Manual Feed cover. Remove the

Paper Jam
Upper/Lower Plates secured
improperly.
Blown Fuse
Paper fed skewed in Auto mode
Paper fed skewed in Manual mode
Curled or damp paper
Manual feed cover open
Manual Knob position
Power cable plugged into outlet
Paper Jam
Paper Delivery Sensor pressed
Clear paper from inlet
Machine placed in direct sunlight
Remove from direct
sunlight.
 Loading...