

4.125in
TM
www.myaudeo.com
Aud
TM
o
e
TM
Product :
Website : www.myaudeo.com
PATENT PENDING
Designed by myAudeo
Assembled in China
To prevent possible hearing
damage, do not listen at high
volume levels for long periods.
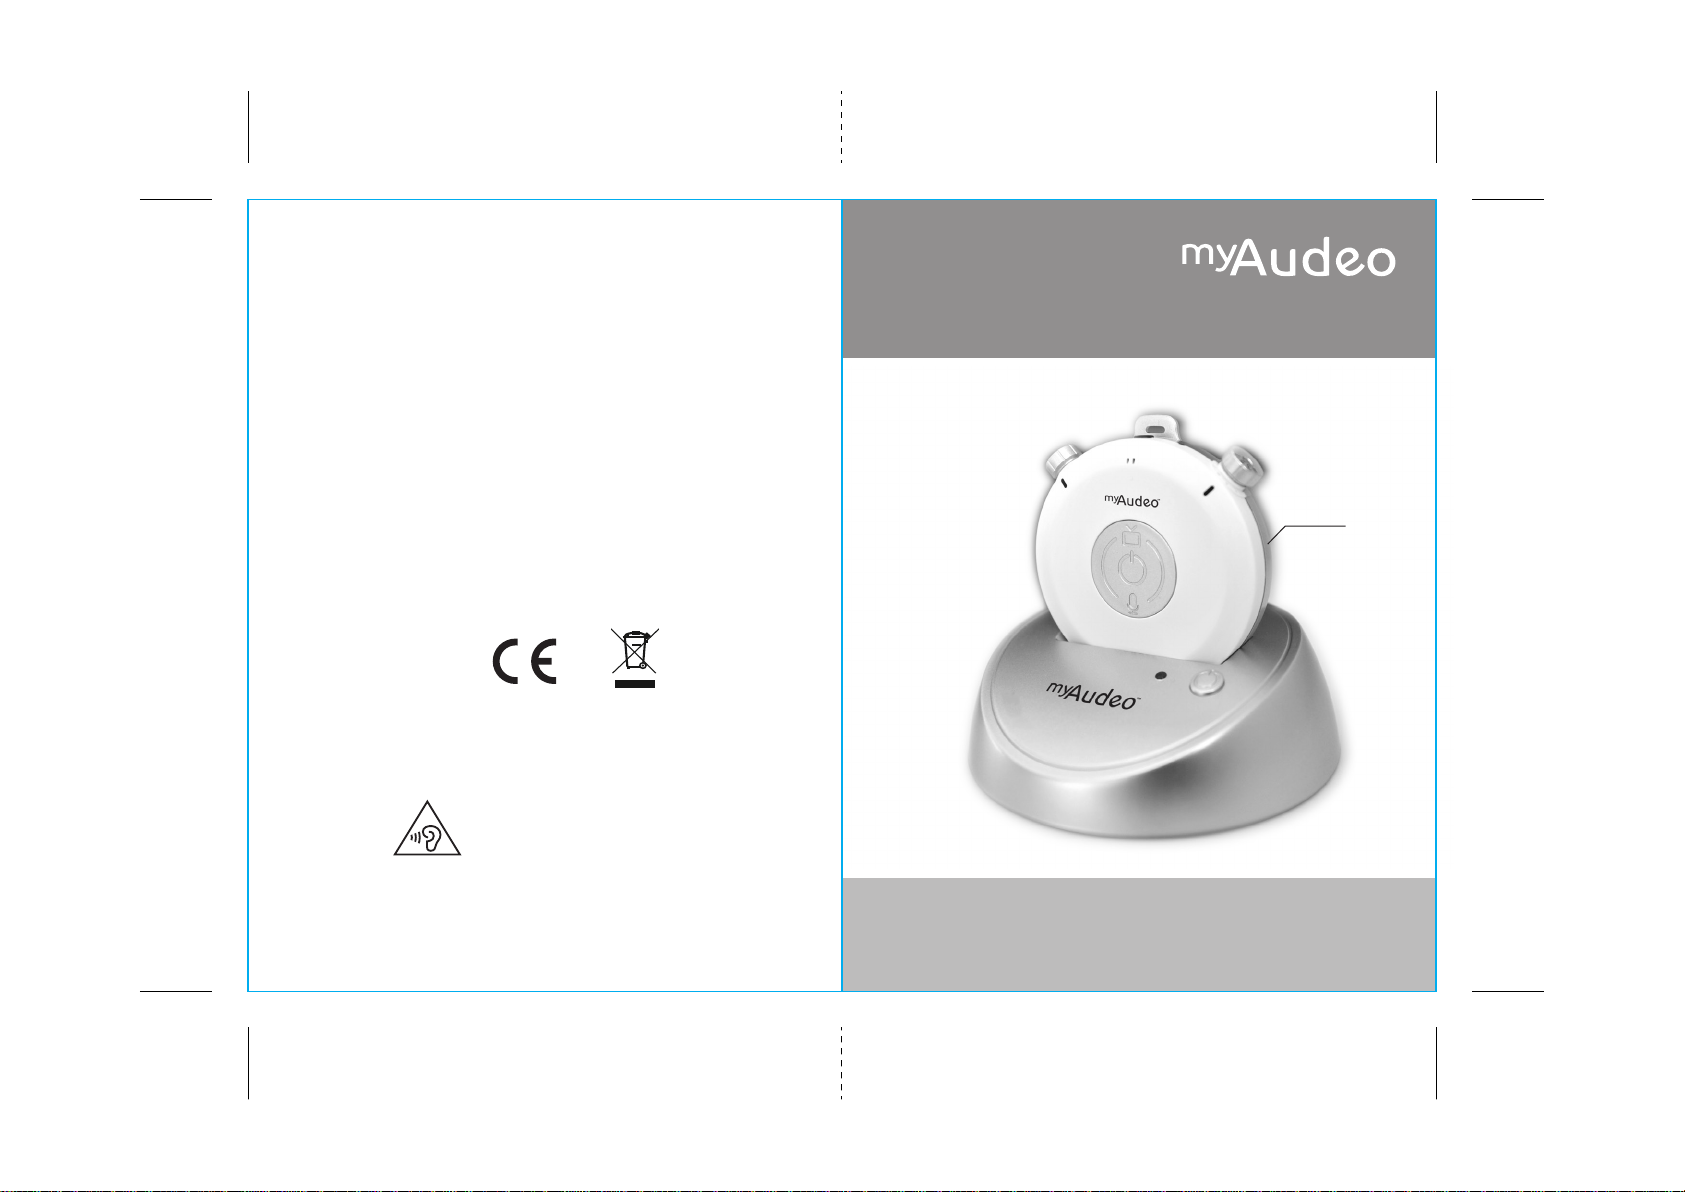
my
Listening System
Model:
8081
5.5in
Instruction Manual
Cover v.01Back
Contents
What’s in the box
What’s in the box
myAudeoTM Overview
myAudeoTM Set-up
TM
Step 1: Charging myAudeo
Step 2: Base Unit placement
Step 3: Connecting to a media source
Step 4: Switching between Media and
Ambient Sound modes
LED light guide
Connecting more than one Receiver Unit
to the Base Unit
Safety Instructions
Specification
02
03-04
05
06
07
08-09
10
11
12
13
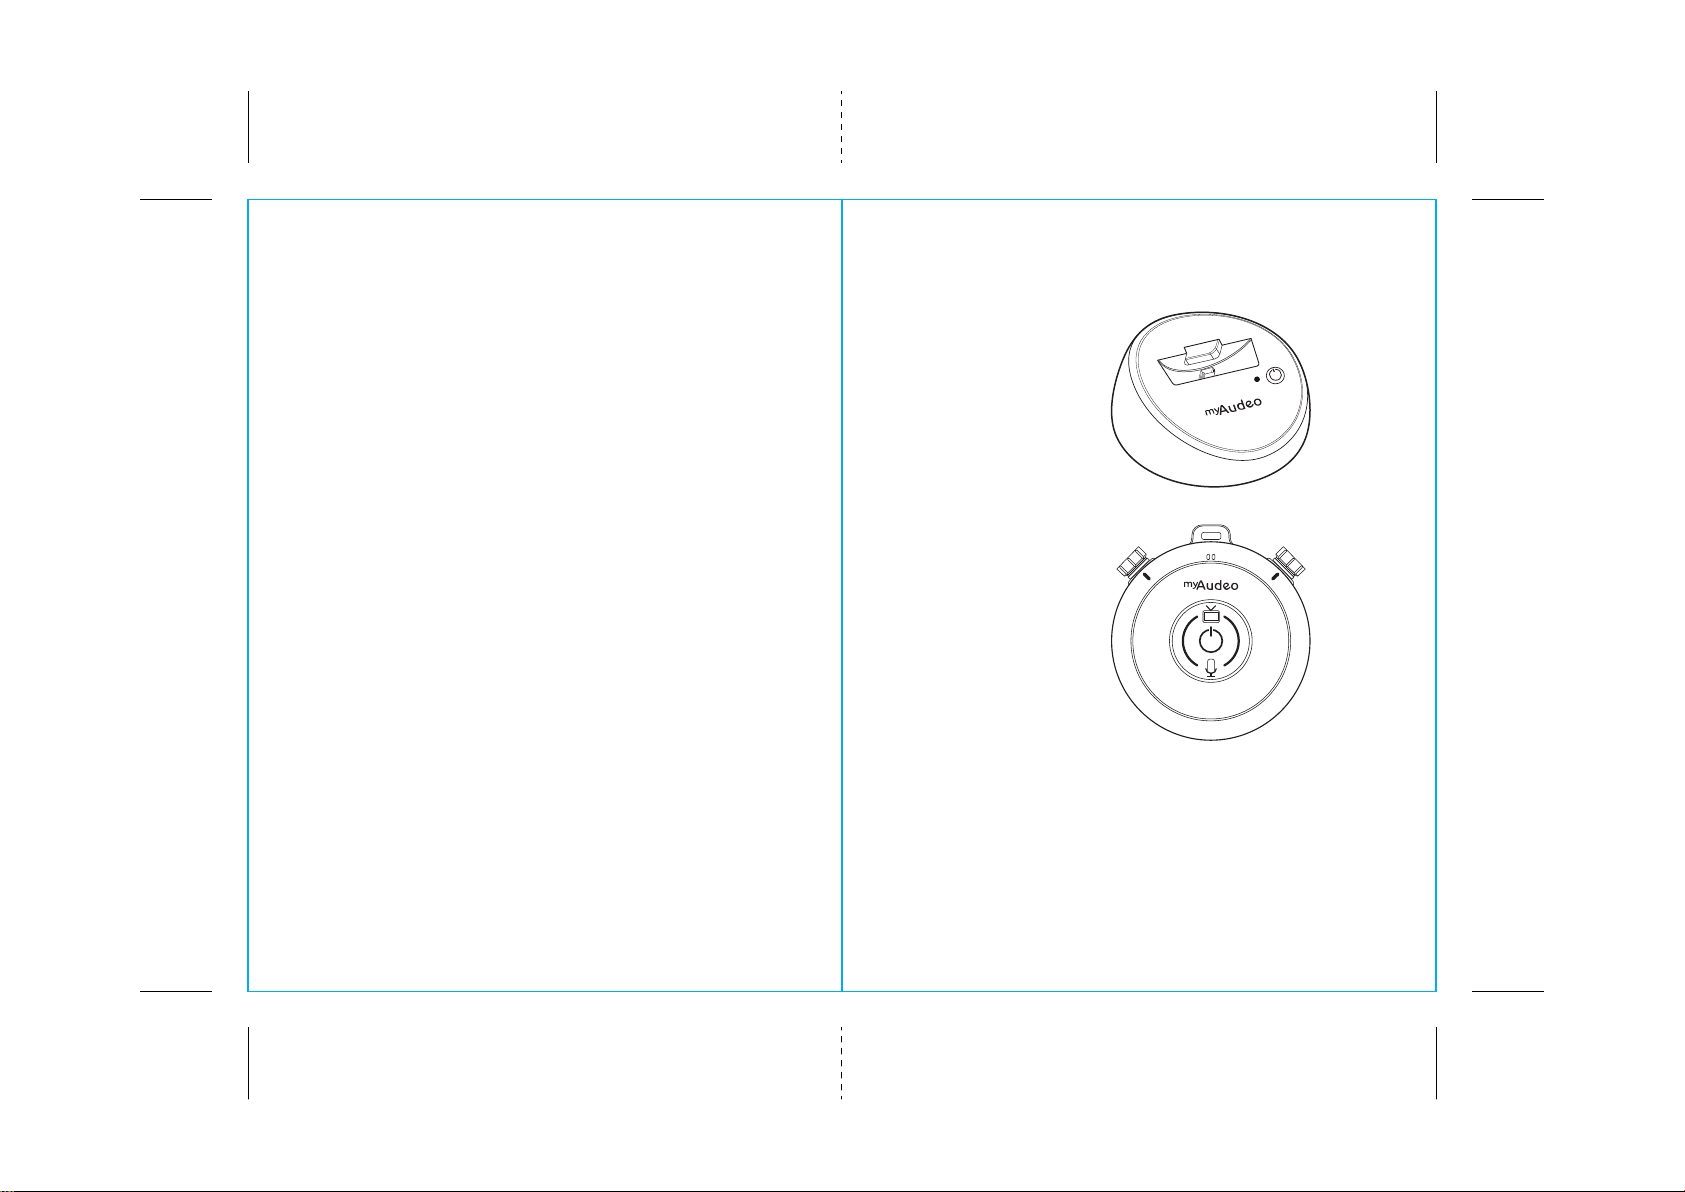
Base Unit
TM
Receiver Unit
TM
Power Converter
USB Cable
RCA Cable
Headphones
Instruction Manual
3.5mm socket
P.02
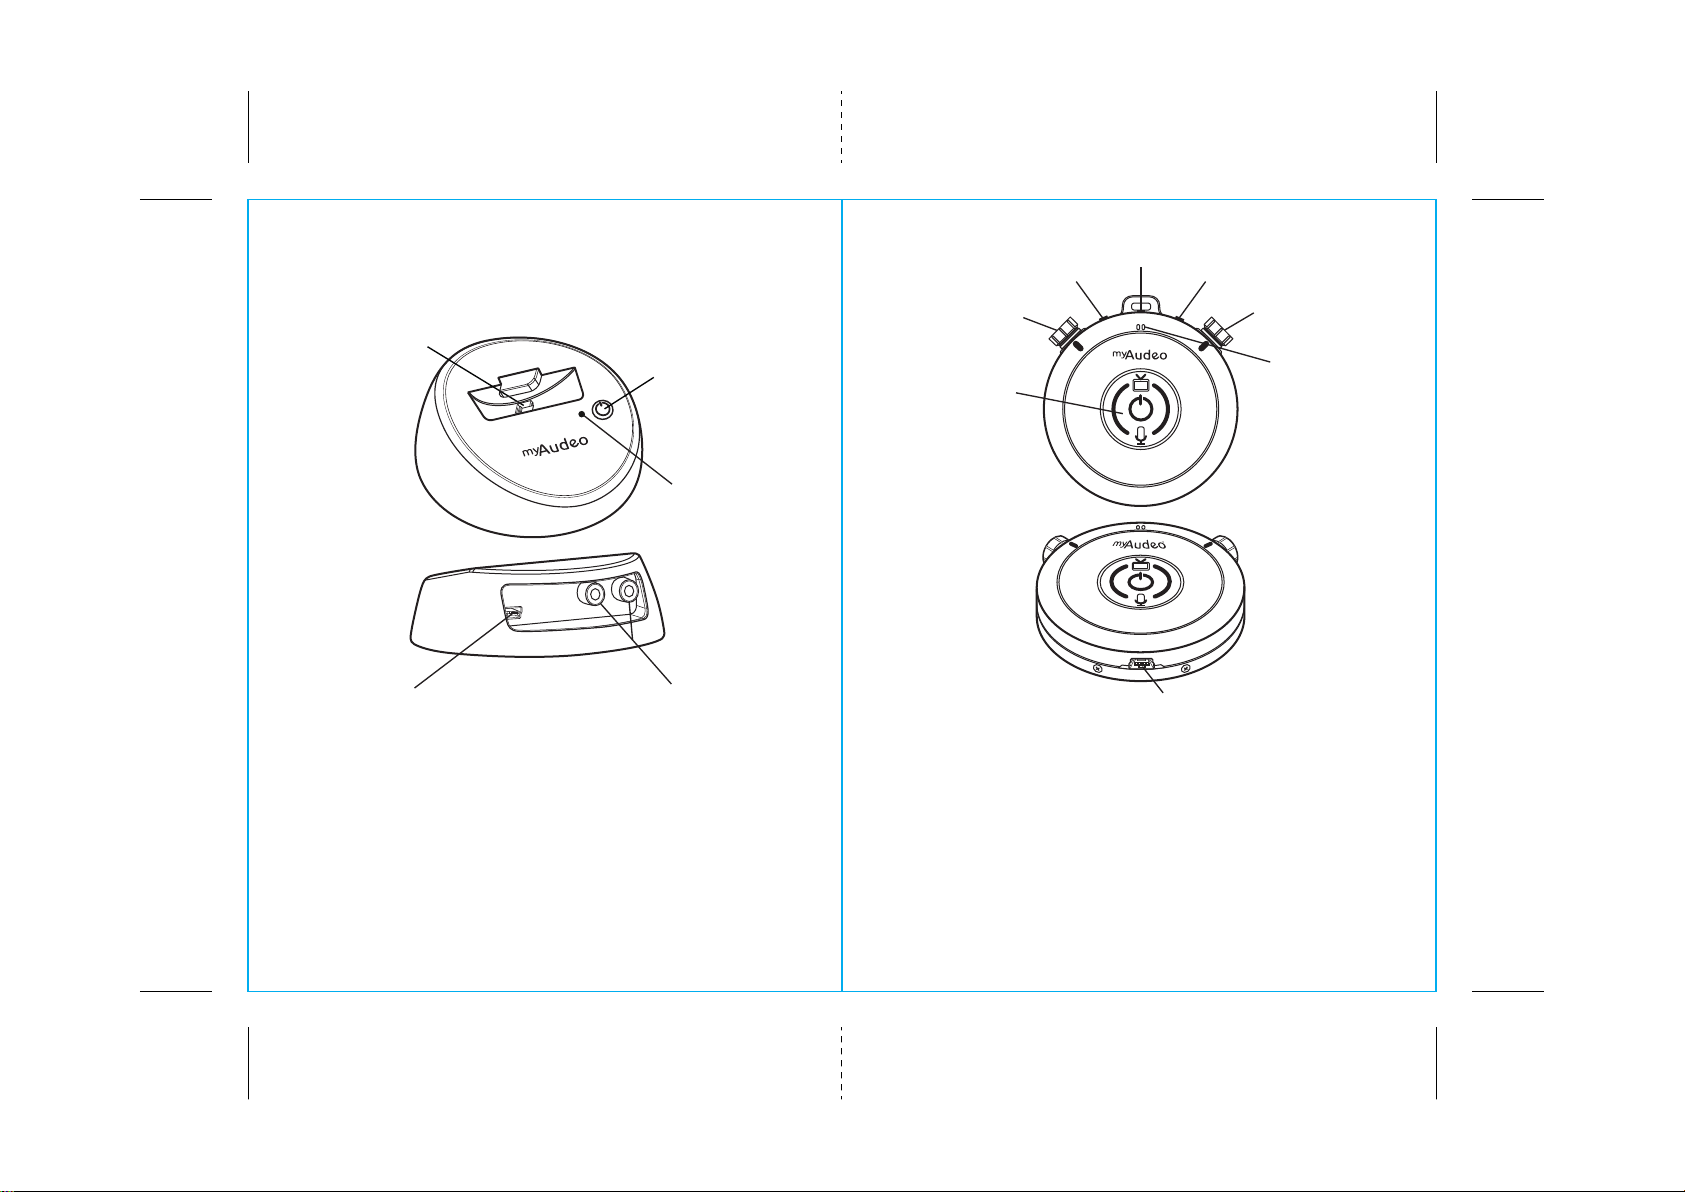
myAudeoTM Overview
⑦
⑧
⑨
⑩
Base Unit Receiver Unit
③
①
TM
⑪
⑫
⑥
TM
②
④
① Power Button
② LED Indicator
③ USB Outlet
④ Power Input
⑤ RCA Input (Analog)
P.03 P.04
⑤
⑬
⑥ Power Button
⑦ Power Indicator
⑧ Headphone Jack
⑨ Sound Mode Indicator
⑩ Volume +/-
⑪ EQ Selector
⑫ Microphone
⑬ Mini-USB Port

TM
myAudeo
Set-up
Step 1: Charging myAudeo
Step 1A:
Plug the power converter into an
electrical outlet
TM
Step 2: Base Unit Placement
Place the the Base Unit near your sound source.
myAudeoTM uses wireless transmission with a range up
to 10 meters. In media sound mode, this will allow you
to walk out of the room and still be able to hear sound
from your media source.
Step 1B:
Plug the AC adapter into the power
input port in the base unit
④
TM
Step 1C:
When using for the first time, plug
the Receiver Unit into the mini-USB
on the Base Unit and charge for at
least 3 hours.
Is it finished charging?
The RED LED Power Indicator on
the Receiver Unit will display the
charging status.
Power Indicator – RED LED
Charging ON
Fully Charged OFF
Low Battery Flashing
P.05 P.06
⑧
TM
Do not place the transmitter close to metal objects
such as shelf bars, reinforced concrete walls etc, as this
can decrease the transmitter's range.
Room 2
Room 1
Up to 10M

TV
Step 3: Connecting to the
Media Source
Plug the audio cord in
RCA:
to the Audio Out ports on the
back of the TV
Step 4: Switching between Media and
Ambient Sound Modes
Step 4A:
Turn ON the Receiver Unit
by pressing the Power
button for 3 seconds
TM
TM
⑩
TM
Radio 1
For devices with a 3.5mm
audio socket (radio, personal
computer, smart phones and
tablets), plug the RCA audio
cable into the 3.5mm socket
and plug the 3.5mm socket
into the 3.5mm audio socket
on your sound source.
Step 4B:
Switch between media and
ambient sound mode by
pressing the Power button once
Are you in media or Ambient sound mode?
The GREEN LED light on the Receiver Unit will
Indicate the mode
Sound Mode
Indicator - GREEN LED
TV mode ON
Ambient
mode
P.07 P.08
Flash once every 2
seconds

Step 4C:
Adjust the volume up by turning the
volume dial clockwise (towards “+”).
Adjust the volume down by turning
the volume dial counter clockwise
(towards “-”).
Step 4D:
Use the EQ dial to select a custom-
ized listening experience
What does the EQ function do?
EQ (or equalizer) adjusts sound frequencies to
cater to different listening environments.
Four EQ settings have been preset on your
myAudeo
TM
device.
⑪
TM
⑧
TM
LED Light Guide
Power Indicator - RED LED
Charging ON
Fully Charged OFF
⑫
TM
Low Battery Flashing
⑩
TM
Sound Mode Indicator - GREEN LED
TV mode ON
Ambient mode Flash once every 2
seconds
TV Mode Ambient
Base Unit – GREEN LED
Mode
EQ1 Normal General
EQ2 Bass Silence
EQ3 Pop Outdoor
EQ4 Rock Directional
P.09 P.10
Pairing in
Flashing
Progress
Pairing OK ON
Pairing not
Successful
Flash once every 1
second

Safety Instructions
Connecting more than one
•
Receiver Unit to the Base Unit
The myAudeoTM is not a hearing aid and is not intended
to diagnose, treat, cure or alter the structure or
TM
function of the body. The myAudeoTM will not restore
normal hearing and will not prevent or improve a
hearing impairment resulting from organic
conditions.
TM
TM
TV
• To prevent possible hearing loss, do not listen at
high volume levels for prolonged periods of time.
• Only use myAudeoTM under normal working conditons,
which are :
TM
•Temperature: 0℃-38 ℃
•Humidity: ≦80%
Multiple Receiver Units can be connected
to the Base Unit at the same time.
• Switch the Receiver Unit to TV mode.
• Plug the Receiver Unit into the mini-USB
on the Base Unit.
• The pairing process will be completed
automatically. To confirm pairing is
complete, the Green LED light on the
Base Unit will be ON.
• The myAudeoTM after packaging can be used in general
shipping method, but should be not exposure to the
sun, rain, moisture, snow or damage. The shipping
& storage temperature is -10℃-38 ℃ and relative
humidity is ≦85%.
• Use the system with care and set it up in a clean,
dust-free environment.
• Do not store over 45℃. The built-in lithium battery
has the risk of explosion.
P.11 P.12

Specification
Model
Modes
Multiple Users
Transmission Distance
Microphone
Pairing Compatibility
Sound Input
Volume Tuning
EQ Tuning
Headphone
Charging
Battery Life
Sound Performance
Normal Working Conditions
Power Source
Standards
Warranty
8081
TV Operating Mode, Ambient Made, Sleep Mode
Base Station can be paired with up to 4 myAudeo Receivers
Up to 10 metres
Yes, built into the myAudeo Receiver
Automatic pairing with Base Station
RCA
Yes
Yes
Compatible with any headphones
Charge at Base Station or through USB
6 hours after a full change of 2.5 hours
Less than 20 ms delay
Temperatune: 0℃-38 ℃
Humidity: ≦80%
110V - 240V AC
CE, FCC
2 years
FCC Information and Copyright
This equipment has been tested and found to comply with the limits for a Class B digital device,
pursuant to part 15 of the FCC Rules.
These limits are designed to provide reasonable protection against harmful interference in a residential
installation. This equipment generates,
uses and can radiate radio frequency energy and, if not installed and used in accordance with the
instructions, may cause harmful interference
to radio communications. However, there is no guarantee that interference will not occur in a particular
installation. If this equipment does
cause harmful interference to radio or television reception, which can be determined by turning the
equipment off and on, the user is
encouraged to try to correct the interference by one or more of the following measures:
—Reorient or relocate the receiving antenna.
—Increase the separation between the equipment and receiver.
—Connect the equipment into an outlet on a circuit different from that to which the receiver is
connected.
—Consult the dealer or an experienced radio/TV technician for help.
This device complies with part 15 of the FCC Rules. Operation is subject to the
following two conditions:
(1)This device may not cause harmful interference, and
(2) this device must accept any interference received, including interference that may
cause undesired operation.
changes or modifications not expressly approved by the party responsible for compliance could
void the user's authority to operate the equipment.
P.13 P.14
 Loading...