

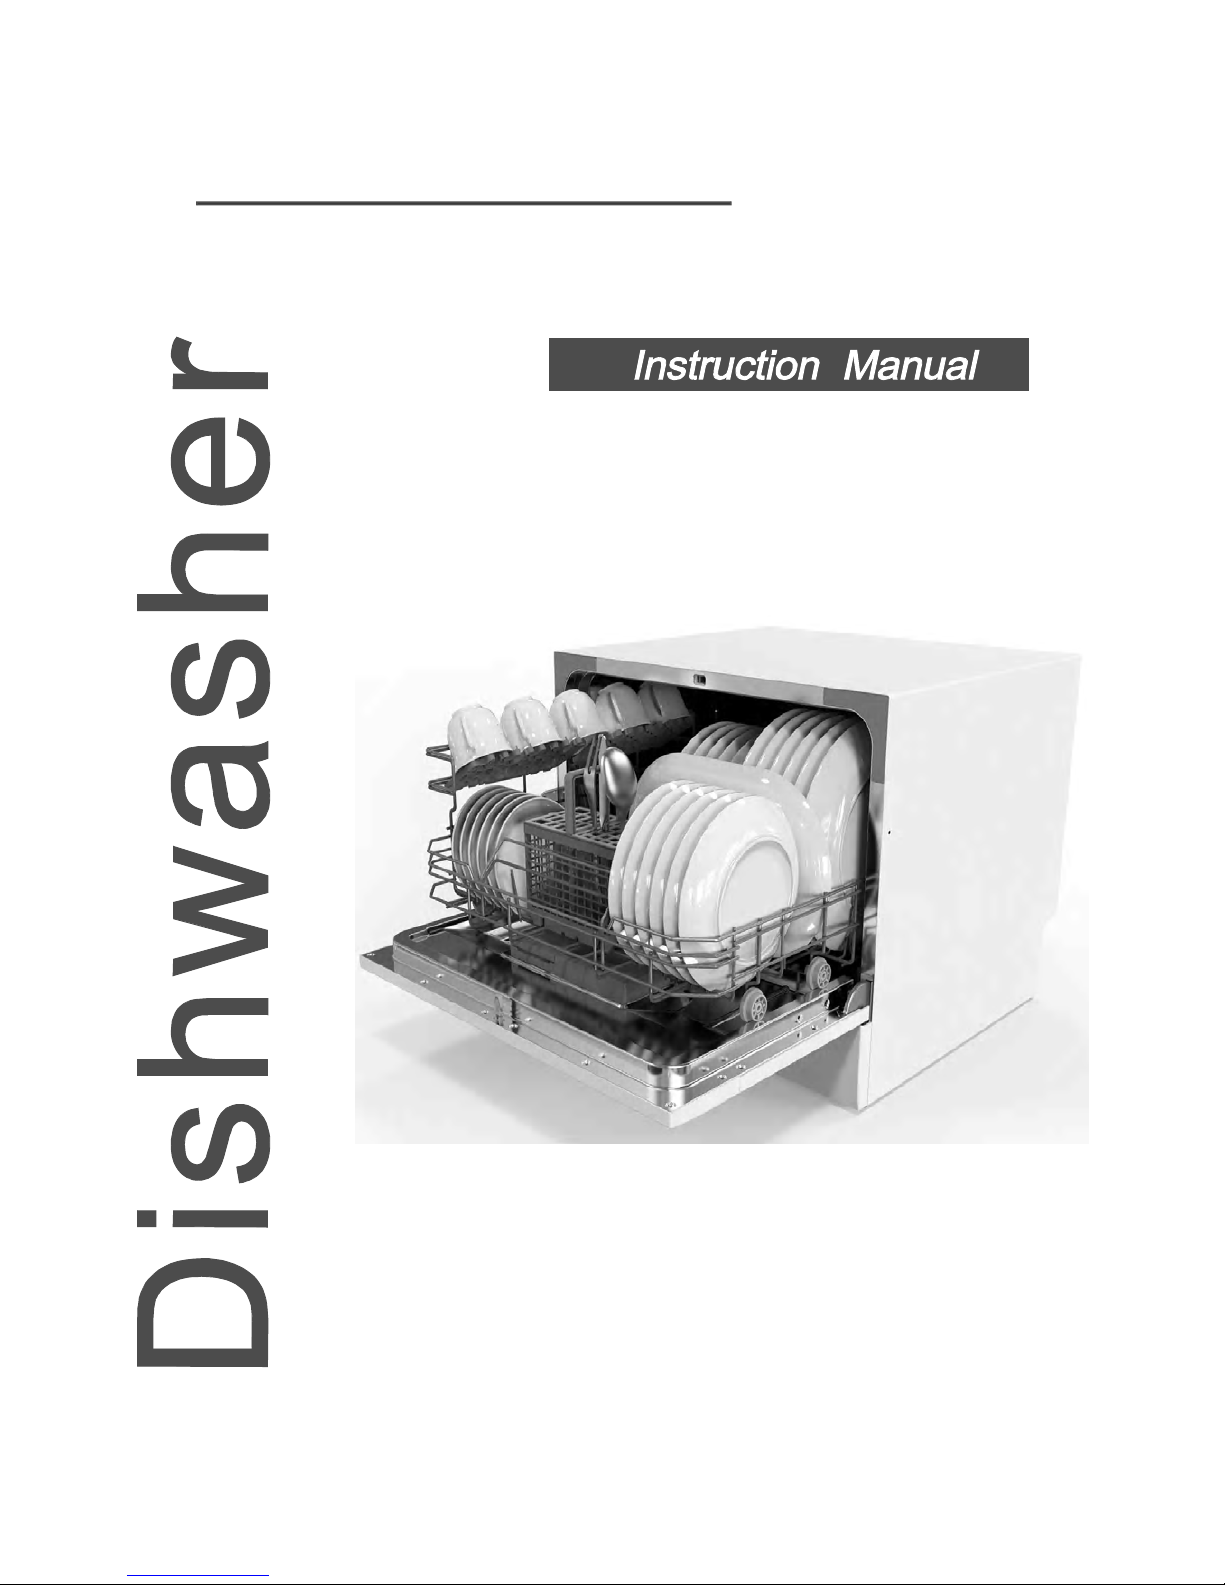
myappliances ART28008 Instruction Manual
ART28008
To review the section on troubl eshooting Tips
will helpyoutosolvesome common problems
byyourself .
Dear Custo m er ,
Pleasecarefully readthismanual beforeusingthe
dishwasher, it will helpyou to use and maintainthe
dishw ash er properl y.
Passit onto any s ubsequent owner of theappliance.
This ma nua l c on tain s section s on safety In str u ct ion s ,
Operating Instructions, Installation Instructions and
Troubles hooting Tips, etc .
The manufacturer,fo llowing a pol icy of constant
development and updating of theproduct, may
make m odificatio ns w itho ut giving prior notice.
This user manualshall alsobegot from the
manufactureror responsible vendor.
Keepit to referto it ata later date.
Ifyo u can not solve the problems by you rself ,
please ask f or the help of prof essional te chnician s.
Dishwasher Features.......................................3
Att entio n b efor e o r afte r lo adi ng the D is h wash er
Baskets..........................................................9
FilteringSystem.............................................13
Caringforthe Dishwasher..................... .........14.
A Loadi n g theS alt into theSof tener....... .. . .. .....4、
B FilltheRinseAidDispenser.........................5、
C Function of Detergent . ................................6
、
Loading the B ask et... ... ...... ...... ... ...... ... ... ...... ....9
CutleryBasket..............................................10
WashCycleTable...........................................11
Turning on the Appliance................................11
ChangetheProgramme...... ........ ................12....
At the end o f th eWashCycle...........................12
Positioning theAppliance................... ..........16..
Water Connection.................................. .......16.
About Pow er Connec tion....... ...... ...... ..... . ......1 6.
Connection of D rainHoses..................... .......17.
Startof dishwasher............................. .. ......18.. ..
Beforecallingfor service........................... .....19.
Errorcodes.................................... ..............20.
Technicalinformation.............................. .....21..
ControlPanel...................................................3
Thisappliance is intendedtobeused in household
andsimilar applicationssuch as:
-staff kitchen area s in shops, offices and other
worki ng envir onments ;
-farm houses;
-byclients in hotels, motelsand otherresidentialtype
environments;
-bedand breakfasttype environments.
Thisappliance can be usedbychildren agedfrom8
yearsand aboveandpersons with reducedphysical,
sensory o r mental capa bilities or l ack of exper ience
andknowledgeiftheyhave beengivensupervision
or instruction concerning use of the appliance in a
safe way andunderstand the hazardsi nvol ved.
Children shall not playwith the appliance. Cleaning
andusermaintenanceshall notbe madebychildren
withouts upervision.(For EN60335-1)
This app liance is not in tended for use by pers ons
(including children)with reducedphysical, sensory
or me nta l c ap abi l it ie s, or l ac k o f e xp er ie nce an d
knowled ge ,unless th eyhave been given su pervision
or instruction concerning use of theappliance by a
personresponsiblefor their safety.(ForIEC60335-1)
Thisappliance isforindoor useonly, forho usehold
useonly.
To prote ct ag ainst th e risk o f elect rical shock , do not
immerse the unit,cord orplugin waterorother liquid.
Pleaseunplug before cleaning and maintenance the
appliance .
Use asoftcloth moistenwi thmild soap, andthenu se
adryclothtowipeitagain.
When using your dis h washer,
follow the precautions listed be low:
1-1

This appliance must be earthed. In the event of a
malfunction or breakdown, grounding will reduce the risk
of anelectric shock by providing a path of least
resistance of electric current. This appliance is equipped
with a cord having an equipment-earthing conductor
and a earthing plug.
The plug must be plugged into an appropriate outlet that
is installed and earthed in accordance with all local
codes and ordinances.
Improper connection of the equipment-earthing
conductor can result in the risk of an electric shock.
Check with a qualified electrician or service
representative if you are in doubt whether the appliance
is properly grounded.
Do not modify the plug provided with the appliance;
If it does not fit the outlet.
Have a proper outlet installed by a qualified electrician.
Do not abuse, sit on, or stand on the door or dish rack of
the dishwasher.
Do not operate your dishwasher unless all enclosure
panels are properly in place.
Open the door very carefully if the dishwasher is
operating, there is a risk of water squirting out.
Do not place any heavy objects on or stand on the door
when it is open. The appliance could tip forward.
When loading items to be washed:
1) Locate sharp items so that they are not likely to
damage the door seal;
1-2

2) Warning: Knives and other utensils with sharp points
must be loaded in the basket with their points down or
placed in a horizontal position.
Check that the detergent comparment is empty after
completion of the wash cycle.
Do not wash plastic items unless they are marked
dishwasher safe or the equivalent.
For plastic items n
ot so marked,
check the manufacturer's
recommendations.
Use only detergent and rinse additives designed for
an automatic dishwasher.
Never use soap, laundry detergent, or hand washing
detergent in your dishwasher.
Children should be supervised to ensure that they do not
play with the appliance.
The door should not be left open, since this could increase
the risk of tripping.
Ifthesupplycordisdamaged,itmustbereplacedbythe
manufacturer or its service agent or a similarly qualified
person in order to avoid a hazard.
During installation, the power supply must not be
excessively or dangerously bent or flattened.
Do not tamper with controls.
The appliance is to be connected to the water mains using
new hose sets and that old hose-sets should not be reused.
The maximum number of place settings to be washed
is 6.
The maximum permissible inlet water pressure is 1MPa.
The minimum permissible inlet water pressure is 0.04MPa.
1-3
Dispose of the dishwasherpackagingmaterial
correctly.
All packaging materialscanberecycled.
Plasticparts aremarkedwith thestandard
international abbreviations:
PE forpolyethylene,e.g. sheetwrapping material
PS for p olystyrene , e.g. padding material
POM polyox ymethylene, e.g . plastic clips
PP poly propyl ene, e.g. Sa lt filler
ABS Acrylo nitrile Butadiene Styrene, e.g.Control
Panel.
Packag ing materi al cou ld be dan gerous fo r chi ldren!
Fordisposingof packageand theapplianceplease
go to a r ecyclin g centr e.Therefo re cut off th e power
supply c able and make the door closing de vice
unusab le.
Cardboardpackaging ismanufacturedfromrecycled
paper an dshould be d isposed in the was te paper
collecti on for recycli ng.
Byensuringthis productisdisposedof correctly,you
willhelp preventpotential negativeconsequences
forthe environment andhuman health,which could
otherwi se be cause d by inapp ropriate w aste handling
of this prod uct.
Formoredetailedinformationabout recyclingof this
produc t, please c ont act your lo cal city o ffice an dyour
househ old waste d isposal s ervice.
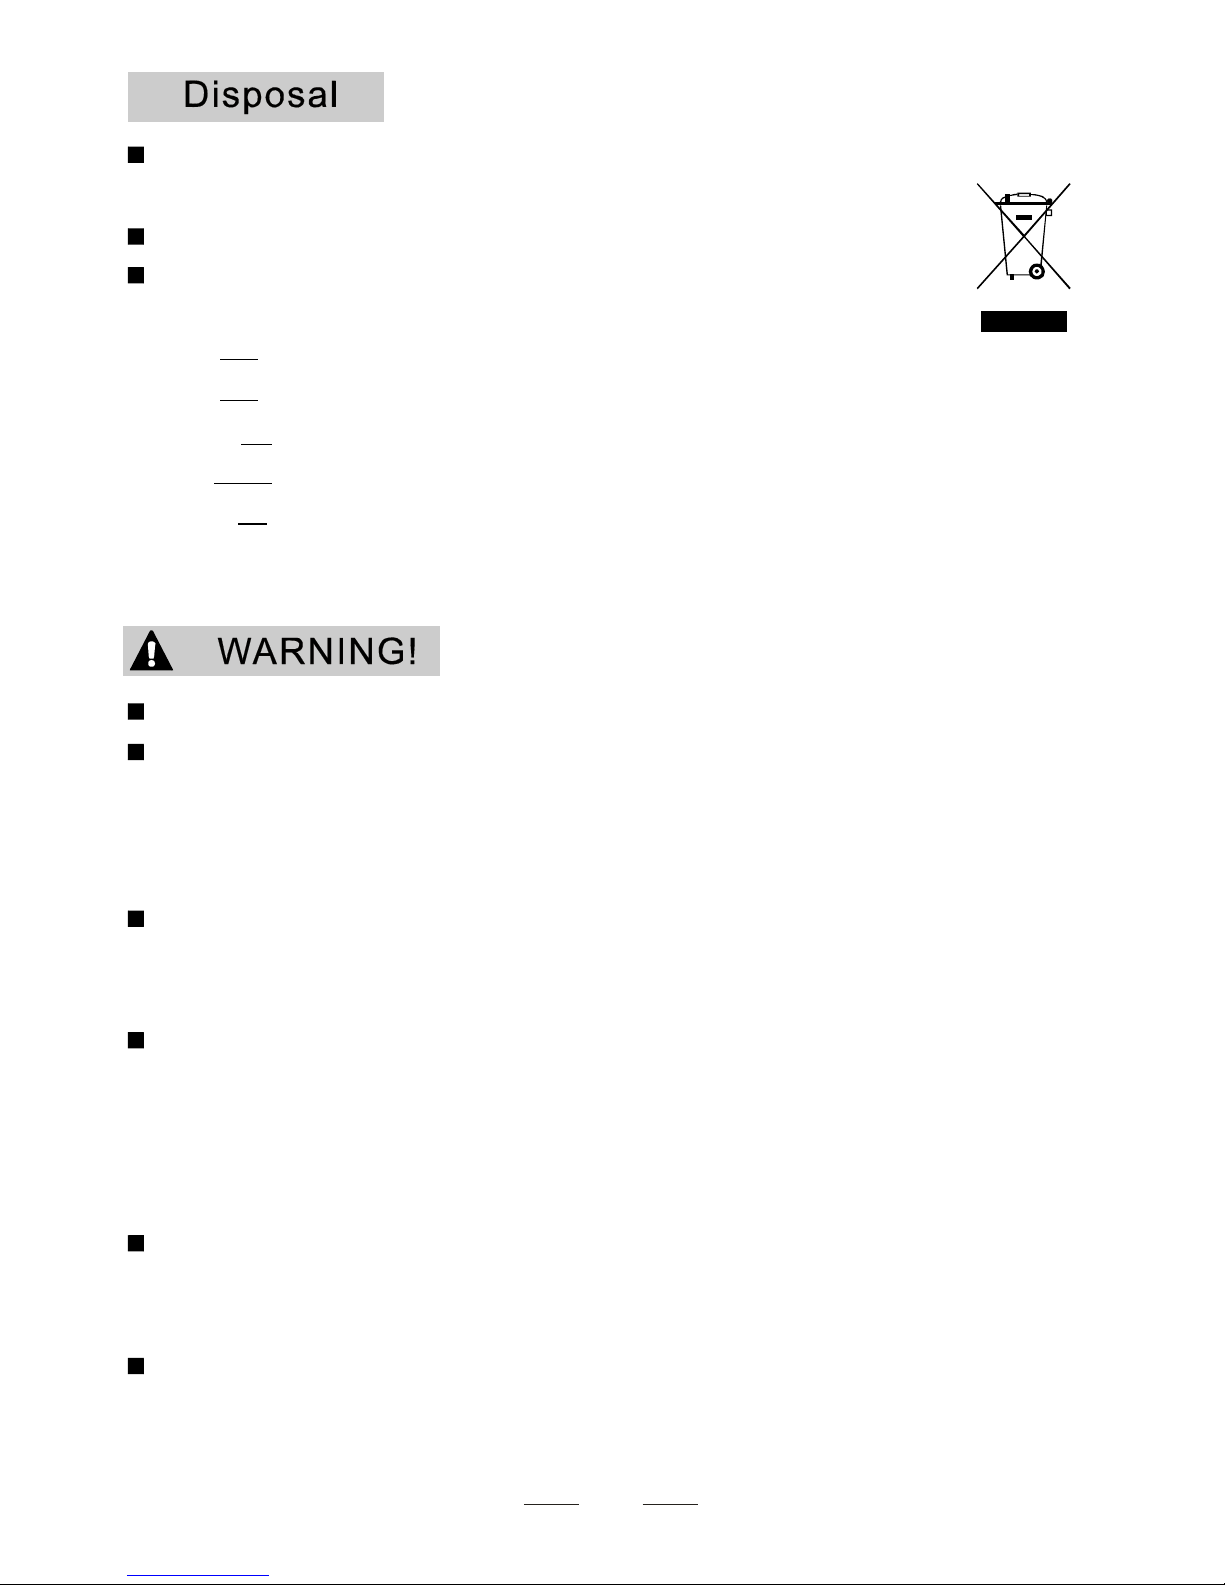
DISPOSAL: Do not dispose this productas unsorted
municipal waste. Collection of such waste separately
forspecial treatment isnecessary.
1-4
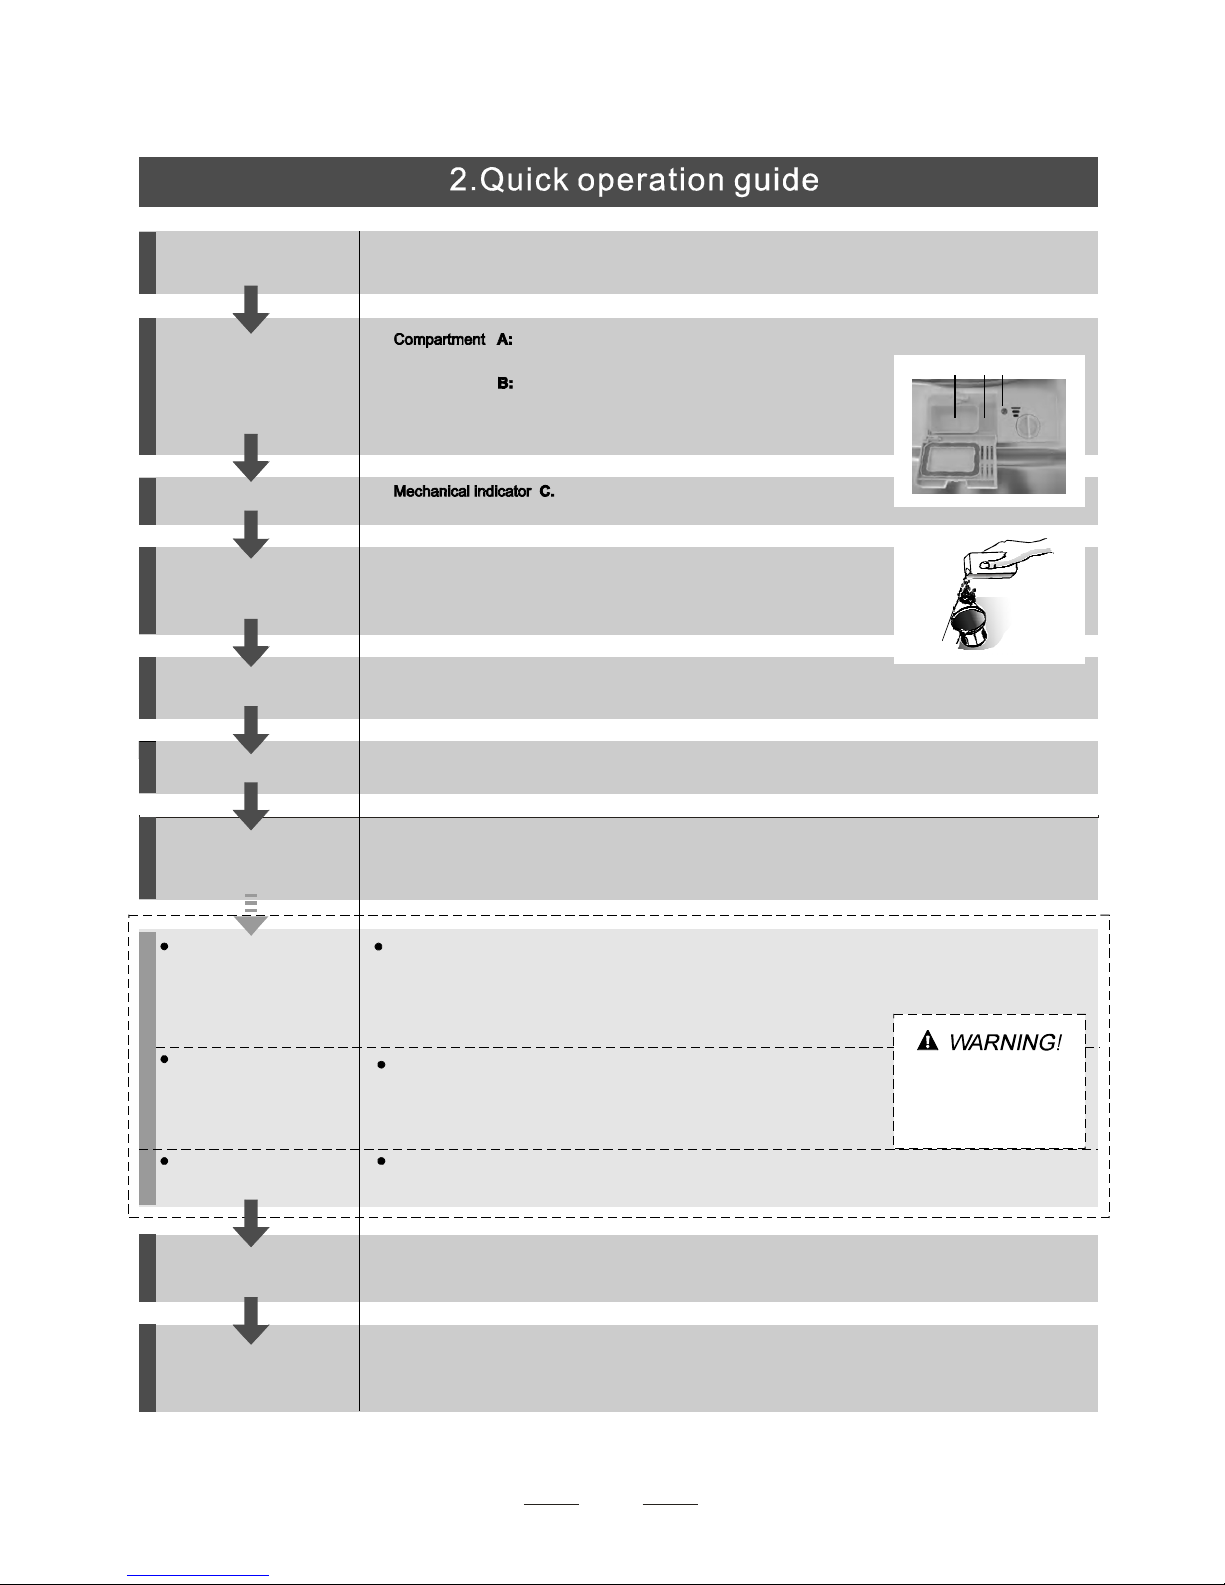
Witheachwashcycle.
Compartment
For programmes with pre-wash only.
(Follow the user instructions!)
Electric indicator on controlpanel(if provided).
Check the rinse aid level
(On models with wat ersoftener system only.)
Electricindicator on controlpanel (if provided).
If there is no salt warning light in the control panel
(for some models), youcan estimate when to fill the salt into
the softener by thenumber of cycles the dishwasher has run.
Checkthe regeneration
salt level
Load the baskets
Select a programme
Turn on the water tap and press the Start/Pause button. The machine willstart working
after about 10 seconds.
Running the dishwasher
Switch off the appliance
Turn off the water tap,
unload the baskets
Fill the detergent dispenser
Warning: wait a few minutes(about15 minutes) beforeunload ing the dishwasher to avoidhandling
the dishes and utensils while theyare still hotand moresusceptible to break.
They willalso dry better.Unload the appliance, starting from the lower basket.
Changing theprogramme
Add forgotten dishes in the
dishwasher.
Scrapeoffany large amount of leftover food.Softenremnants of burnt food in pans,
thenload the baskets.Referto the dishwasher loadinginstructions.
Close the door,
“”
Press the programme button until theselected programme lights up.
( See the section entitled Operation instruction )
When the working cycle has finished, the buzzer of the
dishwasher will sound 8 times, then stop.
Turn off the appliance usingthe Power button.
If the appliance is switched
off during a wash cycle.
Open the door careful l y.
Hotst eam m ay escape
when the doorisopened!
If the appliance is switched off during a wash cycle, when switched
on again, please re-select the washing cycle and operate the dishwasher
according to the original Power-on state ).
Switch onthe appliance Press the Power switch button to switchon theappliance,Open the door.
1.Press the start/pause button to stop the machine.
2.Open the door.
3.Add the forgotten dishes.
4.Close the door, then press the start/pause button, the dishwasher will
start running again after 10 secon ds.
Fordetailed operatingmethod read the correspondingcontenton the instruction manual.
1.A runningcycle canonlybe modified if it has been runningfor a short time.Otherwise the detergent
may have already been released and the water alreadydrained. If this is the case,the detergent
dispenser must be refilled.
2. Pressthe Start/Pause button ,than press the program button more than 3 s econds to cancelthe
running programme.
3. Select a new programme.
4. R estart thedishwasher.
C
A
B
2
5
2
3
4
6
7
3
before using it for the firsttime.
To get the bestperformance fr omyour dishwasher,read all operatinginstructions
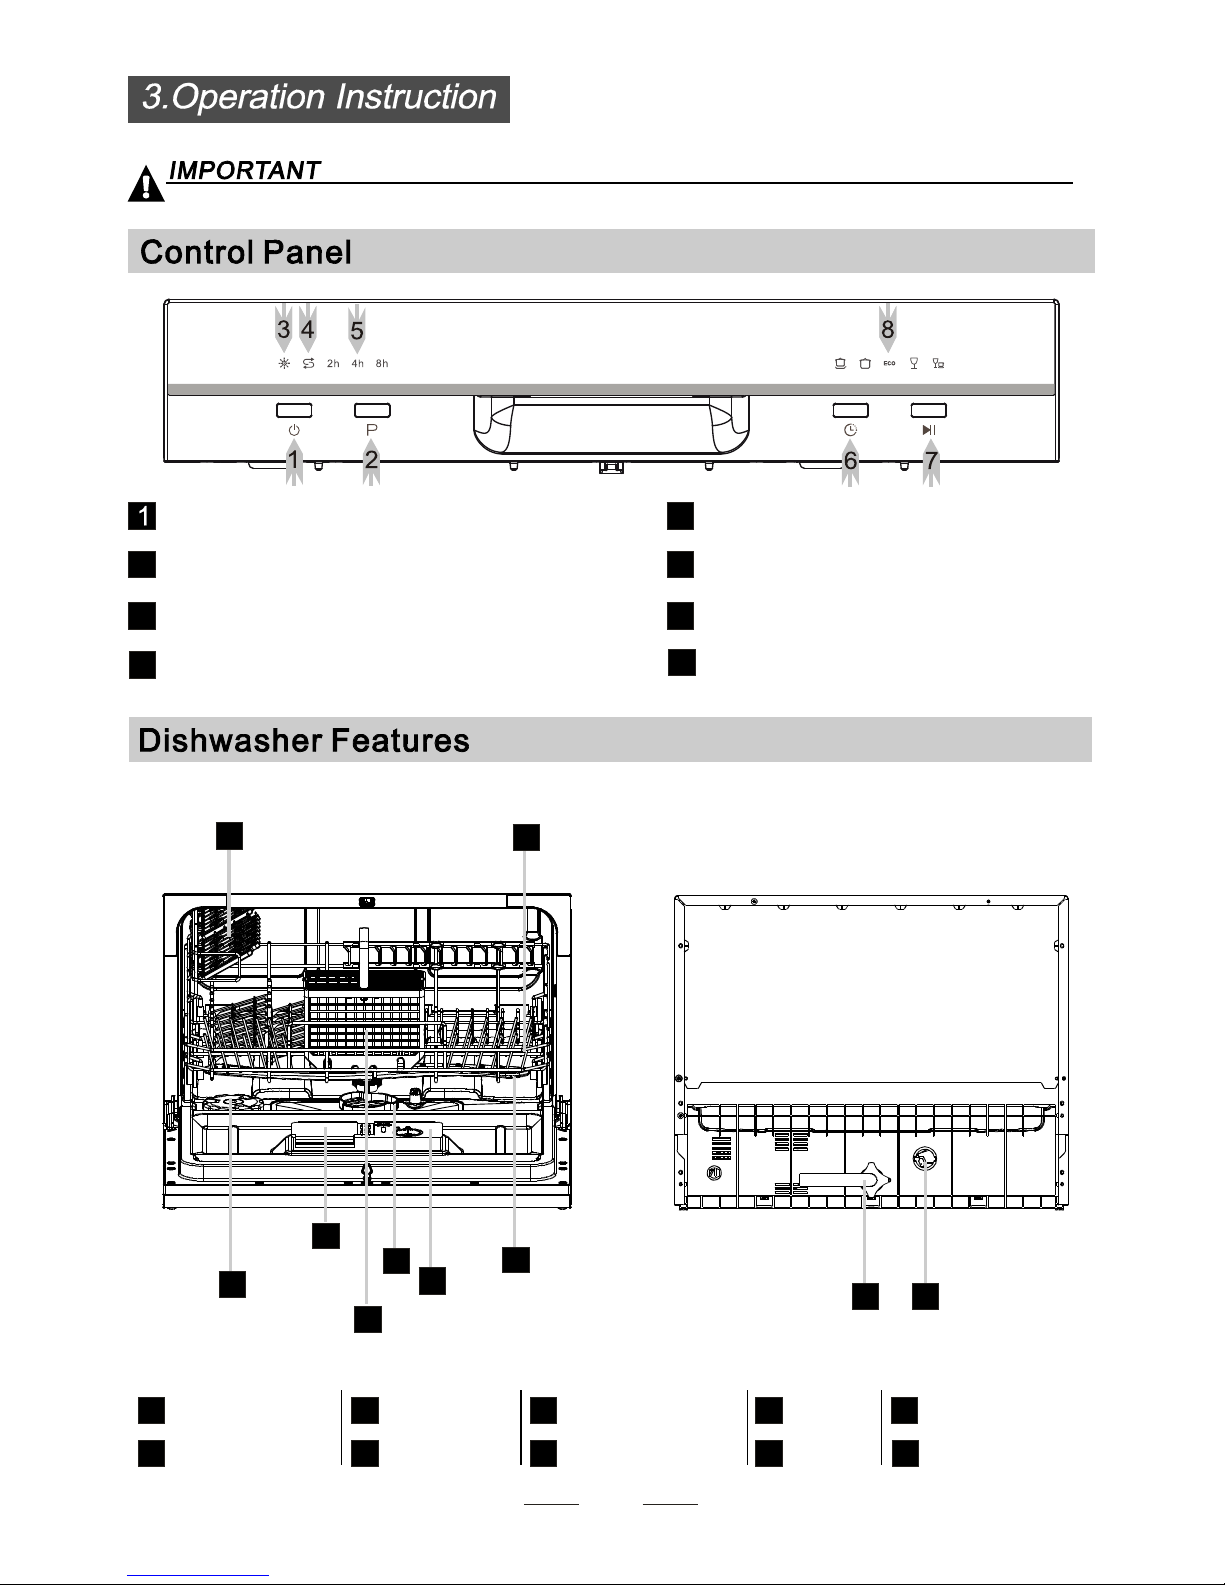
PowerButton:To turn on/offthe powersupply.
Washi ng P rogra m Sele ctor: Press the bu t t o n
to select washcycles.
Rinse Aid Warning L i ght : To be on w hen the
rinsea id dispen ser needs to be refilled.
SaltWarningLight:Tobeonwhenthesoftener
nee d s to be refille d.
DelayButton: To pressthe buttonto delay.
Delay time:2/4/6/8 hours option .
Start/ Pa u se B utt o n: P ress this butto n to start
or paus e the di shwasher.
Filter as se mblyDetergent Dispenser
CupShelf
Cutlery Basket
Ri ns e A i d Dis penser
Drainpipeconnector
Inletpipe connector
Spra y Arm s
Basket
1
Salt Container
5
6
7
8
9
10
3
2 4
Back ViewFront view
9 10
7
8
1
2
3
4
5
6
.
8
Programindicatorlight.

normal f o r a small a mount of water t o come out of t h e sal t co n tainer.Itis
1.The salt con tainer must only be refilled when the salt warn ing light in the control pan el comes on.
Depending on how fully the salt dis solves, the sa lt warning light m ay st ill be on even tho ugh the
salt container is filled.
If there is n o salt warning light i n the control panel (For so me Models),you can j udge when to load
the s alt into the softene r by the cycles that the di shwasher had run.
2. If there are spills of the salt, a soak or a rapid pro gram should be run to remove the excess salt.
Always use salt inten ded for use with dishw asher.
The salt c o ntainer is locat ed beneath theba sket and shoul d be filled as follo ws:
Attention!
Only use salt specificall y designed for us e in dishwashers! A ll other type s of
salt n ot specif ically designed fo r use i n a dishwas her,es pecially table sal t, will
damage the water softener. i n case ofdamag es c aused by theu se of unsuitable
salt t he manufact urer does not give any wa rranty nor is liable forany cause d
damages.
Only fill with s alt just b efore starting one o f the co mplete washingp rogrammes.
This will prevent any grains ofsa lt or salty water,wh ich ma y have been split,
remaining of the bottom of the ma chine for any period o f time, which may cause
corrosion.
4
A Remove the bask et and then unscrew and remove the cap from the salt co ntainer.
B Before first w ash, ad d 1lt. of wat er in t he sal t conta iner o f yo ur mac hine.
C Place th e end of the fun nel (supp lied) into the ho le and intr oduce abou t 1kg ofsalt .
D After fil ling the cont ainer , screw th e cap tigh tly back clo ckwise.
E Usually,the salt warning li ght will be cea se to be illuminated withi n 2-6 day s af t er the salt contai ner has been f ille d w ith
salt.
F Immediately after fil ling the salt into the salt contain er, a w ashing pr ogramme should be started
Otherwise filtersystem, pump or otherimportantpartsofthemachine may be damaged by salty
water. It is outof warranty.
If your m odel have watersoftener, you may skip this s ection.no
Step1: Enter the statusof salt adjustment
AdjustingSalt Consumption
Close the door,w ithin 60 seconds afte r power on, press Start/P ause button and hold for 5 sec onds,
the mach ine will enter s ettin g mode.
 Loading...