

Page 1
7” DIGITAL TFT LCD
ALL ROUND VISION MONITOR
MXN71A
OWNER’S MANUAL
MXN71A.indd 1 2015-11-18 오후 5:06:00
Page 2
SPECIFICATION
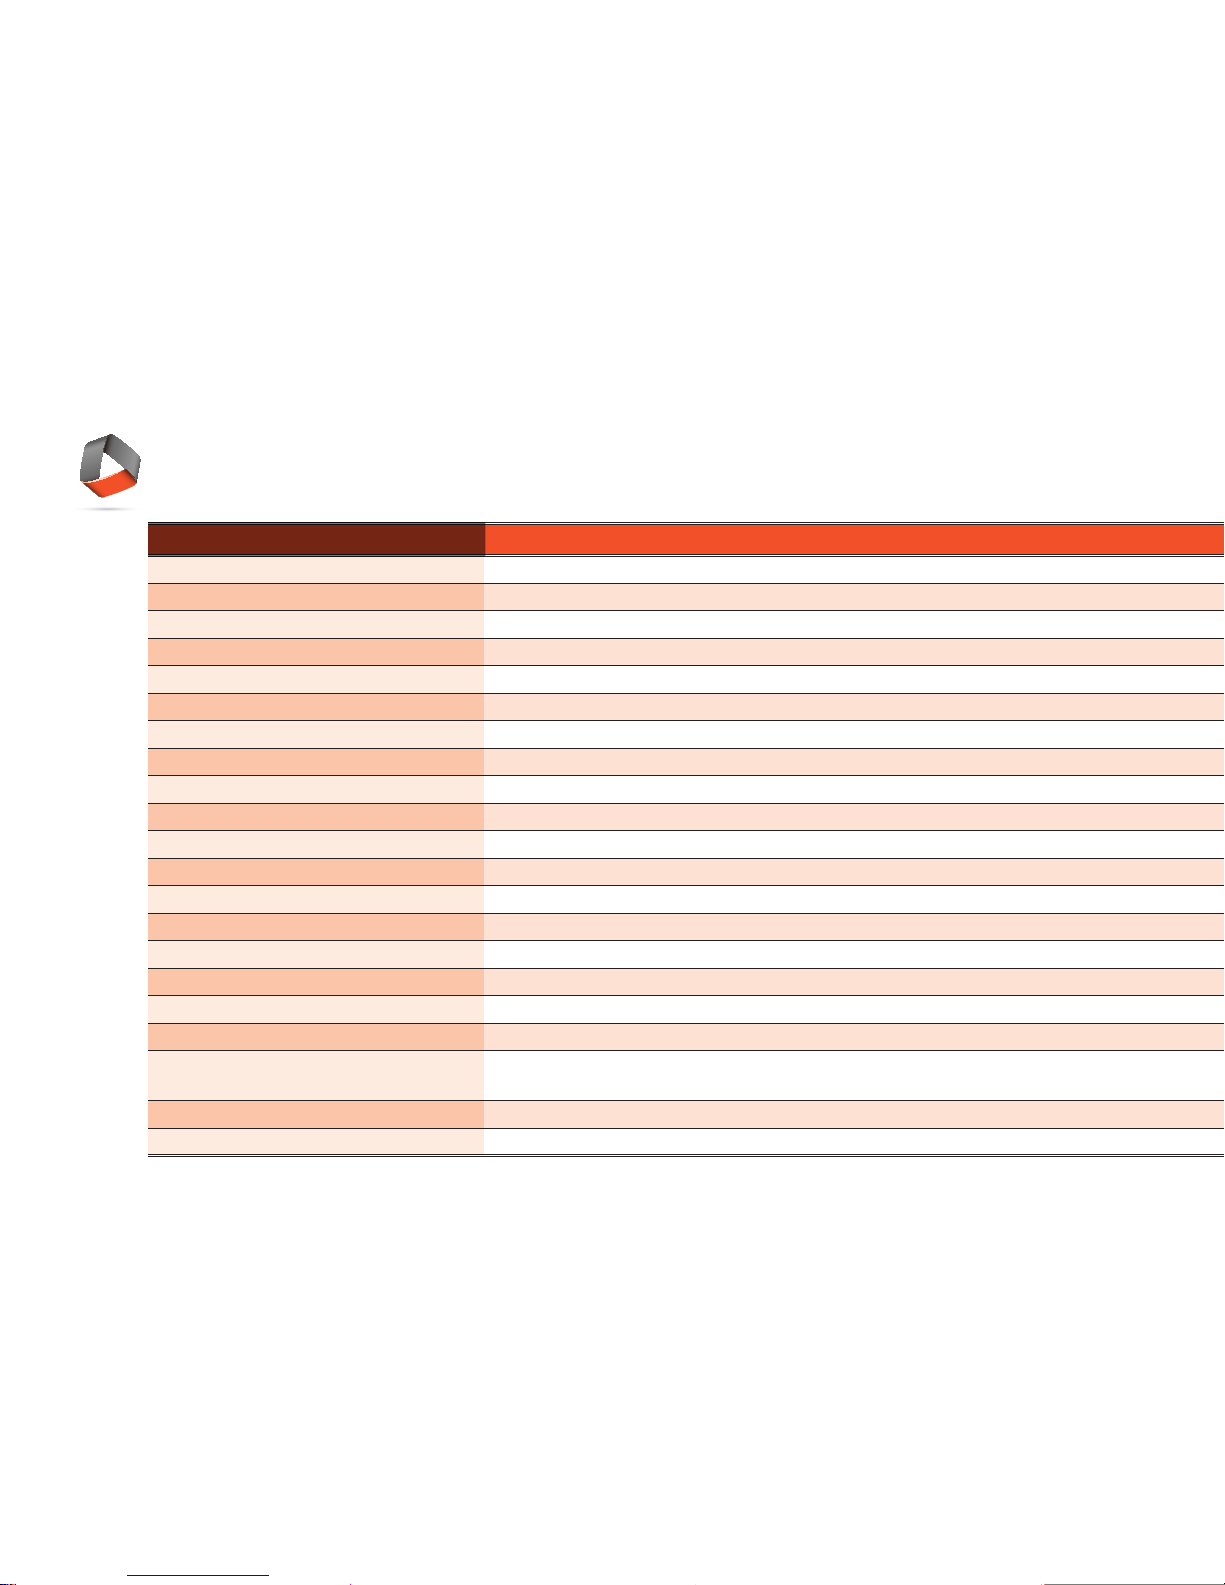
LCD Screen Size
7” Wide Diagonal
Dimensions
190(W) × 142(H) × 42.85(D)mm
Display dimensions
152.4 × 91.44mm
Power Input
DC 12 to 30 Volt Free Input
Power Consumption
12 Watt Max.
Video System
NTSC / PAL Auto Detection
Sync. System
Internal
Brightness
400 cd/m
2
Display Resolution
800 × 480 pixel
Viewing Angle
Top: 50°. Bottom: 60°. Left: 65°. Right: 65°.
Color Configuration
RGB Stripe
Dimmer
Automatic / Manual
Speaker Impedance
8 ohm, 0.3 Watt Max.
Operating Temp.
-25°C ~ +75°C
Storage Temp.
-30˚C to + 85˚C
Impact Rating
4G
Camera Connector
4-pin mini DIN
Housing
Soft black / Pearl gray(ABS)
ON-Screen Display Control Functions
Volume · Brightness · Color · Contrast · Tint · CAM Trigger 1 · Auto Power · Distance marker ·
Auto Picture Scan · Dimmer · Language · Direction · Reset.
Supplied Accessory
Die-Cast Mounting Bracket / 1 pce, Screw Kit / 1set, Manual, Power cable / 1 set
Weight
±330g
SPECIFICATION
ITEM
MXN71A.indd 2 2015-11-18 오후 5:06:00
Page 3
3
OPERATION
A
C
D
F
G
E
B
7” DIGITAL TFT LCD ALL ROUND VISION MONITOR MXN71A OWNER’S MANUAL
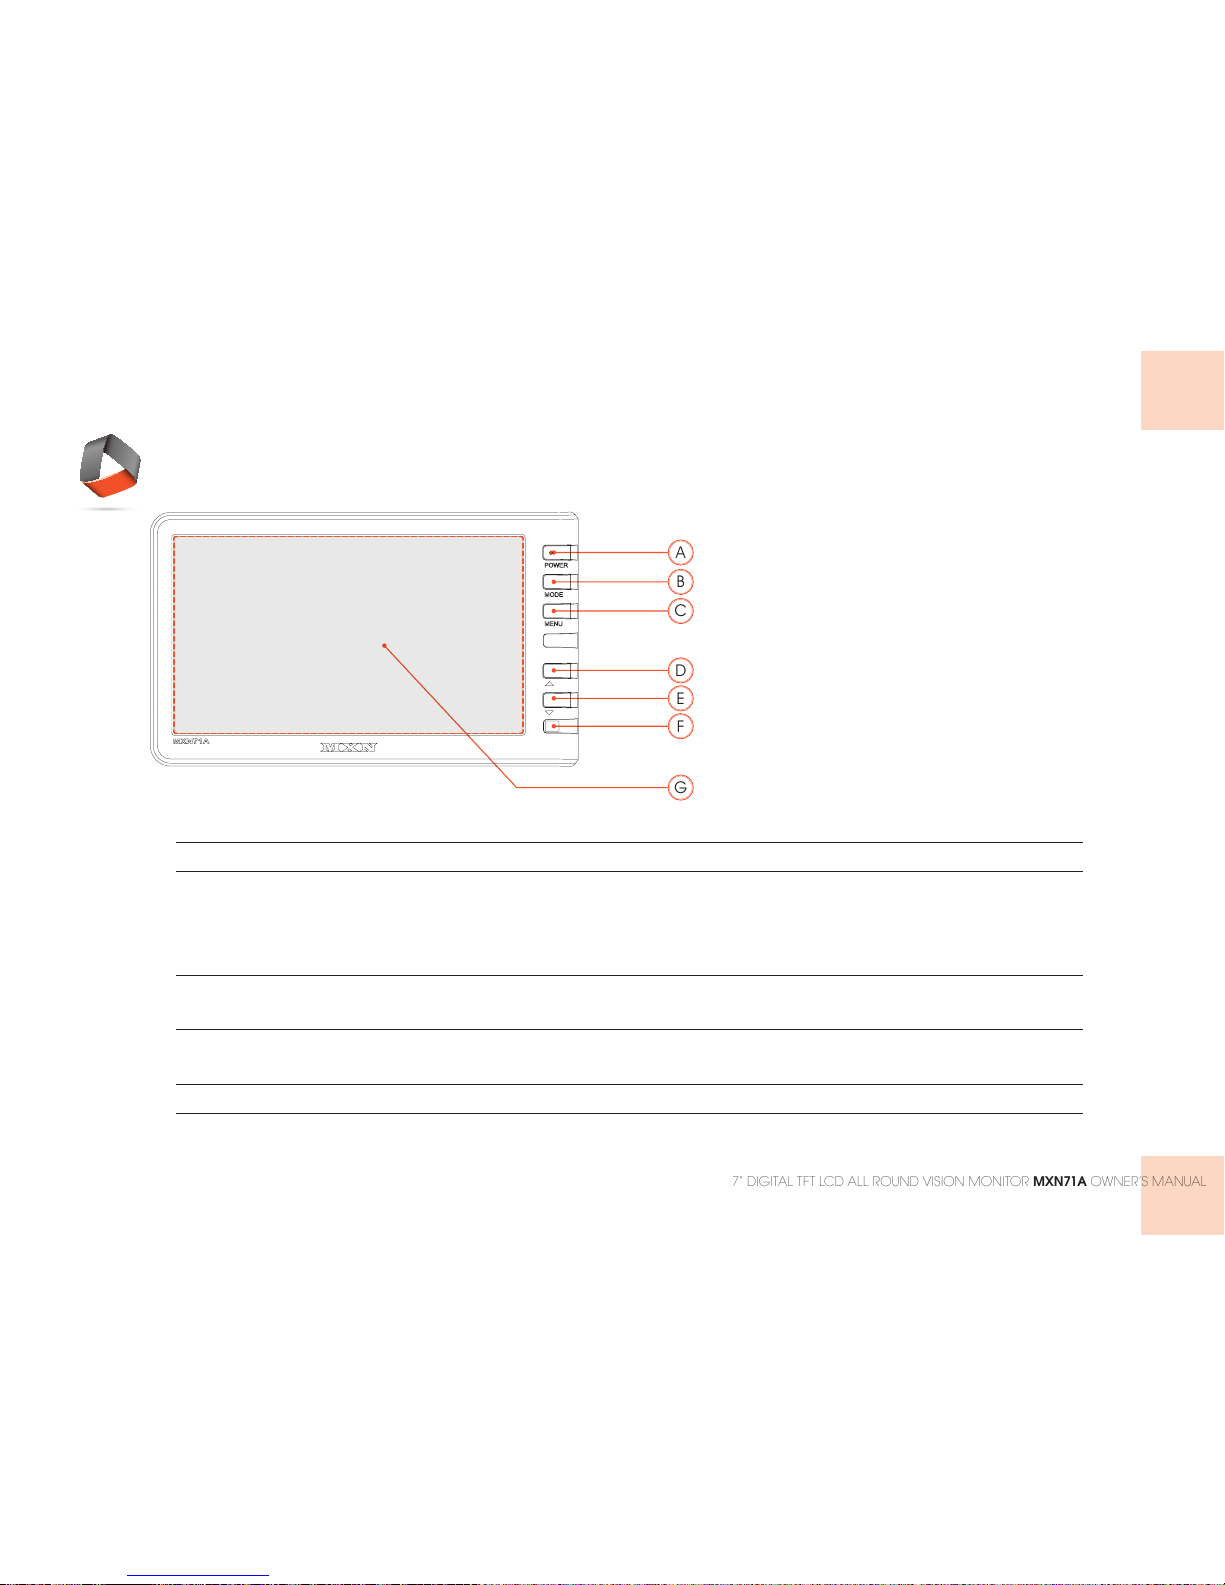
A
POWER
Press [
POWER
] button to turn on/off the monitor.
B
MODE
After pressing [
MENU
], press [
MODE
] to navigate downwards through the [
MENU
] options.
C
MENU
•Press [
MENU
] once to open the
FUNCTION MENU.
•Press [
MENU
] twice to open the
PICTURE MENU.
•Press [
MENU
] 3 times to open the
CAMERA MENU.
•Press [
MENU
] 4 times to open the
DISTANCE MARKER ADJUST MENU.
D
▲
Press [
▲
] button to adjust monitor volume.
Use [
▲
] button to change OSD setting during system setting.
E
▼
Press [
▼
] button to adjust monitor volume.
Use [
▼
] button to change OSD setting during system setting.
F
DIMMER
DAY/NIGHT SENSOR(CDS) Automatic brightness control sensor.
G
VIEW AREA
MXN71A.indd 3 2015-11-18 오후 5:06:00
Page 4
SYSTEM SETTING
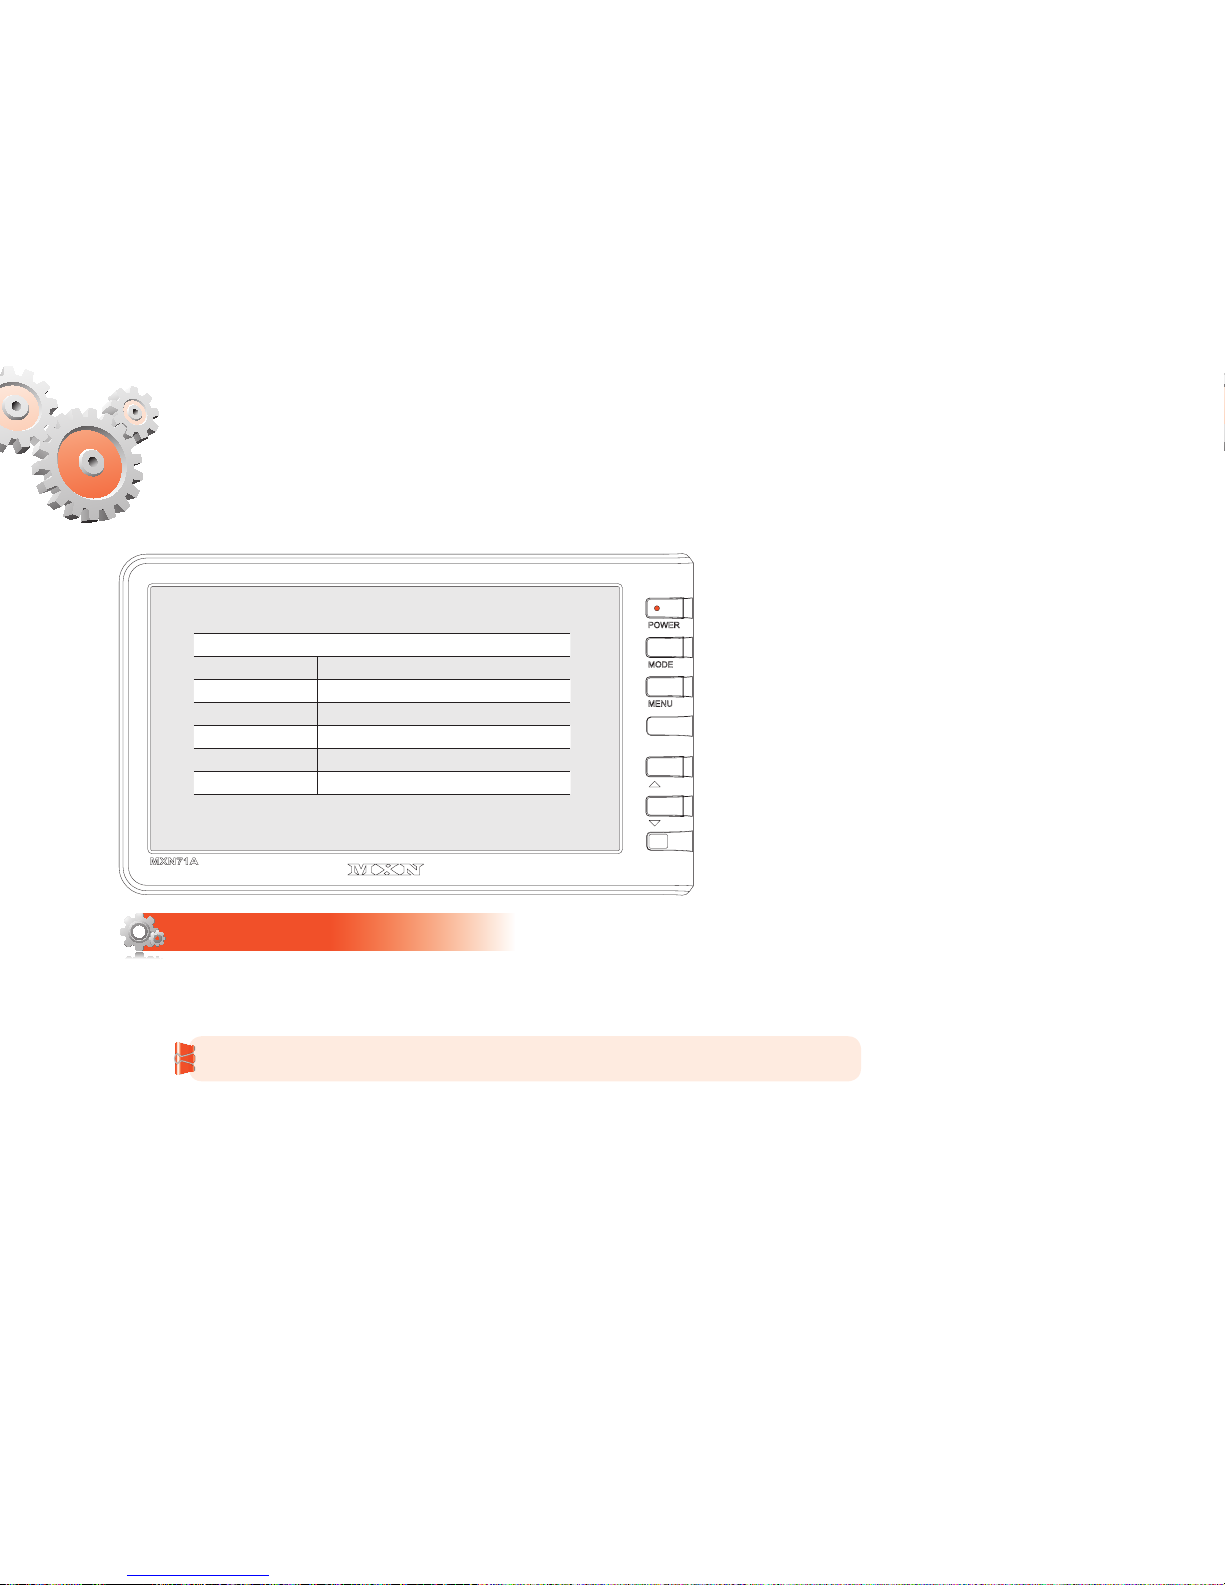
FUNCTION
DIMMER AUTO/OFF
LANGUAGE
ENGLISH/SWEDISH/DANISH/NORWEGIAN/DUTCH/SUOMI
DIRECTION 0°
SCALE 16:9
AUTO POWER AUTO/OFF/ON
RESET
▶
FUNCTION
>>> DIMMER (Automatic Brightness Control)
Select
AUTO
or
OFF
to have Automatic or Manual brightness of the monitor.
REMARK:
By activating
DIMMER AUTO
function, the monitor adjusts the brightness
according to the environment.
MXN71A.indd 4 2015-11-18 오후 5:06:00
Page 5

5
>>> LANGUAGE
Provide 6 Multi-lingual OSD [ENGLISH, SWEDISH, DANISH, NORWEGIAN, DUTCH, SUOMI].
Select the preferred
LANGUAGE
.
>>> DIRECTION
It has the function of Rotation for the Monitor Image. Select 0° or 180°.
>>> SCALE
This menu item control the aspect ratio of the picture. Select 4:3 to display the
picture 4:3 ratio or select 16:9 to display the picture 16:9 ratio.
>>> AUTO POWER
Select monitor activation function as below.
[
AUTO
]
Monitor keeps the last setting in memory.
[
OFF
]
Monitor starts up
『
STAND-BY
』
mode automatically.
[ON]
Monitor starts up
『
POWER-ON
』
mode automatically.
>>> RESET
Press
『▲』
button to go the factory default setting.
7” DIGITAL TFT LCD ALL ROUND VISION MONITOR MXN71A OWNER’S MANUAL
MXN71A.indd 5 2015-11-18 오후 5:06:00
Page 6
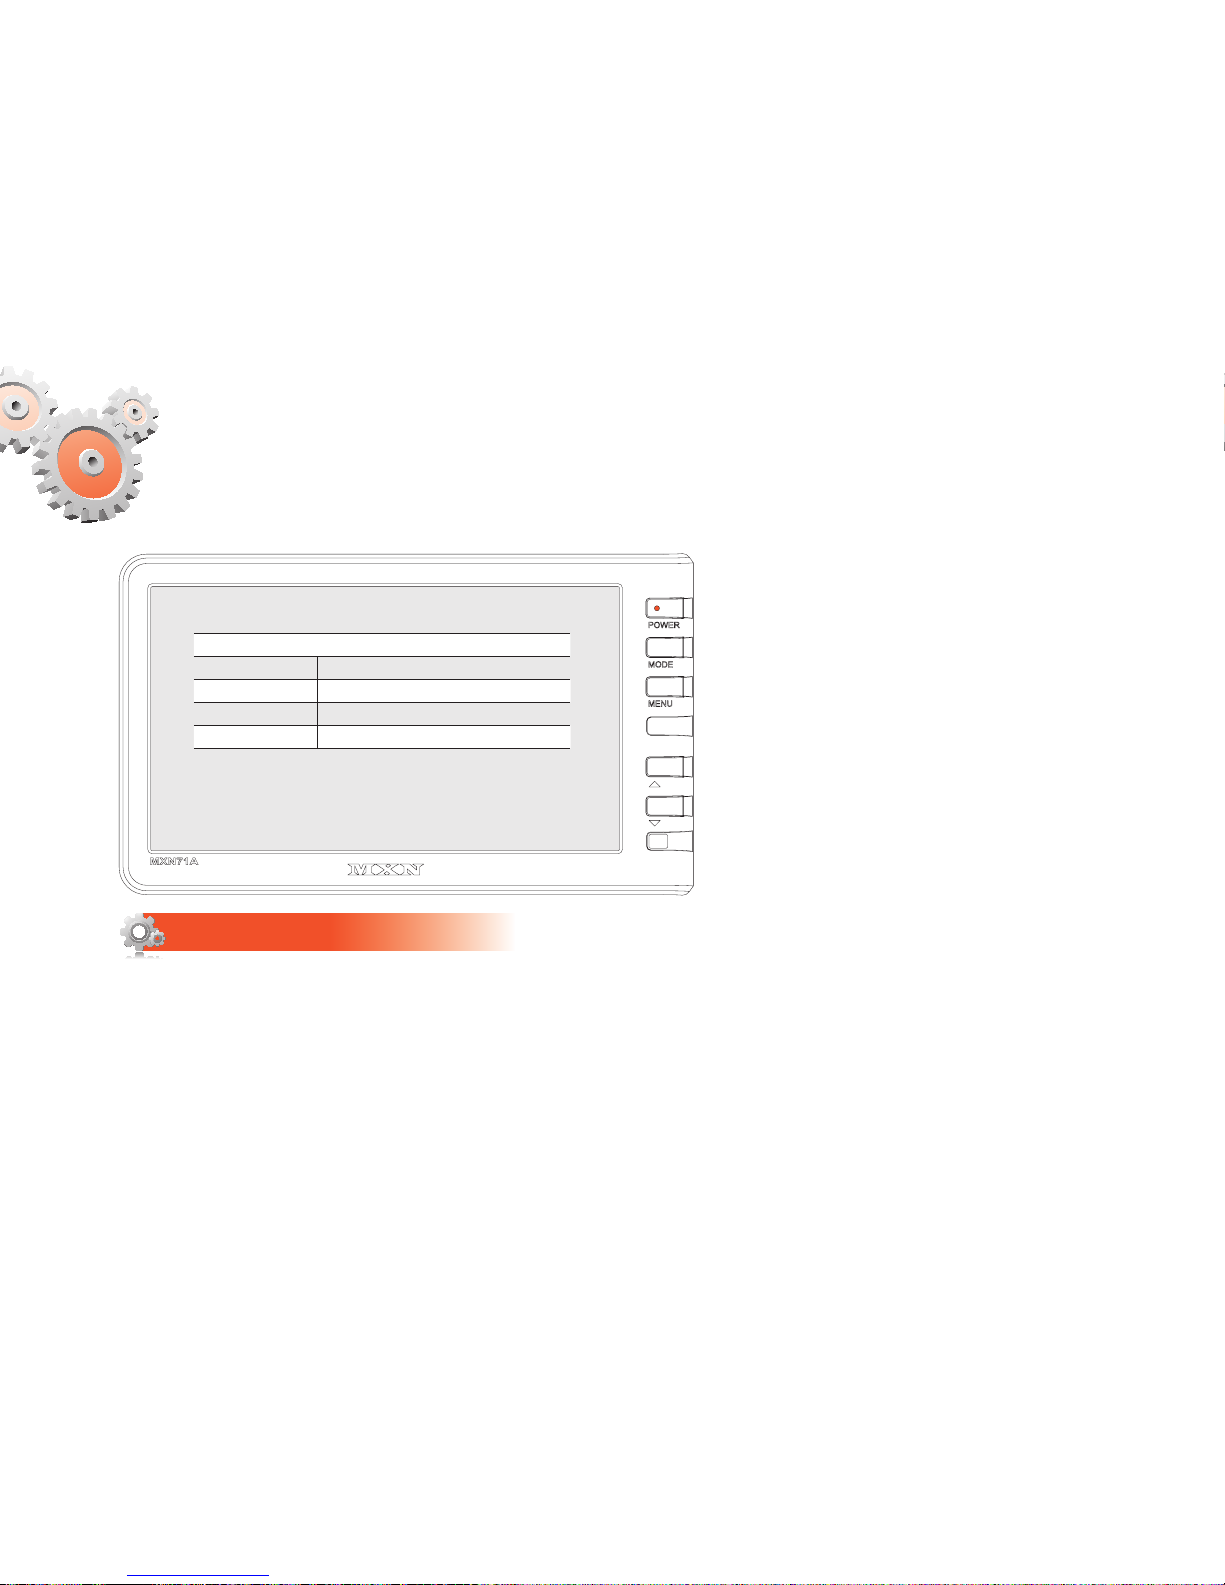
PICTURE
CONTRAST 50 (0-100)
BRIGHTNESS 50 (0-100)
COLOR 50 (0-100)
TINT 50 (0-100)
PICTURE
Press [
▲/▼
] button to adjust preferred
PICTURE
of the monitor.
SYSTEM SETTING
MXN71A.indd 6 2015-11-18 오후 5:06:00
Page 7
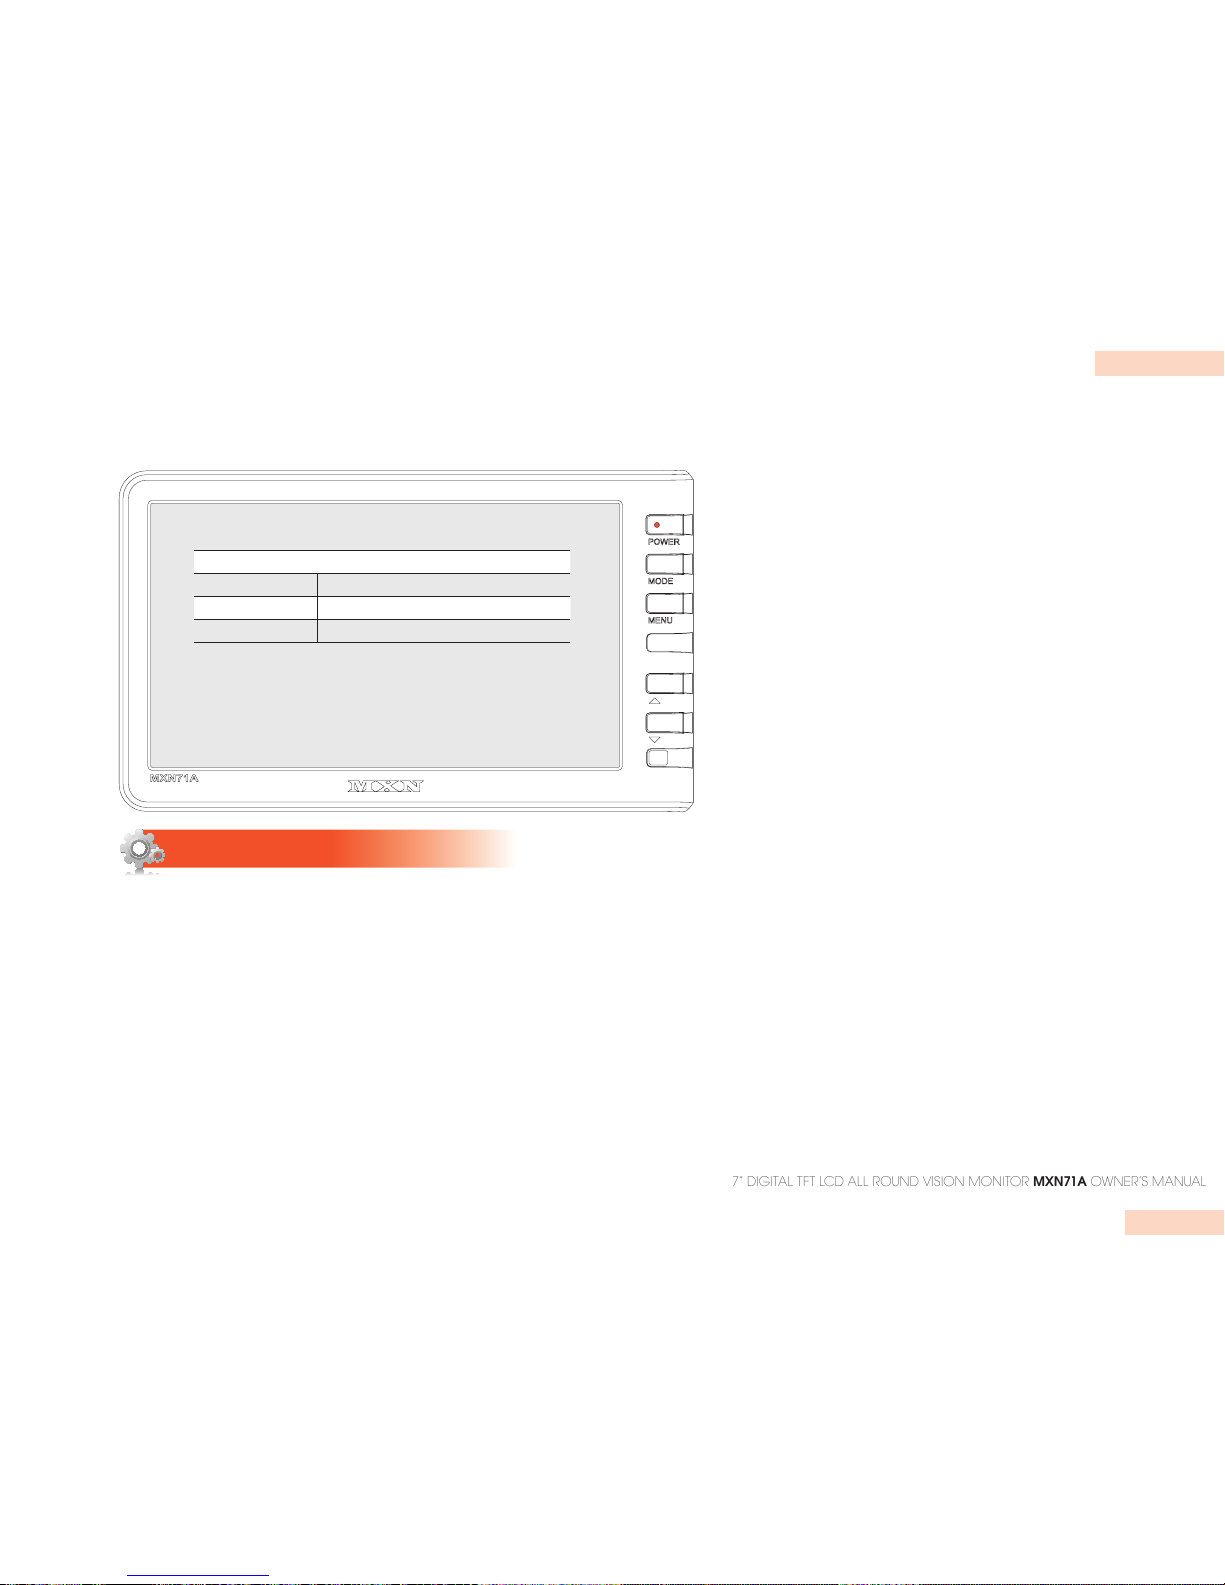
7
CAMERA
CA1 N/M NOR/MIR
CA1 TRIG 0-9
CA1 DIST ON/OFF
CAMERA
>>> NORMAL/MIRROR (N/M)
Each camera picture (CAM1) can be switchable as
NORMAL/MIRROR
image.
>>> TRIGGER
When a trigger wire is connected to a pulse DC power signal (e.g. direction indicator
lights) then the
[
TRIGGER DELAY
]
function avoids repeating
ON/OFF
monitor.
>>> DIST
ON/OFF
7” DIGITAL TFT LCD ALL ROUND VISION MONITOR MXN71A OWNER’S MANUAL
MXN71A.indd 7 2015-11-18 오후 5:06:00
Page 8
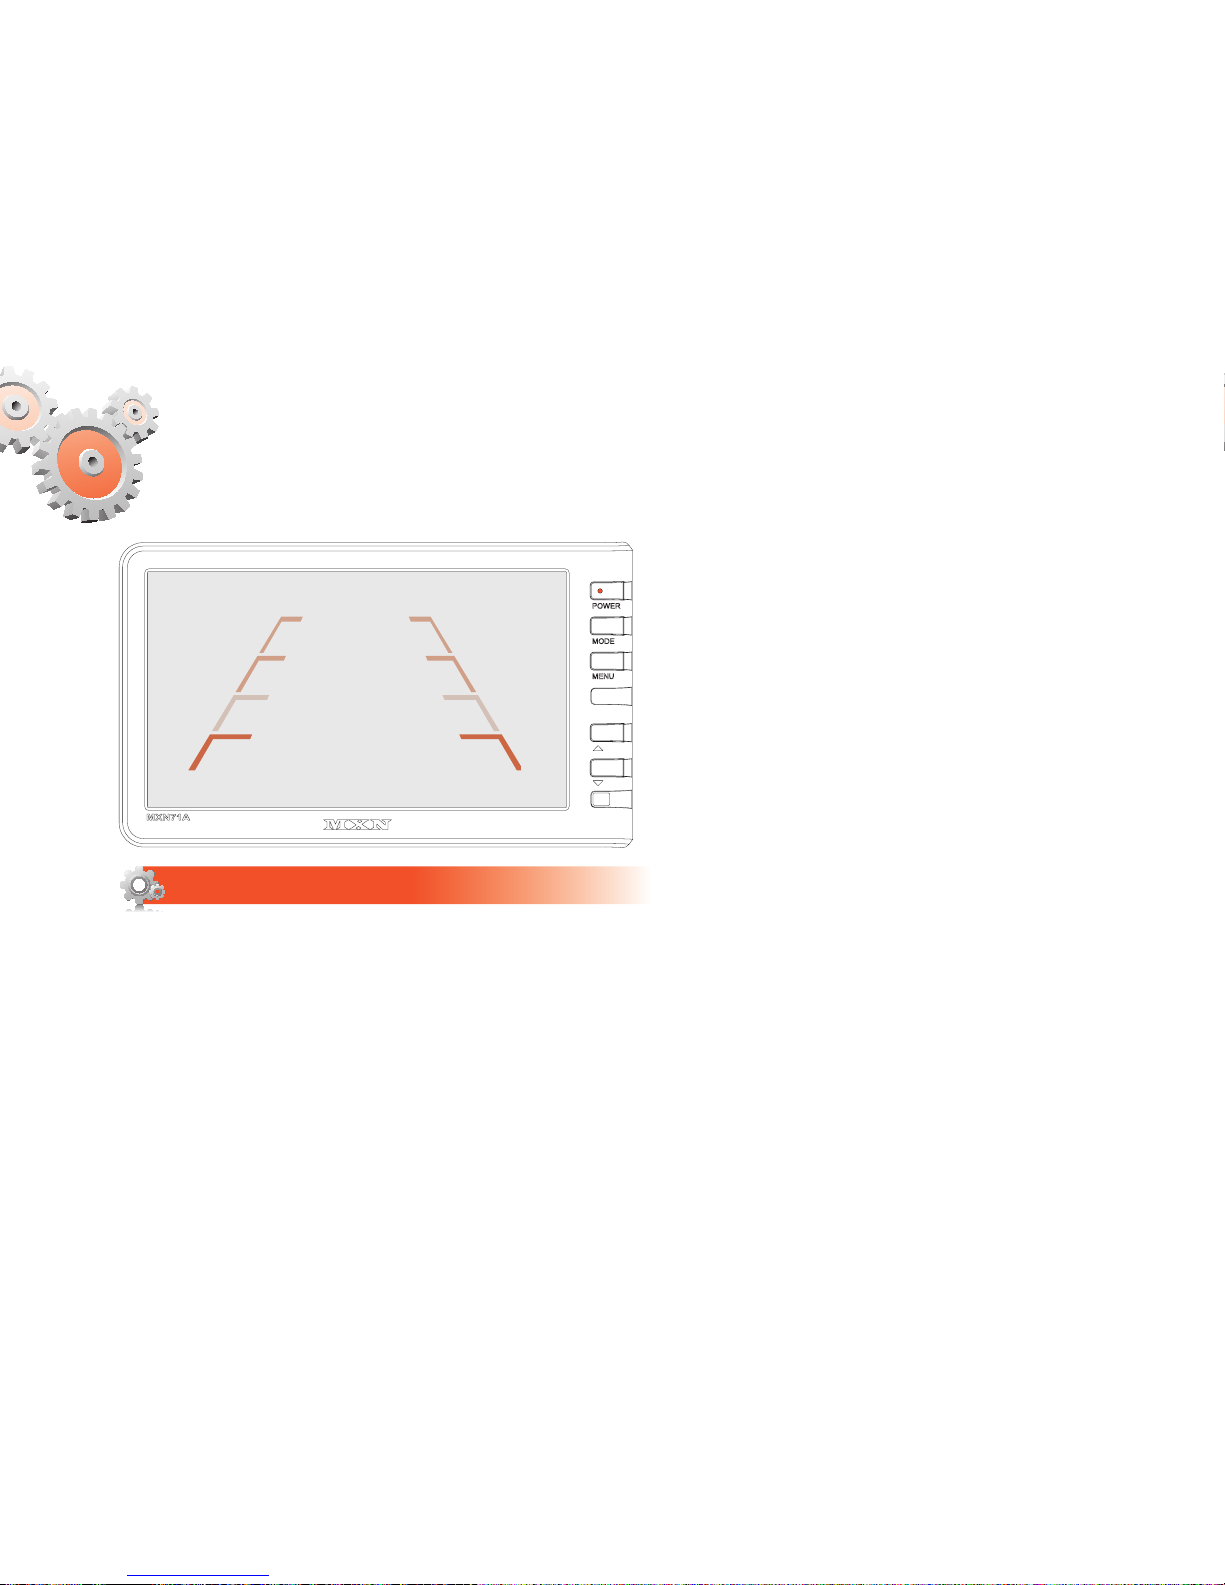
DISTANCE MARKER ADJUST
User can adjust location of distance marker.
At Power ON mode, select distance marker by pressing [
▲/▼
] buttons.
When color of distance markers is seen as
RED
color, user can adjust the lines
UP/DOWN
or
LEFT/RIGHT
.
When both distance markers are seen as RED color, both lines can be adjusted LEFT/RIGHT.
When left distance marker is seen as RED color, left line of distance marker can be adjusted LEFT/RIGHT.
When right distance marker is seen as RED color, right line of distance marker can be adjusted LEFT/RIGHT.
SYSTEM SETTING
MXN71A.indd 8 2015-11-18 오후 5:06:01
Page 9
9
7” DIGITAL TFT LCD ALL ROUND VISION MONITOR MXN71A OWNER’S MANUAL
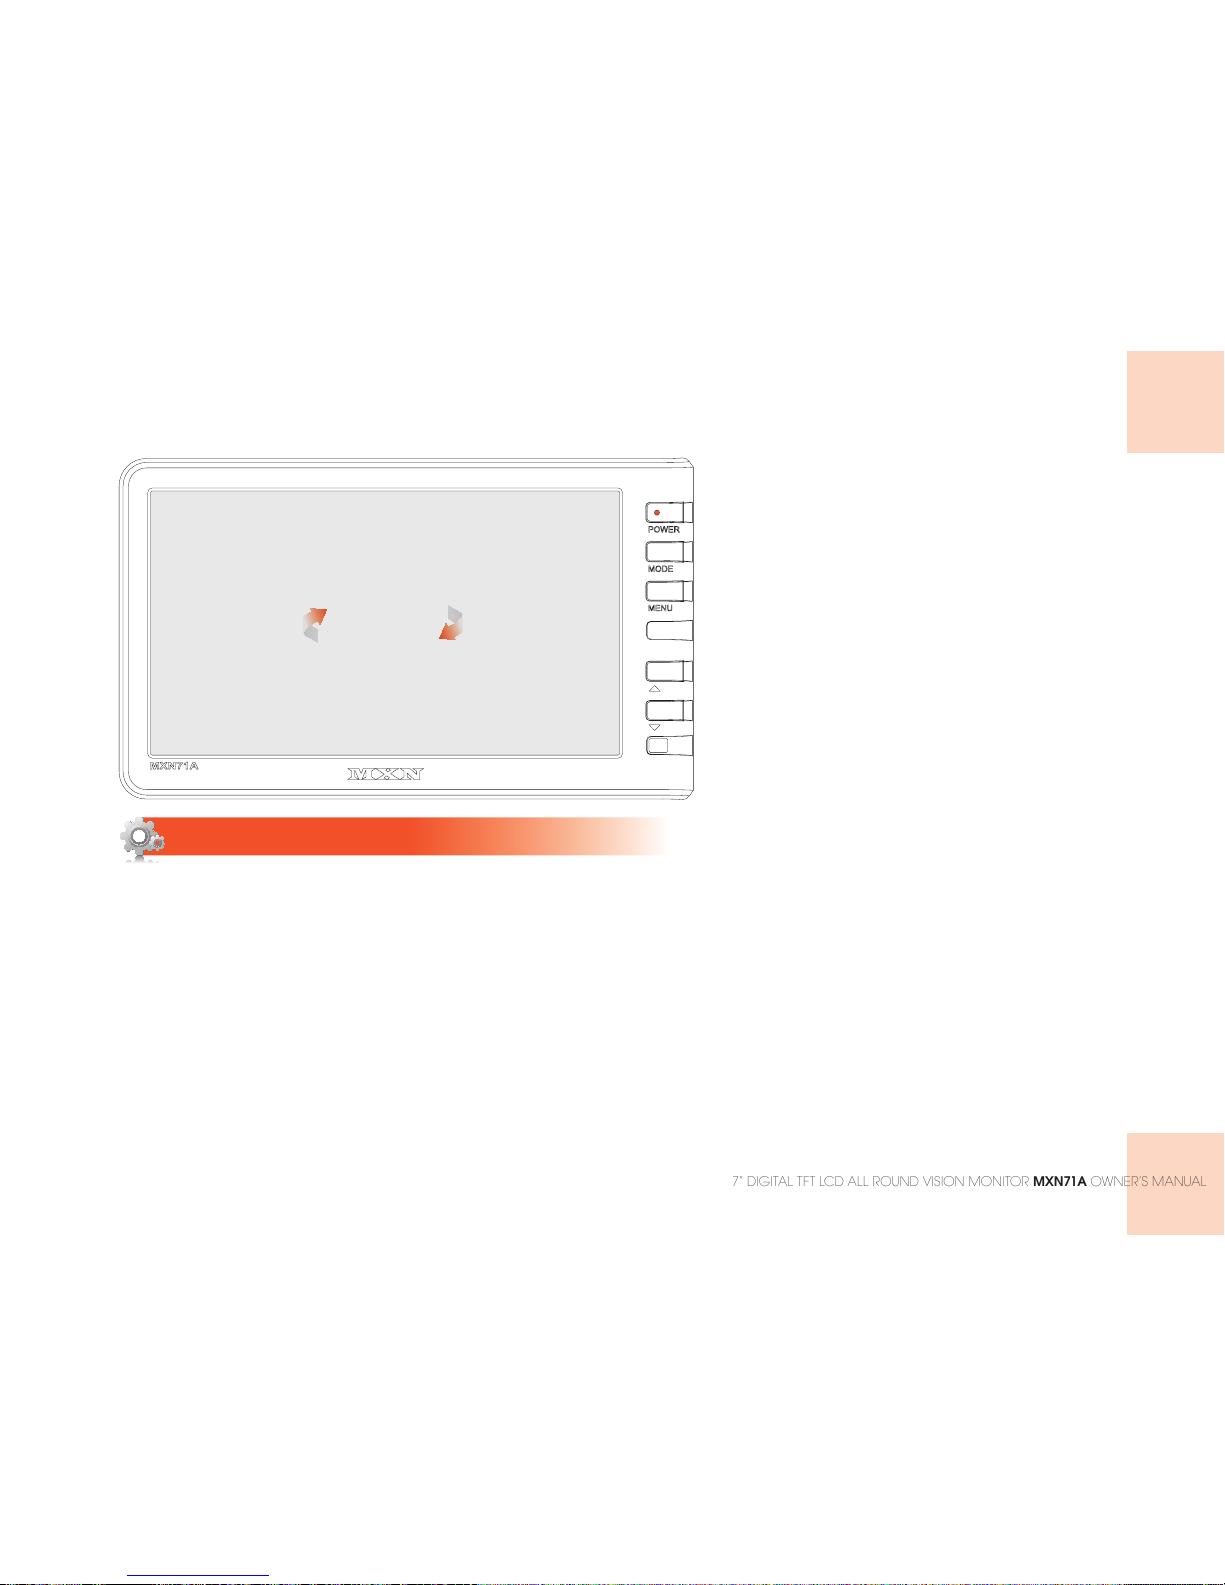
LOCK ON/OFF FUNCTION
>>> LOCK ON/OFF FUNCTION
The set up menu can be locked as prevention against unauthorized users.
>>> LOCK ON mode
At
POWER-ON
mode, hold
[
MODE
]
button pressed for 10 seconds to set up
LOCK ON
function.
When
[
LOCKED
]
is displayed on the screen, user can use
[
POWER, SELECT, VOLUME
]
buttons only
and use can do setting for
PICTURE
menu.
>>> LOCK OFF mode
At
POWER-ON
mode, hold
[
MODE
]
button pressed for 10 seconds to set up
LOCK OFF
function.
When
[
UNLOCKED
]
is displayed on the screen, user can use all functions of the set up menu.
LOCKED
UNLOCKED
MXN71A.indd 9 2015-11-18 오후 5:06:01
Page 10
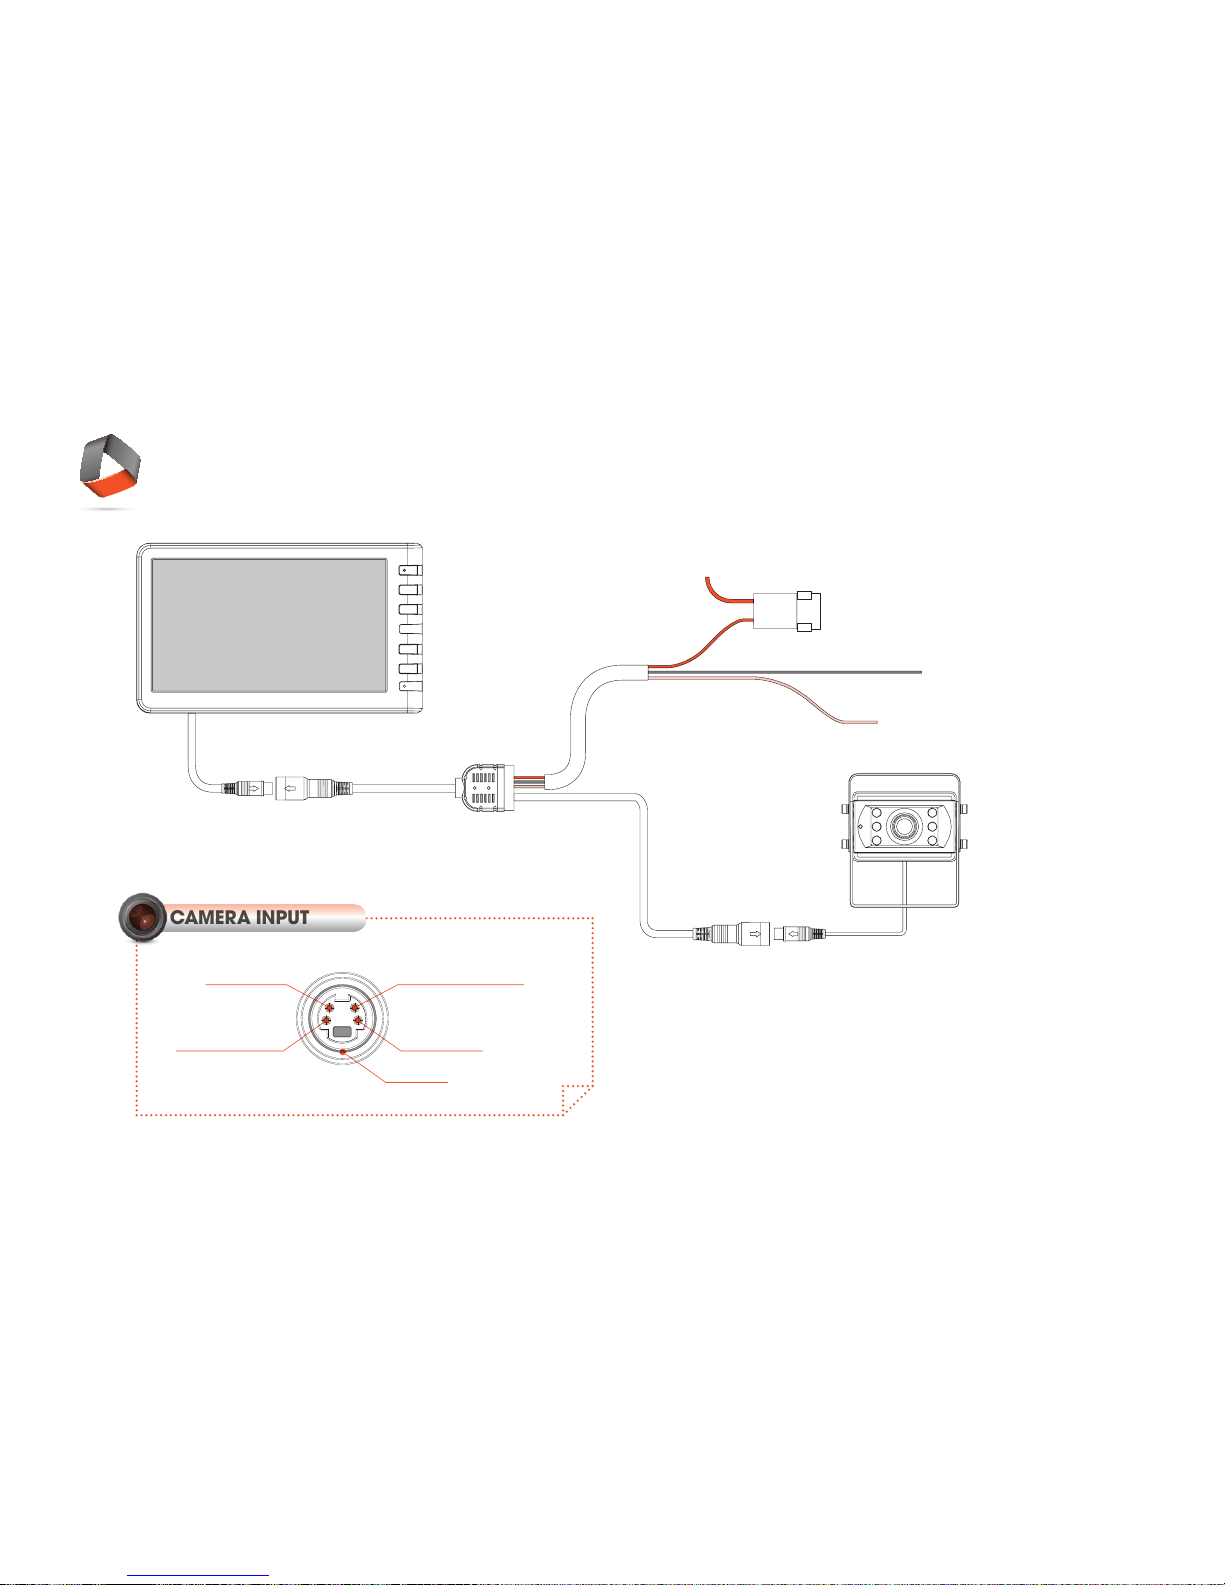
CONNECTION
MAIN POWER 12V/30V DC (Red)
Ground (Black)
Trigger 1 (Green)
CAM 1
AUDIO INPUT
+12V DC OUTPUT, HEATER &
SHUTTER
+12V DC OUTPUT,
POWER
VIDEO INPUT
GROUND
CAMERA INPUT
MXN71A.indd 10 2015-11-18 오후 5:06:01
Page 11
MEMO
7” DIGITAL TFT LCD ALL ROUND VISION MONITOR
MXN71A
OWNER’S MANUAL
MXN71A.indd 11 2015-11-18 오후 5:06:01
Page 12

7” DIGITAL TFT LCD
ALL ROUND VISION MONITOR
MXN71A
OWNER’S MANUAL
20151118
MXN71A.indd 12 2015-11-18 오후 5:06:01
 Loading...