

MXN 7DDT Owner's Manual
OWNER'S MANUAL
R
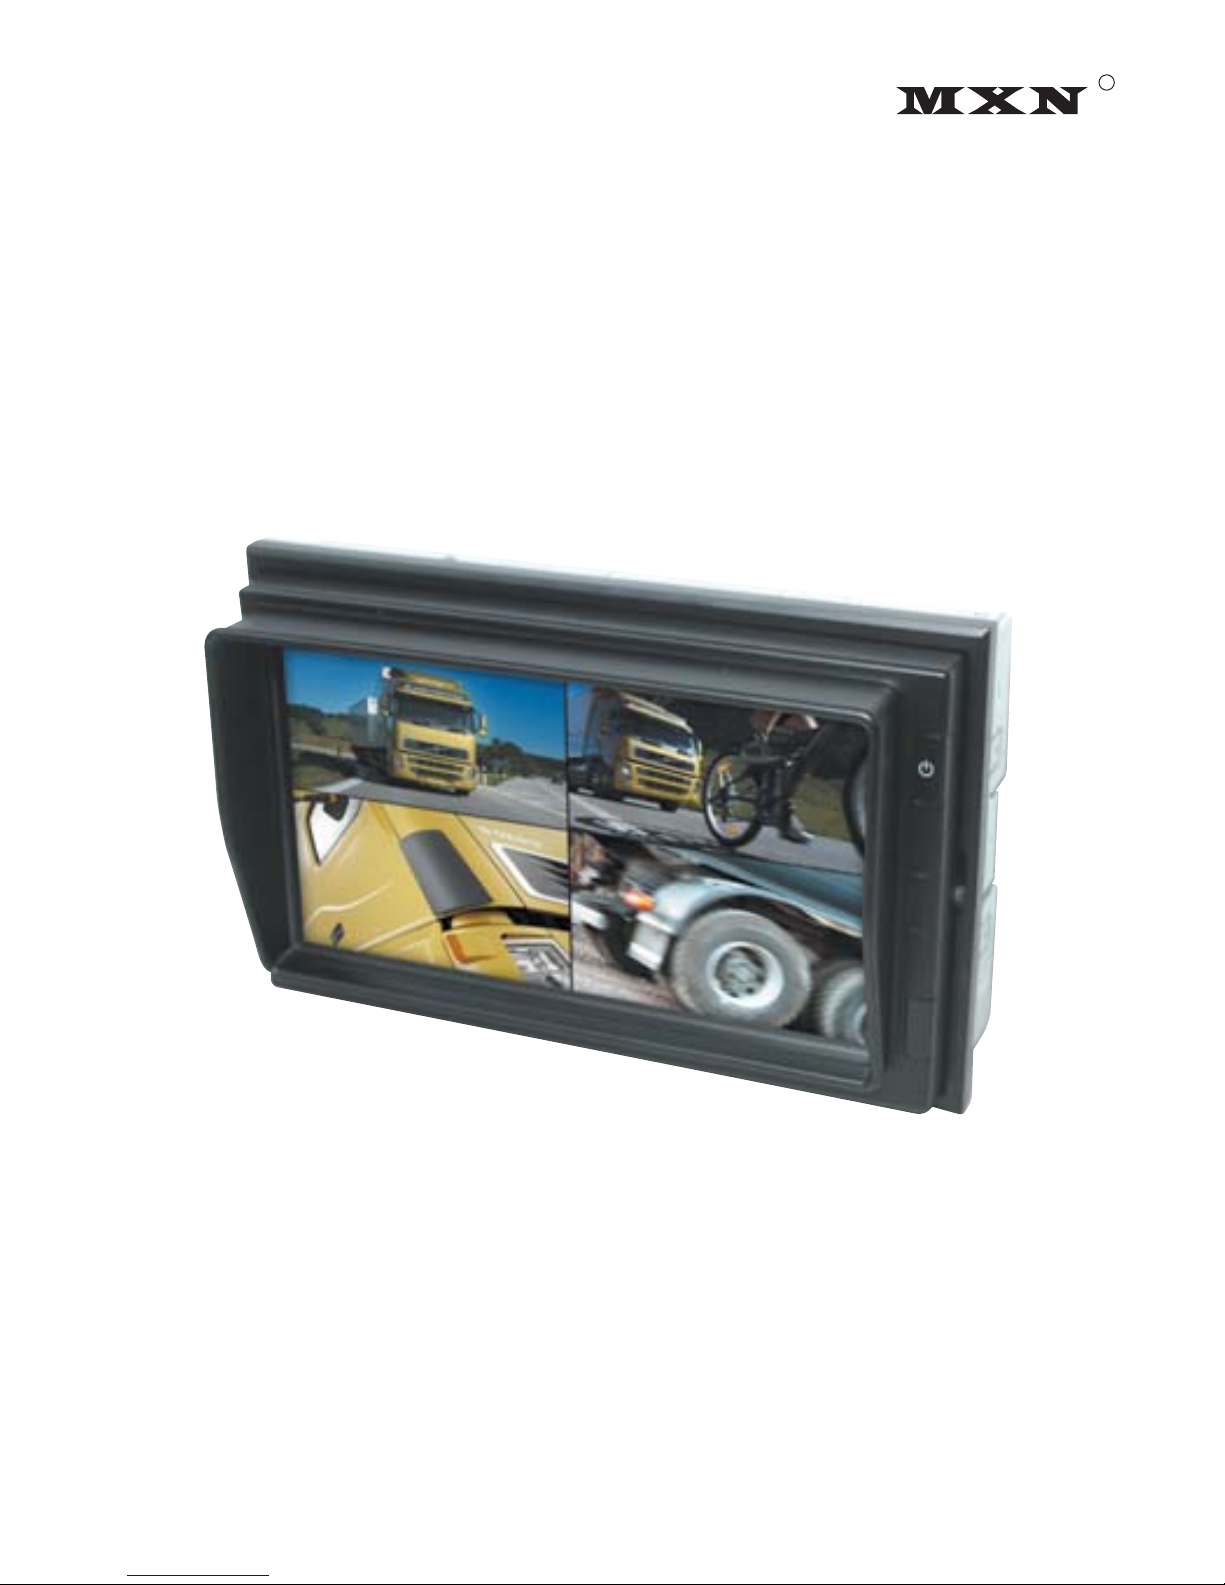
2-DIN, 7"Touch screen vehicle
monitor for allround vision
Model : MXN-7DDT
Design and Specifications are subject to change without notice.
2-DIN, 7"Touch screen Monitor
Model : MXN-7DDT
Instruction Manual (Ver 1.0)
Index
1. Caution
2. Components of the product
3. How to use the product
4. How to install the product
5. Specification
Thank you for purchasing our touchscreen vehicle monitor.
Please read this manual before you use the product.
The product may be different than described in the manual;
depending on renewal and/or upgrade of S/W version and
performance it can be altered without notice.

Caution
3
For your safe operation, please read this manual before you start to use
the product. We inform you that our company shall not be responsible for
failures and troubles that are occurred due to misuse or neglection of the
cautions written on this manual.
Operating this equipment when driving a vehicle might cause an accident.
Use the equipment after parking or stopping the vehicle in a safe area.
When wiping off the dust, use a soft fabric instead of liquid solvents (thinner,
benzene etc.) solution or a wet rag.
Do not press the liquid crystal screen hard. It might be damaged by hard
pressure.
Do not drop or give shock. It might cause breakdown or damage.
Do not dismantle the product arbitrarily. We do not supply free after service
for an arbitrarily dismantled product.
Touching the power with a wet hand causes electric shock. Caution
required.
For accessories or cables to connect with the product, it is recommended
to use proper goods from our company. We are not responsible for any
problems caused by wrong articles.
Do not disconnect the power cable during using the product. It might
cause damage to the product.
Amplified explanation is as follows.
-Caution: This part informs what to keep in mind or understand and what
caution is required to use the product.
-Ref (reference): Reference is about functional explanation.
Components of the product
4
2
3
6
5
7
4
1
1
2
3
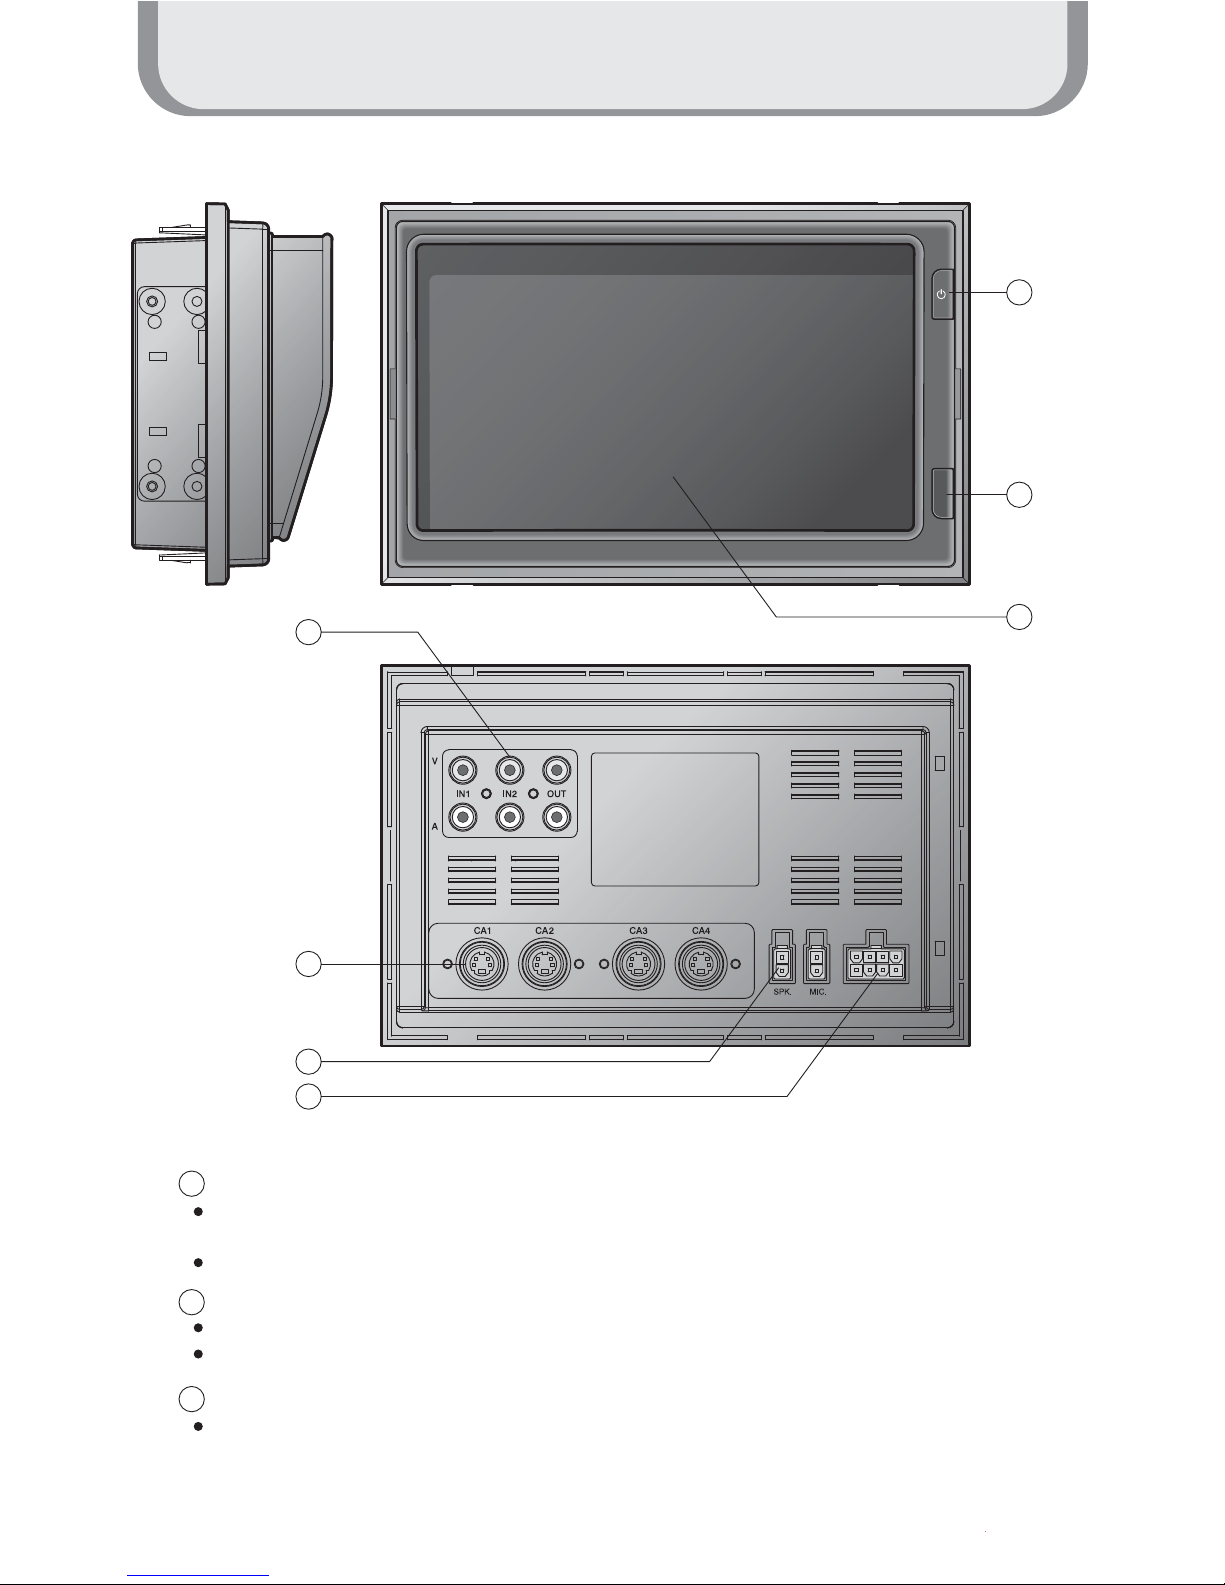
Touch Screen
By touching one of the small pictures during multi screen mode, the concerning small picture
will be enlarged into Full Screen mode.
By touching the screen it is possible to control the equipment or to change the settings.
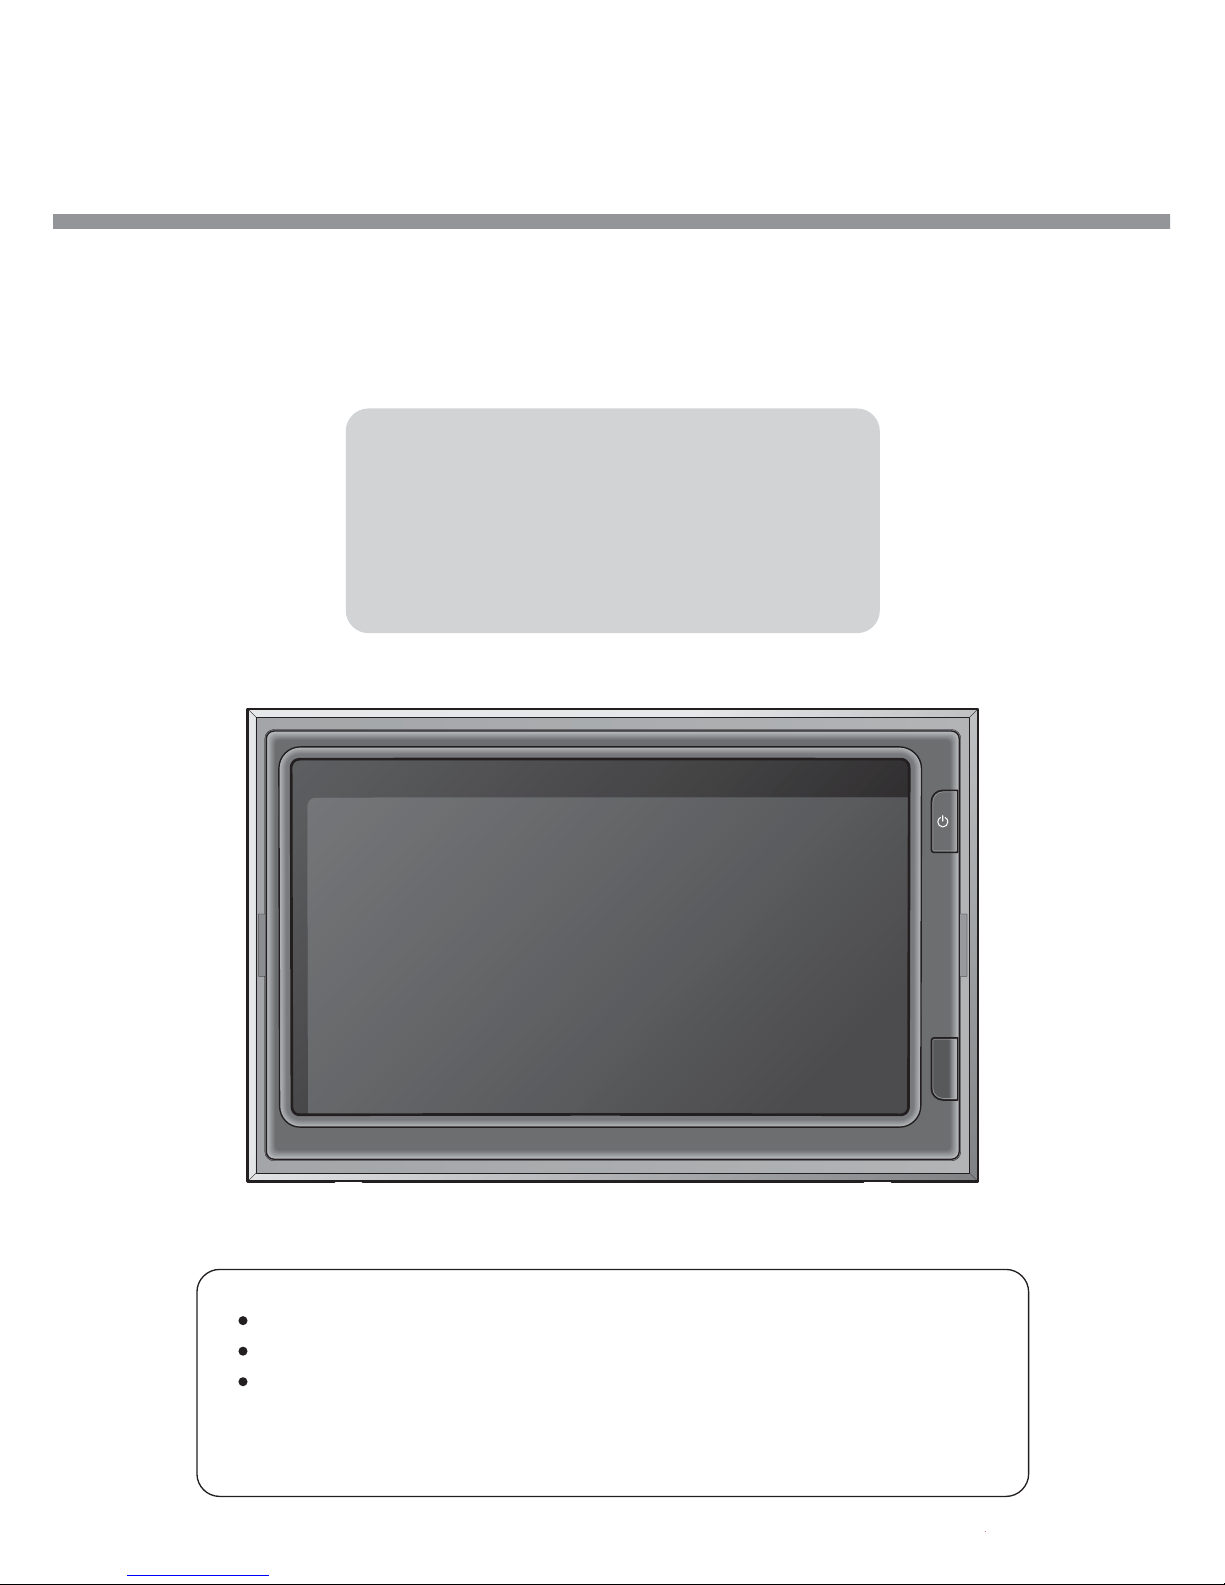
Power On/Off
Press the Power button for 0.5 seconds to turn on the screen.
Press the Power button for 0.5 seconds to turn off the screen when it is tuned on.
illuminance Sensor
Behind this window a sensor detects the actual light conditions in the area around the screen.
When activated via the menu settings, this sensor automatically controls the brightness of the
screen.(Day/Night control)
Components of the product
5
4
5
6
7
Power Input
Connect the Power Cable ( VCC/GND/TRIGGER1~TRIGGER5/Speed Switch )
Camera Input
Connect the Camera Cable ( Cam1 ~ Cam4 )
AV In/Out
AV IN: AUX1 & AUX2 (RCA), AV Out (RCA)
Ext.Speaker output / Mic. input
Connect the external speaker (left side terminal)
Connect the optional microphone (right side terminal)
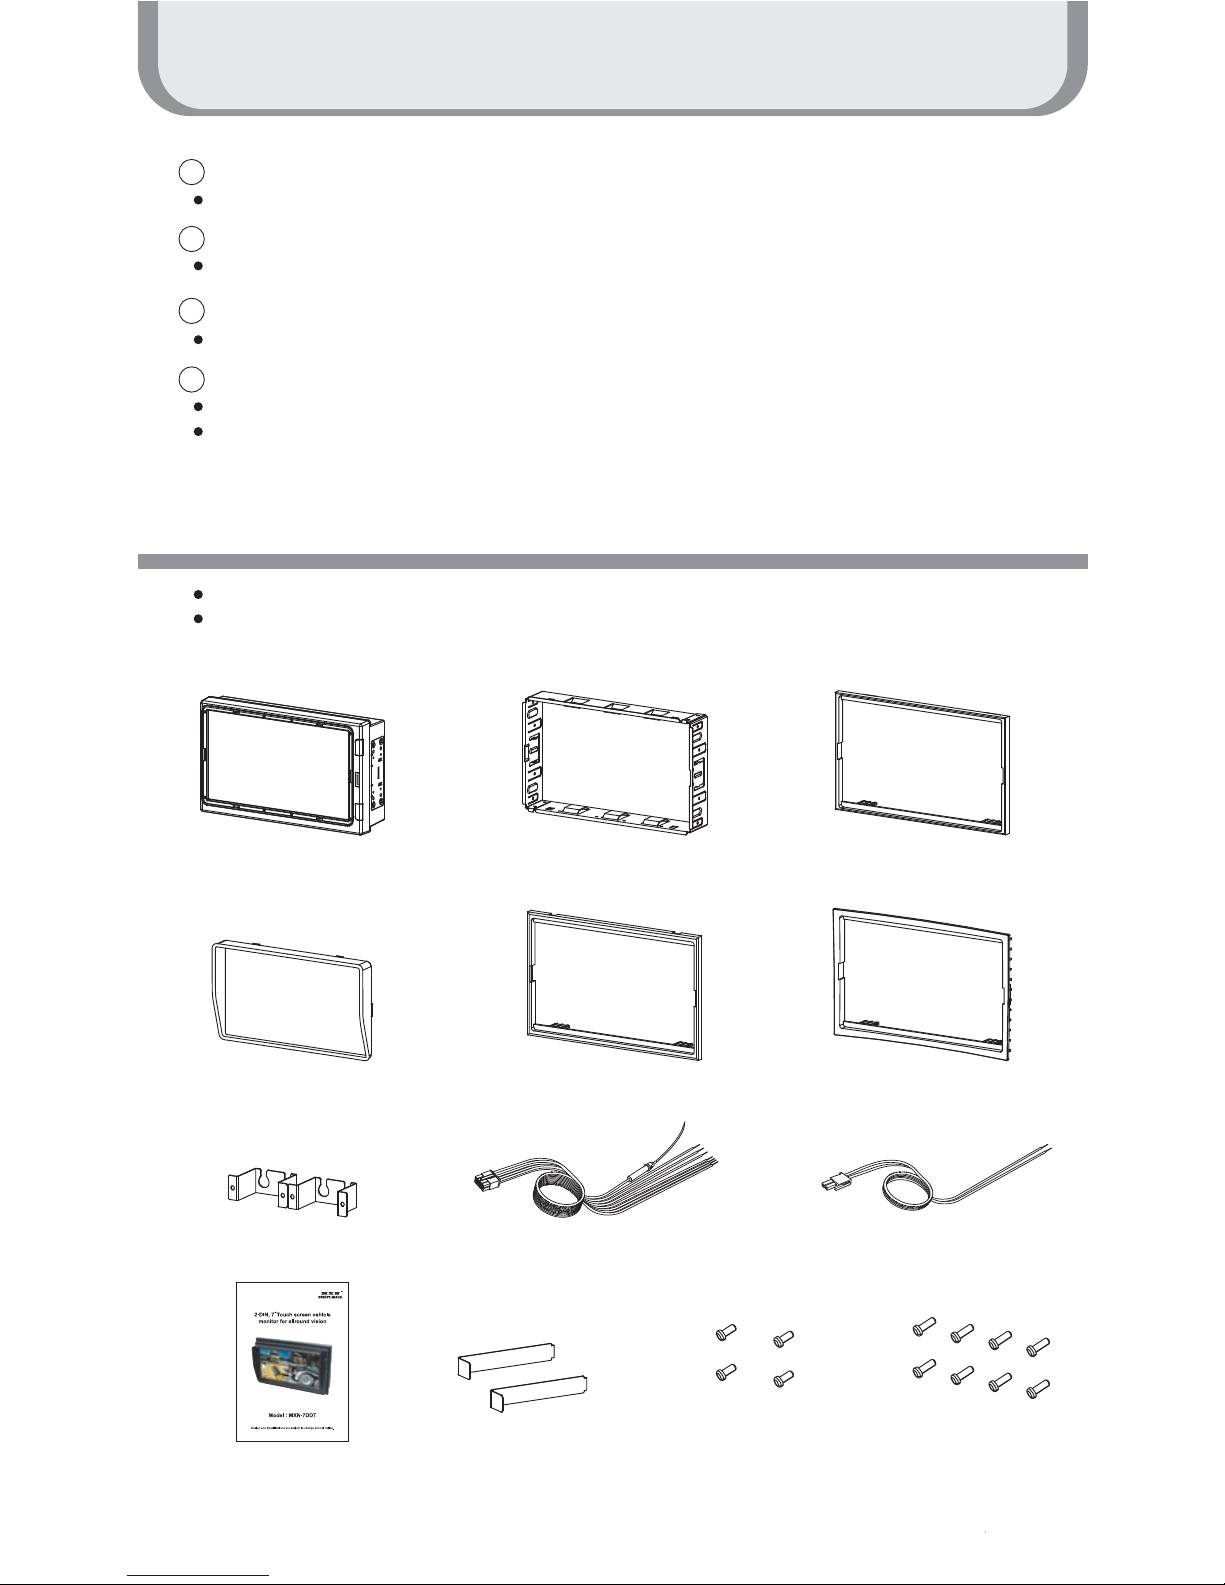
Please check that you have the correct contents before using this product.
If any items are missing, please contact your dealer.
Package Contents
Monitor Trim Bracket Deco Plate A
(Dimensions:187.6 x 121.4mm)
Sunvisor Deco Plate B
(Dimensions:187.6 x 115.4mm)
Deco Plate C(Optional)
(Dimensions:190.4x 124mm)
Cable Bracket(2EA) Power Cable Speaker Cable
Ejection Key(2EA)
Instruction Manual
Tapping Screw
T2 3X6L (4EA)
Tapping Screw
T2 2.3X8L (8EA)
How to use the product
6
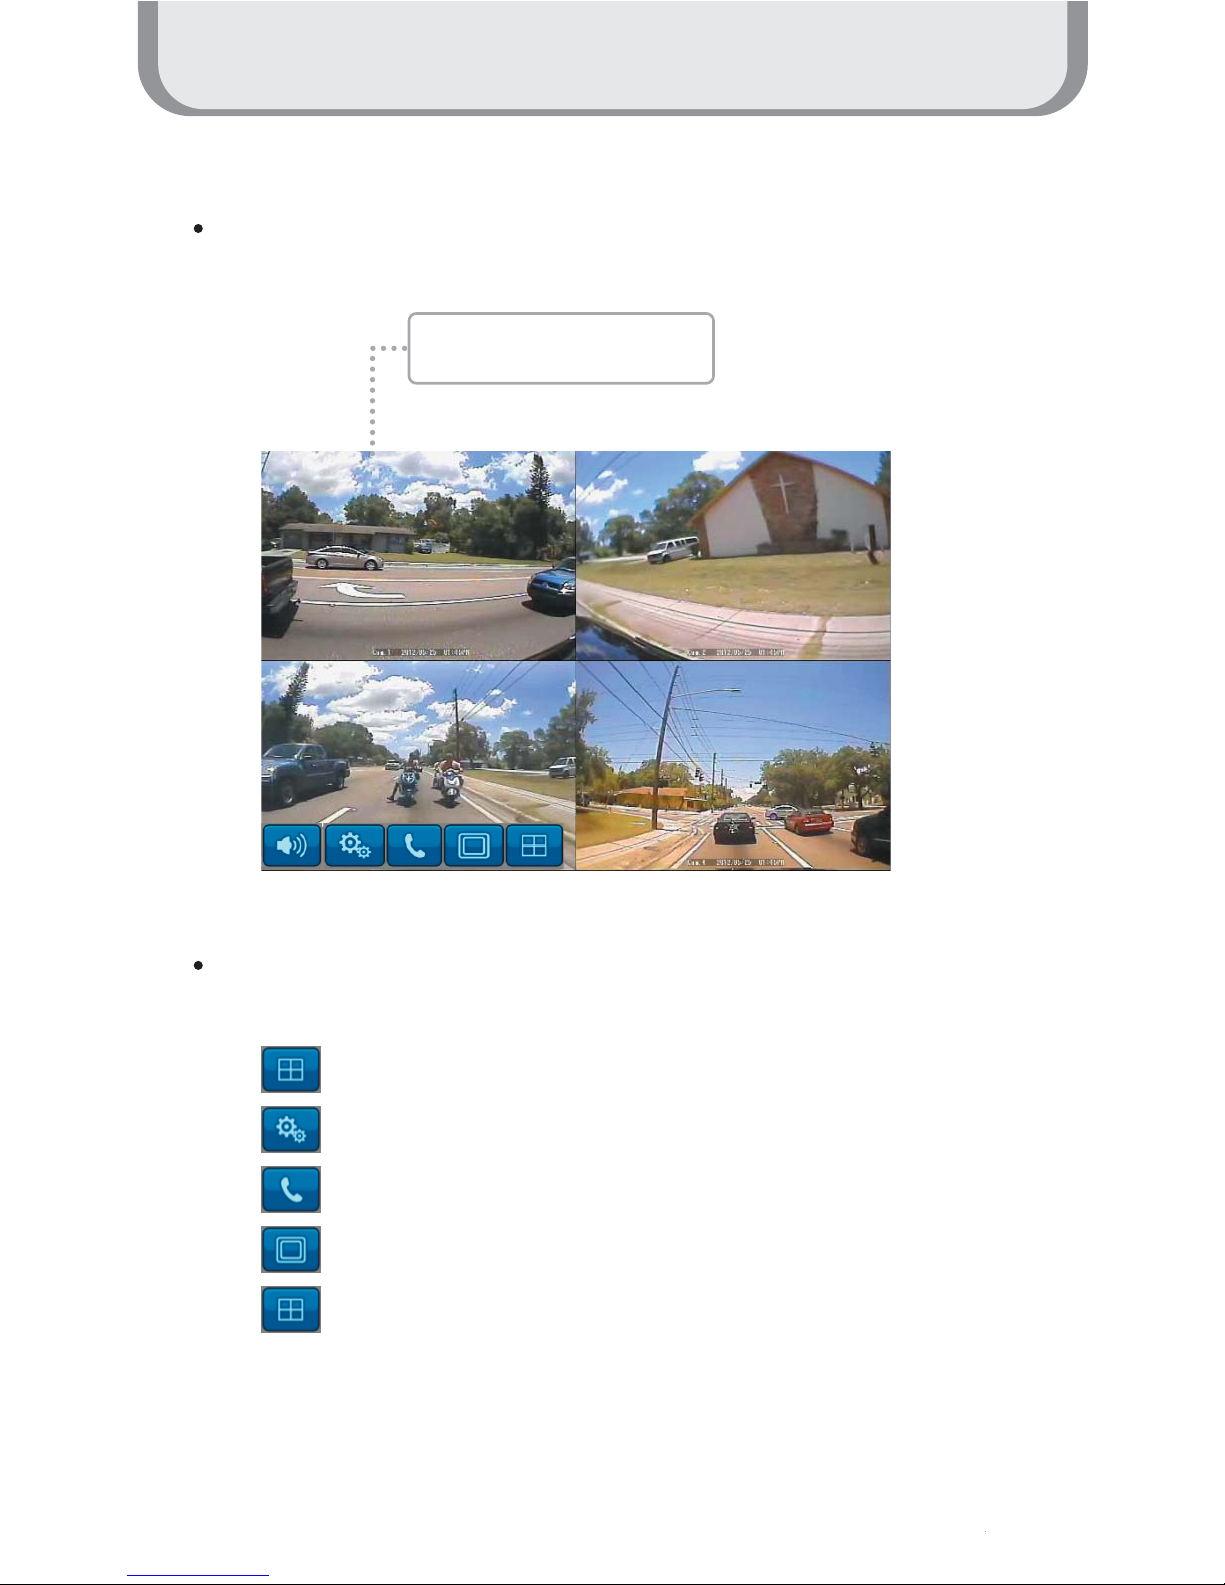
Start Screen
When the booting is ready, the multi screen as below will be displayed
When the small windows on the multi screen are touched, the channel is enlarged into full
screen mode. One more touch returns it back to the multi screen mode.
: Controls volume of the speaker
: Settings menu
: Run the Bluetooth Phone (Optional function)
: Change Input signal
: Multi screen mode
When the small window is
touched, it is enlarged.
How to use the product
7
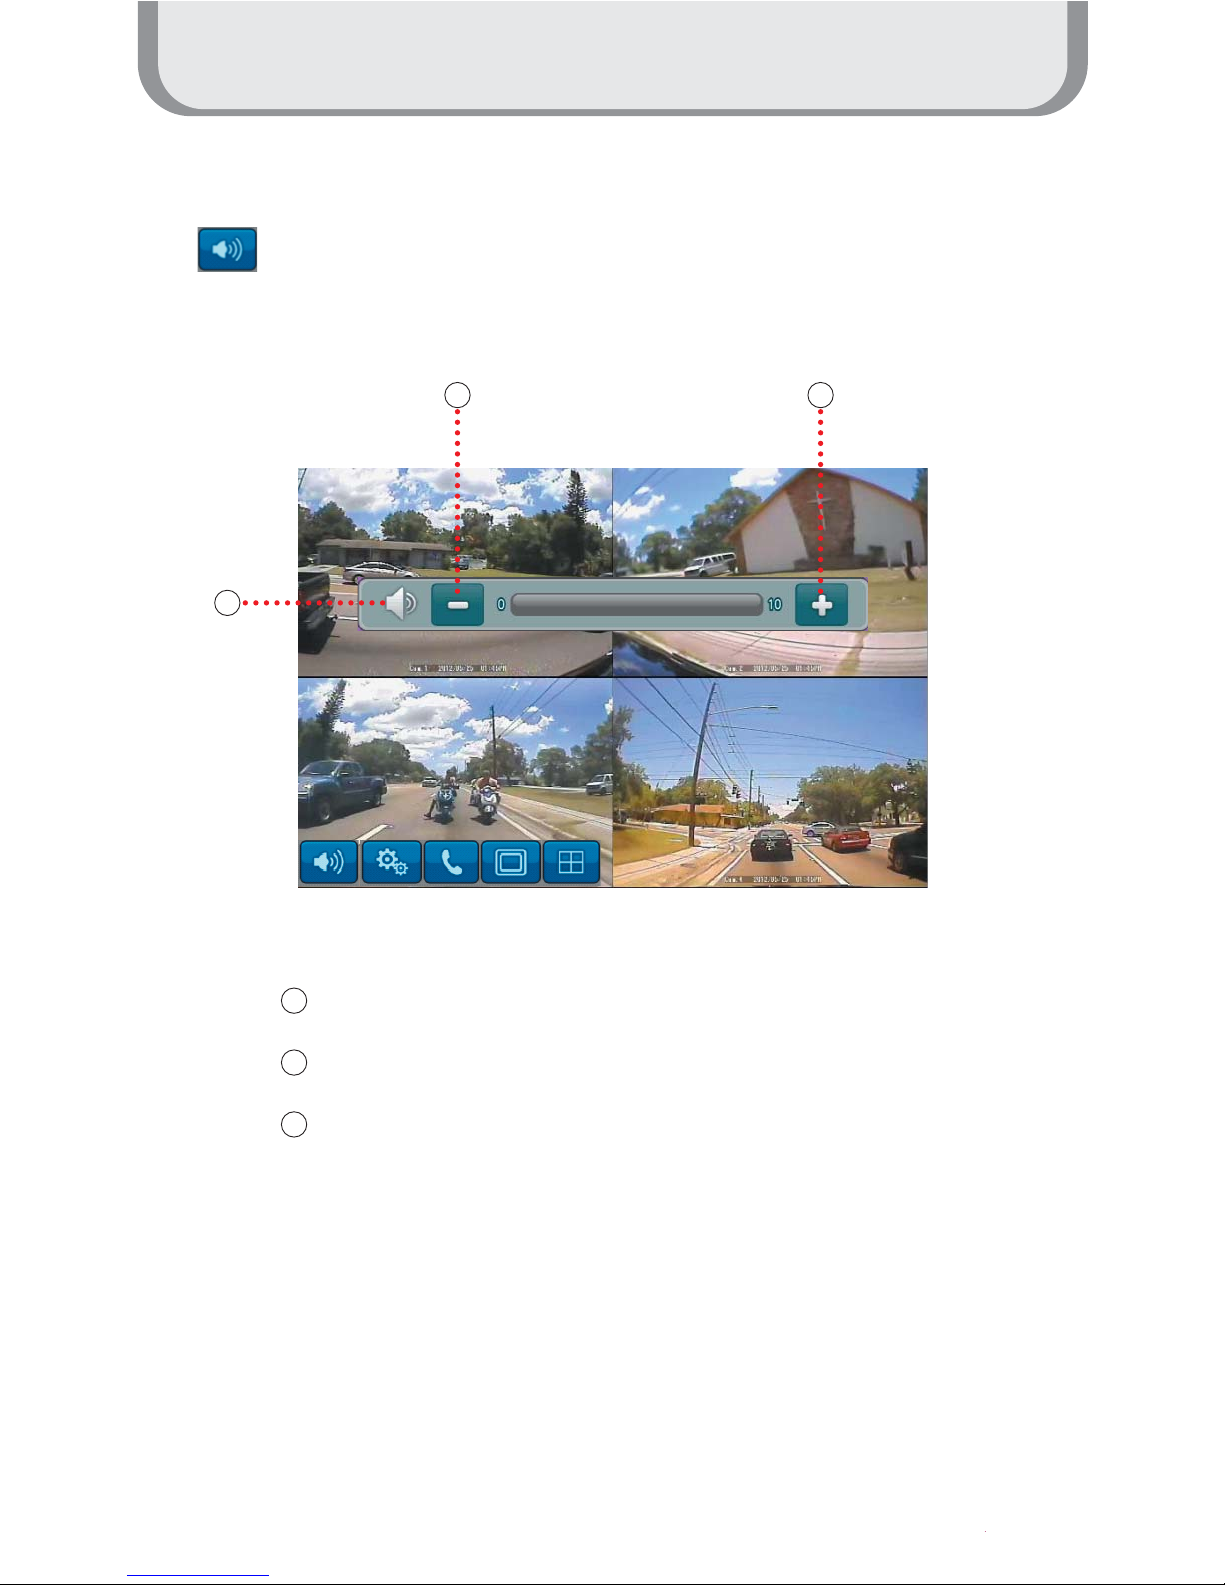
Volume Control
Press the button to display Volume Pop-up.
1
1
2
3
2 3
Press the button to mute
Press the button to increase the volume
Press the button to decrease the volume

How to use the product
8
Input selection
Press the Input button to change Input
Press input button
once: AUX1
Press input button twice: AUX2
Press input button
3 times: Cam
How to use the product
9
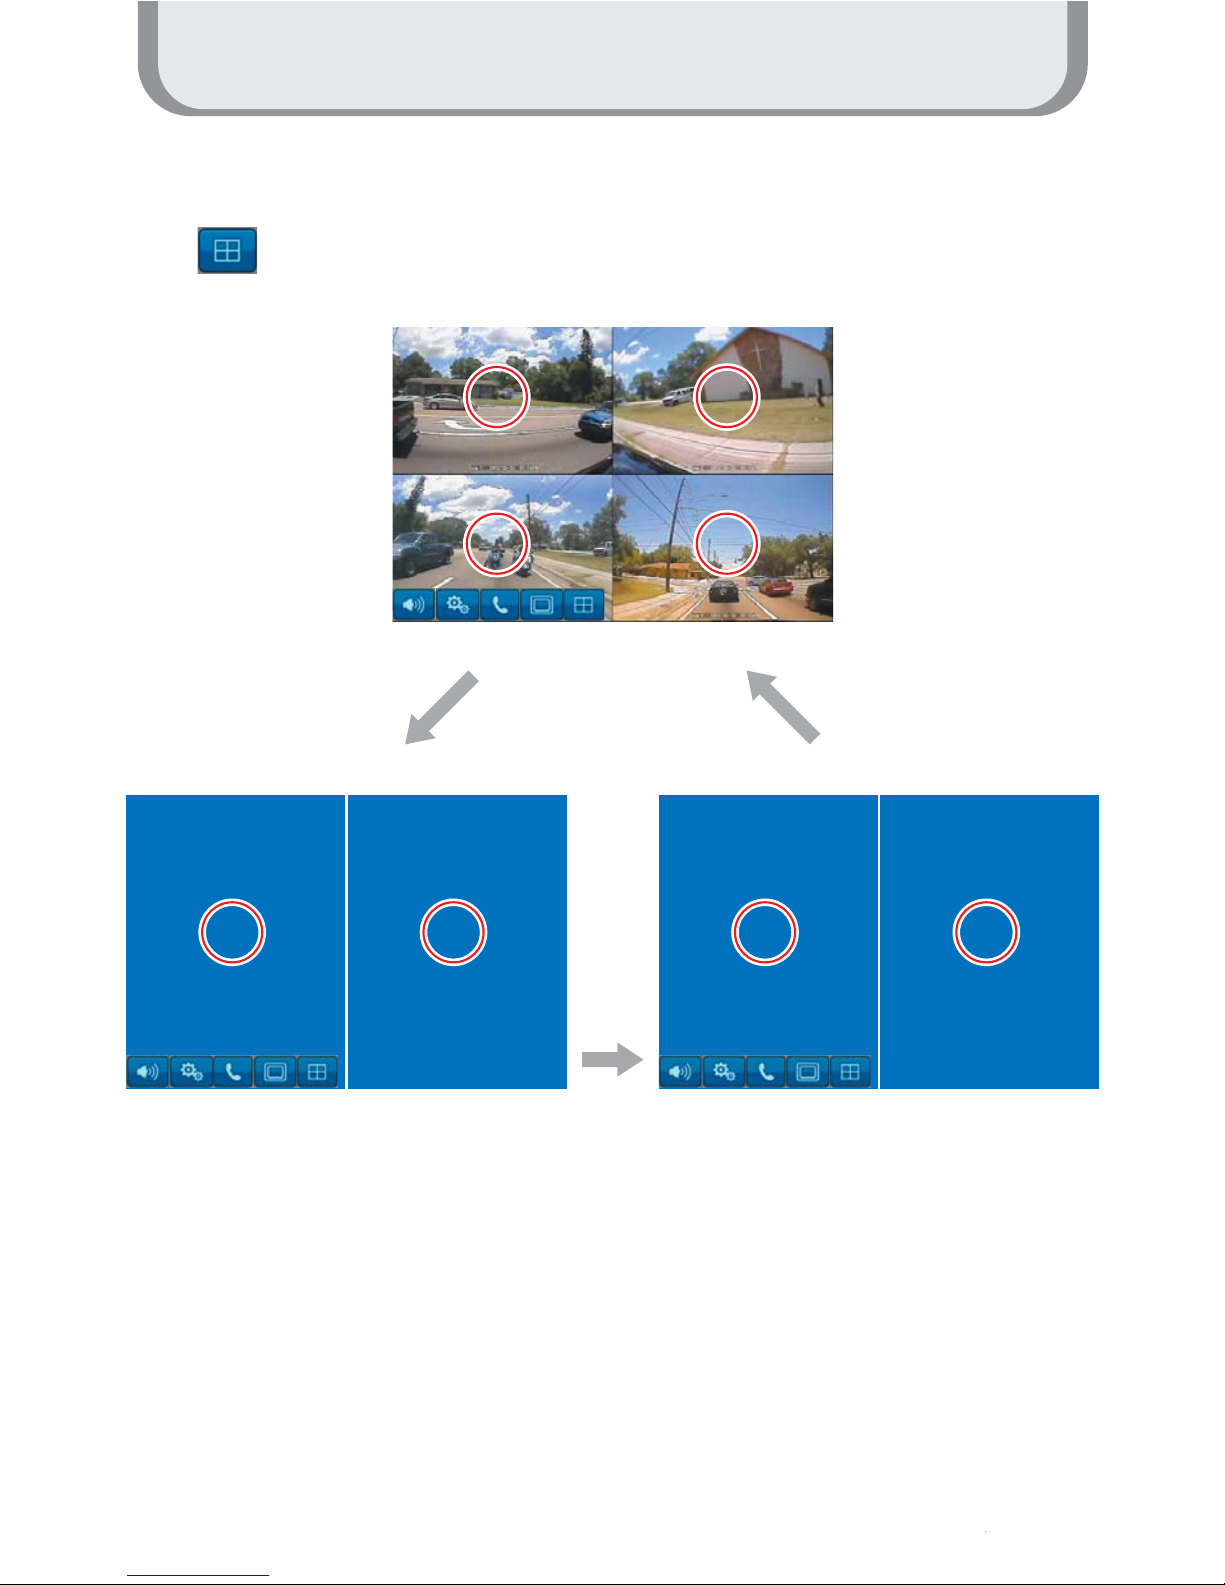
Multi screen
Press multi screen
button once:
Cam1,Cam2
Press multi screen button twice: Cam3,Cam4
Press multi screen
button 3 times:
Cam1,2,3,4
1
1
2
2
3
3
4
4
1
1
2
2
3
3
4
4
Press the multi screen button to divide the screen.
How to use the product
10
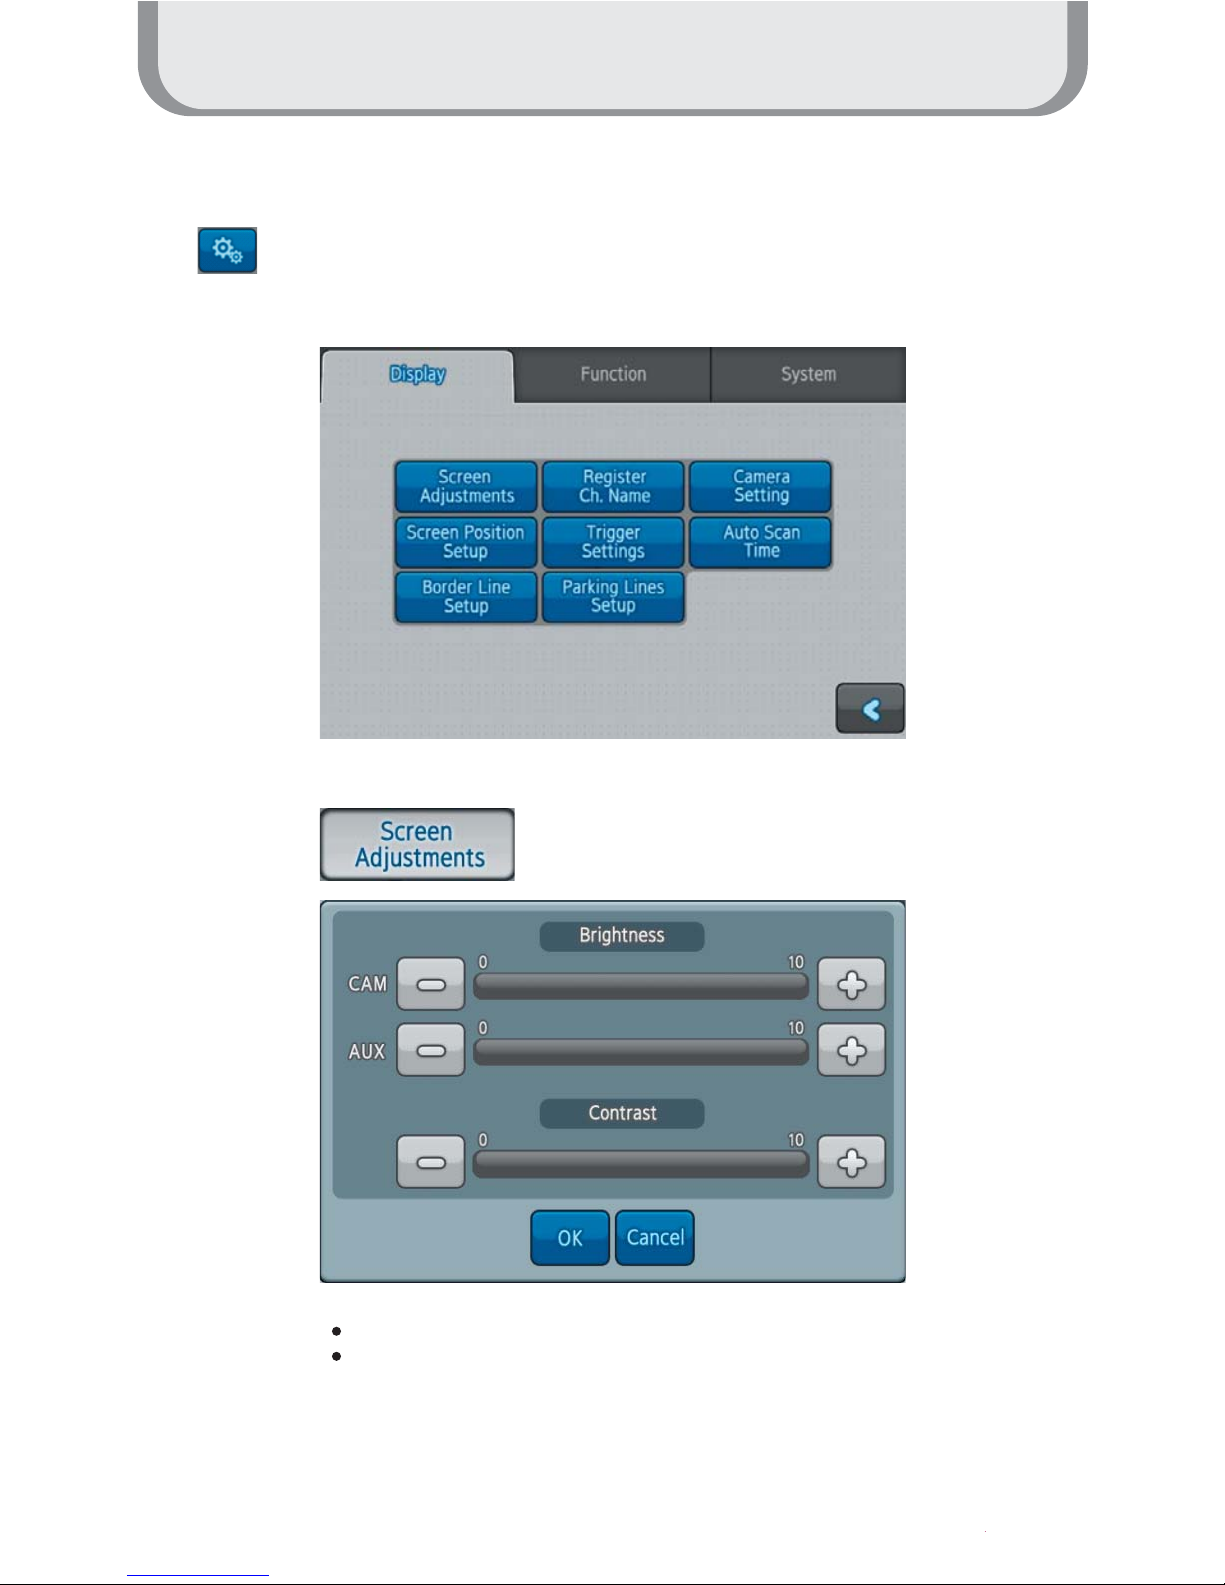
Setting Mode
Press the setting menu button to open the Setting screen.
CAM : Adjust brightness of Camera input screen
AUX : Adjust brightness of AUX screen
 Loading...