

MXA 16-MXA 1.500, 16-MXA4.480, 16-MXA5. 750 Operating Manual
AMPLIFIERS
OPERATING
16-MXA
1.500
16-MXA4.480
16-MXA5.
750
MANUAL

WELCOME
TO
MEMPHIS!
Thank you for choosing Memphis Xtreme Audio. Your choice
indicates a desire for high quality music in any environment. Memphis brings you over
four decades
serious car audio competitor, Memphis has the product for you!
To take full advantage
please read and follow the instructions in this manual. As with all
professional installation by an authorized Memphis dealer is highly recommended. For
more tips on how to install MXA amplifiers, please visit our website www.memphiscaraudio.com.
No matter who performs the installation, there's nothing better than Memphis
Connection product to make sure your Memphis product performs to specification.
Using the proper size and quality
dramatically enhance the sound quality and reliability
gear.
Get
all
of
audio expertise . So whether you are a daily driving music lover, or a
of
the Memphis Xtreme Audio gear you have just purchased,
of
power and ground wire, as well as interconnects will
of
your Memphis Xtreme Audio
the
performance
and
reliability
Connection!
you
paid
of
Memphis Xtreme Audio
of
our products,
for
with
Memphis
MXA
AMPLIFIER
FEATURES
o Variable High/Low Pass Crossovers
0 Coated Circuit Boards for use in extreme environments
o Class D Circuitry for efficient operation
o Input Mode Selector (MXA5. 750)
o Variable Subsonic Filter (MXA 1.500)
o Variable Bass Boost -to 12dB
o Remote Level Control Included (MXA 1.500)
o 3 Zone Remote Level Control Included (MXA5.750)
o Protection against overload, short circuit, thermal, & reverse polarity
FEATURES & SPECIFICATIONS
ARE
NOTICE
SUBJECT
TO
CHANGE
WITHOUT
1
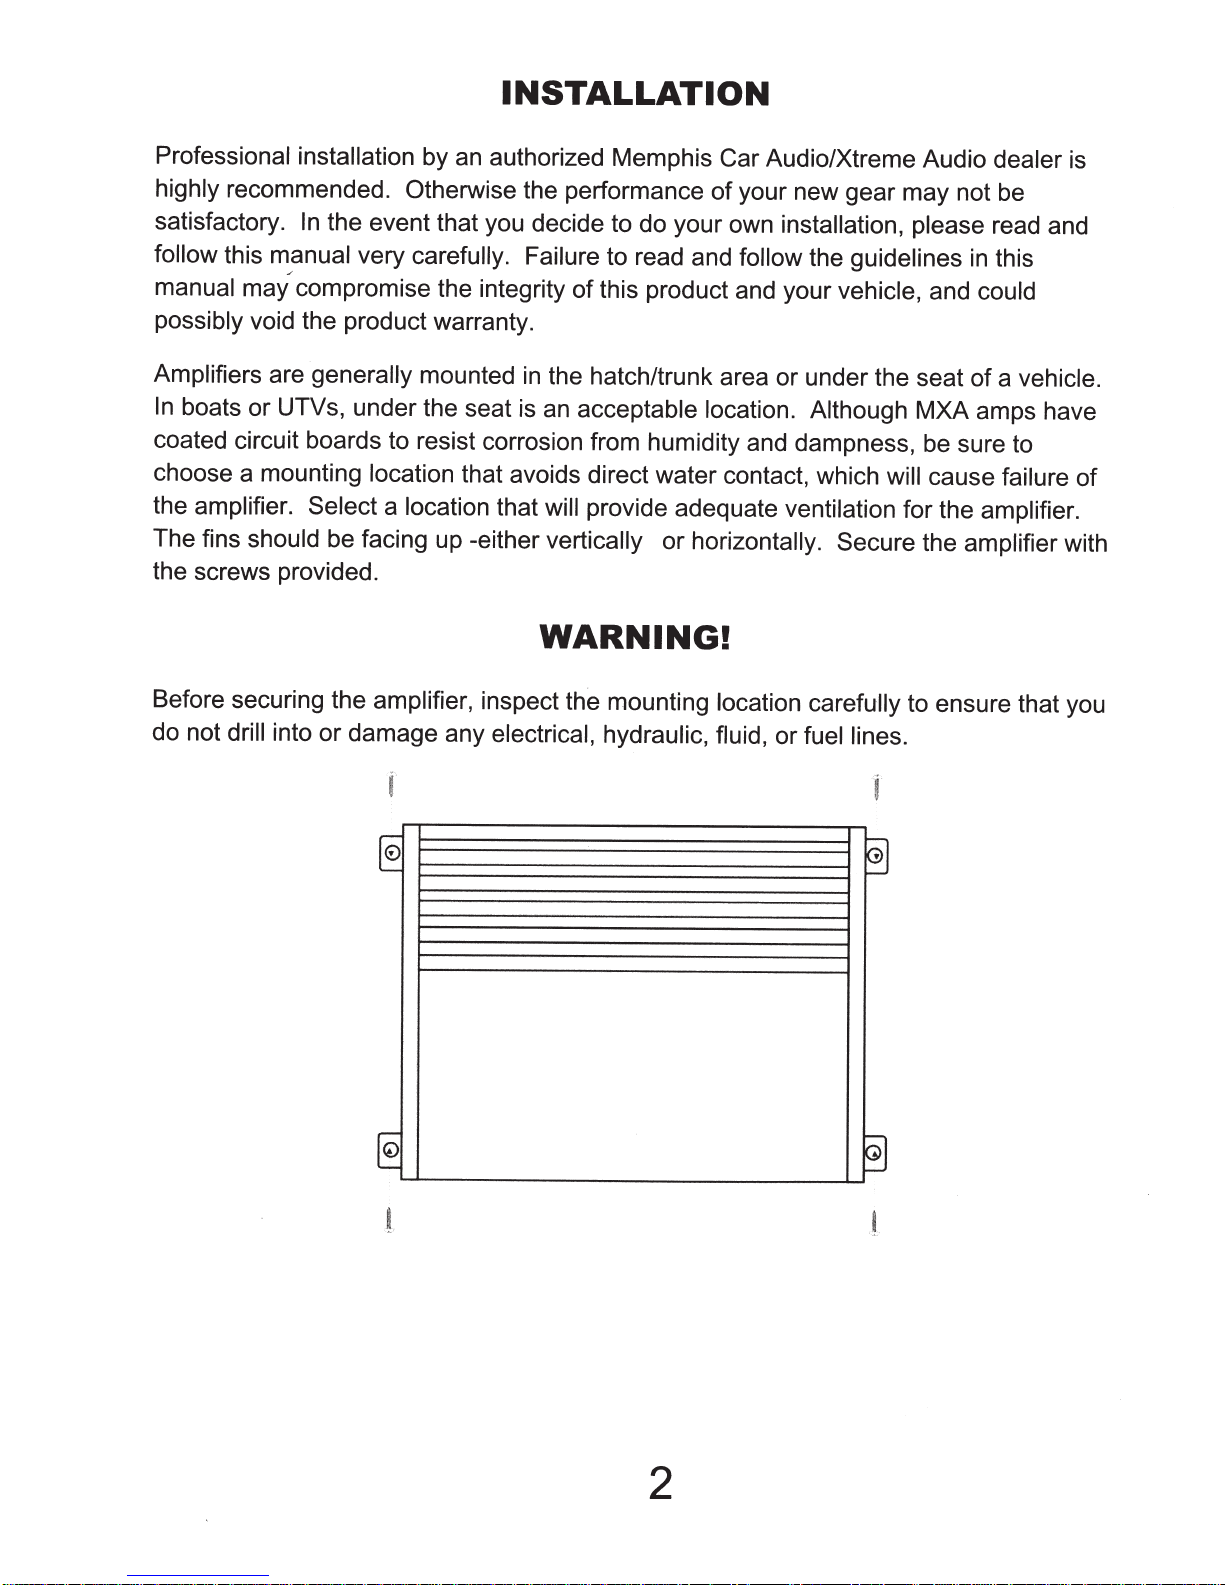
INSTALLATION
Professional
highly
satisfactory.
follow
manual
possibly void the product warranty.
Amplifiers are
In
coated circuit boards to resist corrosion from humidity and dampness, be sure to
choose a mounting location
the
The fins
the screws provided.
recommended. Otherwise the performance
this
boats or UTVs, under the seat
amplifier. Select
installation
In
the event that you decide to do your own
manual
/
may compromise the integrity
should
very
generally
be facing up -either
by
an
authorized Memphis Car Audio/Xtreme Audio
carefully. Failure to read and
mounted
that avoids direct water contact, which
a location
in
the hatch/trunk area or under the seat
is
an
that
will
vertically
dealer
of
your new gear may not be
installation, please
follow
of
this product and your
acceptable
provide adequate ventilation for the amplifier.
location. Although
or
horizontally.
the guidelines
vehicle,
Secure the amplifier
and could
MXA amps have
will
cause
read and
in
this
of
a
vehicle.
failure
is
of
with
WARNING!
Before securing the amplifier, inspect the mounting location carefully to ensure that you
do not
drill
into or damage any
electrical,
hydraulic,
fluid,
or fuel lines.
~
@
~
§1
2
POWER
SUPPLY
CONNECTIONS
WARNING!
INSTALL
Use
conventional
at the amp and
and /or inadequate wire size
failure.
The 12 VOLT
the wire size recommended
and
is
primarily
short circuit of the power wire to ground, which could cause maximum current to flow
from the battery. The fuse
used
Due to their compact chassis, MXA
Memphis Car Audio recommends that addition of fusing at the
fuse
16-MXA
in
the system.
value
1.500
vehicle
+ connection
intended to protect the
recommended
50
A
THE
stranded copper wire for all connections. Finish the ends of the wires
connection with proper size
17
-4GKIT
will
should
below
value
along
FUSE
generate excessive heat and may lead
and fused within
at the battery
with the Memphis Connection amp kit
AT
be
made
vehicle
amplifiers
THE
directly at the positive battery post using
from damage
should
are not equipped with
BATTERY
terminals. Poorly made connections,
18
of the battery. This fuse is
in
case of
be
adequate for
amplifier
LAST!
to equipment
an
accidental
all
amplifiers
on
board fusing.
as
well.
is
below:
vital
The
16-MXA4.480
16-MXA5.750
Please
amplifier. If
installer
The
close to the amp as
the 12
from the connection point on the chassis. If
without a
battery.
The
lead
wire does not
unit does not have a remote output wire, it
switched
remote
note that the
GROUND
Volt+
REMOTE TURN
or power antenna output wire. When using the power antenna wire, make sure this
lead
50
A
17
-8GKIT.
BOA
your system
for the best Connection solution for your installation.
connection. Ensure that
metal
lose
+12Volt
must be provided with a
17-4GKIT
amp kit recommendations above
includes multiple amplifiers, please consult a
connection
possible.
chassis, run the ground connection directly
ON
power when any source other than radio
source, or a switch can
should
Make this connection with the same size wire as used for
terminal should
be made
all grease, paint, and other coatings are removed
+12Volt input for
directly
the
installation
be
connected to the source unit's remote out
is
acceptable
be
added for manual turn
apply only
to the chassis
to connect this to
the amp to operate.
is
to the negative post
when using a single
professional
of
the
vehicle and as
in
a boat, or other vehicle
is
selected. If the source
an
additional
on
of the amp. The
of
the
3
 Loading...