

Page 1
© MuxLab Inc. 2015 94-000789-A SE-000789-A
8495 Dalton Road, Mount Royal, Quebec, Canada. H4T 1V5
Tel: (514) 905-0588 Fax: (514) 905-0589
Toll Free (North America): (877) 689-5228
E-mail: videoease@muxlab.com URL: www.muxlab.com
Specifications
Environment
HDMI 1.4 (3D)
Devices
DVD/Blu-Ray, plasma, projectors, monitors, TV, PC,
laptops
Transmission
Transparent to the user
Frequency
25 to 340 MHz
Signals
HDMI 1.4 protocol
Connectors
HDMI Type A 19-pin female
LEDs
One (1) 2160p: Blue
One (1) 1080p: Blue
Resolution
1080p @ 24 fps
3840 X 2160 @ 24 fps
All other resolution and refresh rate cannot be scale
but will be transmit untouched
Color
8, 10 & 12 bit
Audio
LPCM, Dolby Digital, DTS, Dolby Digital Plus,
Dolby True-HD, DTS-HD Master Audio
HDCP
Revision 1.3
Cable
HDMI Cable
Temperature
Operating: 0° to 40°C Storage: -20° to 60°C
Humidity: up to 90% non-condensing
Enclosure
Metal enclosure
Dimensions
3.74” x 3.27” x 0.91” (95 mm x 83 mm x 23 mm)
Weight
1.0 lbs (0.45 Kg)
Power Supply
5VDC, 2A with interchangeable blade for US, UK
and Euro
Compliance
Regulatory: FCC, CE, RoHS
Warranty
2 years
Order Information
500433 HDMI Video Scaler, UHD-4K
HDMI Video Scaler, UHD-4K (500433)
Quick Installation Guide
Overview
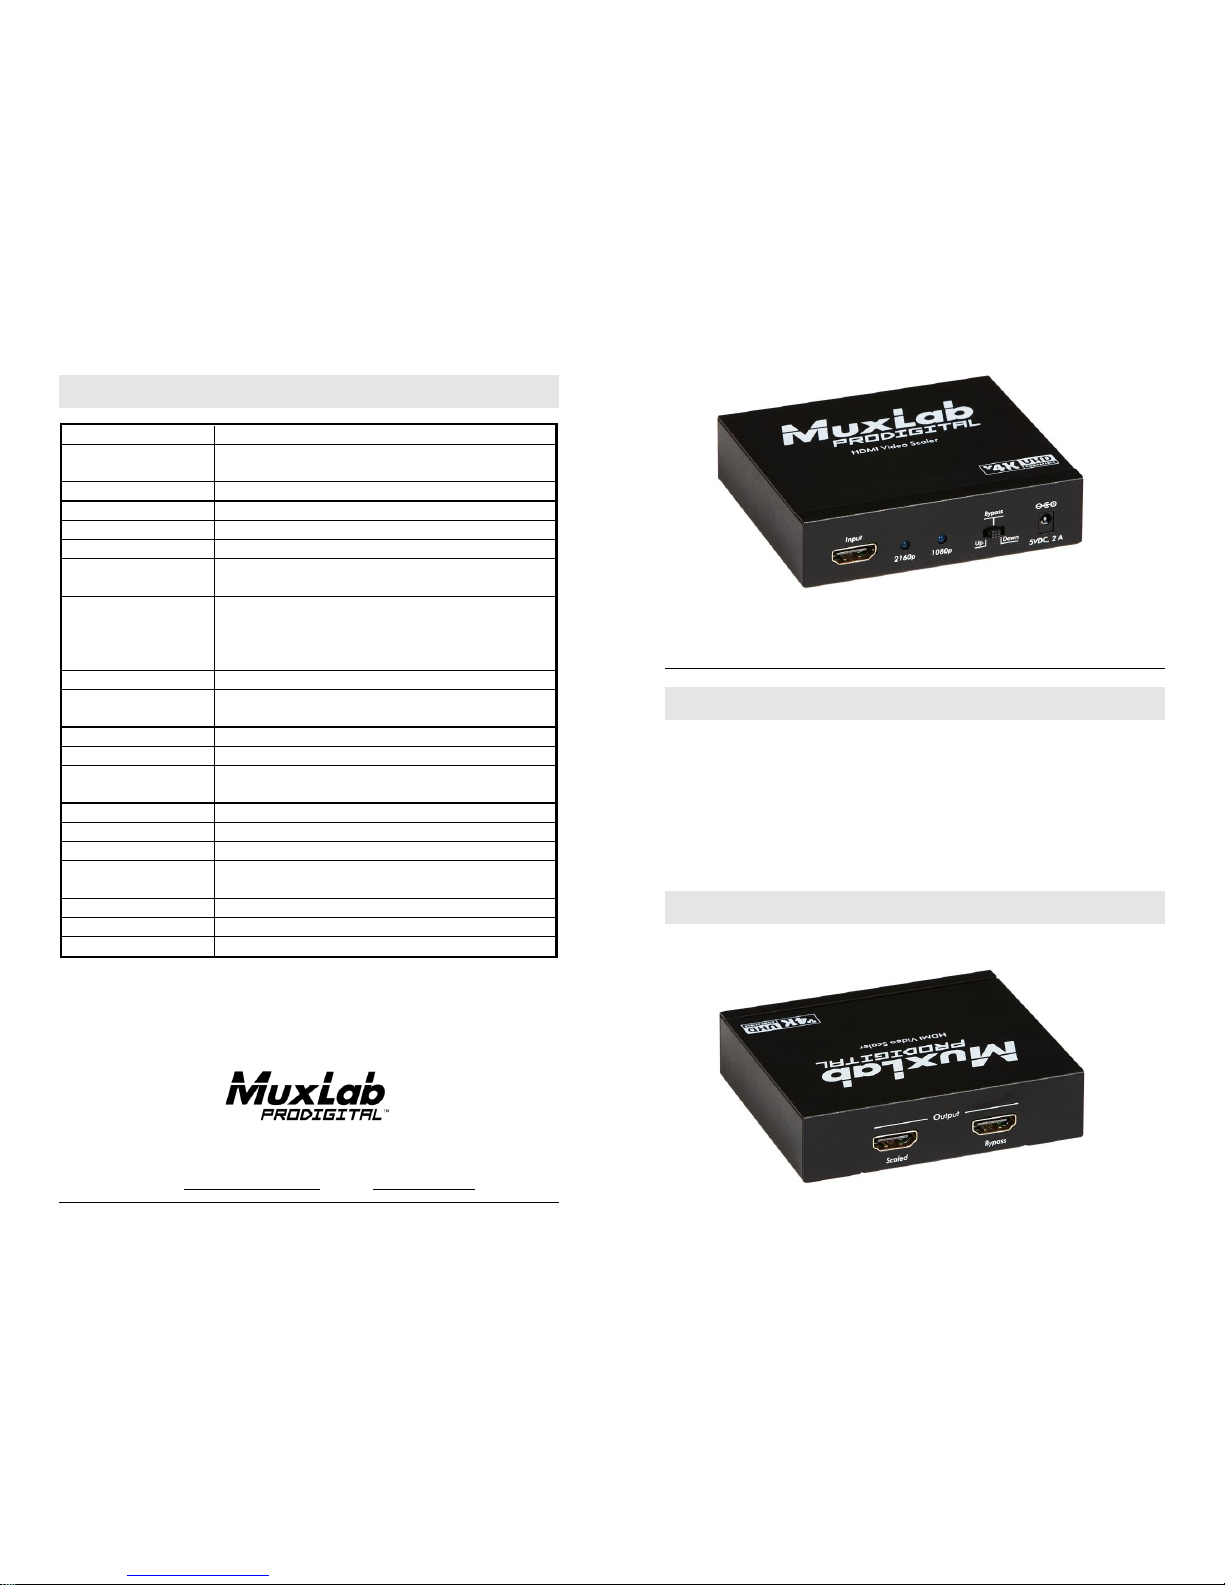
The HDMI Video Scaler (500433) allows one (1) HDMI sources to be
distributed to one (1) HDMI display. The scaler supports up to 4K (3840 x
2160), 8-bit color and HD audio. The scaler can upscale a 1080p/24Hz
video to 4K/24Hz or downscale a 4K/24Hz to 1080p/24Hz. The scaler is
HDCP 1.3 compliant and features LED diagnostics. Applications include;
commercial and residential AV systems, classroom projector systems,
digital signage, boardroom systems, collaborative PC systems, medical
information systems.
Pre-Installation Check
Identify the connectors as indicated on the product
Page 2
© MuxLab Inc. 2015
Installation
In order to install the HDMI Video Scaler, please follow the steps below:
1. Connect the HDMI video source to the input connector of the HDMI
Video Scaler.
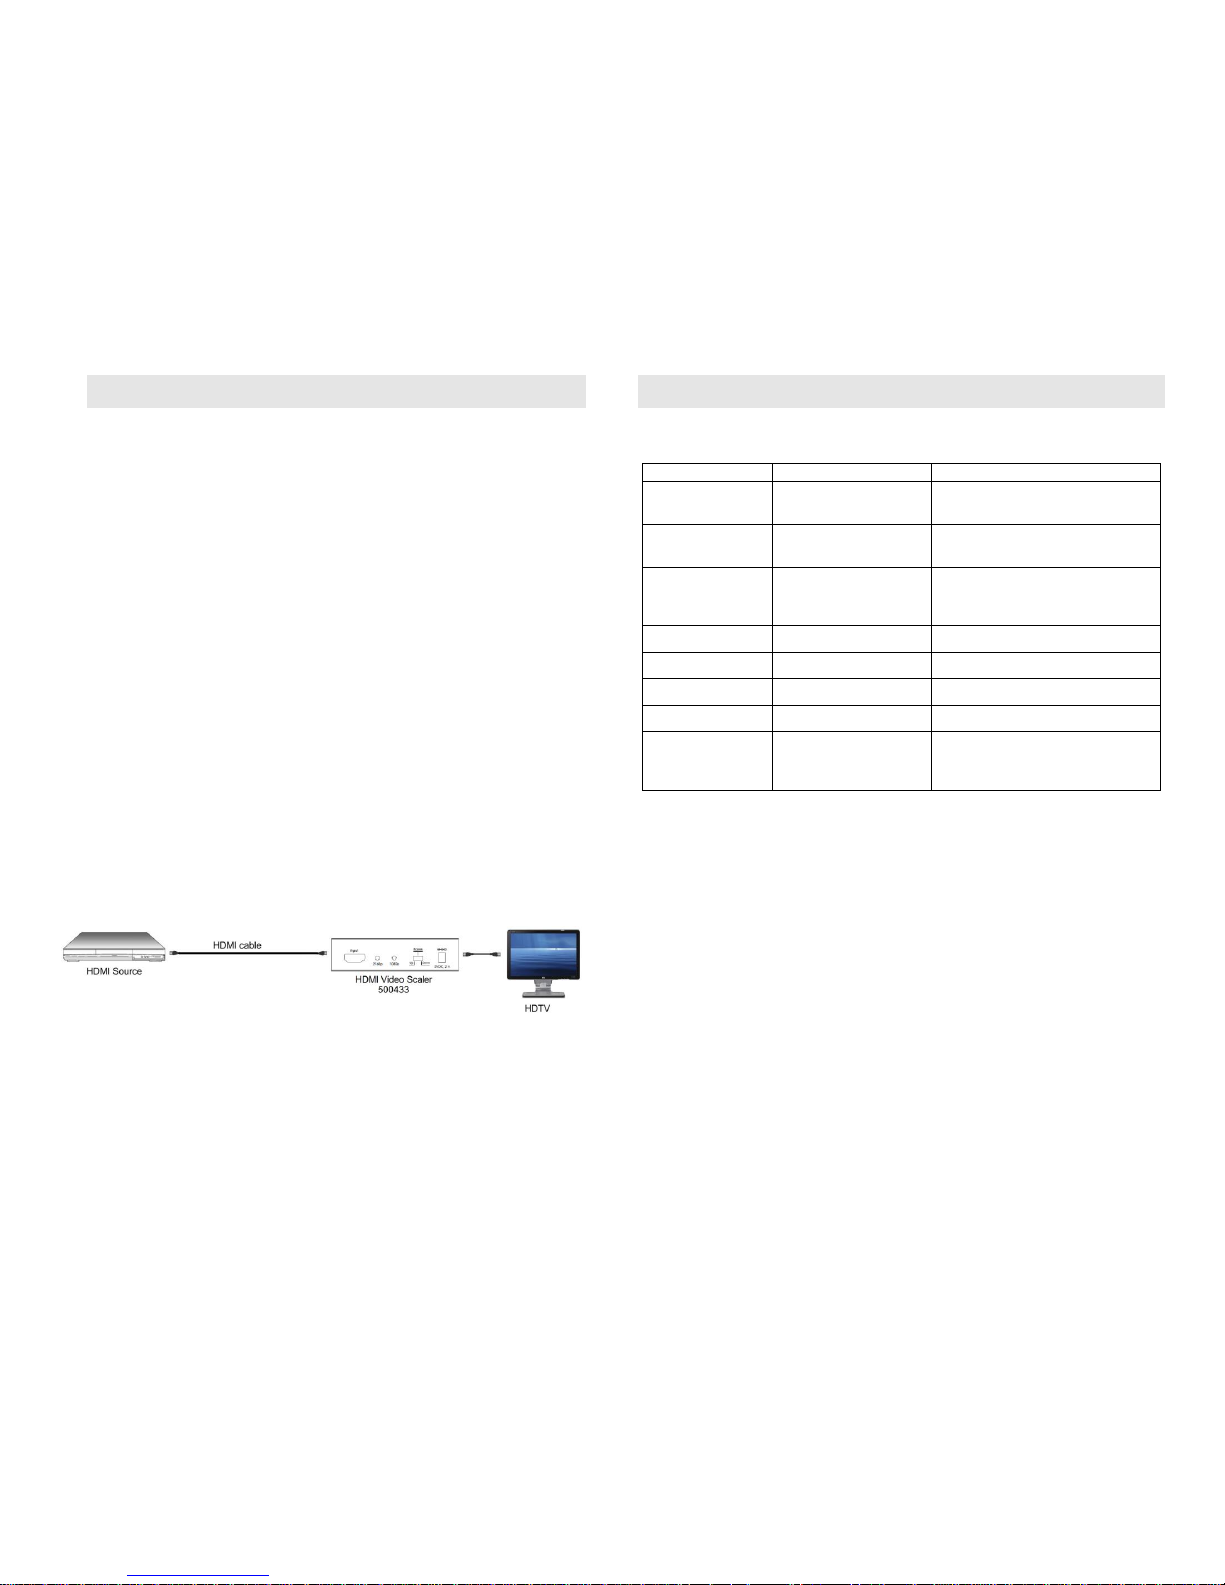
2. Connect the HDMI display equipment to the scaled output connector
of the HDMI Video Scaler.
3. Optional: Connect the HDMI display equipment to the bypass output
connector of the HDMI Video Scaler. The bypass output will always
display the current resolution of the source.
4. Select the appropriate mode using the front switch (3 options):
Bypass: Video capability supported by the television.
Up: Upscale the 1080p/24Hz video to 4K/24Hz.
Down: Downscale a 4K/24Hz video to 1080p/24Hz
Note: If the source refresh rate is something else than 24Hz, the
video signal cannot be Upscale or Downscale.
5. Connect the 5 VDC power supply to the product first, and then plug
the power supply into an AC power outlet.
6. Power on the HDMI equipment and verify the image quality.
7. The following diagram shows the final configuration.
Troubleshooting
The following tables describe some of the symptoms, probable causes and possible
solutions in respect to the installation of the HDMI Video Scaler.
Picture/Sound
Probable Cause
Possible Solution
No Image
Wiring
Check continuity
Check correct wiring
No Image
Synchronization
Power off the source and the display.
Power on the devices.
No Image
Resolution not supported
The source signal is 4K or the scaled
switch is set to “Up” and the display
device is not supporting 4K signal.
Flickering Image
Synchronization
Check HDMI cable length
Choppy Sound
Synchronization
Check HDMI cable length
Noise in image
Weak signal
Check HDMI cable length
Green or pink hue
Cable
Check HDMI cables and replace.
Multi-Channel not
working
Sink equipment not
supporting MultiChannel configuration
Verify that the sink device connected
to the HDMI output is supporting
Multi-Channel sound configuration.
If you still cannot diagnose the problem, please call MuxLab Customer Technical
Support at 877-689-5228 (toll-free in North America) or (+1) 514-905-0588
(International).
 Loading...