

Page 1
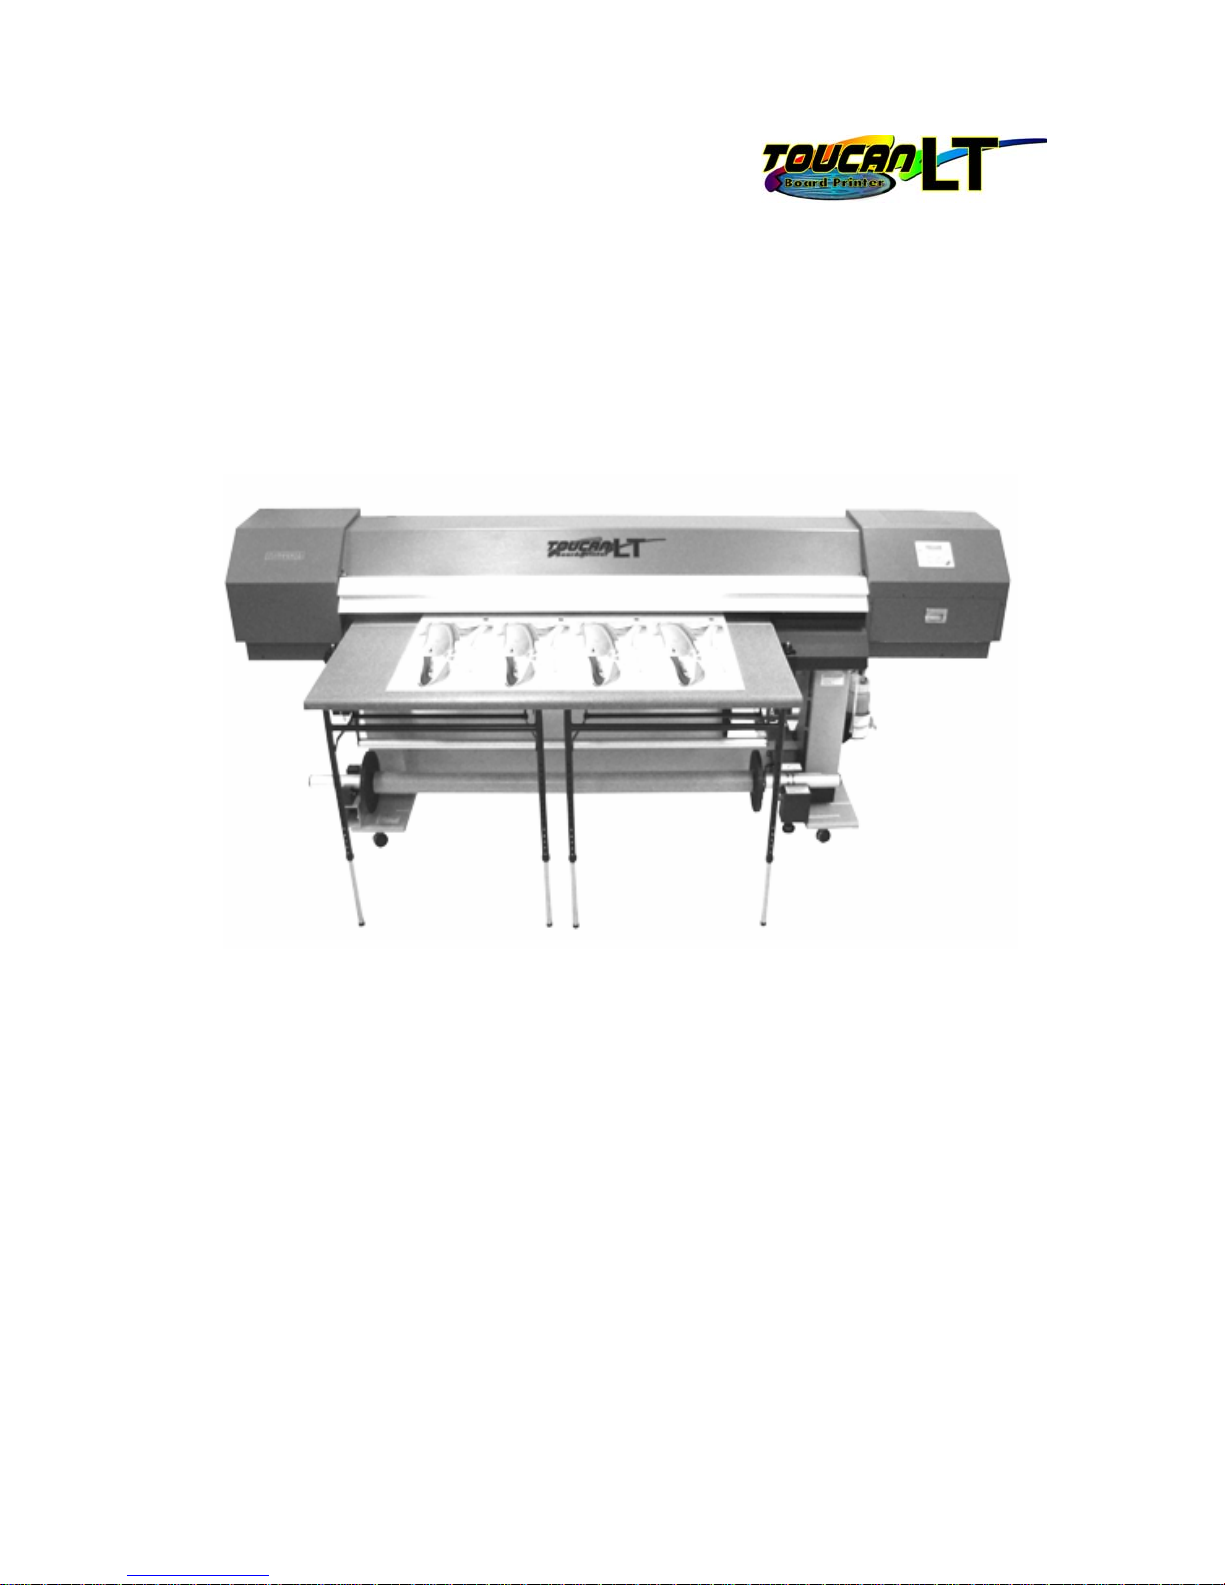
Toucan LT board printer
Setup and Operating instructions
Unpack the Toucan LT board printer as you would any Toucan LT. Follow all cautions
associated with installing a standard Toucan LT.
Change in ‘wash’ instructions:
Proceed with a single ‘wash’ with Head conditioner because the printer has been ‘inked’ up
and tested during the manufacture of the ‘board’ printer.
Remember to verify ‘flow’ of liquids through the printer during the ‘wash’ and ‘ink fill’.
Complete the installation of the Toucan LT:
Align the printheads and print the copies of the Adjustment Parameter sheet and Test
prints. One set are to be stored in the left end of the printer and one set to return to Mutoh
America Inc. Follow the published Toucan LT installation document.
February 21, 2006 1/12 Toucan LT board printer setup
Page 2
Setup instructions for Toucan LT board printer
Assembly and Setup of the Board printer:
During the ‘ink fill’ unpack the ‘tables’ from their shipping box.
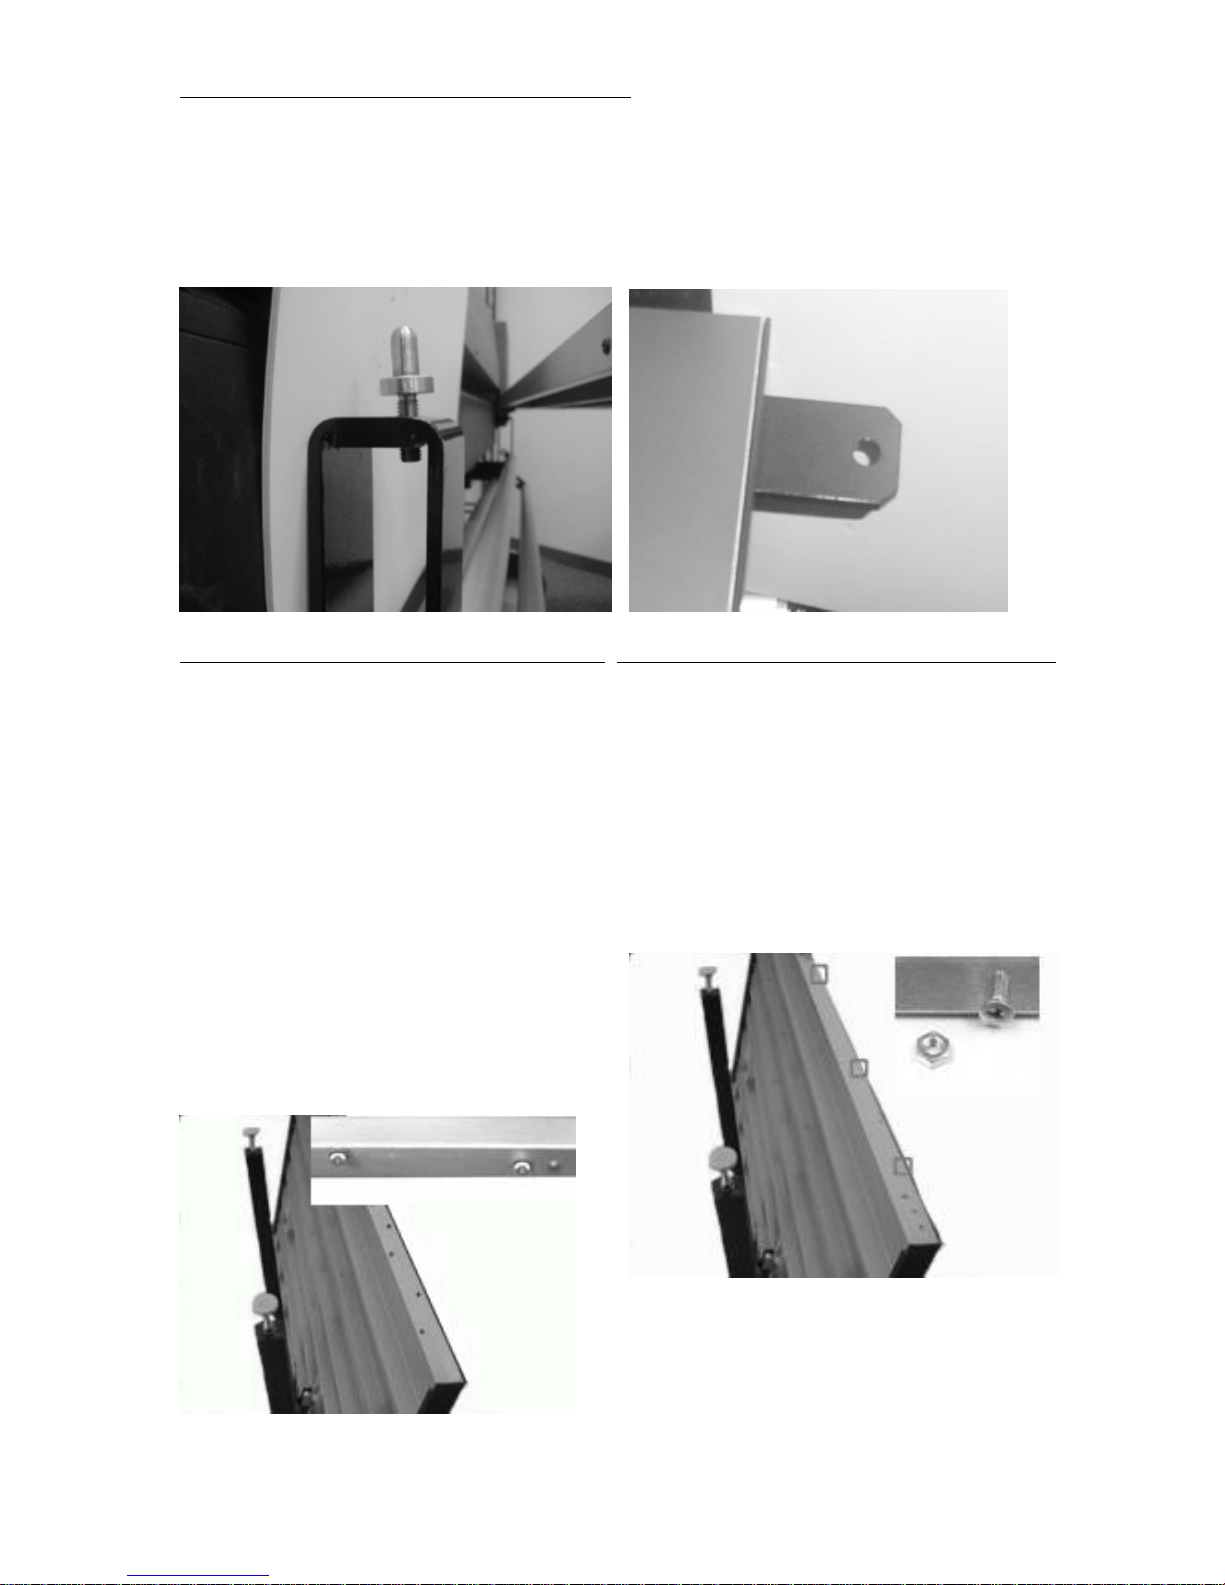
Notice that on the front and rear of the Toucan LT Board printer there are two large
brackets on which there is a large stainless ‘mounting’ pin on each one. This pin will
screw up and down as required in a later step.
Mounting ‘Pin’ on front and back of printer. Mounting ‘Pin bracket’ on the sides of tables.
The mounting ‘pins’ are the main support on the right and left sides of each table where
there is a corresponding ‘mounting pin support bracket’ on each side of the table.
Notice that the bracket in front of the ‘ink pump’ station must be removed to verify
‘ink flow’ during the wash and ink fill processes. A 3mm Allen wrench is required to
remove the bracket.
Identifying the tables and spacer fins:
Tables:
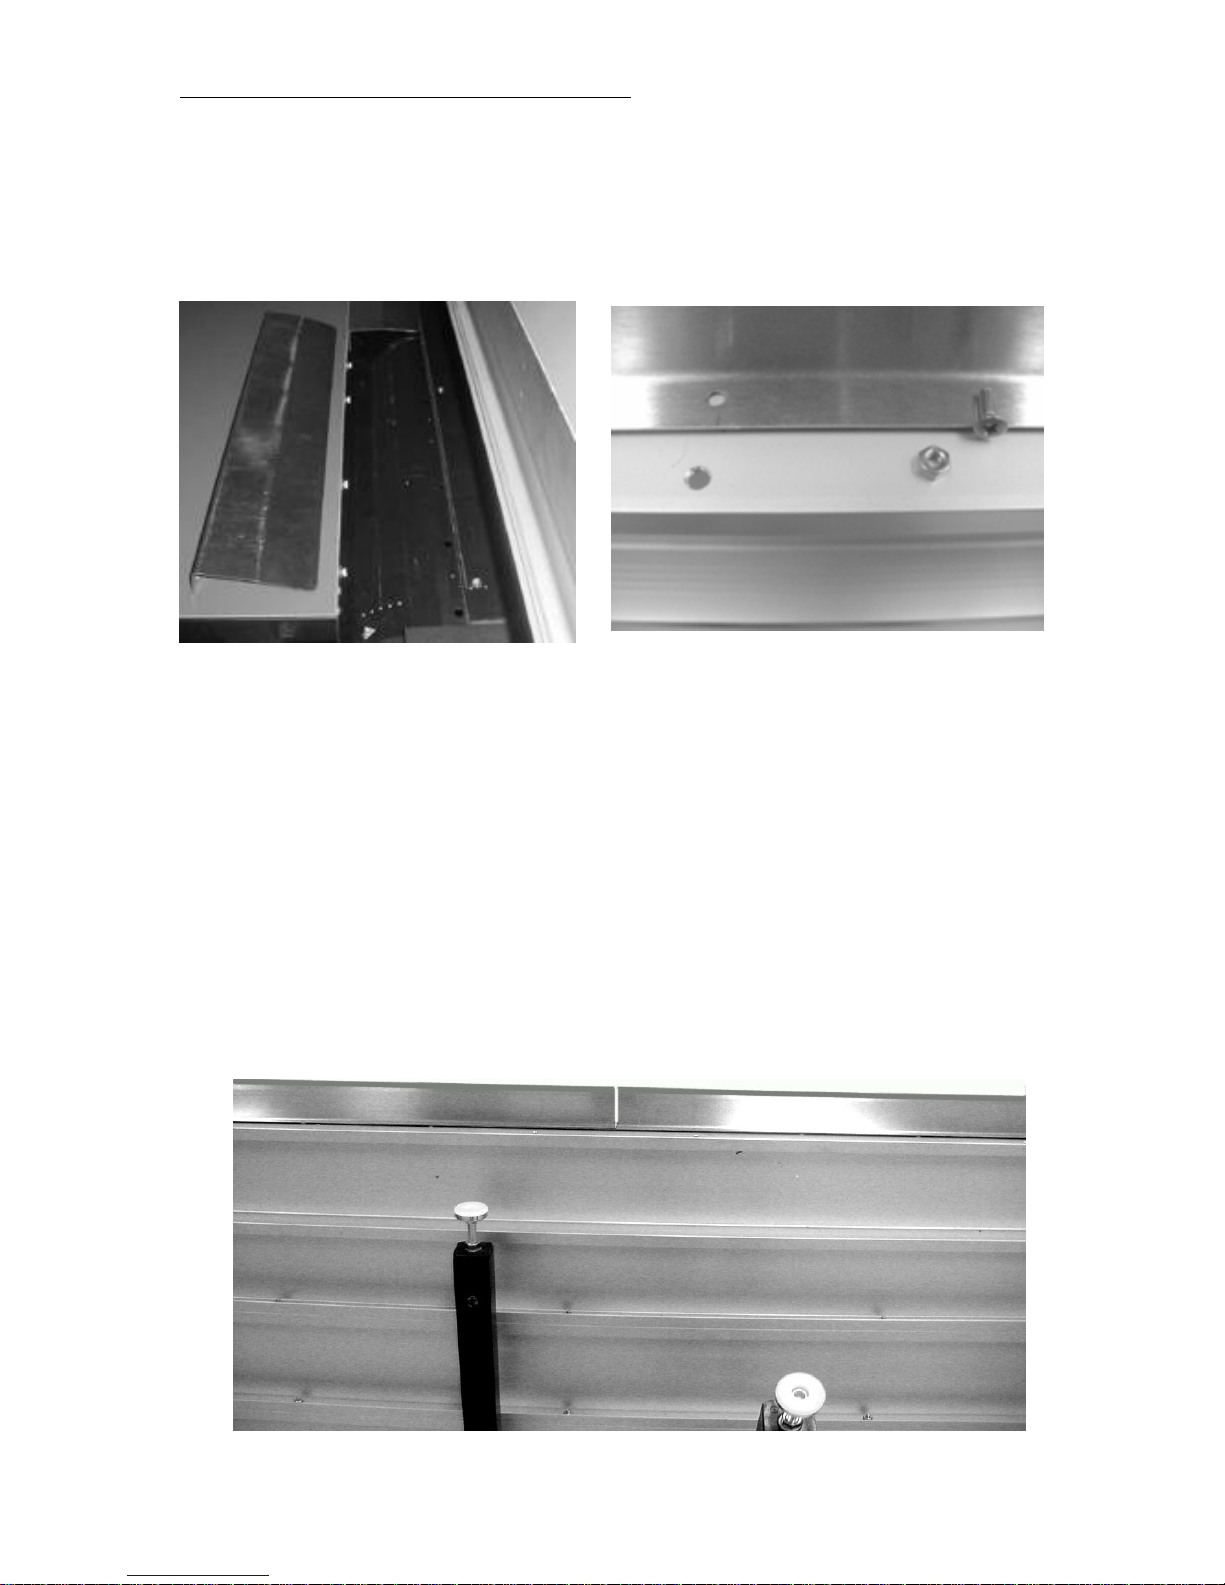
The ‘rear’ table (at right) is identified by the
absence of screws along the ‘inside’ edge of
the table. The ‘outside’ edge is a ‘finished’
edge while the ‘inside’ edge (the edge
closest to the printer) is smooth aluminum.
The ‘front’ table (at left) is identified by a row
of screws, each with a rubber spacer, along the
smooth aluminum edge.
February 21, 2006 2/12 Toucan LT board printer setup
Page 3
Setup instructions for Toucan LT board printer
Tip: The front ‘finished’ edges can be protected during everyday setup and
teardown by saving two of the long protective foam packing bats that came in the original
packaging to protect the table edges during shipping. When the table is to be stored the
bats can be pressed in place along the front edge. When the tables are in use these bats can
be placed underneath the printer table across the table leg braces.
Spacer fins:
There are 3 wider fins for the space over the dryer and 2 thin fins to bolt on the rear table.
Assembly of the tables:
Rear table assembly:
The two stainless fins must be attached to the ‘inside’ edge before being mounted to the
printer. This attachment is done with machine screws and nuts that have a knurled edge.
The knurled edge will pull tight into the holes and ‘seat’, becoming captive.
Note: Remove the protective film BEFORE assembling the fins to the table.
Align the two fins, side by side, so that they are flush with the top of the table. Insert the
screws, start each screw first and then tighten them all.
Note: In order to draw the knurl into the hole it may be necessary to hold the ‘nut’
while tightening until it gets started, then tighten a little more to ‘seat’ it.
February 21, 2006 3/12 Toucan LT board printer setup
Page 4
Setup instructions for Toucan LT board printer
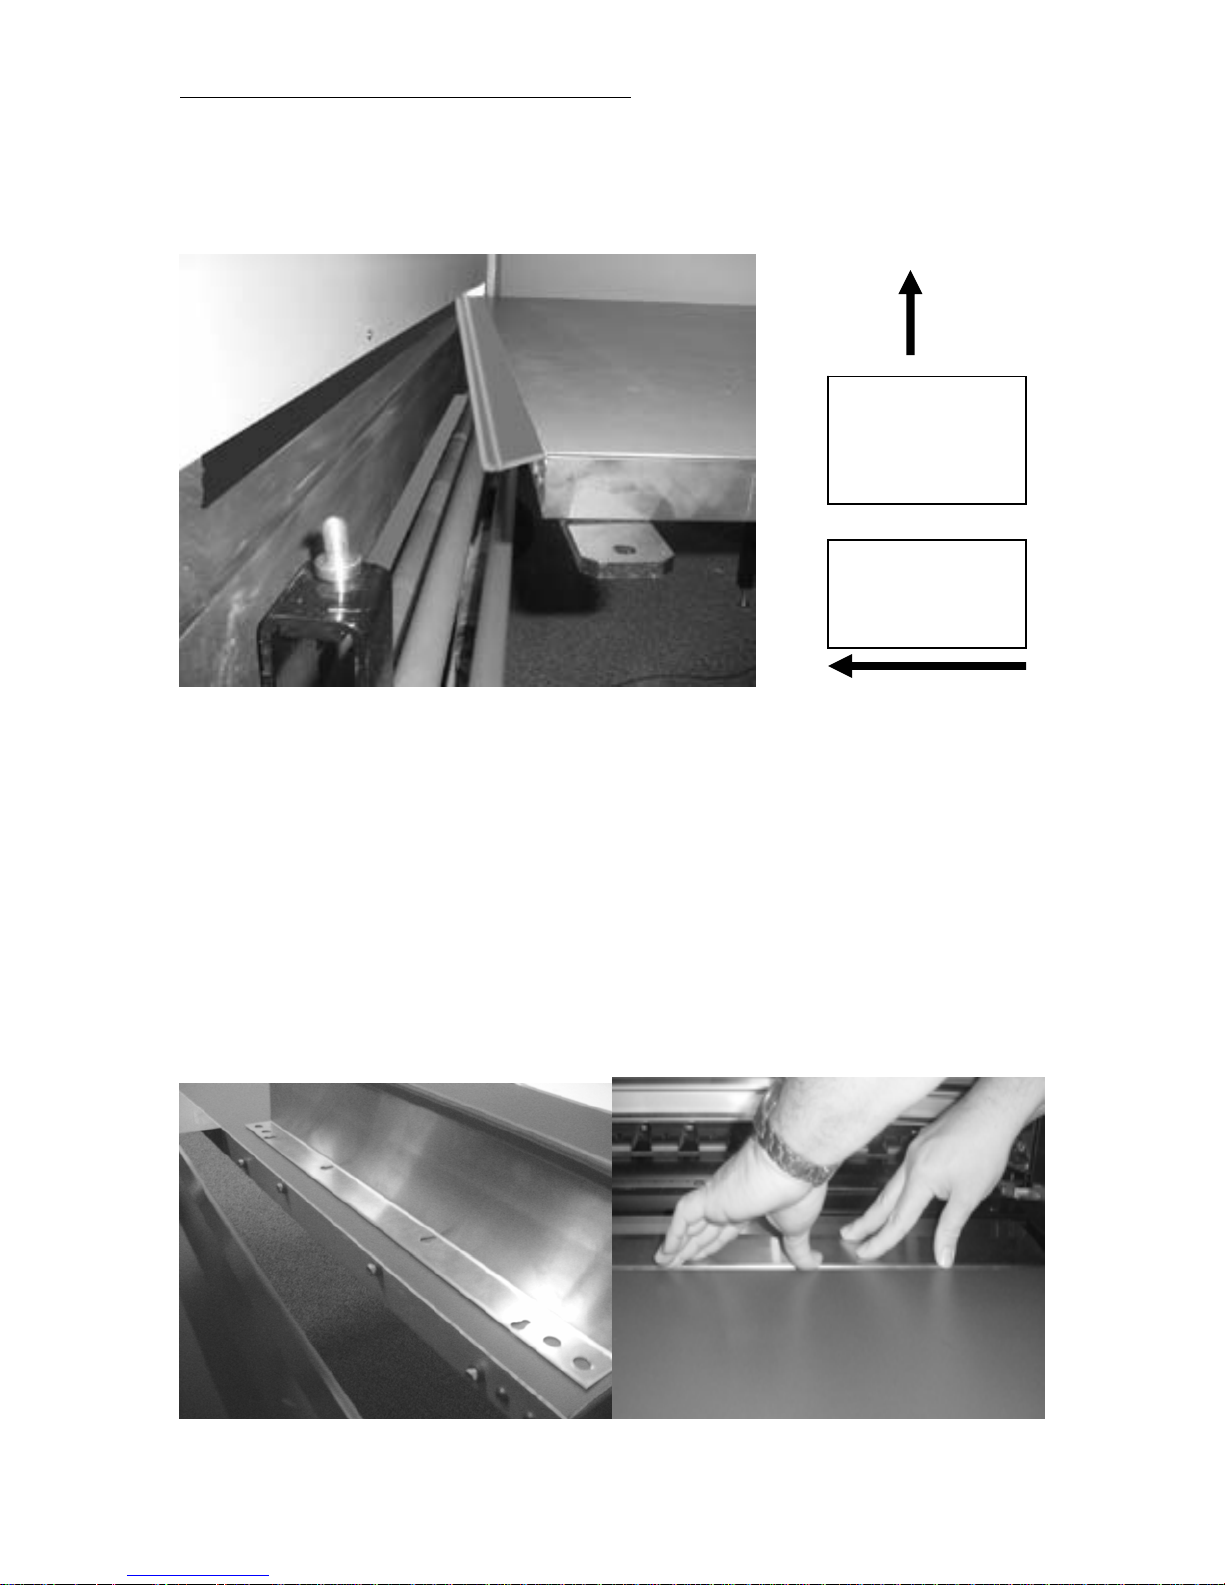
Mounting the rear table:
Have two people set the table upright and raise the ‘outside’ edge high enough for the side
mounting brackets to clear the alignment pins and the fins to slide in under the rear ‘static
tinsel strip’. Set the ‘holes’ on the pins and then lower the outside edge till the feet touch
the floor.
First: Raise far
end up to insert
fin end into back
of printer
Second: slide
table into back of
printer
Third: Once the table is inserted then lower the far end to set the alignment brackets onto
e pins.
th
ower the outside edge until the feet touch the floor.
L
Mounting the front table:
Three large stainless fins are to be attached to the ‘inside’ edge of the front table. This
attachm after mounting the table. Remove the white
protective film BEFORE attaching the fin.
Align the holes (keyhole slots) in the fins with the screws, slide them in place and press
down firmly. Set the alignment brackets onto the pins and lower the outside edge till the
feet touch
Adjust as required.
ent can be done either before or
the floor. Confirm that the surface of the three front fins are level with the table.
February 21, 2006 4/12 Toucan LT board printer setup
Page 5

Setup instructions for Toucan LT board printer
When tables are mounted on front and rear the tables are now ready for ‘leveling’ and final
oard position.
b
Leveling the tables:
Leveling the tables of the Toucan LT consists of level
rollers and then dropping the ‘inside’ edge of each table into their
This fin rag of the board as it passes across the table
al position is done to minimize d
through the printer.
Use the ‘leveler feet’ of the tables and the ‘alignment pins’ of the printer to adjust both
until the surface of the table is level with the grid roller. See diagram next page.
ing the tables to the height of the grid
‘operational position’.
February 21, 2006 5/12 Toucan LT board printer setup
Page 6

Setup instructions for Toucan LT board printer
Grid roller
Note: If a four foot long level is not available then use a piece of rigid material to span the
and the grid roller. distance between the table
Check each table side ‘level front to back’ and across the outside edge from right to left.
Final adjustment of the tables:
nce the tables are level to the grid roller, lower the ‘mounting pins’ approx. ¼ to ½ turn. O
This should create just enough space so that a board passing through the printer stops
touching the rear table about 4 inches prior to entering the back of the printer.
February 21, 2006 6/12 Toucan LT board printer setup
Page 7

Setup instructions for Toucan LT board printer
The picture to the left shows a
table, which is still
the me
dia slides on the rear table
too high where
to the end. There should be a
slight gap between the board and
the table starting at about 4 inches
(at the arrow).
The picture at right shows a front table which is
lowered just enough so that the printed board does
not touch the front table until about 4 inches onto
the table. This same gap should be on both the
front and the back tables.
When properly aligned, the only thing the board should touch while ‘inside’ the printer is
the grid and pressure rollers.
Remember to tighten the locking nut on the shaft of each leveling foot. All eight adjustable
feet should be touching the floor.
February 21, 2006 7/12 Toucan LT board printer setup
Page 8

Setup instructions for Toucan LT board printer
Operating the Toucan LT:
The board printer can be operated in either ‘Board’ or ‘R
that in order to switch back and forth the printer ‘must’ be powered OFF and then back ON
again.
1. Operating in ‘Roll’ mode the Toucan LT Board p
LT.
2. Operating in “Board” mode requires answering a couple of questions upon Power
ON:
To operate in ‘Board mode’, Power ON the printer and answer “Board” to the first question
on the display.
(Board or Roll)
onsider the next question with the word “IS” in front. “IS” the “Y-rail set?” Yes or No
C
NO is the answer then the printer will prompt with “Se
If t rail to highest height and insert
board”.
oll’ modes. It is important to note
rinter works just like a Toucan
Note: The Toucan LT is fitted with a ‘crank’ at the far left end.
Turning the crank Clockwise will ‘Raise’ the pressure rollers up to a maximum
height where media up to ½ inch can be loaded.
Turning the ‘crank’ Counter Clockwise will drop the “Y” rail down and as in the
case with switching back to ‘Roll’ mode it would be cranked down to the lowest
position.
With the crank turned so that the “Y-rail” is in the highest position load a ‘board’.
Note: Remove the crank when you are not adjusting the “Y-rail” as its weight or
someone touching it may cause the crank to turn.
Loading and centering a board:
The block of white polypropylene that has two pins inserted on one side is mounted
into holes in the center of the Platen so that a board can be pushed through and centered
from the back. It is imperative that this ‘block’ be removed once the board is loaded
straight and square in the printer.
February 21, 2006 8/12 Toucan LT board printer setup
Page 9

Setup instructions for Toucan LT board printer
Caution: Failure to remove the block before the next step may result in damage to
the printer.
Look in from the front to insure that no pinch rollers are less than ‘half’ on the edge
of the media. Try to align the ‘board’ edges so that a roller is either completely ON or OFF
the boa
rd edges.
Top arrow is the
correct position ,
1. a roller is
completely ON the
board.
2. edge of media
is between two
rollers.
Bottom arrow is
the incorrect
position where
only ½ or less of a
roller is on the
board.
Once the board is properly aligned AND the block is removed, confirm the question on the
panel by pressing ENTER.
The printer will prompt to set the head gap. “Down ‘Y’ rail and set head gap”.
The head will unlock and move out to the center of the printer. Gently pull the head
carriage down to the far left edge of the board.
Aligning the ‘head gap’:
1. se the ‘head gap’ gauge and a flashlight to align the ‘head gap’.
U
2. gap’ gauge
With the head carriage at the far left end of the board, set the ‘head
under the bumper under the left side of the head carriage behind the fan. View
from table height to make this adjustment.
Notice that the ‘gauge’ has three heights; lowest = ‘GO’, not so low = ‘No Go’ and th
top of the gauge. Turn the crank to lower the carriage bumper until it just touches the
lowest ‘No Go’ height.
e
February 21, 2006 9/12 Toucan LT board printer setup
Page 10

Setup instructions for Toucan LT board printer
Con
firm this step is correct by manually moving the carriage, side to side so that as it
touches the
second setting (No Go) the gauge moves.
Note: The bumper and board may not be completely parallel but lowering the
carriage to the d move the ‘gauge’ as mentioned above.
correct depth shoul
Picture at left shows a gap between the
bumper and the head gap gauge. Lower the
carriage until the bumper touches the gauge.
Picture at right shows no gap between
e bumper and the head gap gauge. If the
th
carriage can be moved back and forth
over the No Go setting, without moving
the head gap gauge, then the carriage must
come down a little more.
Once the contact of the bumper to the head gap gauge is correct the ‘g
mo .
ve when the bumper presses against the ‘NoGo’ height sliding the ‘gauge’ sideways
auge’ should
3. Final step is to adjust the crank additionally ½ turn DOWN.
Caution: REMOVE the flat white block from the PLATEN before confirming. The
head carriage will ‘hit’ the white block if it is not removed.
February 21, 2006 10/12 Toucan LT board printer
setup
Page 11

Setup instructions for Toucan LT board printer
Press ENTER to confirm the completion of this step. The ‘Board’ is now loaded
properly in the printer but further menu items must be selected for optimal printing.
Using
Aft ion menu
board media:
er ‘setting’ the head gap with the gauge, the printer will display an initializat
where the “User” can be changed or ‘Top detect’ can be switched to OFF as desired.
Note: Turning OFF ‘Top detect’ ma be helpful if profiles are being worked on or
y
something has been previously printed on the board and it is not desirable to pass a printed
image back under the pressure rollers.
1. With “Top detect” ON the printer will pull the board back to find the front edge.
2. With “Top detect” OFF the printer will only look for the right and left edges.
Think of the ‘board’ printer as being in perm
anent ‘sheet’ mode.
Tip: When you are doing profiles an
time, cancel the printing just as it finishes the
print but the printer will not see that the job
d don’t want to have to reload the board each
last of the print. Normally everything will
was ‘finished’ so it won’t force the reload of
the board.
Note: If the media slips when the p
forward during printing then it may be nece
rinter tries to scroll the board front to back or
ssary to add ¼ more turn DOWN on the crank.
Caution: Excessive ‘down’ force
motor circuit and may cause a ‘system failu
should be avoided as this may overdrive the PF
re’.
Setting up the “User” media settings:
Here are the recommended settings for the Users of board media:
Note: Though all four Users are visible in both Roll and Board modes it is
recommended that Users 1 to 4 be reserved for ‘Roll’ media where three heaters are
required.
Select either of Users 5 to 8 as they are reserved for Board mode where only the
Platen heater is required. Neither the ‘Pre’ nor ‘After’ heaters come in contact with the
media when in ‘Board’ mode so they are not an option while in Board mode.
1) Set the Head Height to Middle.
2) Set the Thickness to whatever media thickness was used during the Initial
installation alignment procedure. The backlit material that may have come with the
printer is approx 160 um (microns).
3) Change P Move to Machine. This will cause the printhead carriage to pass the full
width of the printer during printing but it will give the ink the best chance to settle
properly during printing.
4) Side Margin can be changed. The Toucan LT is capable of printing ‘full bleed’,
edge to edge, However, there is a caution: Once the User is changed to 0mm, DO
NOT perform a Check nozzle pattern. Doing so will cause a CPU error and f
the restart of the printer. Also the default of any User is 5mm
nother User it will default back to 5mm. Even the first User will be 5mm when it
a
is reselected.
and when you select
orce
February 21, 2006 11/12 Toucan LT board printer
setup
Page 12

Setup instructions for Toucan LT board printer
5)
Distance adjustment: It is still important so run the ‘Distance Adjustment’ for each
board type. The dealer should install the Mutoh America
TLTMOG pattern on the
harddrive during the initial installation. ftp://ftp.mutoh.com/Toucan%20LT/
Open the folder “TLTMOG for Distance adjust Test for LT” and download the file by
the same name.
Additional recommendations:
1) Send
2) Corona coating (roughening of the surface) will assist in minimizing banding or
images in Uni-directional to give the ink a chance to settle properly.
the reticulation effect.
February 21, 2006 12/12 Toucan LT board printer
setup
 Loading...