


Musical Fidelity Round Table User Manual
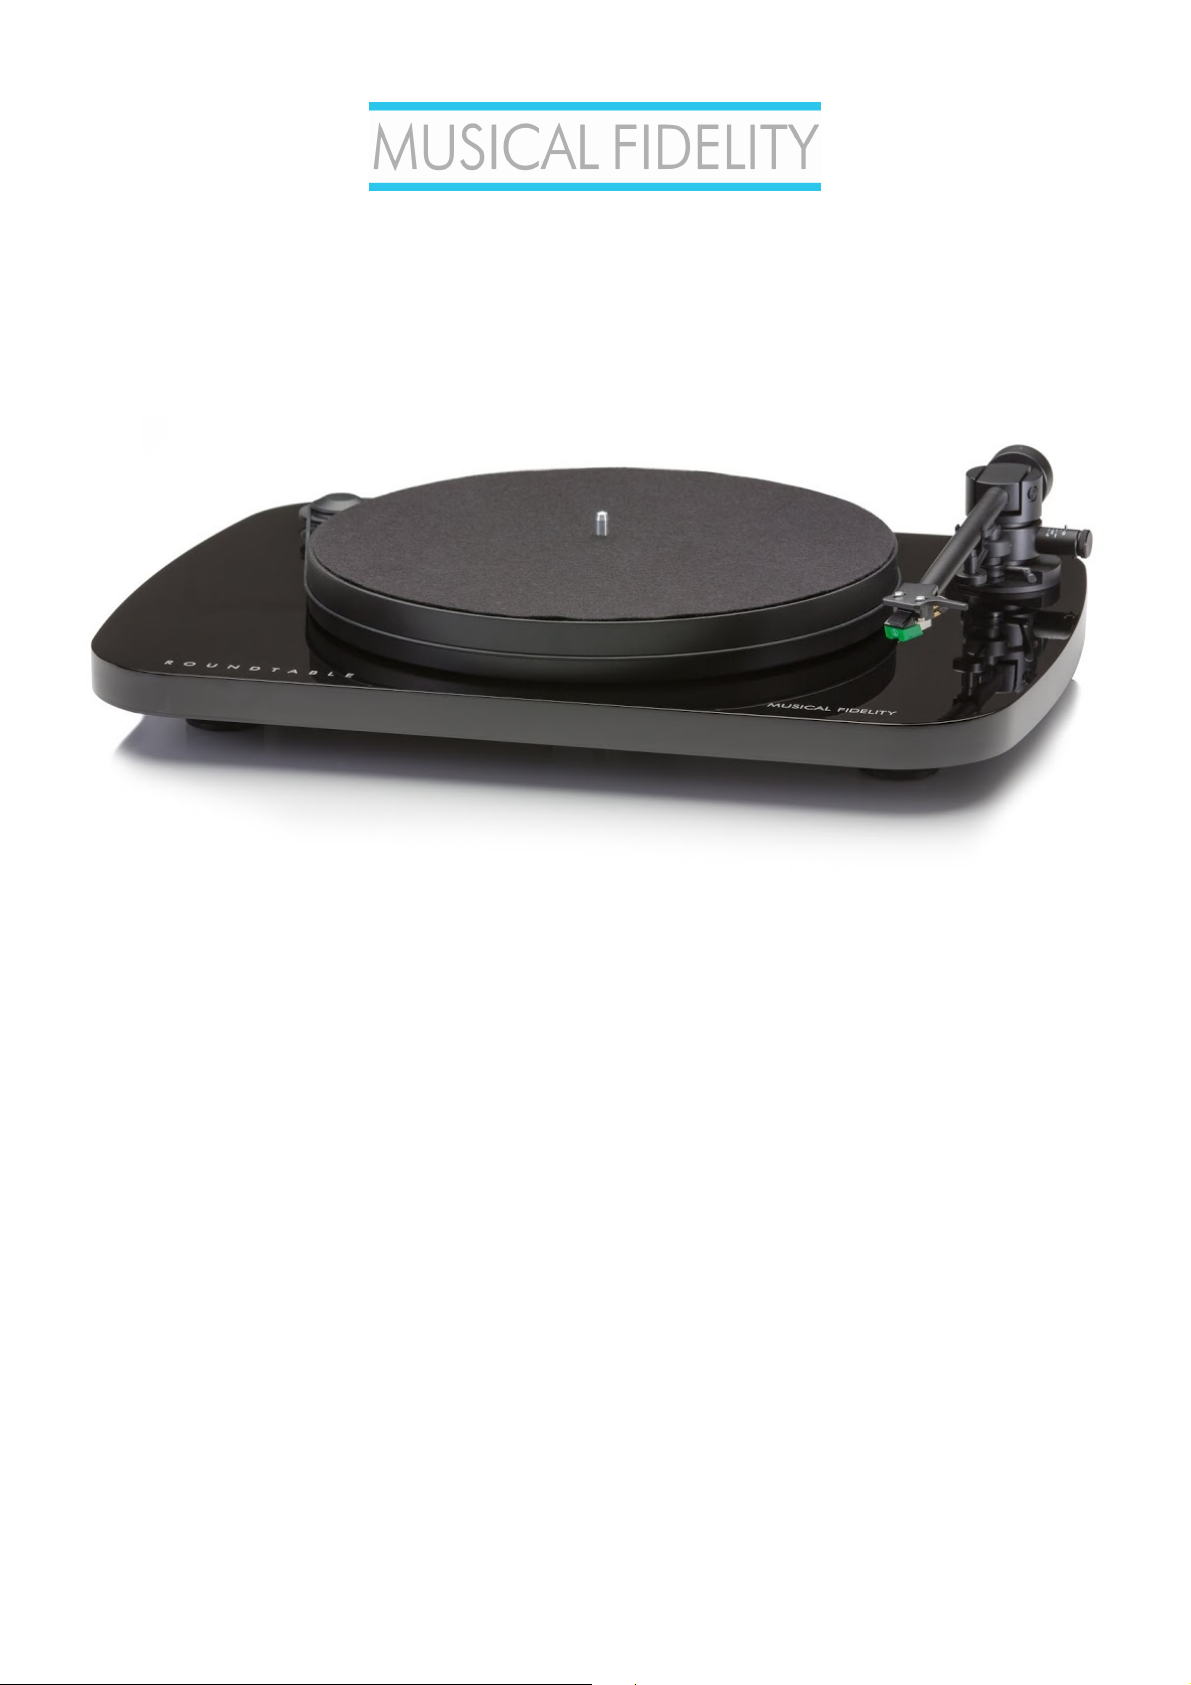
ROUNDTABLE
Record Player
The Round Table is a high quality but competitive turntable solution.
It features a high quality low resonance 9” pickup arm, and magnetic anti skating
compensation, and vertical bearings are ABEC7 ball bearings. These bearings are steel
tipped and housed in Zirconium with rubber damping, similar in principle to shock
protection used in high quality watches. Adjustable counter weight, vertical tracking
height and magnetic anti-skate mechanism allows different cartridges to be used, as
desired.
The Round Table plinth and platter are made from low resonance material and feet
have vibration-isolation properties. The mass of the round table has also been carefully
tuned so the centre is located at the bearing location.
The unit is supplied mostly assembled and an Audio Technica 95E cartridge has also
been factory fitted.
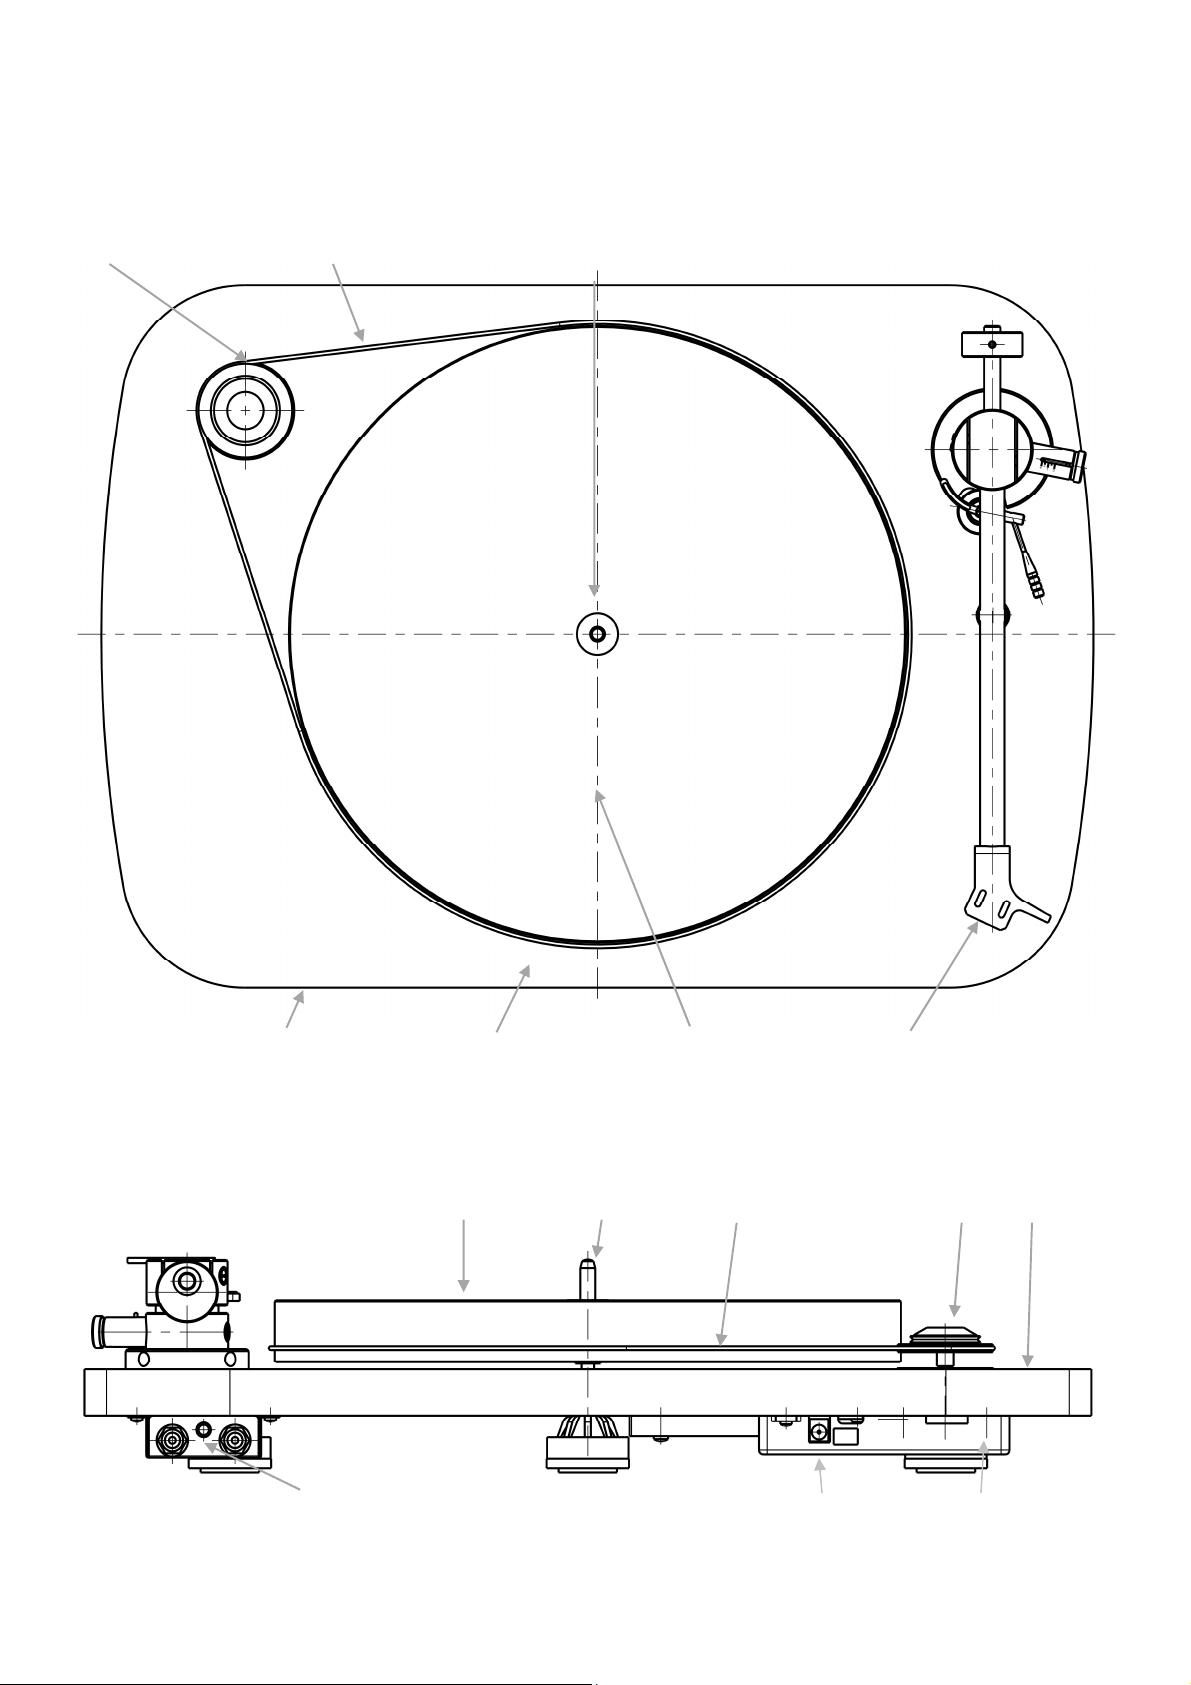
Round Table Record Player
TOP VIEW
PULLEY BELT SPINDLE
POWER ON/OFF PLINTH PLATTER CARTRIDGE
SWITCH HEADSHELL
REAR VIEW
TONEARM PLATTER SPINDLE BELT PULLEY PLINTH
ASSEMBLEY
L R EARTH FRONT POWER MOTOR
RCA OUTPUTS TERMINAL FOOT SOCKET ASSEMBLEY
- 2 -
Round Table record player
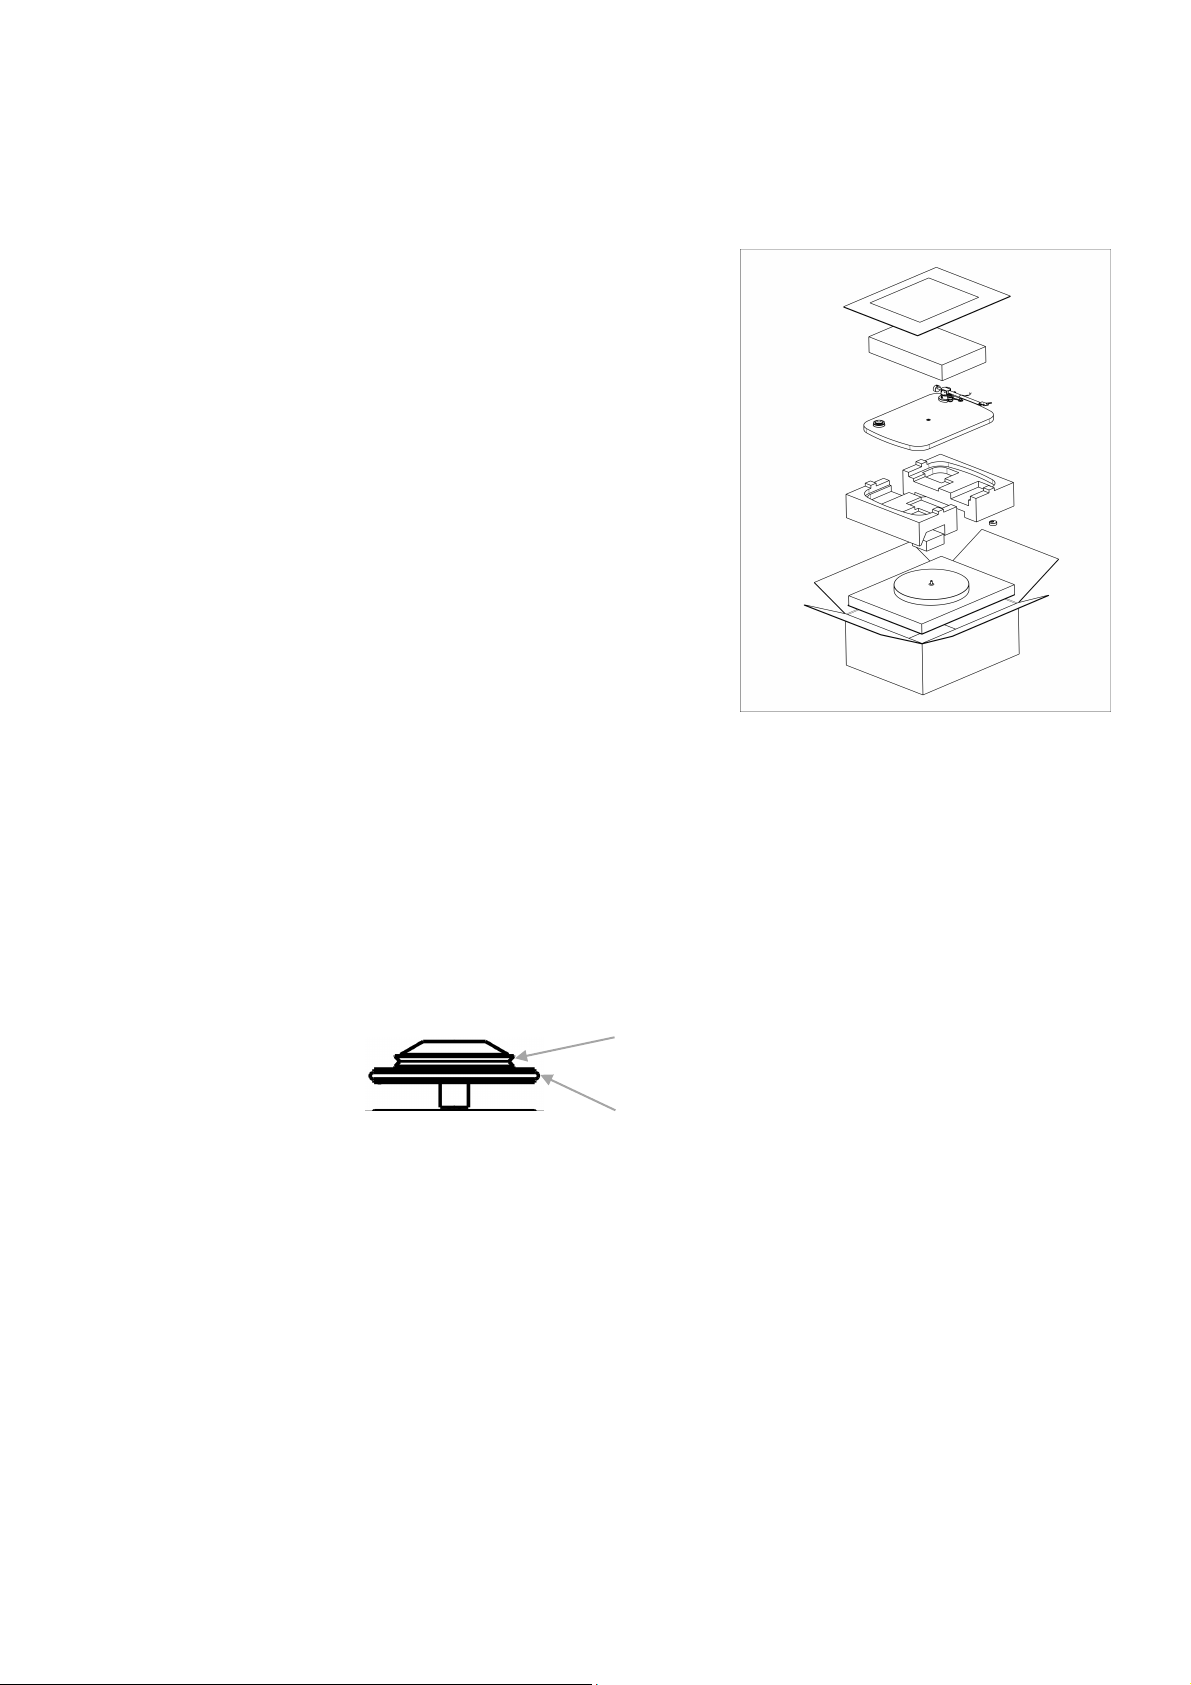
Unpacking And Setting Up
Place box right way up on floor and ensure designated
area where record player is to be used is clear, level and
stable. Try to route any nearby significant current carrying
(e.g. mains and speaker cables) as far away as possible.
Open up top of box carefully, taking care not to damage
contents inside. Lift out covering and top packaging block
to allow access to plinth/tonearm assembly. Carefully lift
this assembly out and place on the designated area.
Ensure unit is level and placed where it cannot be
accidently knocked. Check ON/OFF switch is in OFF
position.
Remove plinth support packaging to gain access to platter
below. Remove from packing and locate the ‘lower portion’
of the spindle (longer and square-cut). Carefully locate
lower spindle into brass ring in centre of plinth and lower
the platter until it is fully seated. Make sure platter spins
smoothly by pushing it gently in a clockwise direction.
Note tonearm and cartridge are factory pre-set, so do not make any adjustments to them, unless
fitting another cartridge!
Please keep all packing and the box in a safe place. These may be required for moving the unit
elsewhere, and will ensure the unit’s safe transport.
Fitting The Belt
White cotton gloves are provided to wear whilst handling the belt. The belt should be handled with
care and must not be over-stretched, nor be contaminated with grease or sweat. These will affect
performance and lifespan of the belt.
Initially set belt on pulley according to type of record normally played, see picture below.
PULLEY information
33rpm belt groove
45rpm belt groove
Position and hold the belt on the chosen pulley groove and pass belt around platter until it is fully
encompassing both. Spin the turntable slowly clockwise, several turns, to allow the belt to gain
optimum position on the platter. The belt should end up more or less parallel to the surface of the
plinth.
Belt position on pulley may be changed at any time to accommodate different record sizes and
speeds. Ensure platter is completely stationary before attempting to change belt position! A plastic
speed change tool is additionally provided to help change belt position without touching it.
Power Adaptor
A mains power adaptor is supplied with different pin attachments to suit various mains sockets.
Choose correct pin attachment for local mains and slide on to the contacts on the mains power
supply case, in the direction indicated by “LOCK” on the attachment. A small click should be
heard when the attachment locks into place. The power supply is now ready to use.
To change the socket type, press square button in centre of attachment and move attachment in
position indicated by “unlock” on the attachment. The pin attachment should then slide off the
power supply case. Plug power supply into wall and record player.
- 3 -