

Page 1
Digital Alarm Clock Radio
Instruction Manual
Model Number: GSDABCR2003
Please read these instructions carefully and keep for future reference
For Customer Services & Spare Parts please call 01204 664 084
Opening times: Monday – Friday 9am until 5pm
Page 2
Your radio
Setup
Everyday use
Advanced use
Troubleshooting
Maintenance
Technical specifcations
INDEX
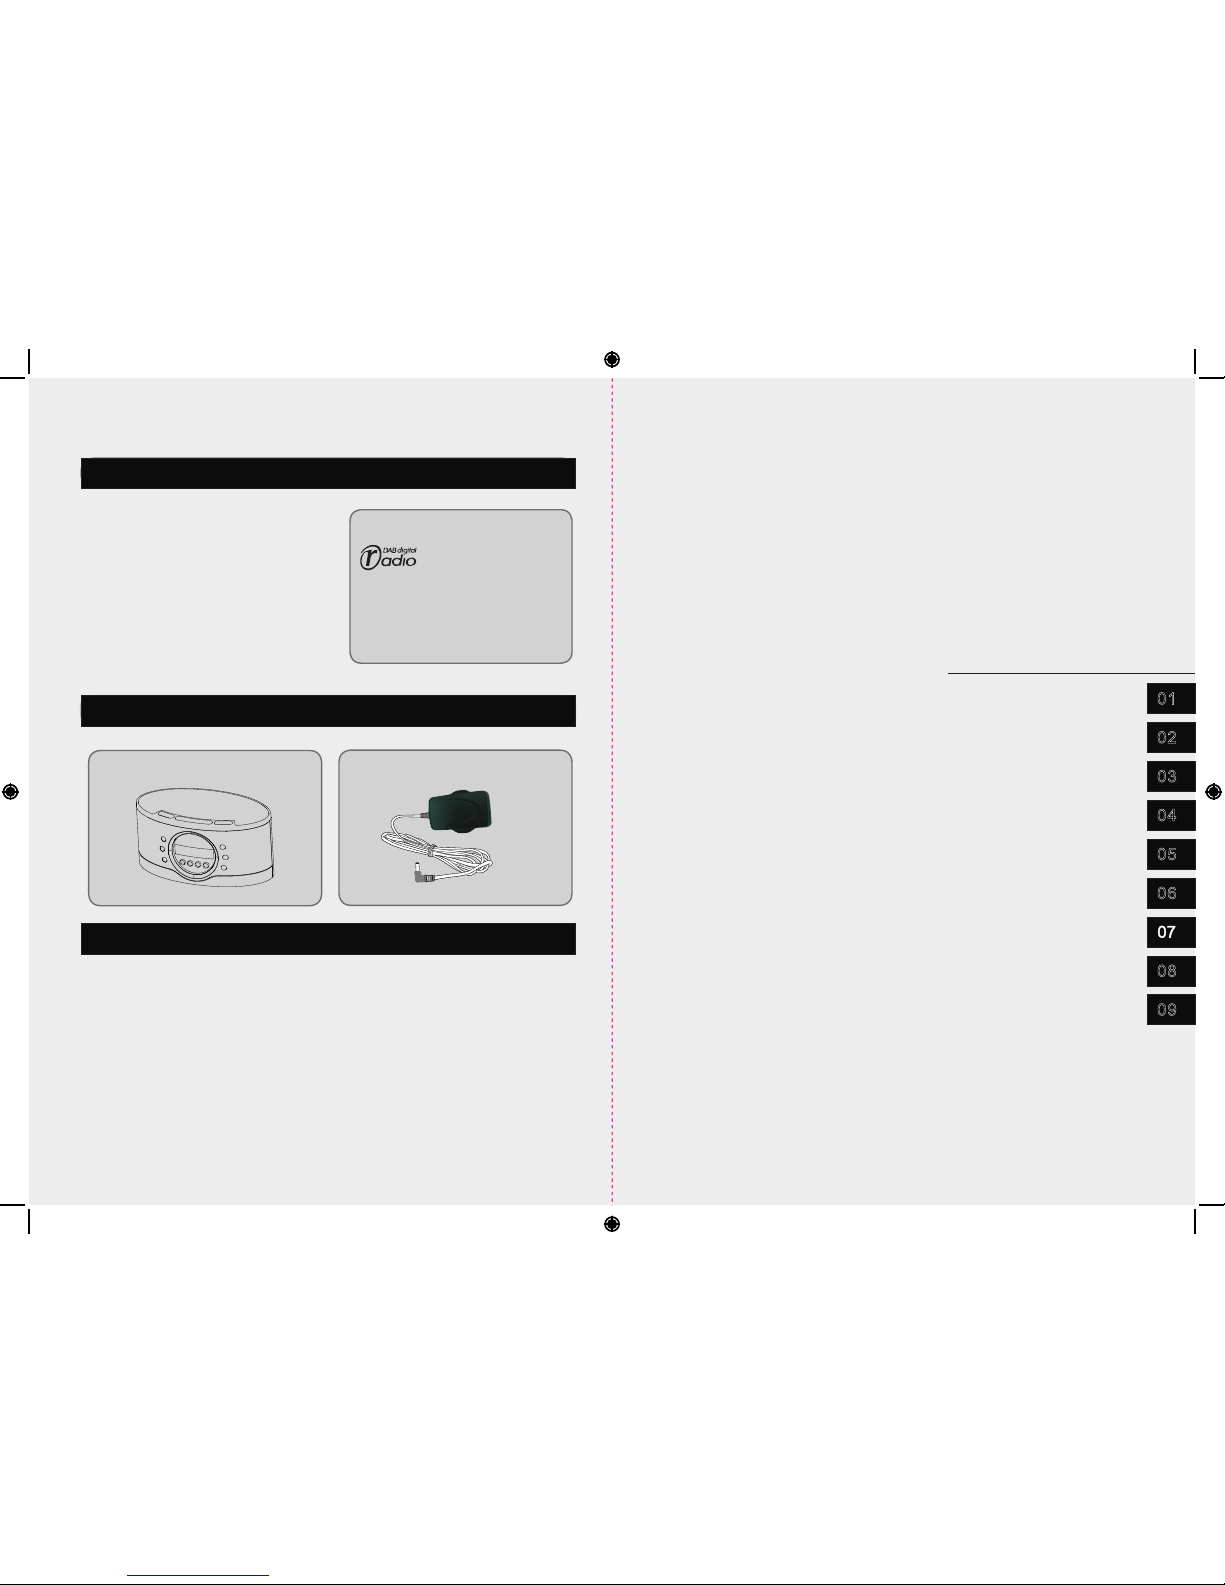
What does it mean?
Digital Audio Broadcasting (DAB) is a digital
radio technology for broadcasting radio
stations, common in the UK and Europe.
DAB provides for a higher quality of sound
and as also allows additional information
to be transmitted along side to the audio.
DC 5V power adapter cable
Congratulatio ns on purchasing this DAB/FM Clock
Radio. You can now listen to both DAB a nd FM
frequencies, gi ving you access to a wide range of
stations which, u sing DAB, will automatically tune . You
can use your radio as a n alarm clock.
Please read the war ning section on page 10 carefully
before using your r adio.
Guarantee
1
For Customer Services & Spare Parts please call 01204 664 084 Opening times: Monday – Friday 9am until 5pm
2
•Headphones
DAB/FM Clock Radio
W elcome
You should have
You may also need
02
03
05
04
08
01
For Customer Services & Spare Parts please call 01204 664 084 Opening times: Monday – Friday 9am until 5pm
09
Warnings
06
Page 3
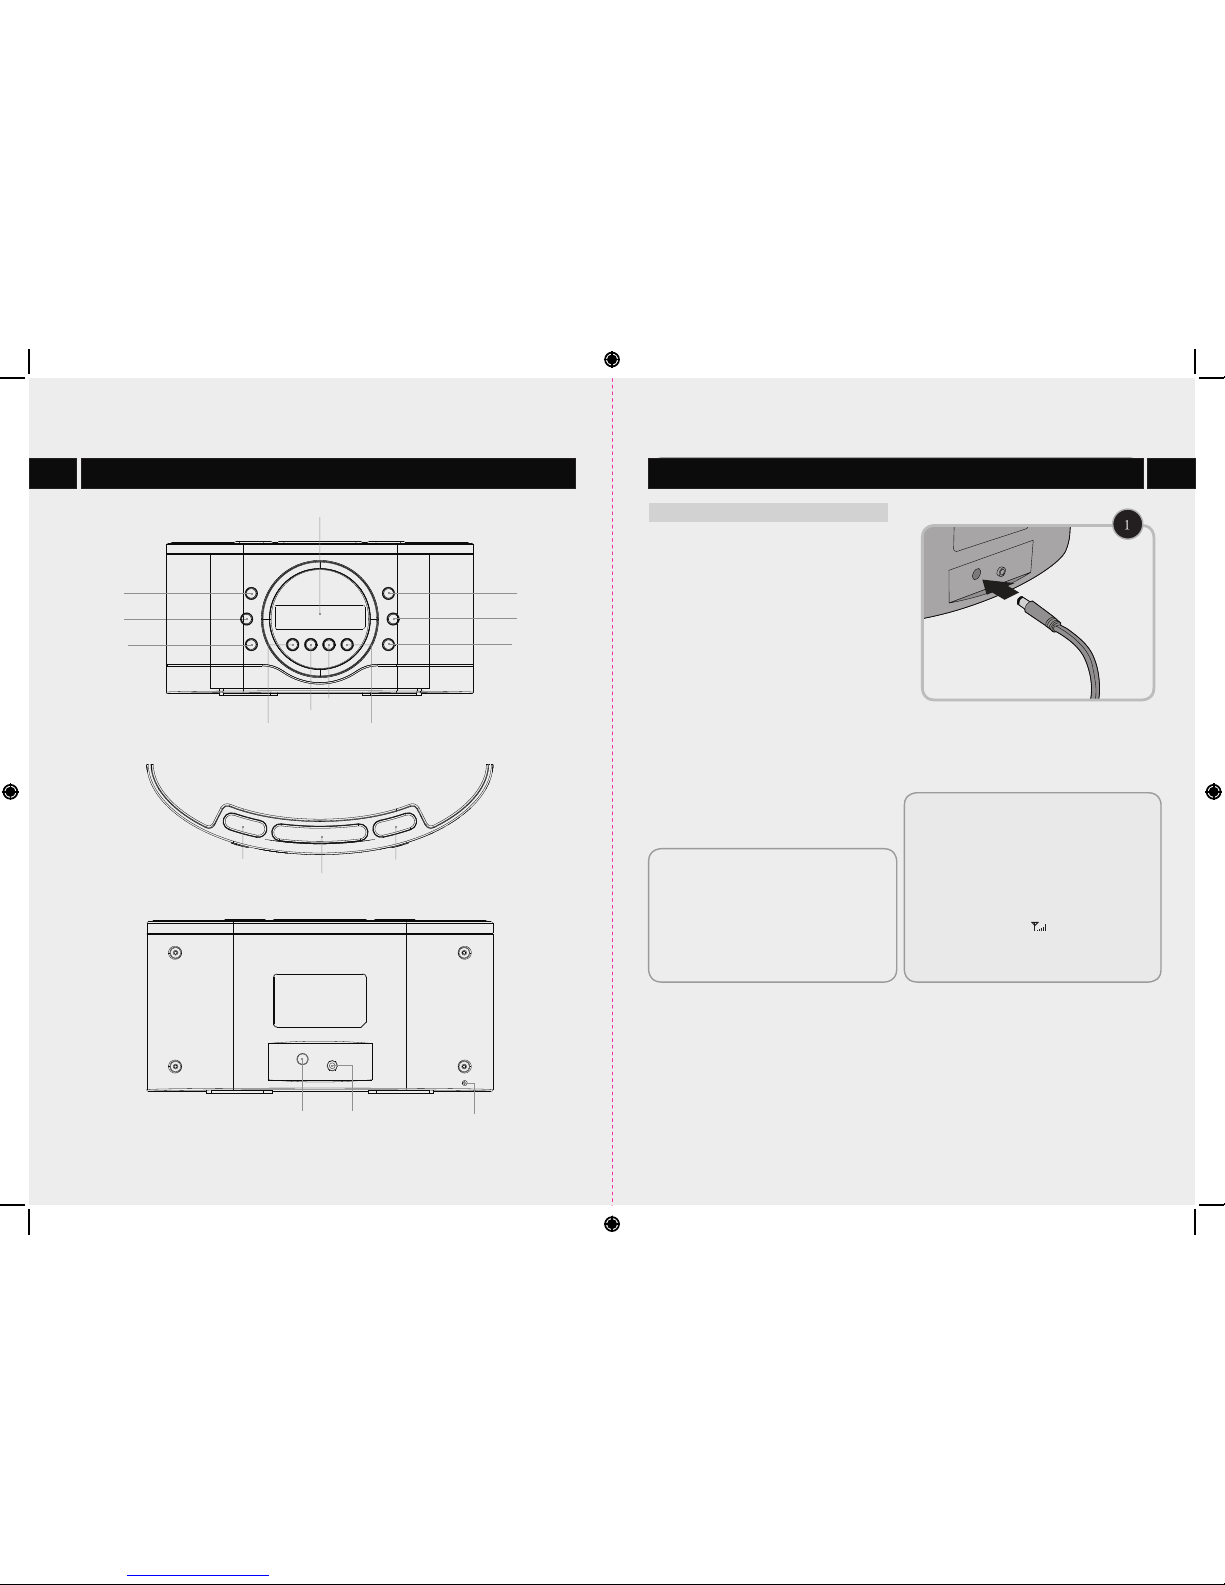
Preset button
DAB / FM button
Sleep button
1 Plu g the pow er cabl e into th e DC 5V soc ket on th e
bac k of your R adio.
2 Plu g the oth er end of t he cabl e into a st andar d
thr ee pin wa ll sock et and sw itch on t he powe r at
the w all.
3 Your ra dio wil l show a br ief wel come me ssage ,
and t hen wil l autom atica lly tun e into al l the
ava ilabl e DAB sta tions .
4 Onc e compl ete the d ispla y will ad vise yo u of the
num ber of DA B stati ons fou nd. If th ere are n o
DAB s tatio ns avai lable i n your ar ea the di splay
wil l show “S ervic e N/A”. Al l avail able st ation s will
be sa ved for f uture u se.
5 You can t oggle b etwee n DAB and F M by pres sing
the D AB/FM b utton .
4
3
Note:
Aerial pos it io ni ng
You may n eed to re posit ion the a erial f or opti mum
rec eptio n. The be st posi tion is d epend ent on th e
sta tion an d the str ength o f the sig nal.
The re is a sig nal bar i con in th e top rig ht corn er
of th e radio d ispla y. Use thi s as a refe rence t o find
the b est sig nal.
Note:
Scanning f or s ta ti on
If wi sh to fin d new DAB s tatio n or you mo ve the
rad io to a new l ocati on, you c an sear ch usin g the
SCA N butto n.
Your DAB/FM Clock Radio
01
Setup
02
Setting up your radio
Scan button
Volume up button
Display button
Volume down button
LCD
Select button
Previous button
Next button
ON / OFF button
Alarm button
Snooze / Mute button
Pow er Inpu t Headph one jac k
(DC 5 V)
Ant enna
For Customer Services & Spare Parts please call 01204 664 084 Opening times: Monday – Friday 9am until 5pm For Customer Services & Spare Parts please call 01204 664 084 Opening times: Monday – Friday 9am until 5pm
Page 4

Turn on your Radio us ing the ON / OFF button.
1 Switch to FM by press ing the DAB / FM button
repeatedly.
2 You can select the desired freque ncy manually by
pressing and hold ing button to move
up or down.
3 Fine tuning can be do ne by pressing
button once, and re peating until the desired
frequency is foun d.
4 Alternatively, if you pr ess the SCAN button it
will automatica lly seek out the next available
station. If you pre ss and hold the SCAN button
it will search in the o pposite direction.
or
or
1 You can store your favour ite stations to the
memory. This will enabl e you to access your
favourite st ations quick ly and easily.
2 Press the PRESET bu tton. The letter P followed by
a number from 01 to 10 an d the word Free will
appear on the displ ay, if the position is empty.
3 Press button repeated ly to select the
desired preset po sition (Preset 01 to Preset 10).
4 Press and hold the PR ESET button. The display will
show “P xx” and the numb er will flash.
5 Press the SELECT bu tton to confirm your selection,
“P xx SAVE” appears on the displa y.
You can save up to 10 stations in not o nly DAB mode
but also FM mode.
or
1 Once you have store d your preset station you can
recall it by pressi ng PRESET button. The letter P
followed by a numbe r from 01 to 10 and the word
Free will appear on t he display, if the preset has not
been allocated to a s tation.
1 Press and hold the AL ARM button on the top of your
radio. The screen wi ll show the words “AL ARM 1”.
You can Press the ALARM button ag ain to change
to “ALARM 2” .
2 After pressing the SELEC T button to confirm your
selection, the wo rds ON will flash on the display.
You can change it to OFF by pressin g
button. Press the S ELECT button to confirm your
selection.
3 The hour digits will f lash on the display. You can
press button to change it . Press the
SELECT button to co nfirm.
4 The minute digits wi ll flash and you can ch ange the
minute using the button . Press the
SELECT button to co nfirm.
5 Then enter to set the al arm volume (1 to 20) us ing
the b utton. Press the SELECT button
to confirm.
6 You can select either Buzz or Radio f or your alarm
sound, use the button to ma ke your
selection. Pres s the SELECT button to confirm.
7 Then the icon of will show on the disp lay if the
Alarm 1 is active.
9 You can set the Alarm 2 the same way.
or
or
or
or
or
Note:
VOL+ and VOL- buttons.
Volume
You can select the desired volume using the
You can press the SNOOZE/MUTE b utton to turn
off the sound and pres s it again to return to t he
previous volume l evel.
When you turn on y our radio and sw itch to DAB mode
it will search a ll the availab le DAB station s
automatica lly.
If you wish to ret une DAB statio n or search for new
stations pre ss the SCAN butt on.
Note:
1 Press the SCAN b utton to activ ate the quick sca n,
the display wi ll show “Q Scan” .
2 Press and hold t he SCAN button t o activate the fu ll
scan, the disp lay will show “F S can”.
You can explore the DAB sta tions by pressing
button as foll ows:
1 In the DAB mode, p ress and hold SE LECT button
for over 2 secon ds to access Auto On/O ff mode.
Press and hold S ELECT button r epeatedly to
toggle betwe en the modes of Auto On an d Auto
Off.
2 In Auto On mode, chang e the station by p ressing
buttons, it wi ll automatic ally tune.
3 If in Auto Off mode, you mus t press SELECT
button to conf irm after pres sing
button to sele ct the station .
or
or
or
6
5
As well as the auto tun e function, you can manually
tune your radio. Thi s can help you when som e stations
were missed while a uto tuning.
1 Press and hold the DI SPLAY button
the display will sh ow “Manual”.
Press the SELECT bu tton to enter Manual tune
mode.
2 Press the button to cycle t hrough the
DAB channel.
3 After your desired chann el number is selected, press
SELECT button to en ter the current multiplex. The
name of the multipl ex will be displayed and the first
station in the mult iplex will be played automaticall y.
4 Press the button to see wha t stations
are present in the fo und multiplex. Once you have
reached the last st ation in the found multiplex, it will
revert back to the fi rst station.
5 If you wish to exit the M anual tuning mode, just press
the SELECT button .
or
or
Recalling a stored station
Storing your favourite stations
Setting the alarm
2 Press button to select yo ur desired
preset station nu mber.
3 Press SELECT butt on to confirm the selection and
the display will sh ow “Pxx LOAD”.
or
03
Everyday use
Using the FM radio Using the DAB radio
Manual DAB Tuning
For Customer Services & Spare Parts please call 01204 664 084 Opening times: Monday – Friday 9am until 5pm For Customer Services & Spare Parts please call 01204 664 084 Opening times: Monday – Friday 9am until 5pm
Page 5

Maintenance
05
When the alarm sounds
When the alarm soun ds, the alarm icon will flash on
the display. You can have two options.
1 Press the ALARM or ON / O FF button to turn off the
alarm if the Alarm1 i s active.
2 If the Alarm 2 is activ e you can press ALARM2 or
ON / OFF button to turn o ff the alarm.
3 Press the SNOOZE/ MUTE button to stop the alarm
temporarily, it will soun d again after about 9
minutes. Then you wi ll see flashing on the
screen.
4 Use the VOL+ or VOL- bu ttons to change the
volume of the radio o r buzzer.
When you turn on your r adio it w ill be au tomatically
synchronized to the local time by search ing the D AB
signal. It will continue to search the time infor mation
until it has m anaged to be synchronized. If after 3
minutes the clock has not automatically set itself try
repositioning the radi o to get better re ception.
If the r adio canno t fin d a D AB fr equen cy to set
the cloc k. You can u se th e FM mode (some FM
sta tions also tran smit time and d ate
inf ormat ion).
1 S witch to F M mod e by press ing t he DA B / F M
but ton.
2 S earch for a sta tion using eit her
but ton or the SCAN butt on.
or
The SLEE P fun ction allo ws yo u to progr am ra dio
to switc h its elf o ff af ter a set perio d of 90, 6 0, 30
or 10 mi nutes .
You c an sh ift i n 5 o ption s of S OFF, S 90 MIN, S
60 MIN, S 30 MIN a nd S 10 MI N by press ing
SLE EP bu tton repea tedly. The s elect ion y ou
mak e wil l be confi rmed after 3 se conds
aut omati cally or p ressi ng th e SEL ECT b utton .
The n you can see “ S CON FRM” appea ring on th e
dis play. When Sleep func tion is ac tive, you will
see SLEE P app earin g on the s creen .
Checking the alarm
You can k now whe ther Ala rm1 or Ala rm2 is ac tive
via t he ico n on the le ft top of t he disp lay.
If yo u want to v iew det ailed a larm in forma tion, y ou
nee d to repe at the st eps of se ttine t he alar m.
or
3 P ress t he DI SPLAY b utton rep eated ly to
exp lore t he Tim e or Dat e i nfo rmati on.
4 I f t he F M s tatio n is tra nsmit ting t ime it wil l
set its elf a utoma tical ly.
Ple ase b e awa re th at no t all FM s tatio ns tr ansmi t
the time . If the t ime d oes n ot se t aft er 3 minut es
pre ss th e SCA N but ton t o fin d ano ther stati on.
Rep eat u ntil the t ime i s set .
8
7
Setting the time
Setting the sleep time
You can Reset your radio by the fol lowing steps.
DAB mode
1 Press and hold the button until the sc reen
changes.
2 Press button again to see “ System Reset ”
appearing on the sc reen.
3 Press the SELECT bu tton to confirm.
4 After “System Reset.”a ppearing on the display, the
main unit will ente r the quick scan mode
automatically. The displa y will show “Q Scan”.
FM mode
1 Press and hold the button until “Sys tem
Reset” appears on t he screen.
2 Press the SELECT bu tton to confirm the system
reset.
3 After “System Reset.” ap pearing on the display, the
main unit will retu rn to frequency 87.5MHz
automatically.
DISPLAY
DISPLAY
DISPLAY
When using the radi o in either DAB or FM mode you
can view what appea rs on the display by pressing the
DISPLAY button. Press the DISPL AY butt on
repeatedly to scr oll through the options.
Changing the display
Resetting your radio
Advanced use
04
Note:
Sound warnin g
Ple ase mak e sure th at the vo lume le vel is se t to
1 bef ore you p lug in th e headp hones a nd then
adj ust to th e desir ed leve l to prev ent dam aging
you r heari ng.
For FM they are:
For DAB they are:
Sta tion na me
Tim e
Dat e
Sle ep stat us
Ala rm 1 info rmati on
Ala rm 2 info rmati on
Aud io type
Rad io text
Pro gram ty pe
Sta tion na me
Ens emble /mult iplex
Tim e
Dat e
Pro gram ty pe
Aud io type
DLS
Sle ep stat us
Ala rm 1 info rmati on
Ala rm 2 info rmati on
Using headphones
You c an li sten to yo ur ra dio u sing headp hones
wit h a 3 .5mm jack. Plug the headp hones into the
s ocket on t he si de of your radi o.
1
Do not use harsh or abrasive clea ning agents or
solvents.
Polish the screen with soft clo th and if necessary a
recommended gla ss cleaner.
Do not paint your product.
Do not attempt to disassemble y our product.
Do not drop, throw or try to bend you r product.
Do not expose your product to ope n fames or lit
tobacco product s.
For Customer Services & Spare Parts please call 01204 664 084 Opening times: Monday – Friday 9am until 5pm For Customer Services & Spare Parts please call 01204 664 084 Opening times: Monday – Friday 9am until 5pm
Page 6

Problem
What to do
No power
Check that the power is switched on at the wall.
Check if the power cord is properly connected to the power outlet.
No sound
Check that the volume control is NOT at minimum setting.
Check that it is NOT set to mute.
Radio channel
reception is poor
Adjust the antenna location and position to obtain the best signal reception.
Tune to the correct radio channel frequency.
Function disturbed
If none of the above solutions work, try switching off and unplugging your Radio,
leaving it for two minutes and then switching it again.on
10
9
06
Troubleshooting
08
This product was de signed and manufactured to meet
strict quality an d safety standards.
There are, howeve r, some operation prec autions that
you should be aware o f:
CAUTION
RISK OF ELECTRIC SHOCK
DO NOT OPEN
CAUTION: TO REDUCE THE RISK OF ELECTRIC SHOCK, DO NOT
REMOVE COVER (OR BACK). NO USER SERVICEABLE PARTS INSIDE.
REFER SERVICING TO QUALIFIED SERVICE PERSONNEL.
Read all warnings.
Follow all instructions.
Check the mains voltage state d on the mains
adapter rating pl ate corresponds to the local
electricity sup ply, if it doesn’t, return t he product to
the store where you b ought it.
Unwind and straighten the ada pter cord before
use.
Place the product on a firm and lev er surface.
Avoid placing the ap paratus in places s ubject to
constant vibera tion.
Remove the adapter from the out let, when the
product is unused f or a long period of time and
during thunders torms.
Clean only with a dry c loth, unplug the outlet
before cleaning . Do not use aggressive cleaners
as they will damage t he surface.
Only use attachme nts or accessories specified by
the manufacture .
Do not locate the app liance near a heat source or
in direct sun light . Do not place a naked flame
source on or near thi s product.
Do not attempt to ope n the cabinet or remove any
covers. If the powe r adapter or its lead becomes
damaged, it must be r eplaced with an adapter of
the same type and rat ing.
Repairs must only b e performed by the
manufacture or it s service agent or similarly
qualified perso n.
Do not immerse the ma in unit, the power adapter
or any accessorie s in water or other liquid.
Make sure not to obst ruct the ventilation openings,
a minimum of 10cm sho uld be kept around the
apparatus for ven tilation.
Do not install this e quipment in a confined or
building-in spa ce such as a book case or similar
unit, and remain a we ll ventilation conditions at
open site. The venti lation should not b e impeded
by covering the ven tilation openings with items
such as newspaper, table -cloth, curtains, etc.
Use apparatus in mo derate climate only. Avoid
operating the uni t in humid or moist places.
To reduce the risk of fire or electri c shock, do not
expose the appara tus to rain or moisture. The
apparatus shoul d not be exposed to dripping or
splashing and tha t objects filled with liquids, such
as vases, shall not b e placed on the apparatus.
The direct plug-i n adapter is used as disconnect
device, the disco nnect device remain readily
operable.
Please refer the in formation on exterior bottom
enclosure for ele ctric and safety information befo re
installing or ope rating the apparatus.
09
Warnings
07
Technical specifcations
Adapter Input
100-240V 50/60Hz 0.18A~
Adapter Output
5V 1.2A
Frequency response DAB band III and FM PLL radio
Band III 174.928 MHz to 239.200 MHZ
FM 87.5-108 MHz
Speaker Output
2.5W RMS
Speakers
3 inches full range speaker x 1 piece
LCD
Earphone
3.5mm stereo earphone jack
Power Consumption
6 W
Power Consumption (Standby)
0.8W
LCD display wi th white back li ght
This product is gua ranteed for 12 months from the
date of original pu rchase.
If any defect arise s due to faulty materials or
workmanship, th e unit will either be repaired, repla ced
or refunded at our di scretion.
The following conditions apply:
The produ ct must be returned to the retailer wit h
original proof of p urchase.
The produ ct must be installed and used in
accordance with t he instructions contained in this
user instructio n guide.
Guarantee
It must be us ed only for domestic purposes.
It does not c over wear and tear, damage, misuse
or consumable par ts.
The suppl ier has no responsibility for incid ental or
consequential l oss or damage.
Valid in the UK & Eire on ly.
Valid only if purch ased from the SDHS Gr oup.
Postal Address: Shop Dir ect Group
L70 1AB
Box MPRC8
For Customer Services & Spare Parts please call 01204 664 084 Opening times: Monday – Friday 9am until 5pm For Customer Services & Spare Parts please call 01204 664 084 Opening times: Monday – Friday 9am until 5pm
Page 7

For Customer Services & Spare Parts
please call 01204 664 084
Opening times: Monday – Friday
9am until 5pm
Revision 1
T
his symbol is known as the 'Crossed-out
wheeli e bin S
ymbol'. When this symbol is
mar ked on a product/batteries, it means that the
product/batteries should not be
disposed
of with
your general household waste. Only discard electrical/electronic/battery items in
separate collection schemes, whic h cater for the recovery and recycling of mat
erials
contained within. Your co-operation is vital to
make sure the
succ ess of these schemes
and foR the protection of the environment. For your nearest
disposal f
acility,
visit
www.recycle-more.co.uk or ask in store for det
ails.
We reserve the
right
due to
possible changes to
design to alt
er the instruction manual
without prior notice
.
 Loading...