

Page 1
This indicates a valid Ethernet connection to the network. Also verify the RF
Link LED on the Slave SEM2411D is on. This indicates that the Slave
SEM2411D has linked to the Master SEM2411D through the wireless
connection. (The RF Link LED is on for the Master SEM2411D when any one
Slave SEM2411D is linked.) If a DHCP or BOOTP server is being used, the
Slave SEM2411D will be assigned an IP address immediately after linking with
the Master. If a DHCP or BOOTP server is not available, the IP address of the
Slave SEM2411D must be set manually. (Refer to Step 1b.) Once the Slave
SEM2411D is linked with the Master SEM2411D, from a PC on the network,
“ping” the Master SEM2411D. (Use the Ping program under Windows and the
IP address assigned to the Master SEM2411D.)
Note: If a router is between the PC and the SEM2411D, check with your
network administrator to make sure the router will pass the pings through.
Next, from the same PC, ping the Slave SEM2411D by using the Slave
SEM2411D IP address instead of the Master IP address. This ping operation will
exercise the wireless link between the Master and Slave SEM2411Ds.
If the Slave SEM2411D is connected to an Ethernet device that supports pings,
ping that device by using its IP address in place of the Slave SEM2411D's IP
address. These ping tests validate the entire link from the central wired network
to the end Ethernet device.
Additional settings are available for issues such as;
• Avoiding interference with 802.11 Wireless Ethernet LANs
• Co-locating multiple radio networks
• Conforming to European power requirements
Please refer to the User's Manual on the CD to use the advanced configuration
settings and RF tools for additional SEM2411D settings or if any problems are
encountered.
SEM2411D Quick Start Guide
(This guide is intended for users familiar with Ethernet networks. Users unfamiliar with Ethernet
networks should consult the Users Manual located on the SEM2410D Install CD.)
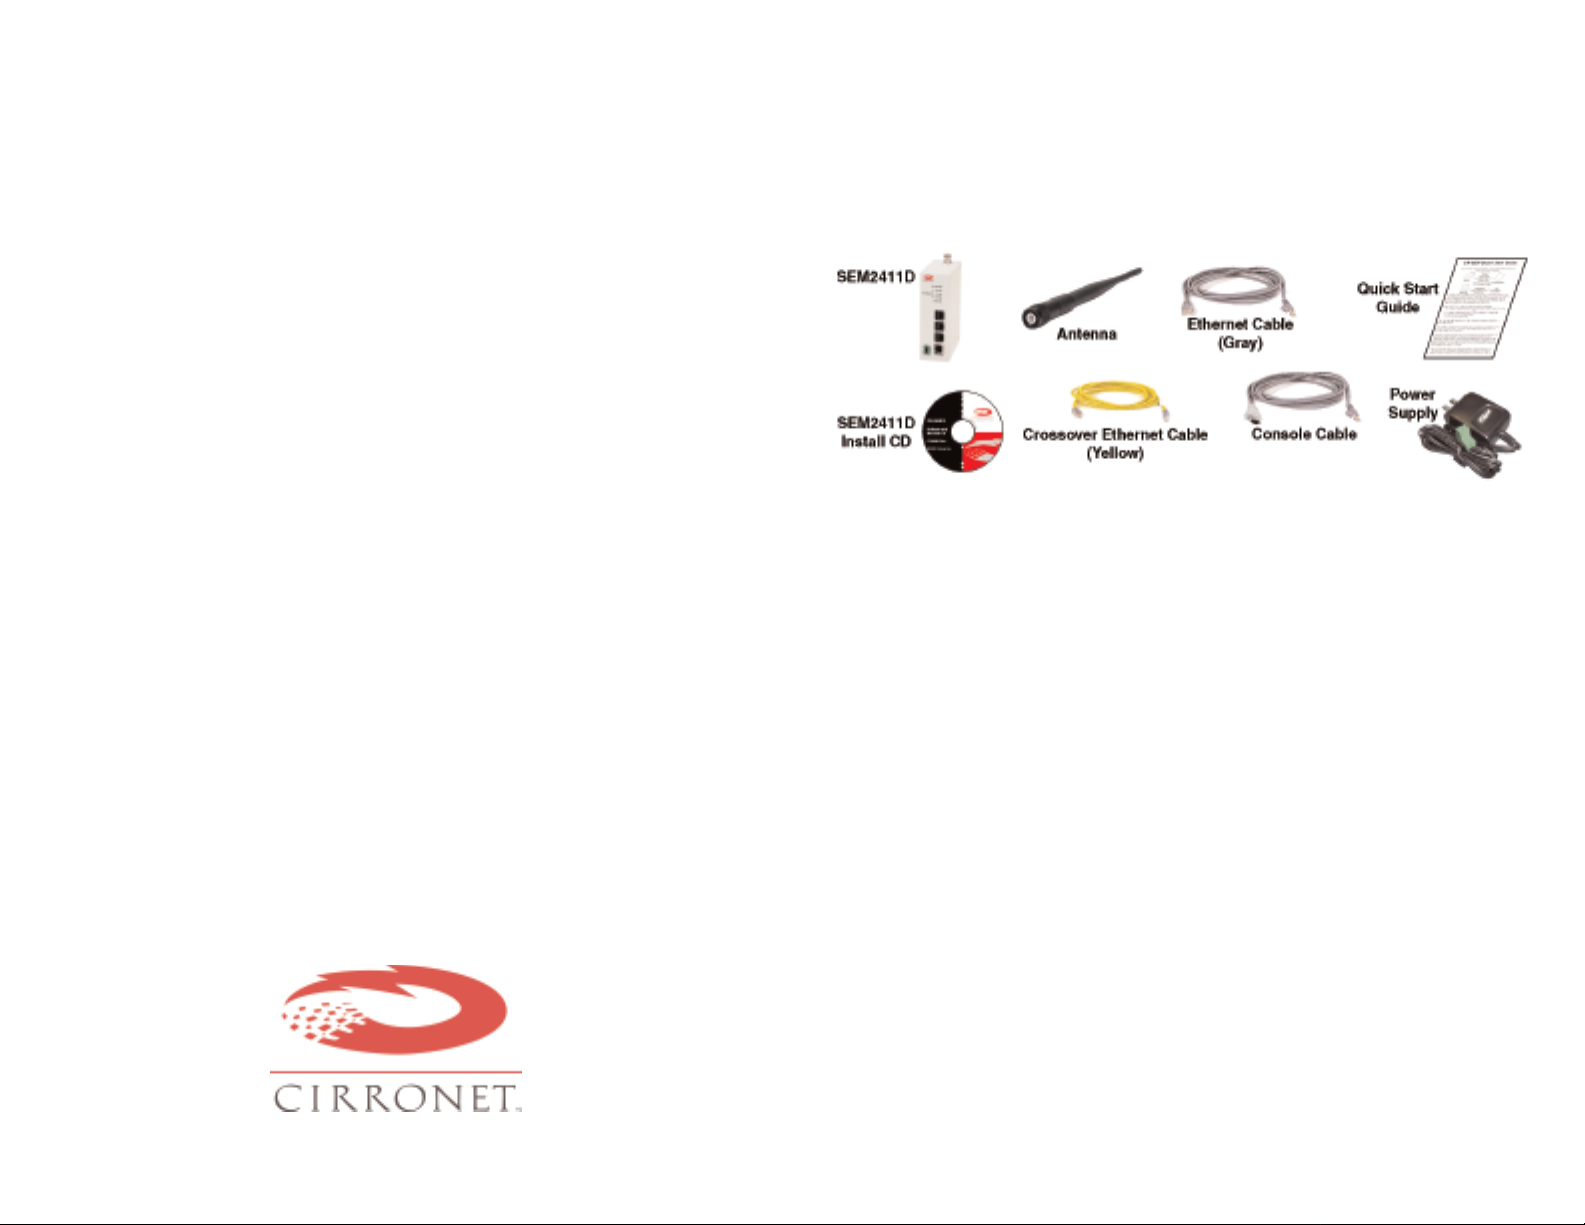
The SEM2411D comes with the items shown below.
Identify the various components before beginning.
Connect power by plugging one end of the wall-mount power supply into the
SEM2411D and the other end into a wall outlet. A green LED on the SEM2411D
will turn on indicating power is present. The SEM2411D is set up to use the
Ethernet Cable to connect to a PC ( ACrossover Ethernet Cable is provided to
connect the SEM2411D to a hub or router). Plug one end of the Ethernet Cable
into the SEM2411D and the other end into the PC or network using the
appropriate cable.
A pair of SEM2411Ds is setup by performing the following steps:
1a - Assign IP addresses to the SEM2411Ds using a DHCP server... OR
1b - Assign IP addresses to the SEM2411Ds using the IP Hunter Utility
which is included on the SEM2411D Install CD. (See Page 2)
2 - Set one SEM2411D to be the Master using the HTML Browser Session.
(See Page 3)
3 - Run a communications test. (See Page 3)
5375 Oakbrook Parkway, Norcross, Georgia 30093
Tel. +1 678 684 2000 Fax. +1 678 684 2001
www.cirronet.com
Part # M-2411-0019 Rev -
1a - Assign IP addresses to the SEM2411Ds using a DHCP or
BOOTP server
The SEM2411D is shipped from the factory set up to receive its IP address from
a DHCP or BOOTP server. If a server is not available, please go to step 1b to
manually assign the IP addresses. Verify the Ethernet Link LED is green. After a
few seconds, the DHCP or BOOTP server can be queried to determine the IP
address assigned. The MAC address of the SEM2411D is on the side of the unit
and the default host name is “Cirronet_SEM”.
Note: SEM2411Ds are shipped from the factory with the IP address set to
0.0.0.0.
Page 2
1b - Assign IP addresses to the SEM2411Ds using IP Hunter
When connecting the SEM2411D to a network without a DHCP or BOOTP
server, or in situations where they will not be used to set the IP addresses, the
SEM2411D CD has a device detection and IP setting utility named IP Hunter.
This utility will detect all Cirronet Ethernet devices on the local network, even
those with no IP address. For those units without an IP address, IP Hunter can
set the IP address and then open a browser session with that device to allow for
further configuration. The IP Hunter will display devices that already have IP
addresses and will open browser sessions with those units, but will not change
the IP address already set.
If the PC is not connected to the SEM2411D or an active network, the Ethernet
adapter will not be active. Depending on the PC, it can take up to 30 seconds
once the PC is connected to an active network or SEM2411D for the PCs network card to become active. After verifying that the computer’s Ethernet Link
LED is on, open IP Hunter by double-clicking on the file “IPHunter.exe” on the
SEM2411D CD. Click on the Search button to begin the search for Cirronet
devices; only Cirronet Ethernet devices will be displayed. Ethernet devices from
other manufacturers will not be displayed, even if they have no IP address.
Any Cirronet devices found will be displayed on the screen along with the IP
address (if any), the netmask, the MAC address and the DHCP host name.
Double-clicking on a device with an IP address of 0.0.0.0 will bring up the IP
change dialog box. Enter the desired IP address and the default netmask will
automatically be entered. Anew Host Name may be entered if desired;
however, the MAC Address cannot be changed.
Note: IPHunter will allow any IP address to be set. If an IP adress is set that is
not on the same subnet as the PC running IP Hunter, communications with that
SEM2411D will no longer be possible from that PC.
Click OK and the IP address will be entered in the SEM2411D and displayed in
the IP Hunter window.
2- Set one SEM2411D as the Master
When using SEM2411Ds, one unit - and only one - must be set as the “Master”.
All other SEM2411Ds must be set as “Slaves”. When shipped from the factory,
all SEM2411Ds are set as Slaves. In typical installations, the Master SEM2411D
is the SEM2411D connected to the central Ethernet network.
Click on OK and the main browser window will display. The Confiuration
Parameters will appear on the left browser pane with the change/edit fields
displaying in the main browser window (right pane). Click on the Bridge Settings
link in the left browser pane.
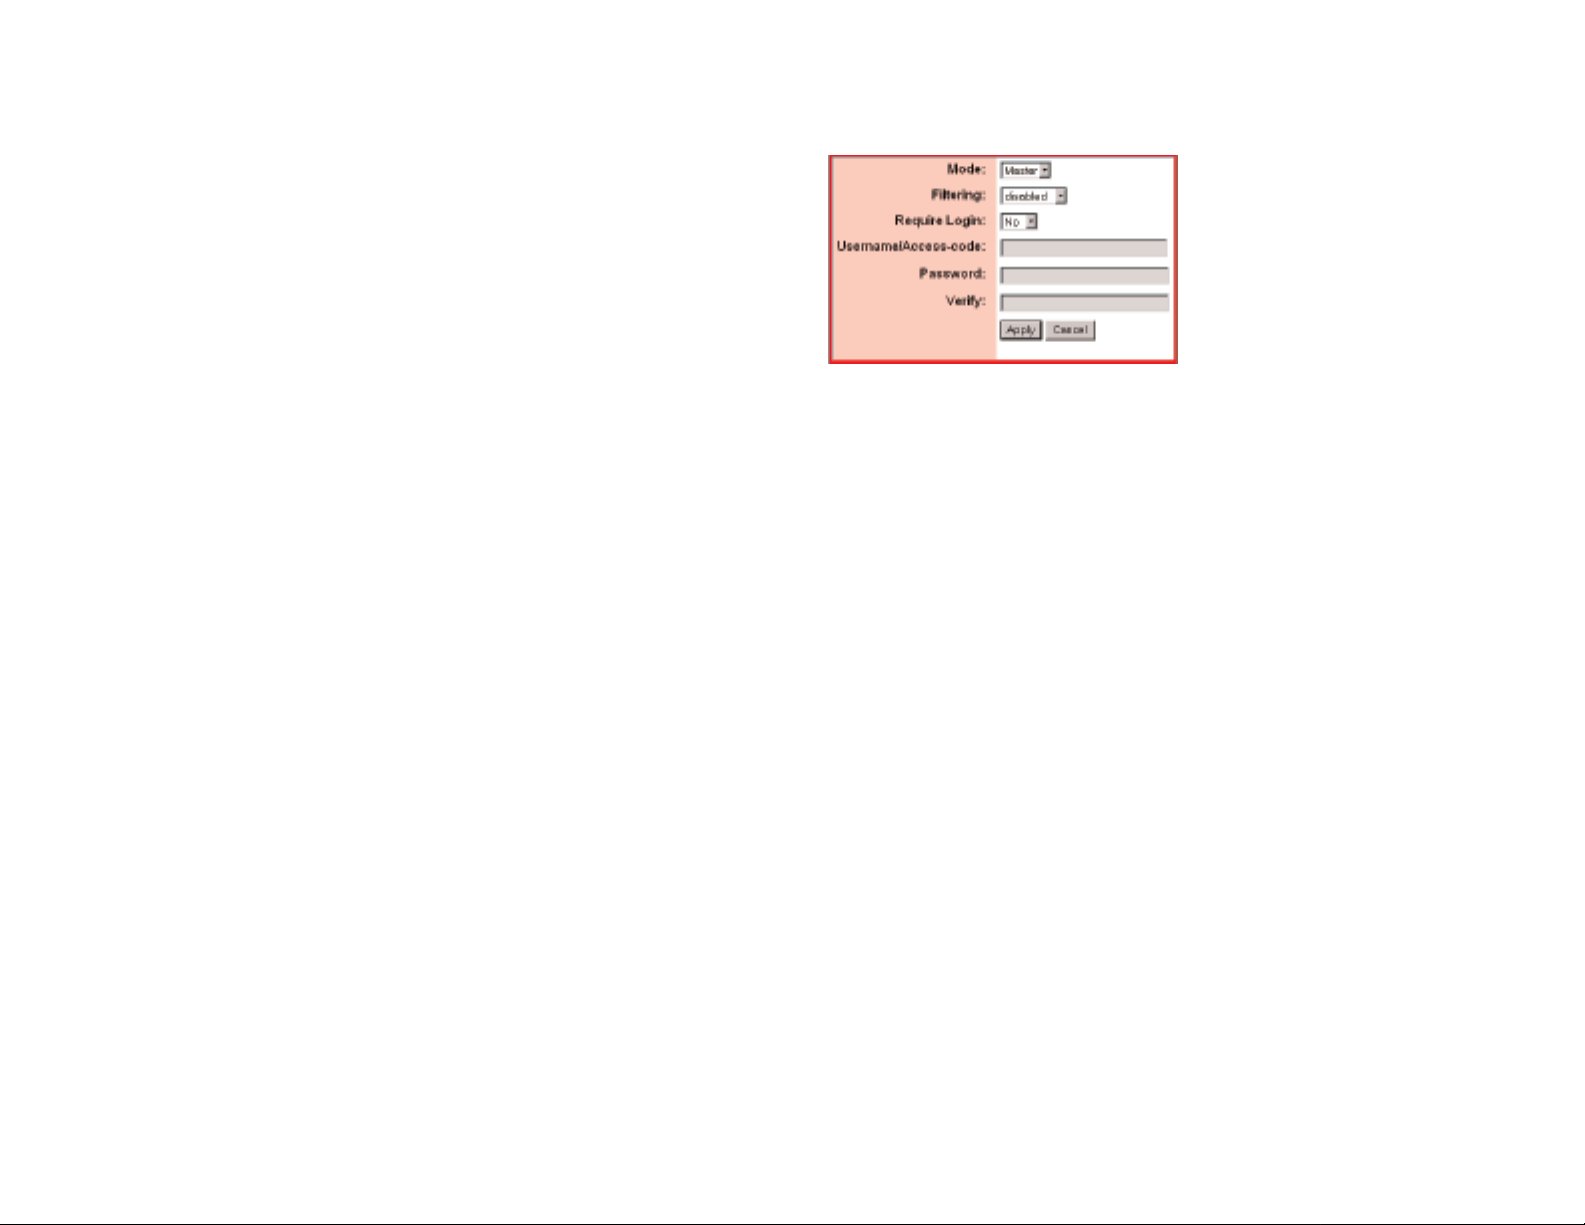
Bridge Settings
Click on the drop down arrow to the right of the Mode: field and select either
“Master” or “Slave”. Remember that one - and only one - SEM2411D may be
set as the Master.
Filtering
The SEM2411D includes a provision for the filtering of multicast and broadcast
packets. In many networks, there are sufficient multicast and/or broadcast
packets to slow the overall performance of the SEM2411D. Based on the
number of broadcast and multicast packets, they can consume a substantial
amount of the RF bandwidth. By turning filtering on, the SEM2411D will ignore
these packets and limit transmission to packets with specific device addresses.
In some instances, it is desirable to have the SEM2411D transmit the multicast
and broadcast packets; in such cases, filtering should be disabled. Note that
filtering broadcast packets also filters multicast packets but filtering multicast
packets does not filter broadcast packets.
If requiring a login is desired, select “Yes” from the drop down menu and the
Username/Access-code, Password and (Password) Verify fields will become
active. If requiring a login is not desired, selecting No grays out the fields and
renders them inactive.
Click on Apply then click on Save Settings to store the system configuration
changes in non-volatile FLASH memory. The user may either click on “Reset” to
reboot the processor, click on “Logout” to end the browser session or simply
close the browser window.
HTML Setup (Browser Session)
Double-click on the IP
browser to launch an HTML
default Username, "admin" and default Password, "Cirronet" (case sensitive).
number in IP Hunter or enter the IP Address in your
setup session.
login screen will display
A
. Enter the
3 - Run a communications test.
o run a communications test, connect the Master SEM241
T
network.
segment or be lef
SEM2411Ds - and after the power on reset cycle has been completed - verify
that the Ethernet Link LED on the Master SEM2411D is on.
The Slave SEM241
t unconnected to any network. W
1D can be connected to the remote device, network
ith power applied to both
1D to the central
 Loading...