

Multitone TLA 850 User Manual

Contents
Introduction and Getting Star ted ..............1
Switching the Pager On............................1
Status and Operating Symbols ................2
Setting the Time and Date........................4
Setting the Pager Alarm ...........................6
Selecting the Pager Alert ......................... 8
Receiving a Message .............................10
Reviewing Stored Messages..................11
Archiving Messages ............................... 12
Reviewing Archived Messages ..............13
Deleting Messages .................................13
Deleting All Messages............................ 14
Timed Off ................................................14
Reviewing Information Ser vice
Messages .............................................16
Caring for your Pager .............................17
Fault-Finding...........................................17
(i)

Releasing the Pager from the
Holster
Press on the bottom tag with your finger
and slide the pager upward.
(ii) 1
Introduction and Getting Started
Congratulations on selecting the TLA 850
alphanumeric pager from Multitone. Your
pager has all the features you expect of a
top class product yet it retains simplicity of
operation through the superbly designed
user interface and icon menu selection.
This guide will describe the operation of the
product and ensure that you receive the full
benefits of paging with the TLA 850.
On the back of your pager you will find the
battery cover. Press down on the centre
tab while sliding the battery cover outwards
to remove. Insert the battery into the
spring end first so that the + symbol on the
battery is aligned with the moulded +
symbol in the battery compar tment.
Carefully slide the cover back into position.
Switching the Pager On
To turn the pager on press and hold the •>
button for one second. A short alert will
2
14:24 23.03.98
sound and the pre-programmed switch-on
message will be displayed.
After one second the time and date will be
shown. This is the standby screen:
Standby Screen
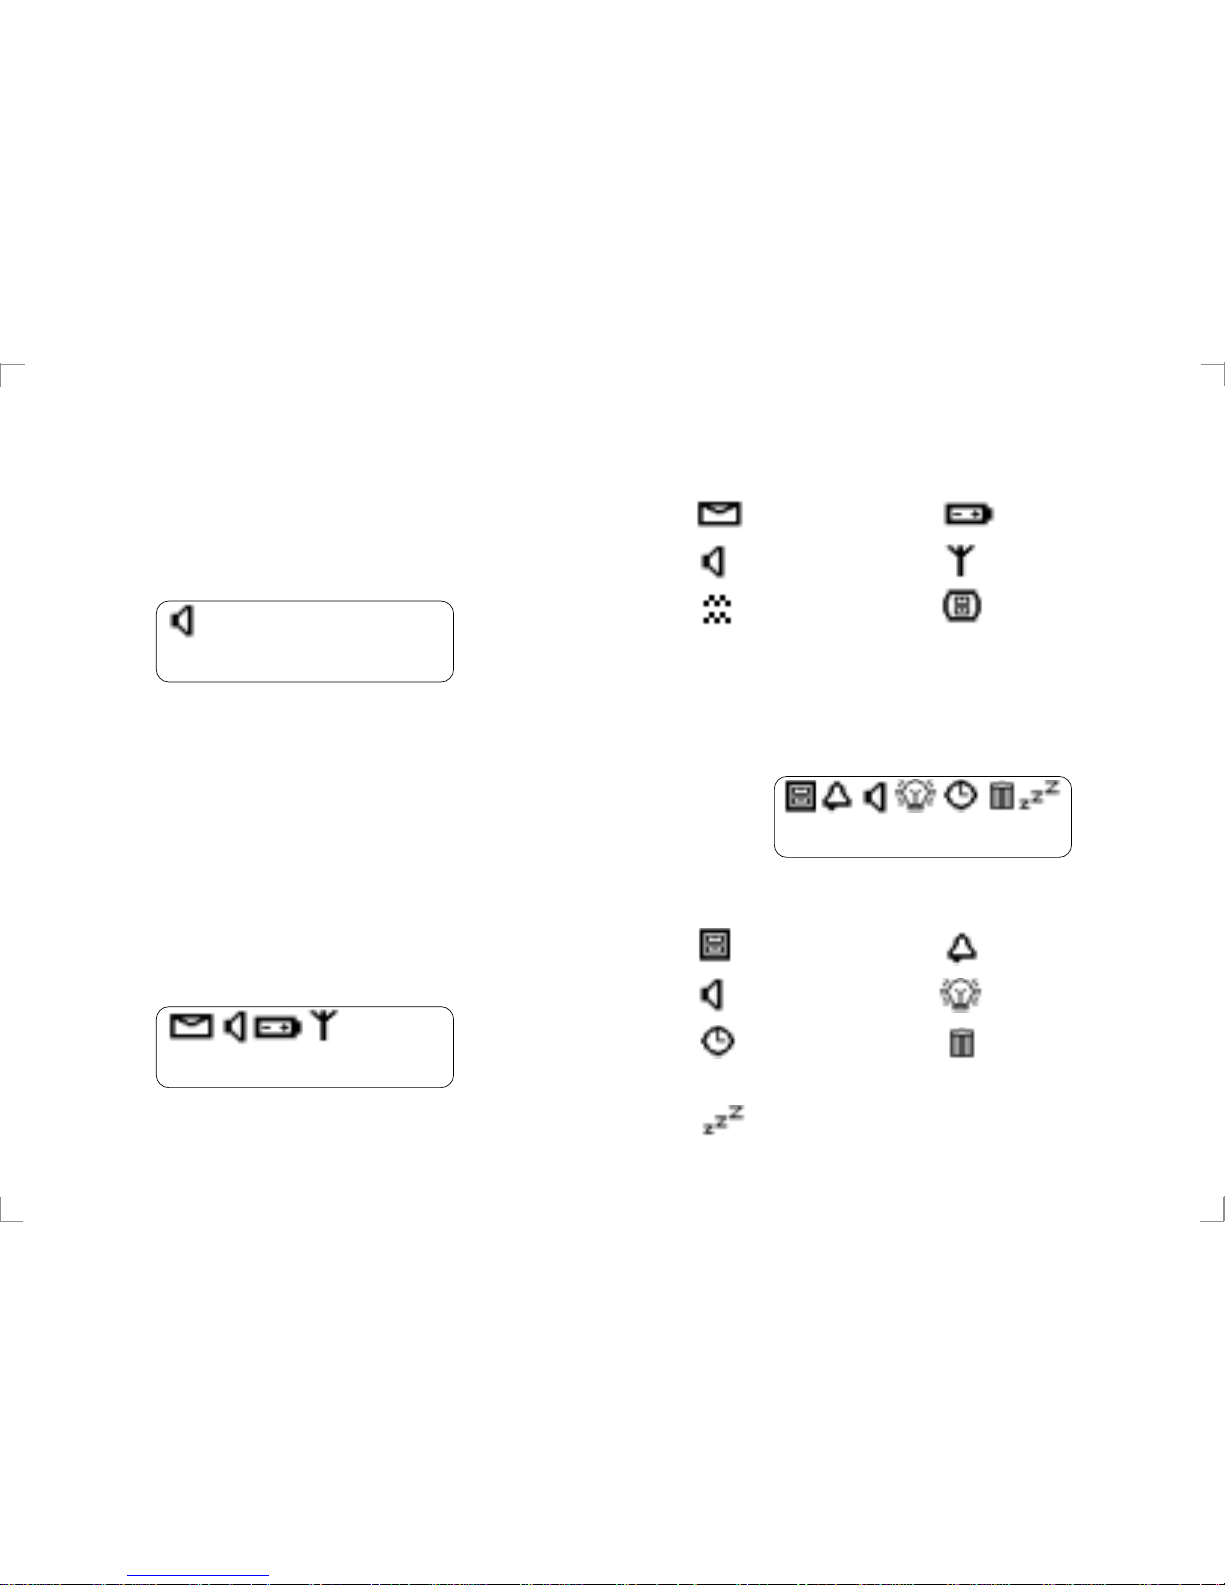
Status and Operating Symbols
The standby screen shows the current time
and date. It also shows if there are unread
messages, whether audible or vibrate alert
is selected and, if appropriate, gives low
battery and out-of-range warnings by
displaying the following symbols:
Status Symbols
14:26 23.03.98
3
From the standby screen press •> to enter
the pager options screen. The following
symbols are displayed:
Pager Option Screen
Unread Messages Low Battery
Audible Alert Out-of-Range
Vibrate Memory Full
The status symbols are as follows:
Archive
Alert Section
Time Setting and
Timed Off Setup
Off
Alarm Function
Backlight
Delete All
Messages
4
To turn the pager off press •> to show the
pager options screen and then press < or >
several times until the
symbol is
flashing. Press •> and the display will
show the symbol plus a flashing ?.
Press •> again to tur n the pager off.
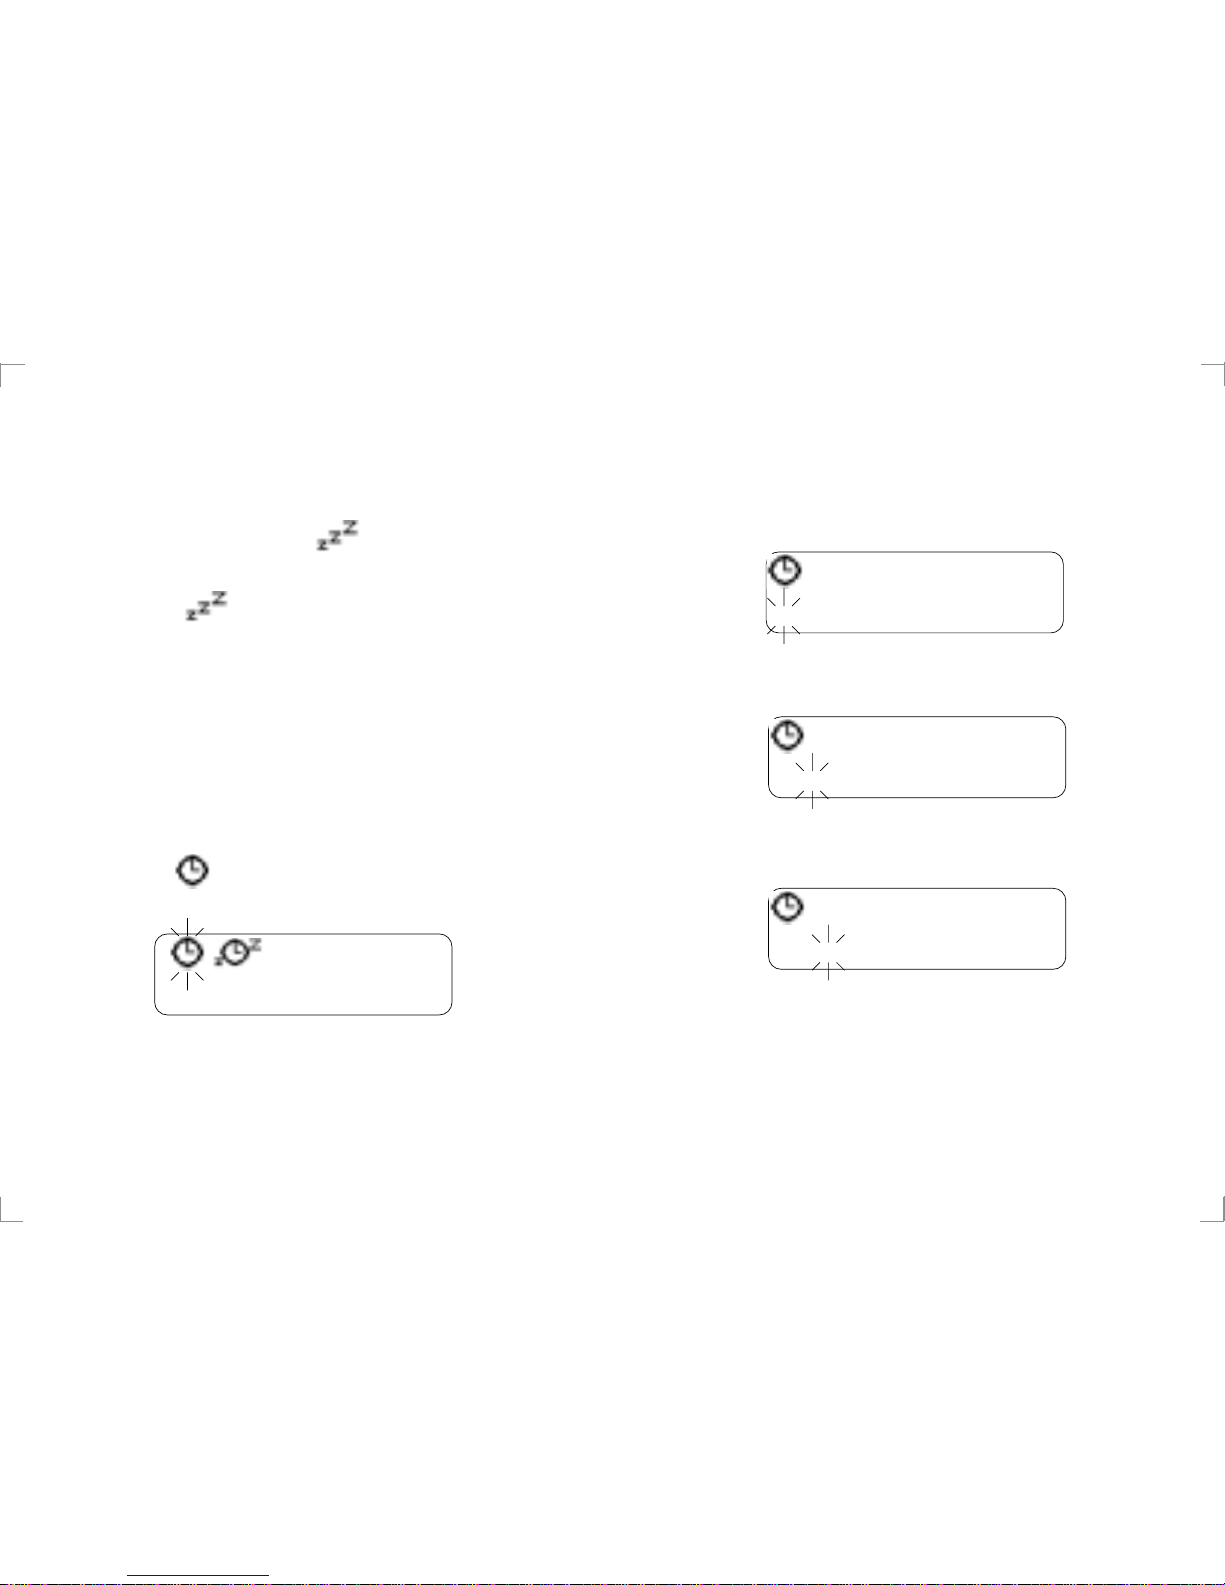
Setting the Time and Date
The standby screen will normally show the
time and date. To set the current time and
date press •> once to display the pager
options and then press < or > several times
until the symbol flashes. Press •> to
display the time function edit screen.
Time Function Screen
The clock symbol will flash. To set the
clock press •> and the clock symbol will
5
appear with 12 or 24 hour mode indicated.
The hour will flash and the correct value
may be selected by pressing either < or >.
Once the hour is correct press •> and the
tens of minutes will flash.
Press < or > until the correct number is
shown and then press •>.
Press < or > until the correct number is
shown and then press •> to set the
minutes.
The date is set with the same method.
5:27 pm 23.03.98
12
5:27 pm 23.03.98
12
5:29 pm 23.03.98
12
 Loading...