


RPR 580 Series
USER GUIDE

Contents
Introduction and getting started 1
Switching the Pager on 1
Status and operating symbols 2
How to select main menu options 3
Switching the Pager off 4
Setting the time and date 4
Sleep function 6
Setting the Pager alarm 8
Selecting the Pager alert 9
Selecting the character size 12
Enabling the display light 13
Changing the display contrast 13
Receiving a message 14
Reviewing stored messages 15
Archiving messages 17
Reviewing archived mesages 17
Deleting messages 18
Deleting all messages 18
Receiving Information Service Messages 19
Displaying Information Service Messages 19
Archiving and deleting Information Service Messages 21
Caring for your pager 22
Troubleshooting 22
Changing the battery 23
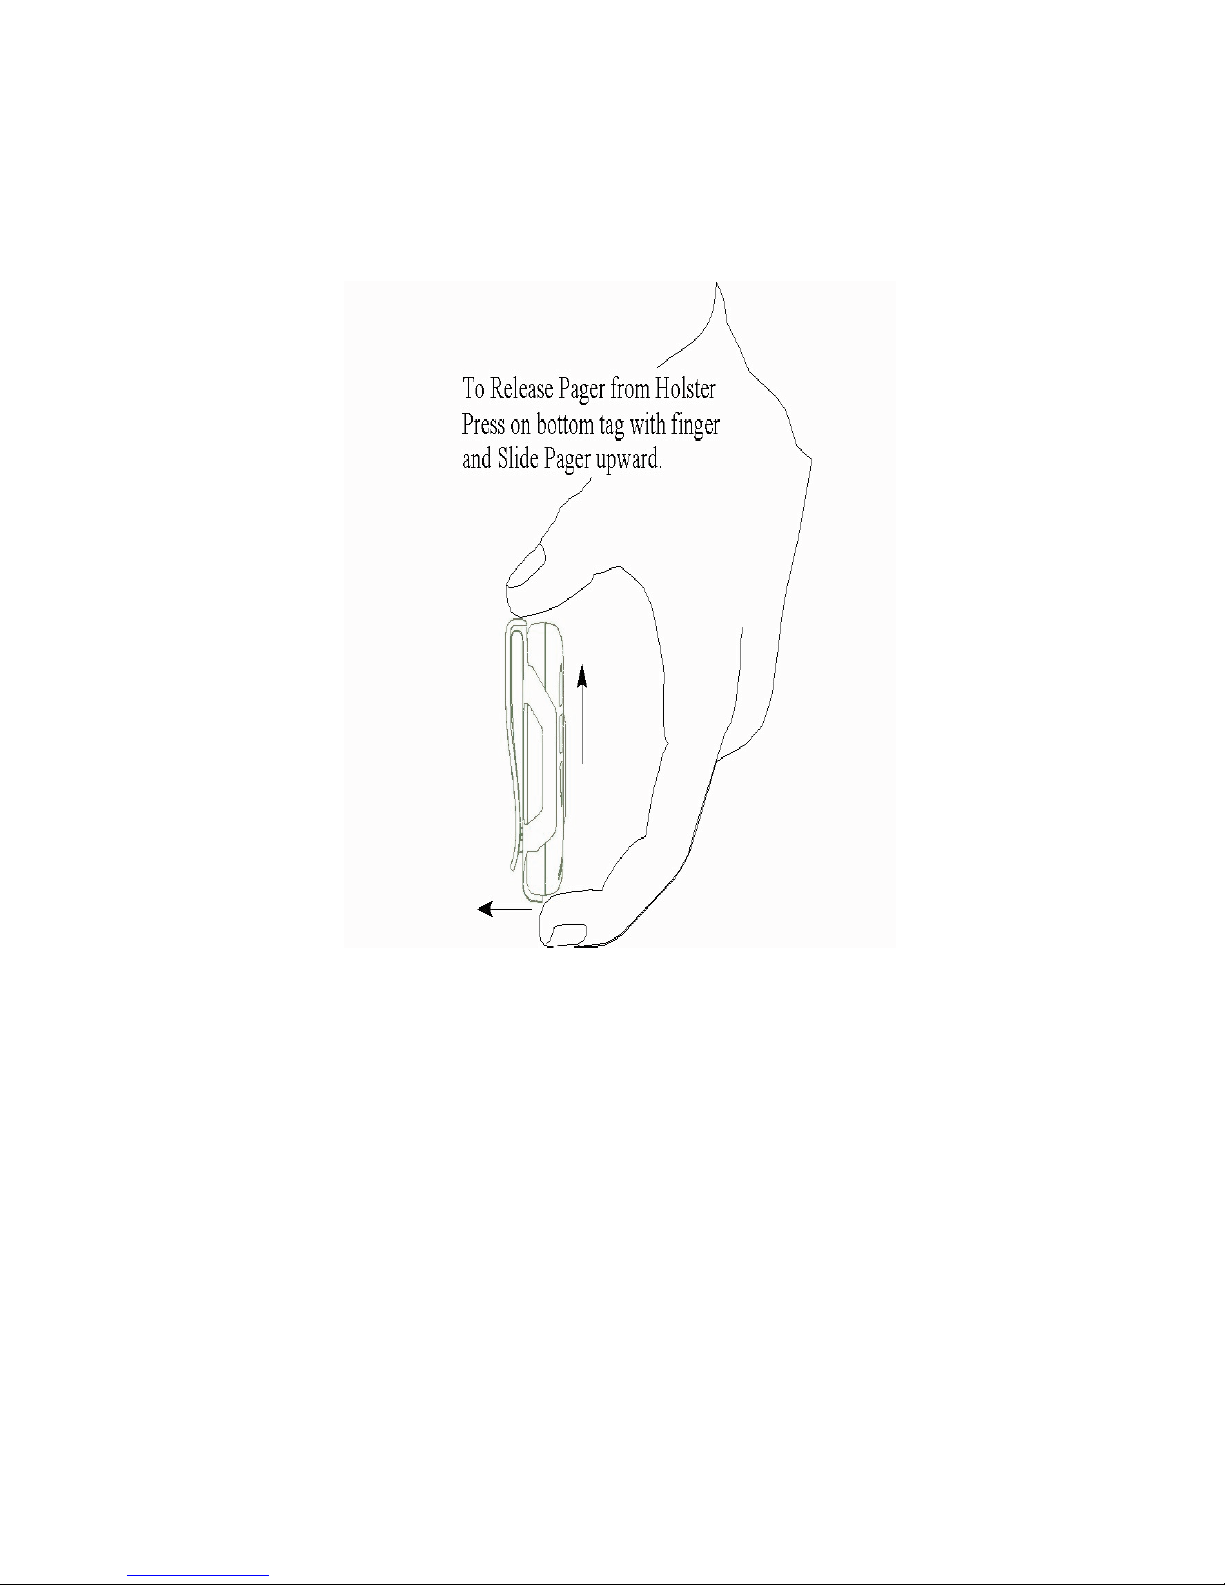
Releasing the pager from the holster
Press on the bottom tag with your finger and slide
the pager upward.

ATTENTION
IF YOU HAVE
ORDERED
THE RPR 581 PAGER,
WITH ‘ON-DEMAND
DISPLAY’ ACTIVATED,
YOU WILL NEED TO
PRESS THE .> BUTTON
TO READ YOUR
MESSAGE


Introduction and Getting Started
Congratulations on selecting the RPR 580 Series
Receiver. Your pager has many features and
functions including an icon driven user interface.
This guide will describe the operation of the product
and ensure that you receive the full benefits of
paging with the RPR 580.
Switching the Pager on
Before switching the pager on you will need to
insert the battery, please refer to the section
entitled ‘Changing the battery’.
To switch-on the pager press and hold the
.
> button
for one second. A short alert will sound and the
programmed switch-on message will be displayed.
After one second the time and optional date or
nameplate will be displayed.
This is the standby screen:
Standby Screen
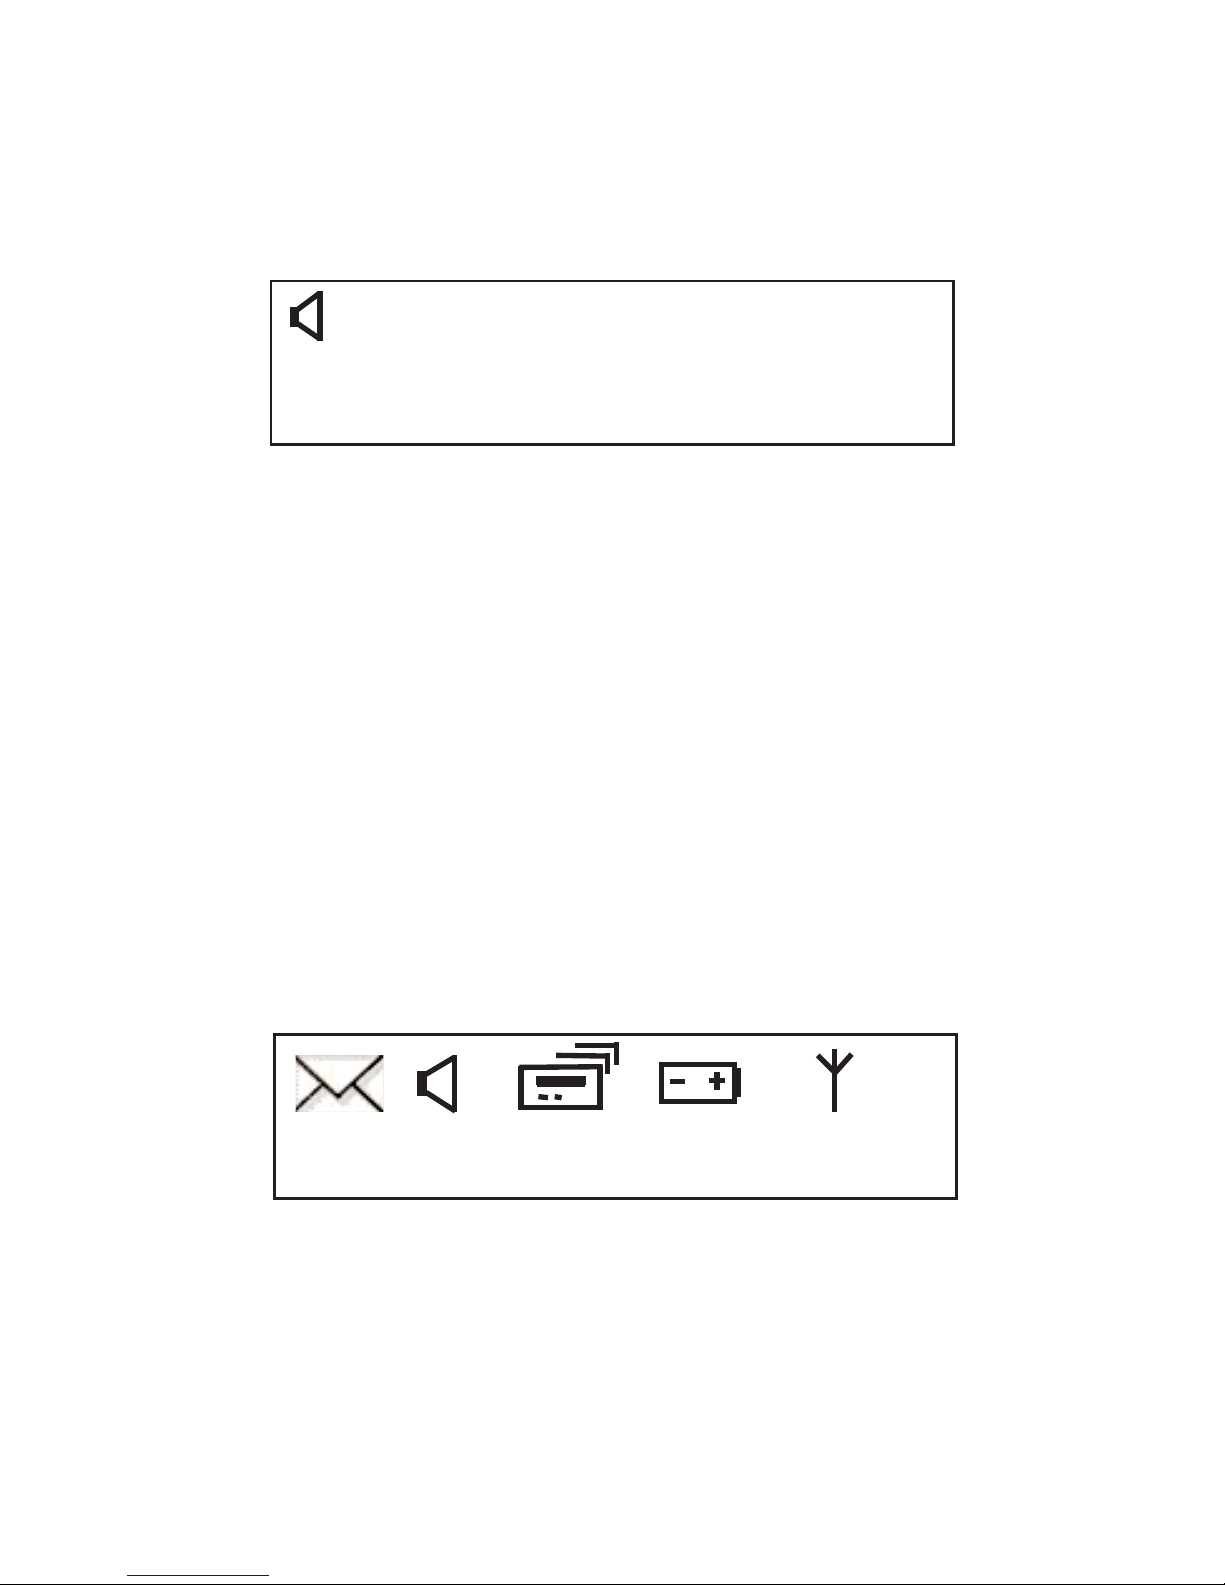
Status and Operating Symbols
Having switched the pager on, other symbols may
also be displayed. For example, symbols will
indicate if there are any unread messages, whether
an audible or vibrate alert has been selected, and if
appropriate, low battery and/or out-of-range
warnings may also be displayed::
Status Symbols
14.24 21.12.98
14.24 21.12.98
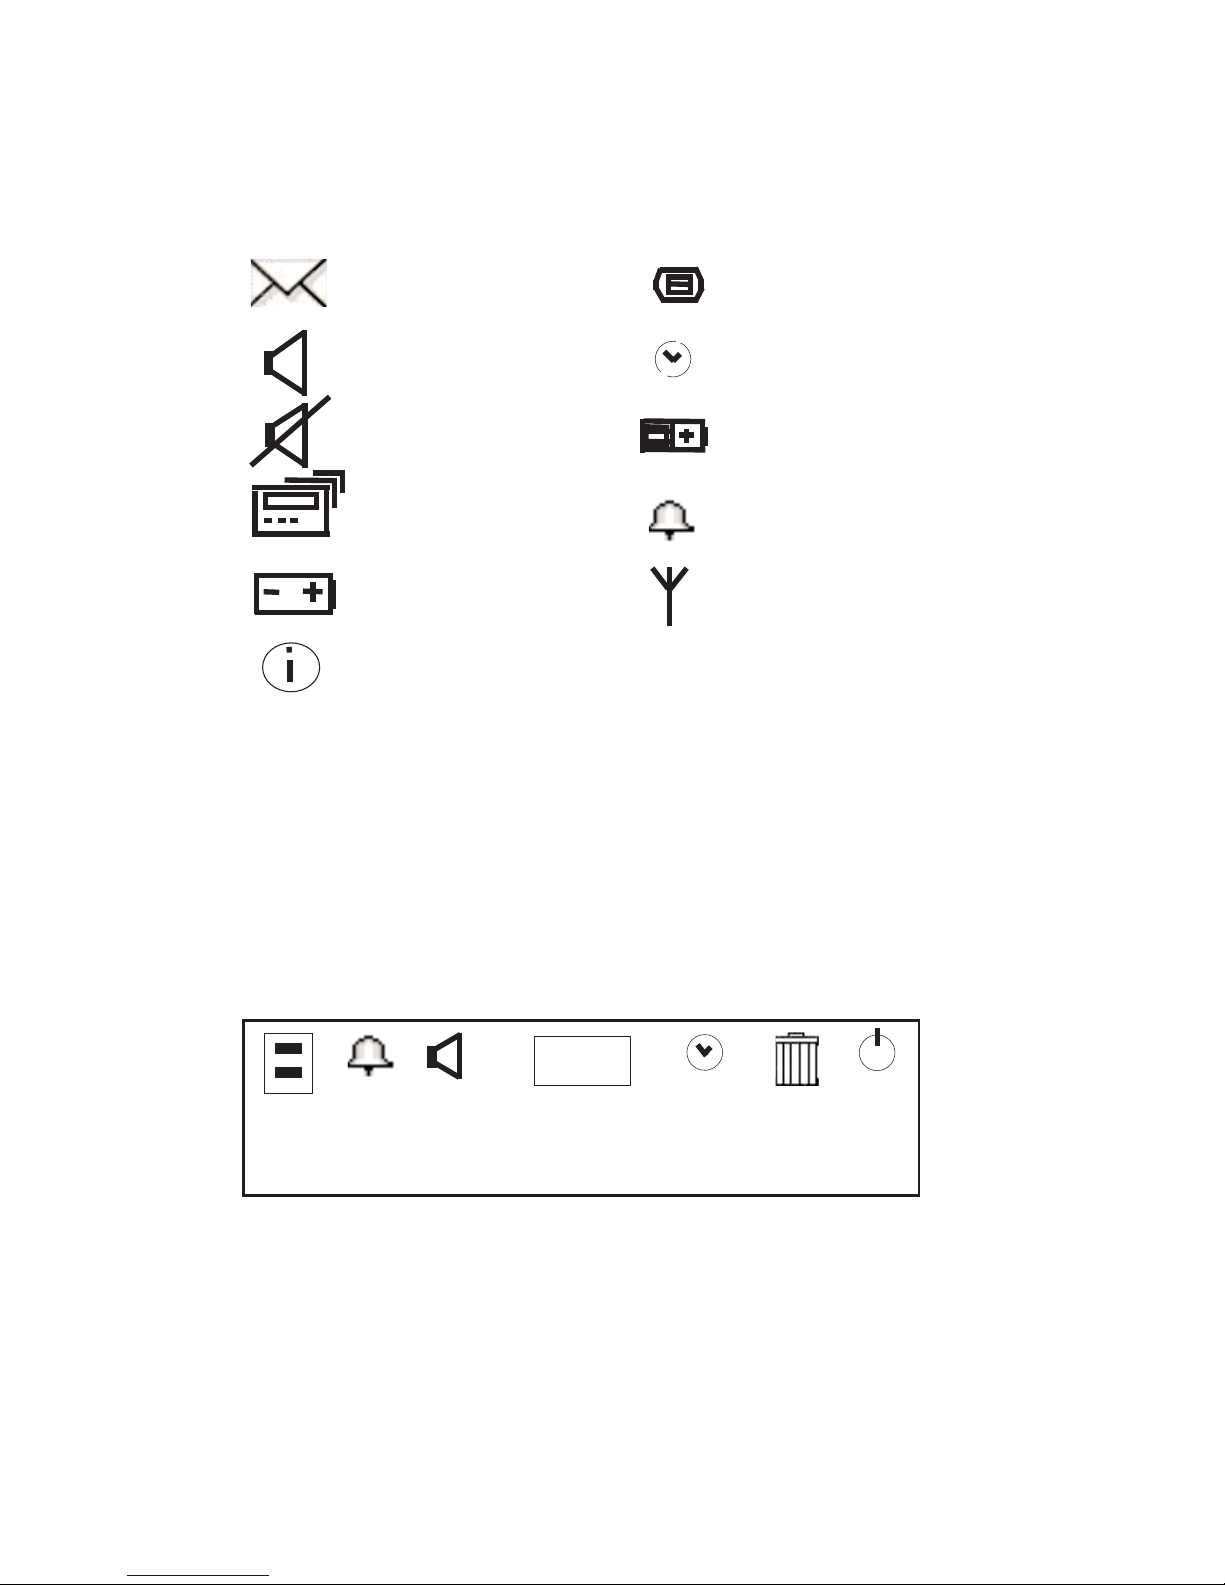
The full range of status symbols are as follows:
Unread Messages Memory Full
Audible Alert
Silent Alert Battery Charging
Vibrate Alert
Low Battery
Unread Information Service Messages
How to Select Main Menu Options
From the standby screen press .> to display the
main menu. The following symbols will be
displayed:
Main Menu
Alarm On
Out-of-Range
Sleep On
z
z
ABC
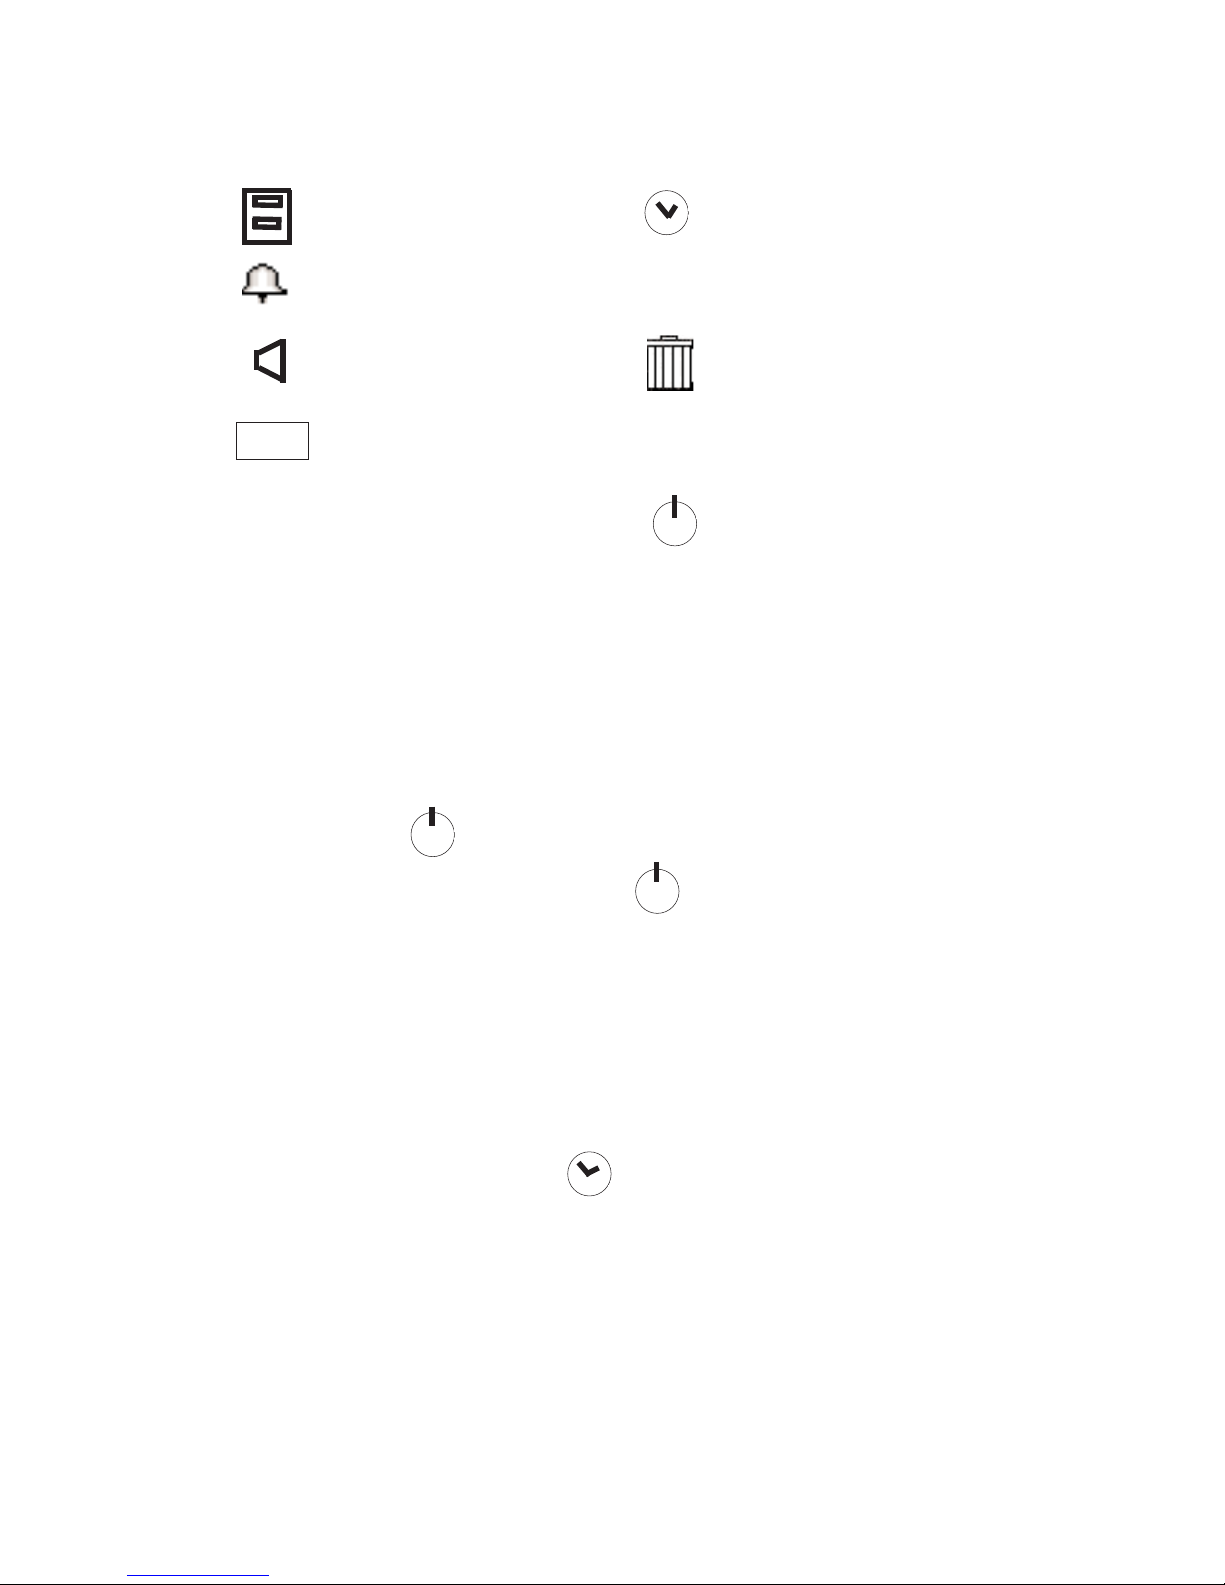
Message Archive
Alarm Function Sleep Function
Alert Selection
Display Features Messages
Selection
To select a main menu option, press < or > and
step to the required symbol. Then press > to
activate the feature.
Switching the Pager Off
Select the
display will now show the
to turn the pager off.
Setting the Time and Date
The standby screen will normally show the time
and date. Select the
menu. The time and date edit screen will now be
displayed.
Time Setting and
Off
? symbol. Now press
.
>
symbol from the main menu. The
symbol from the main
Delete All
ABC
Time and Date Edit Screen
Select the
symbol will appear with 12 0r 24 hour mode
indicated and the hour flashing. Press < or > to set
the hour, once correct, press .>.
Press < or > to set the tens of minutes, once
correct, press
.
>.
Press < or > to set the minutes, once correct, press
.
>.
2:24 21.12.98
2:24 21.12.98
z
z
symbol by pressing .>. The clock
12
12
The time is now set. The date may be altered in
the same way.
Once the time and date are correct, you may select
either 12 or 24 hour mode. Press < or > to change
as required.
Press and hold > for one second to return the
pager to the standby screen.
Sleep Function
This feature automatically switches the pager off
and on at preset times, for example, overnight.
Select
step to the
sleep function:
2:24 21.12.98
2:24 21.12.98
12
12
from the main menu. Now press > to
symbol and press .> to select the
z
z

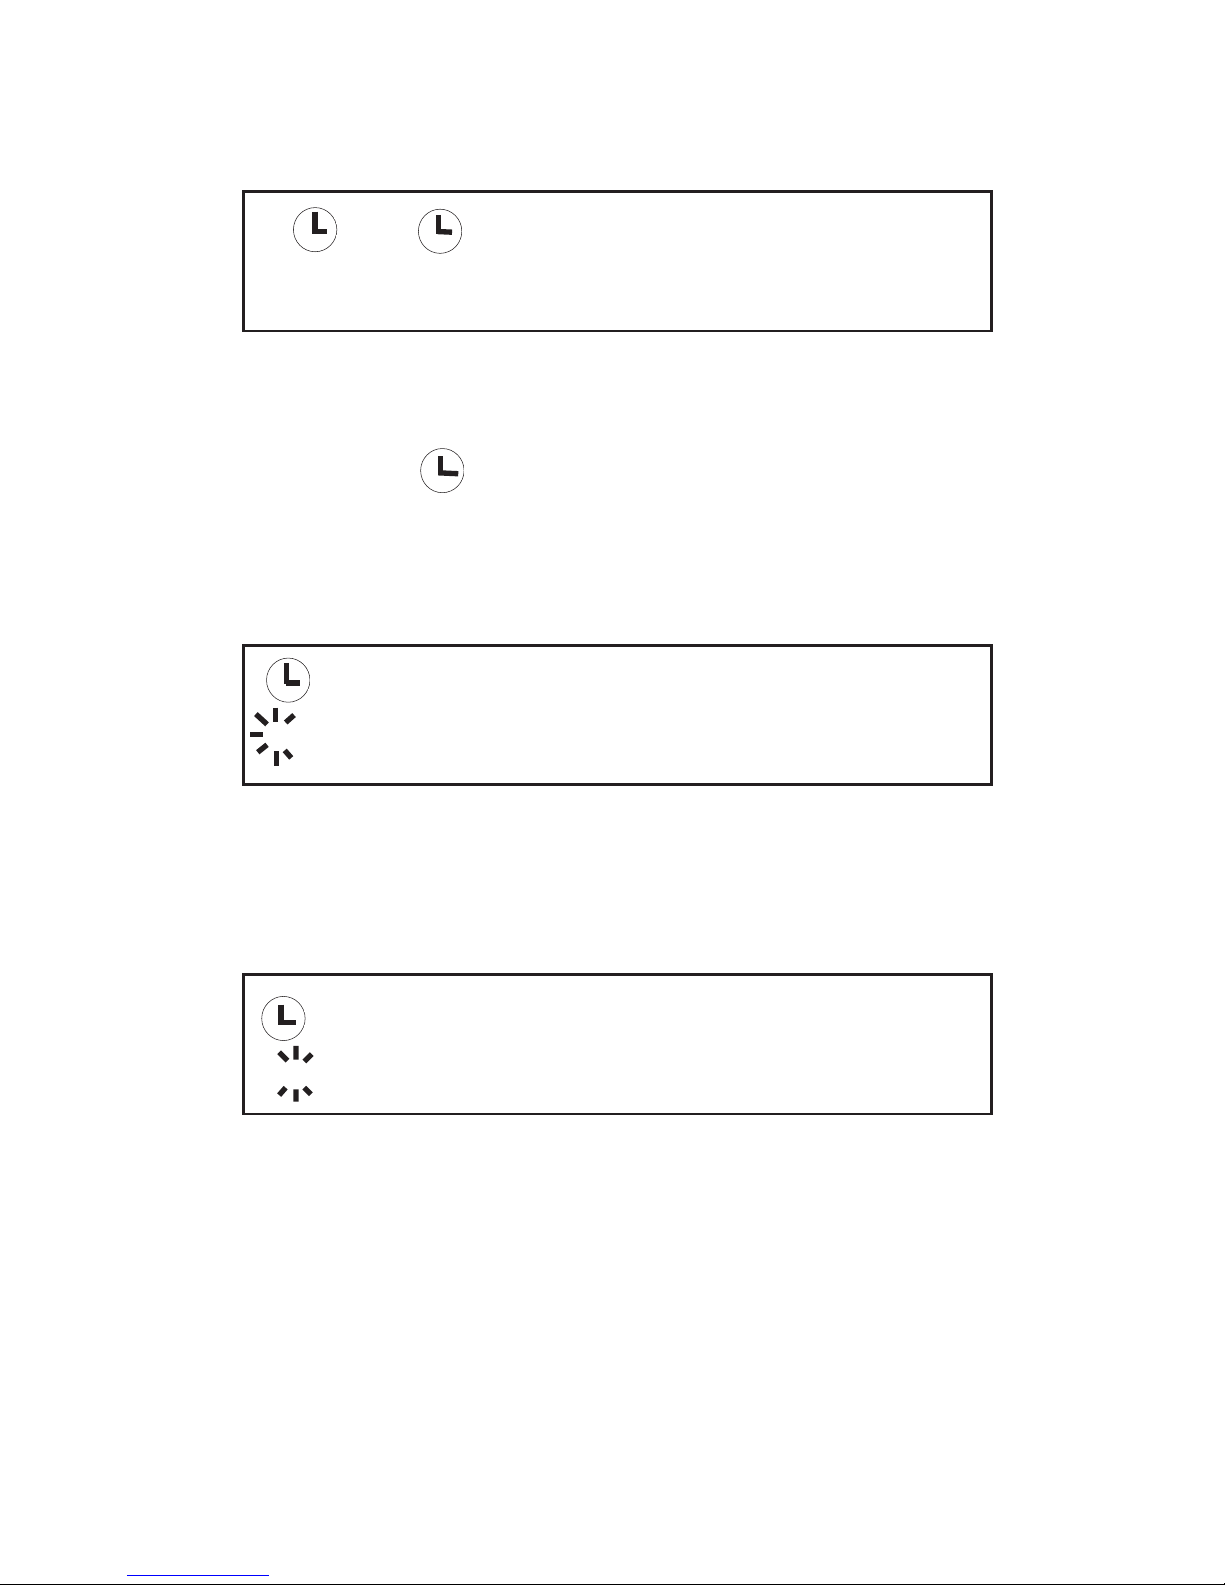
To activate this feature, press < or > until the timed
Off and On times are displayed.
To change the switch off and on times, press .> to
select the hours, tens of minutes and minutes. Use
the < or > keys to change the hour, tens of minutes
and minutes. Once you have finished, press and
hold .> for one second to return to the pager
standby screen. When this feature has been
activated the standby screen will include the
symbol in the display.
To disable this feature, press < or > until the switch
off and on ties are no longer displayed. Then press
and hold .> for one second to return to the pager
standby screen.
Z
Z

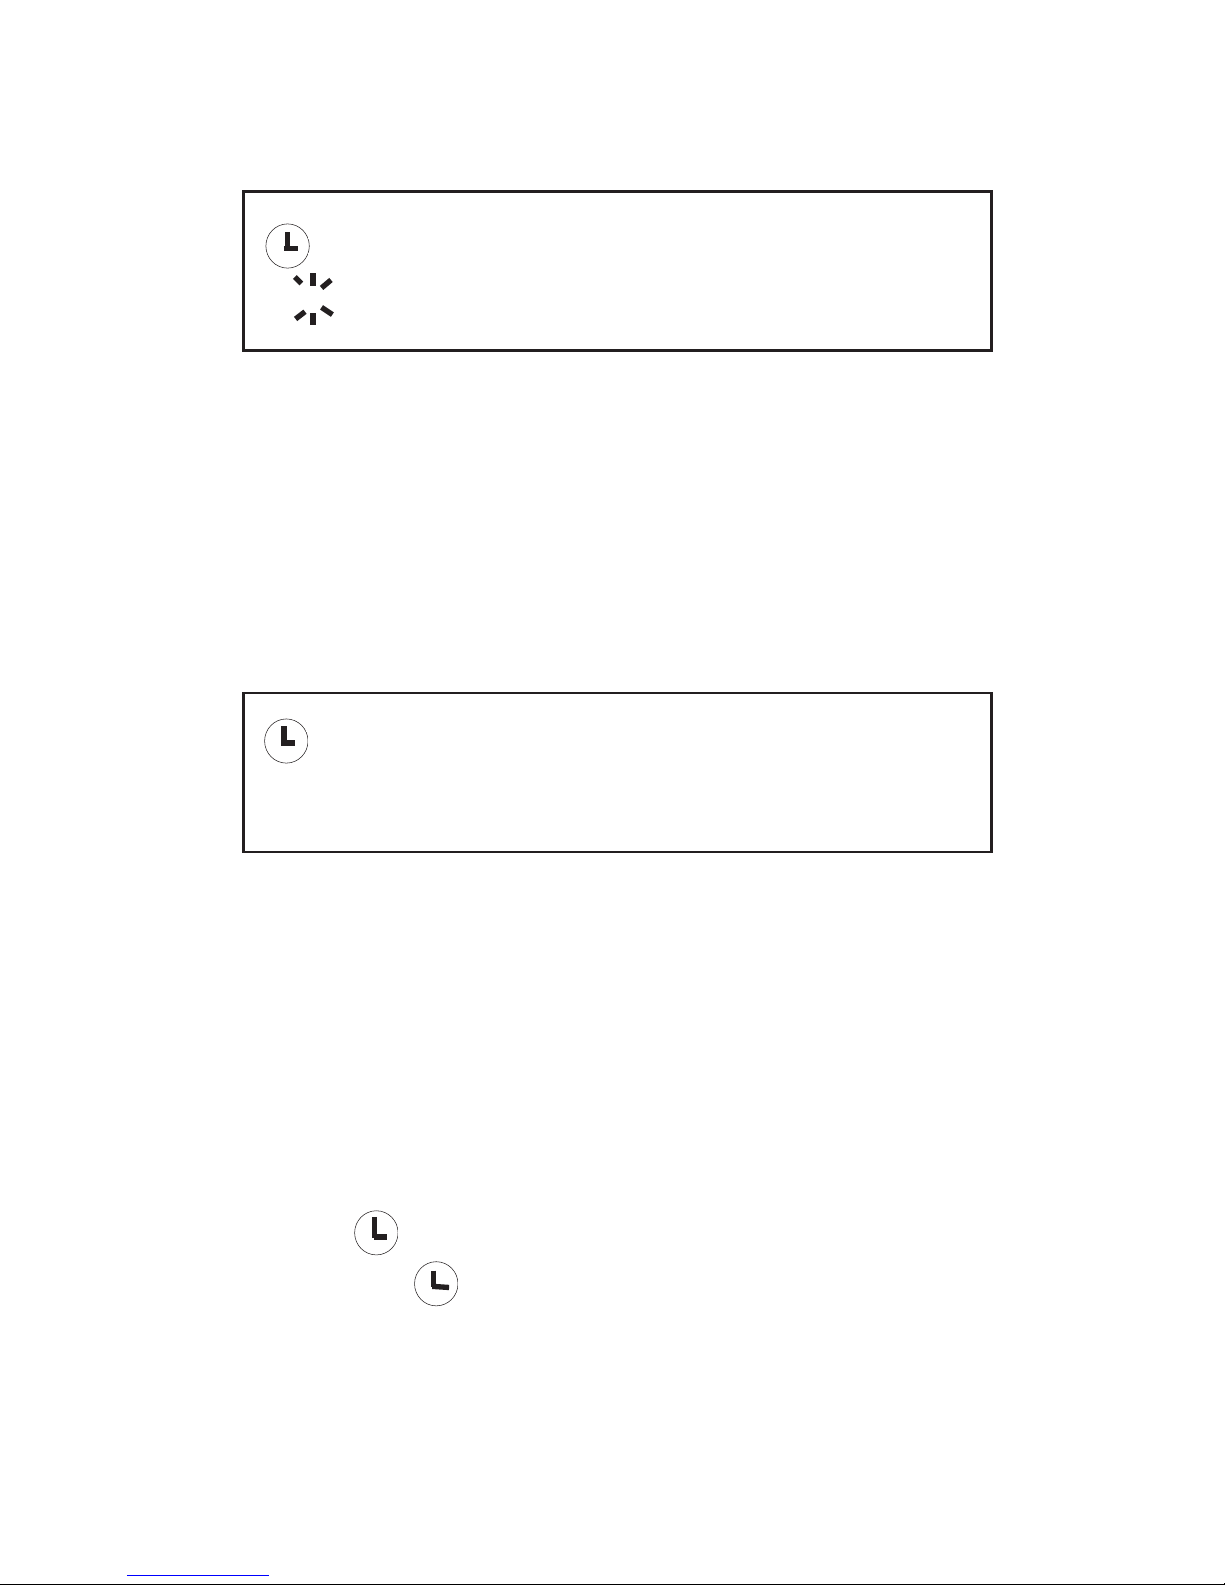
Setting the Pager Alarm
Turning the Alarm On and Off
Select the
Turn the alarm on by pressing > and selecting the
symbol. When the alarm is activated the times at
which it is set will also be displayed.
Turn the alarm off by pressing > and selecting the
symbol.
Once you have finished, press and hold
.
> for one
second to return to the standby screen. When the
alarm has been activated, the standby screen will
Setting the Alarm T
ime
Select the
Select the
which the
symbol from the main menu.
include the
symbol in the display.
symbol from the main menu.
symbol to turn the alarm on, the time at
alarm is set will now be displayed.

To change the alarm time, press .> to select the
hour, then use < or > keys to change the hour,
when correct press >. Use the same procedure to
change the tens of minutes and the minutes. When
you have finished, press and hold > for one second
to return to the standby screen.
When the alarm time is reached, the standby
will sound for eight seconds. Pressing any button
within the eight second period will stop the alert.
Selecting the Pager Alert
The RPR 580 allows you to select one of seven
different audible alerts, the alert duration, silent
alert and vibrate.
06:30
symbol flashing and the alert
screen will show the

Selecting Audible Alert
Select the symbol from the main menu. At the
flashing symbol, press < or > to change the alert,
the pager will respond by giving you a sample alert.
Press
.
> to select the required alert. Once
selected, press and hold .> for one second to
return to the standby screen.
To stop the alert press any button.
Note: If the symbol does not flash, then
selectable personal alerts are NOT available.
Selecting the Alert Duration
Select the symbol from the main menu. Press
.
> and select the x4 symbol. Now press < or > to
select the alarm duration period.
The duration period increases in multiples of x1, x2,
x4 and x16. Once selected, press and hold
.
> for
one second to return to the standby screen.

Selecting Silent Alert
Select the symbol from the main menu.
Press > and select the symbol. Press < or > until
the silent alert symbol is displayed. Press and
hold > for one second to return to the standby
screen.
This symbol will be displayed in the standby
screen, indicating that the silent alert has been
switched off.
Alternatively, you may toggle between audible and
silent alert by holding down the
.
> button for three
seconds whilst the pager is in the standby screen.
Selecting V
ibrate Alert
To activate vibrate alert, select the symbol from
the main menu. Press
.
> and select the symbol.
Then press < or > to select the symbol; the
pager will respond by vibrating for one second.

Press and hold .> for one second to return to the
standby screen. The standby screen will now
display the symbol, indicating that this feature
has been activated.
To turn off the vibrate alert, select the symbol
from the main menu. Press .> and select the
symbol. Then press < or > to select the
symbol. Now press and hold the
.
> for one second
to return to the standby screen.
Selecting Character Size
Select the ABC symbol from the main menu.
Press < or > to select the character size required.
There are three font sizes to choose from. The
smallest font allows you to have up to four lines of
text displayed on the pager screen. Once you have
made your choice, press and hold
.
> for one
second to return to the standby screen.

Enabling the Display Light
Select the ABC symbol from the main menu.
Press
.
> and select the light bulb symbol. Now
press < or > once, the light bulb symbol will change
to a light bulb on indicating that the display light
has now been enabled. Press and hold .> for one
second to return to the standby screen.
Once enabled, the display light remains on until no
button has been pressed for four seconds. It will
automatically turn on whenever a button is pressed.
Use the same process to disable the light. The
symbol will change from a lightbulb on to a light
bulb.
Changing the Display Contrast
Select the ABC symbol from the main menu. Press
the
.
> and select the Constrast symbol. You may
press and hold < to make display contrast brighter
or press and hold > to darken the display contrast.
When finished, press and hold
.
> for one second to
return to the standby screen.

Receiving a Message
Providing that audible or vibrate alert has been
selected, your pager will admit an alarm on the
receipt of a message. You may cancel the alert by
pressing any of the buttons on the front of the
pager.
The message will be displayed during the initial
alert. However, if you are away from your pager
the alert will continue for a few seconds, after which
the display will revert to the standby screen and
the symbol will be displayed to indicate an
unread message. If the pager incorporates the
extended alert facility, a reminder alert will sound
when a message has not been read.
To display the message press the > button. If the
message length exceeds one screen, you can
scroll through to the end of the message by
pressing
.
>. At the end of each message an end of
message marker will be displayed:
Please call Dr. Green, there is an emergency in Ward 10

Each message is time and date stamped when
received. This information is accessed by pressing
.
> after the end of message marker.
Reviewing Stored Messages
When the pager has received a new message, the
standby display will show the
To preview an existing message, press >. Then
press < or > to scroll through the messages. If you
wish to read a message and it occupies more than
one screen, press
.
> to step through to the end of
the message.
To return to the standby screen at any time, press
.
> for one second.
When the pager has 64 messages in its memory,
the standby screen will show the memory full
symbol. If a new message is received when the
memory is full then the oldest read message will be
deleted. However, if all messages are unread then
the oldest unread message will be deleted.
When the end of the message marker has been
viewed press .> to enter the message menu, this
also displays the message time and date stamp:
14.24 21.12.98
Message Menu
symbol

Use the < or > to step between the message menu
symbols. Press
.
> to select a menu action:
Return to message text
Archive a message
Archiving Messages
Select the message you wish to archive. When the
end of the message marker is displayed, press
.
>
to display the message menu. Use the < or > to
step to the symbol. Then press.> the display will
show: ? . Press .> to confirm the
action.
If the archive memory is full, the symbol will
flash, a message must be deleted from the archive
memory before a new one can be archived.
Reviewing Archived Messages
To view the contents of the arcive message, from
the standby screen press
.
> twice, then press < or
> to select the message to be viewed. Use the .>
button to scroll through the message text. If your
pager does not have information services, the <
button may be used as a shortcut to access
archived messages.
Delete a message

Deleting Messages
To delete a message or an archived message, use
the < or > keys to select the message to be erased.
Scroll through the message. When the end of the
message marker is displayed, press .> to display
the message menu. Use < or > to step to the
symbol. Press .> and the display will show:
? . Press
.
> to confirm the action.
Deleting All Messages
Select the
The following symbol will now be displayed:
?. Press
.
> to delete all messages.
symbol from the main menu.

Receiving Information Service Messages
NOTE: Information Services are only supported on
the RPR 580 Mk7 Series Receiver and is also a
programmable option.
Provided that audible or vibrate alert has been
selected, your pager will admit an alarm on receipt
of an information service message, in addition the
information symbol will be displayed in the standby
screen:
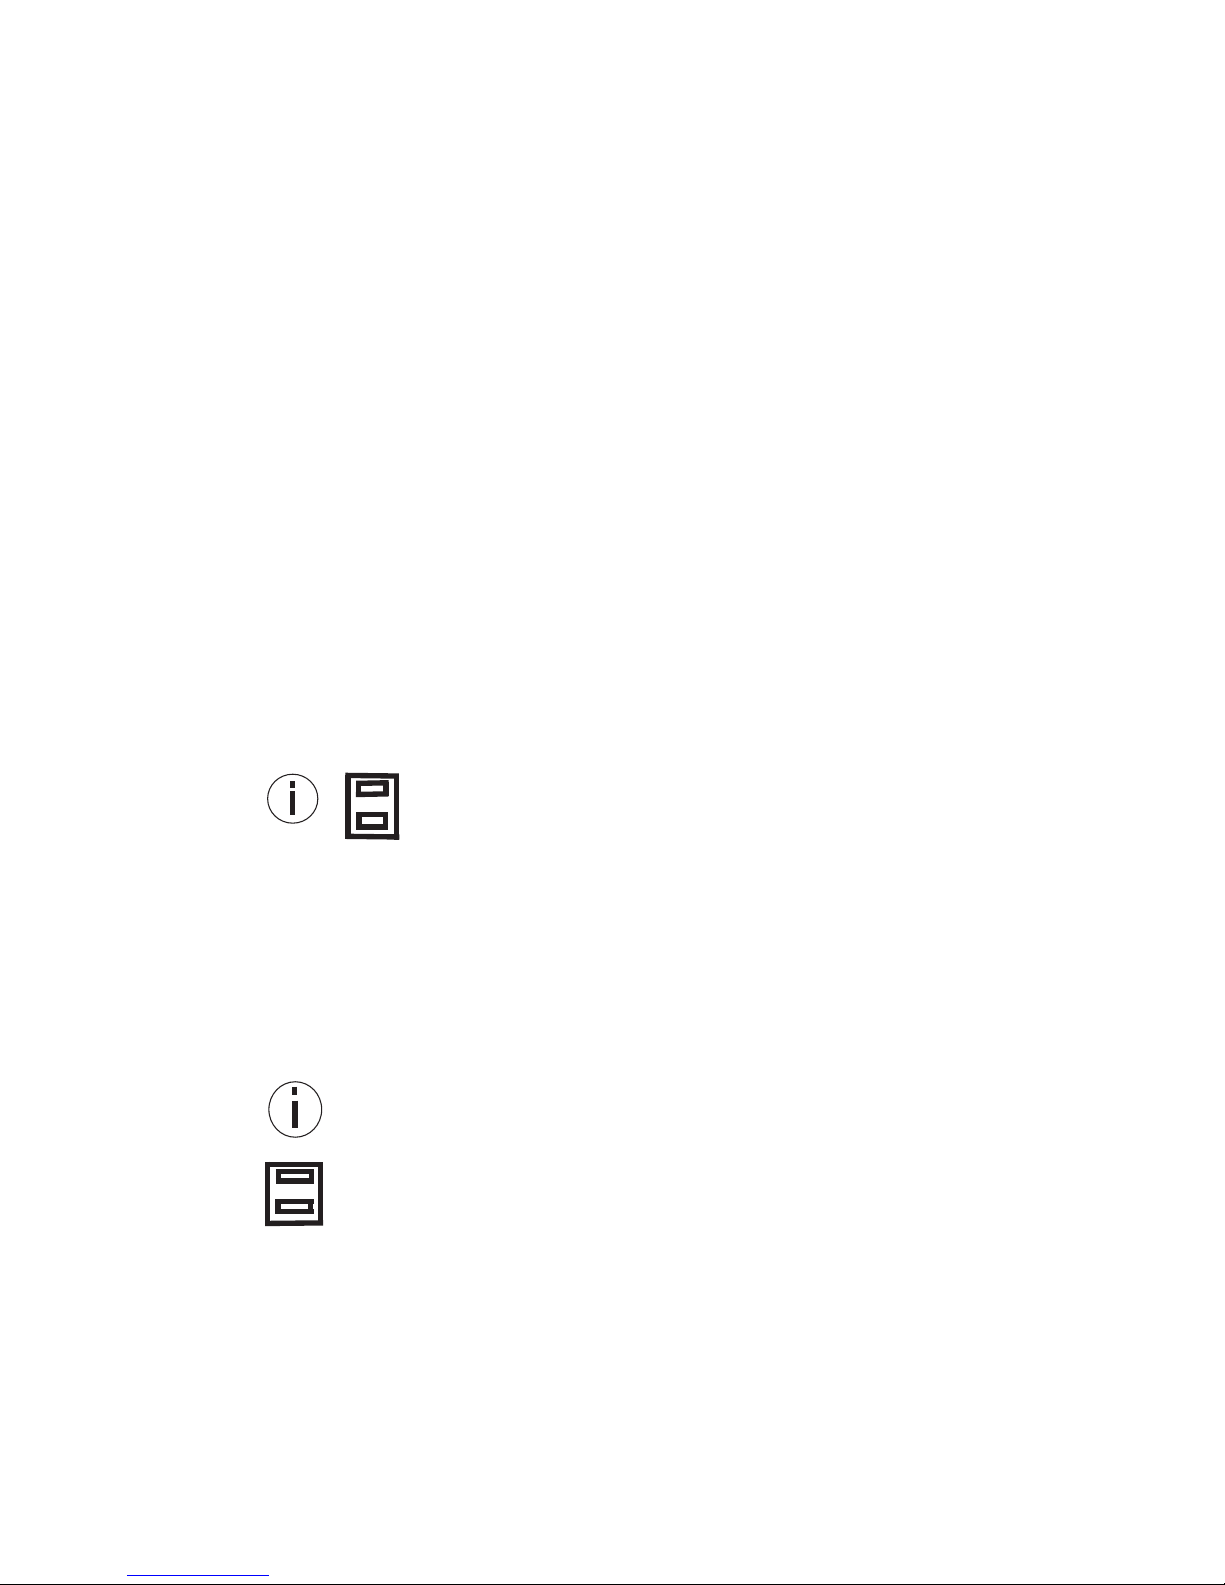
Displaying Information Service Messages
The information service menu is reached by
pressing the < button. Each information service
has a numbered symbol.
14:24 21.12.98

When a message has been received, the relevant
numbered symbol will be highlighted in bold, for
example:
Press < or > until the highlighted 3 symbol flashes,
then press .> to access the message(s) held in
information service box 3.
If there are multitple messages use < or > to select
themessage you wish to review. Press .> to read
and scroll through the message. If there is no
message for a service the following will be
displayed:
1 2 3 4 5 6 7 8
0
The history depth of each service determines the
maximum number of messages that can be held in
each information service message box.
Archiving and Deleting Information
Service Messages
Scroll through the message, when the end of
message marker is displayed, press .> to display
the message menu. Each message is time and
date stamped when received. To access this
information press .> after the message marker, the
following screen will be displayed:
Use the < or > to step between the menu symbols.
Press .> to select a menu action:
Return to information services
Archive a message
14:24 21.12.98

You may now archive the information service
message. The method is similar to that employed
for ordinary messages.
To delete a message, first transfer the message to
the message archive, then delete the message in
the normal way.
Caring for Your Pager
Protect your pager from strong magnetic fields,
liquids, extreme temperatures and long periods of
exposure to strong sunlight. Clean the exterior of
your pager using a clean, soft, non-abrasive cloth.
Troubleshooting
If your pager appears to have a fault please check
the following:
.
Is the pager switched on?
.
Is the battery dead?
.
Is the battery fitted correctly?

.
Is the + sign on the battery correctly aligned with
the moulded + sign in the battery compartment?
If you have checked the above and are still having
problems please contact us directly or your
Multitone Dealer.
Changing the Battery
When changing the battery on your pager, firstly,
ensure that the pager is switched-off, failure to do
so could result in lost messages.
Refer to figure A. Use your thumbnail to press
down on the battery door lock on the back of the
unit. Hold the back door down and push the
battery door in the direction shown.
Rotate the door as shown in Figure B to gain
access to the battery. Now remove the old battery
and refer to the diagram in the battery compartment
and install a new battery.


NOTES

NOTES

NOTES

NOTES

NOTES


Copyright Multitone Electronics plc 1999
Multitone Electronics plc
Multitone House
Shortwood Copse Lane
Kempshott
Basingstoke
Hampshire
RG23 7NL
Part No. 9261-6097 Issue 2
 Loading...