

Multi-Tech RF102S Quick Start Manual

Model RF102S
Dual Serial Port Router
with Built-in 4-Port 10/100 Switch
Quick Start Guide

Quick Start Guide
PN#S0000137Revision A
Model RF102S Serial Port Router
This publication may not be reproduced, in whole or in part, without prior
expressed written permission from Multi-Tech Systems, Inc. All rights reserved.
Copyright © 2001, by Multi-Tech Systems, Inc.
Multi-Tech Systems, Inc. makes no representations or warranties with respect
to the contents hereof and specifically disclaims any implied warranties of
merchantability or fitness for any particular purpose. Furthermore, Multi-Tech
Systems, Inc. reserves the right to revise this publication and to make changes
from time to time in the content hereof without obligation of Multi-Tech Systems,
Inc. to notify any person or organization of such revisions or changes.
Record of Revisions
Revision Description
A
(02/28/01) Manual released.
Patents
This device is covered by one or more of the following patents: 6,031,867;
6,012,113; 6,009,082; 5,905,794; 5,864,560; 5,815,567; 5,815,503;
5,812,534; 5,809,068; 5,790,532; 5,764,628; 5,764,627; 5,754,589;
D394,250; 5,724,356; 5,673,268; 5,673,257; 5,644,594; 5,628,030;
5,619,508; 5,617,423; 5,600,649; 5,592,586; 5,577,041; 5,574,725;
D374,222; 5,559,793; 5,546,448; 5,546,395; 5,535,204; 5,500,859;
5,471,470; 5,463,616; 5,453,986; 5,452,289; 5,450,425; D361,764;
D355,658; D355,653; D353,598; D353,144; 5,355,365; 5,309,562; 5,301,274.
Other Patents Pending
Trademarks
The Multi-Tech logo is a trademark of Multi-Tech System, Inc. Windows,
Windows 95, 98, NT, and 2000 are trademarks of Microsoft. All other
trademarks are owned by their respective companies.
Multi-Tech Systems, Inc.
2205 Woodale Drive
Mounds View, Minnesota 55112
(763) 785-3500 or (800) 328-9717
Fax (763) 785-9874
Tech Support (800) 972-2439
Internet Address: http://www.multitech.com

Content s
Introduction .................................................................................... 4
Related Documentation .................................................................. 5
Get Adobe Acrobat Reader ...................................................... 5
Get the User Guide ................................................................. 5
Save or Print the User Guide ................................................... 5
Hardware Installation ...................................................................... 6
Safety Warnings ...................................................................... 6
Unpacking your RouteFinder ................................................... 6
Cabling your RouteFinder ........................................................ 7
Software Installation and Configuration ........................................... 9
Using RouteFinder Setup Wizard .......................................... 10
Testing your Connection ........................................................ 22
Configuring your Route Finder ............................................... 23
Using Telnet to Configure your RouteFinder........................... 23
Limited Warranty ......................................................................... 24
Technical Support ........................................................................ 25
iii
RouteFinder RF102S Quick Start Guide
Introduction
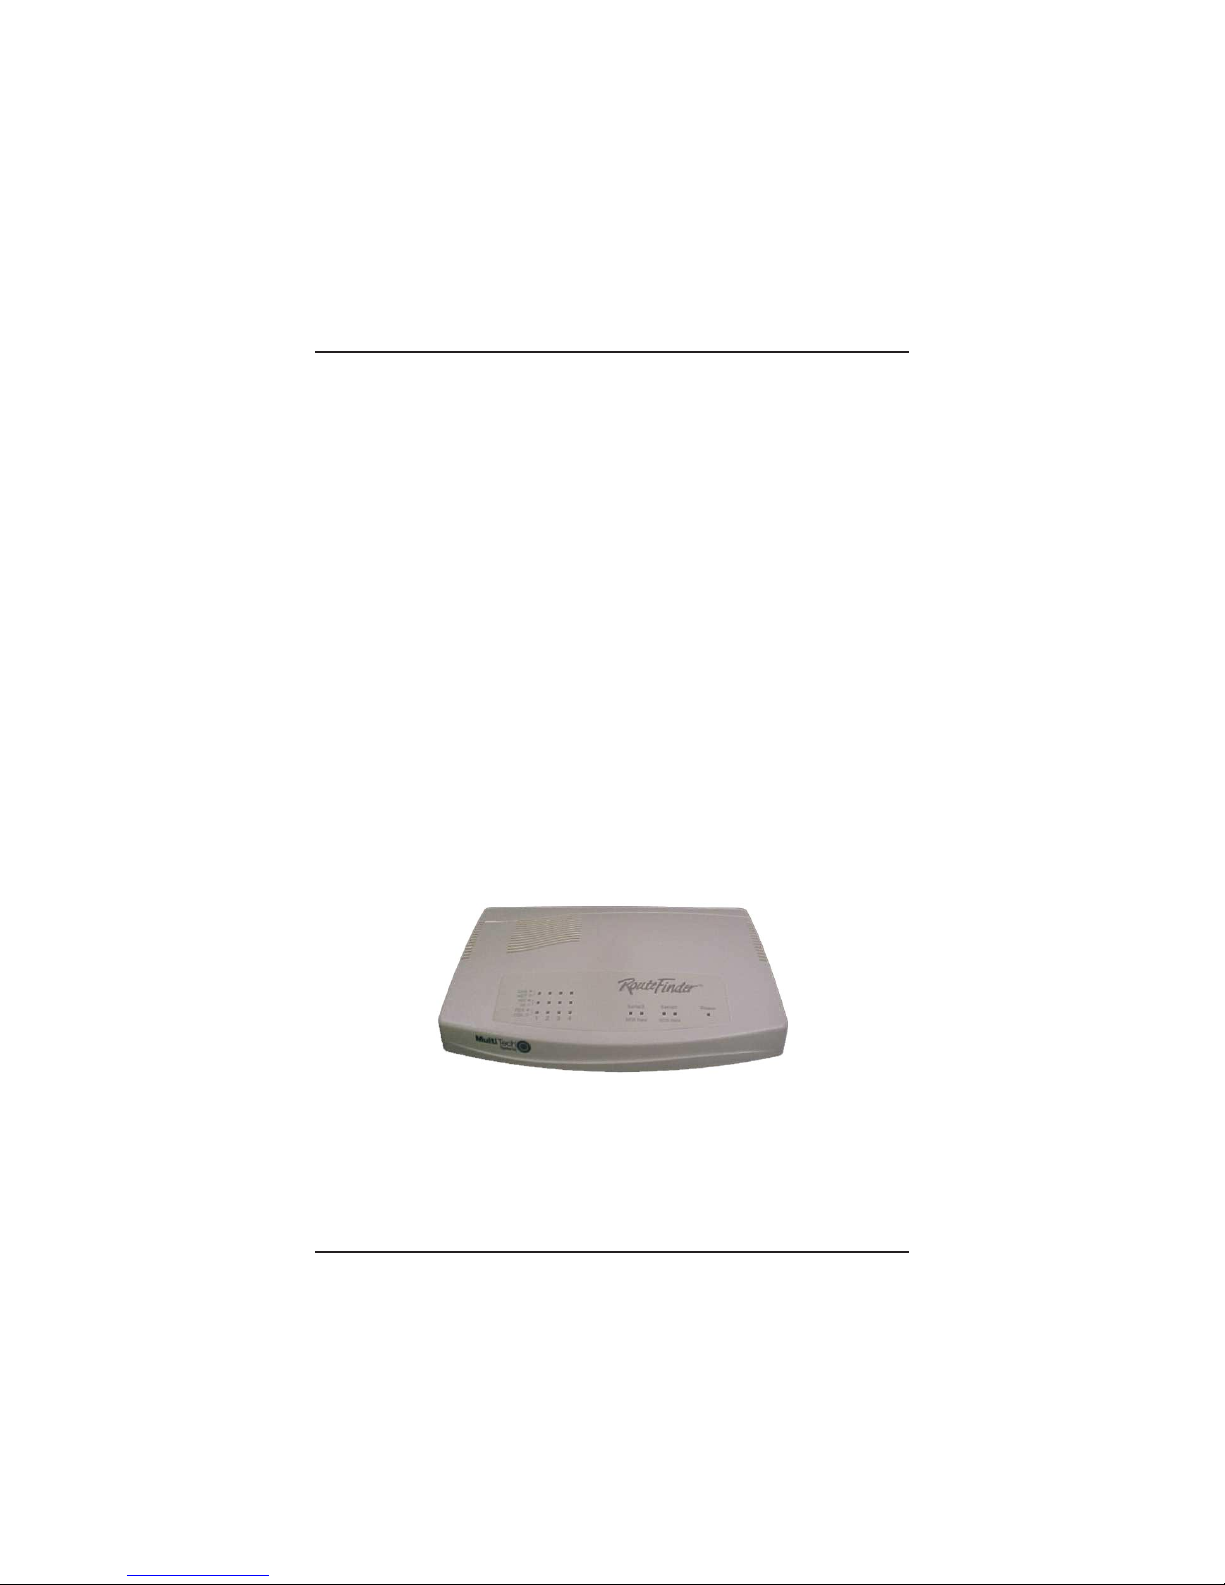
Congratulations on the purchase of one of the finest serial port
routers available today, Multi-Tech Systems RouteFinder Model
RF102S.
The RouteFinder RF102S provides shared Internet access for
up to 253 LAN users over a modem connection and one 1 IP
address. Virtual Server (IP Mapping) enables remote client
access to your network over the Internet. Remote clients can
connect directly to the LAN by dialing into the asynchrous port.
You can use IP Routing to segment your enterprise networks
into workgroups. The RF102S features an integrated 4-port 10/
100 switch. The Network Monitor Utility enables the network
administrator to view incoming and outgoing packets, the status
of network connections, and specific connection events. The
RF102S uses the NAT protocol to implement firewall and
gateway security for LAN-based resources. It also supports
Internet access restrictions by IP address, client protocols or a
list of forbidden sites. The RF102S can support Web, FTP, or
other Internet servers. The RF102 handles POP3, DNS, PPTP,
IRC, SMTP, Microsoft NetMeeting, multiplayer games,
RealPlayer, Quick Time, and other requests.
4
RouteFinder RF102S

Introduction
Related Documentation
This RF102S Serial Port Router Quick Start Guide is intended
to be used by systems administrators and network managers.
This guide provides the necessary information for a qualified
person to unpack, cable, install software, and configure the
device for proper operation.
A detailed RF102S Serial Port Router User Guide in Adobe
Acrobat PDF format is provided on the System CD included
with your RouteFinder RF102S. The User Guide provides in-
depth information on the features and functions available on
your router.
Get Adobe Acrobat Reader
Adobe Acrobat Reader is a free program used to view
documents created in Adobe PDF format. Adobe Acrobat
Reader can be installed from the System CD (click Install
Manuals and select Install Adobe Acrobat Reader) or
downloaded from Adobes Web site at http://www.adobe.com
Get the User Guide
The User Guide can be installed from the System CD by
clicking Install Manuals or by downloading the file from our
Web site at: http://www.multitech.com
Save or Print the User Guide
After opening the User Guide with Adobe Acrobat Reader, you
can save the .pdf file to your system or print a copy.
5

RouteFinder RF102S Quick Start Guide
Hardware Installation
Safety Warnings
1. Never install telephone wiring during a lightning storm.
2. Never install telephone jacks in a wet location unless the
jack is specifically designed for wet locations.
3. This product is to be used with UL and cUL listed
computers.
4. Never touch uninsulated telephone wires or terminals
unless the telephone line has been disconnected at the
network interface.
5. Avoid using a telephone (other than a cordless type) during
an electrical storm. There may be a remote risk of
electrical shock from lightning.
7. Do not use the telephone to report a gas leak in the vicinity
of the leak.
8. To reduce the risk of fire, use only No. 26 AWG or larger
Telecommunications line cord.
Unpacking your RouteFinder
The RF102S shipping box contains the following items:
System CD
Tucows CD
Power Supply
The RouteFinder RF102S
This Quick Start Guide
If any of these items are missing or damaged, please contact
Multi-Tech Systems.
6
Hardware Installation
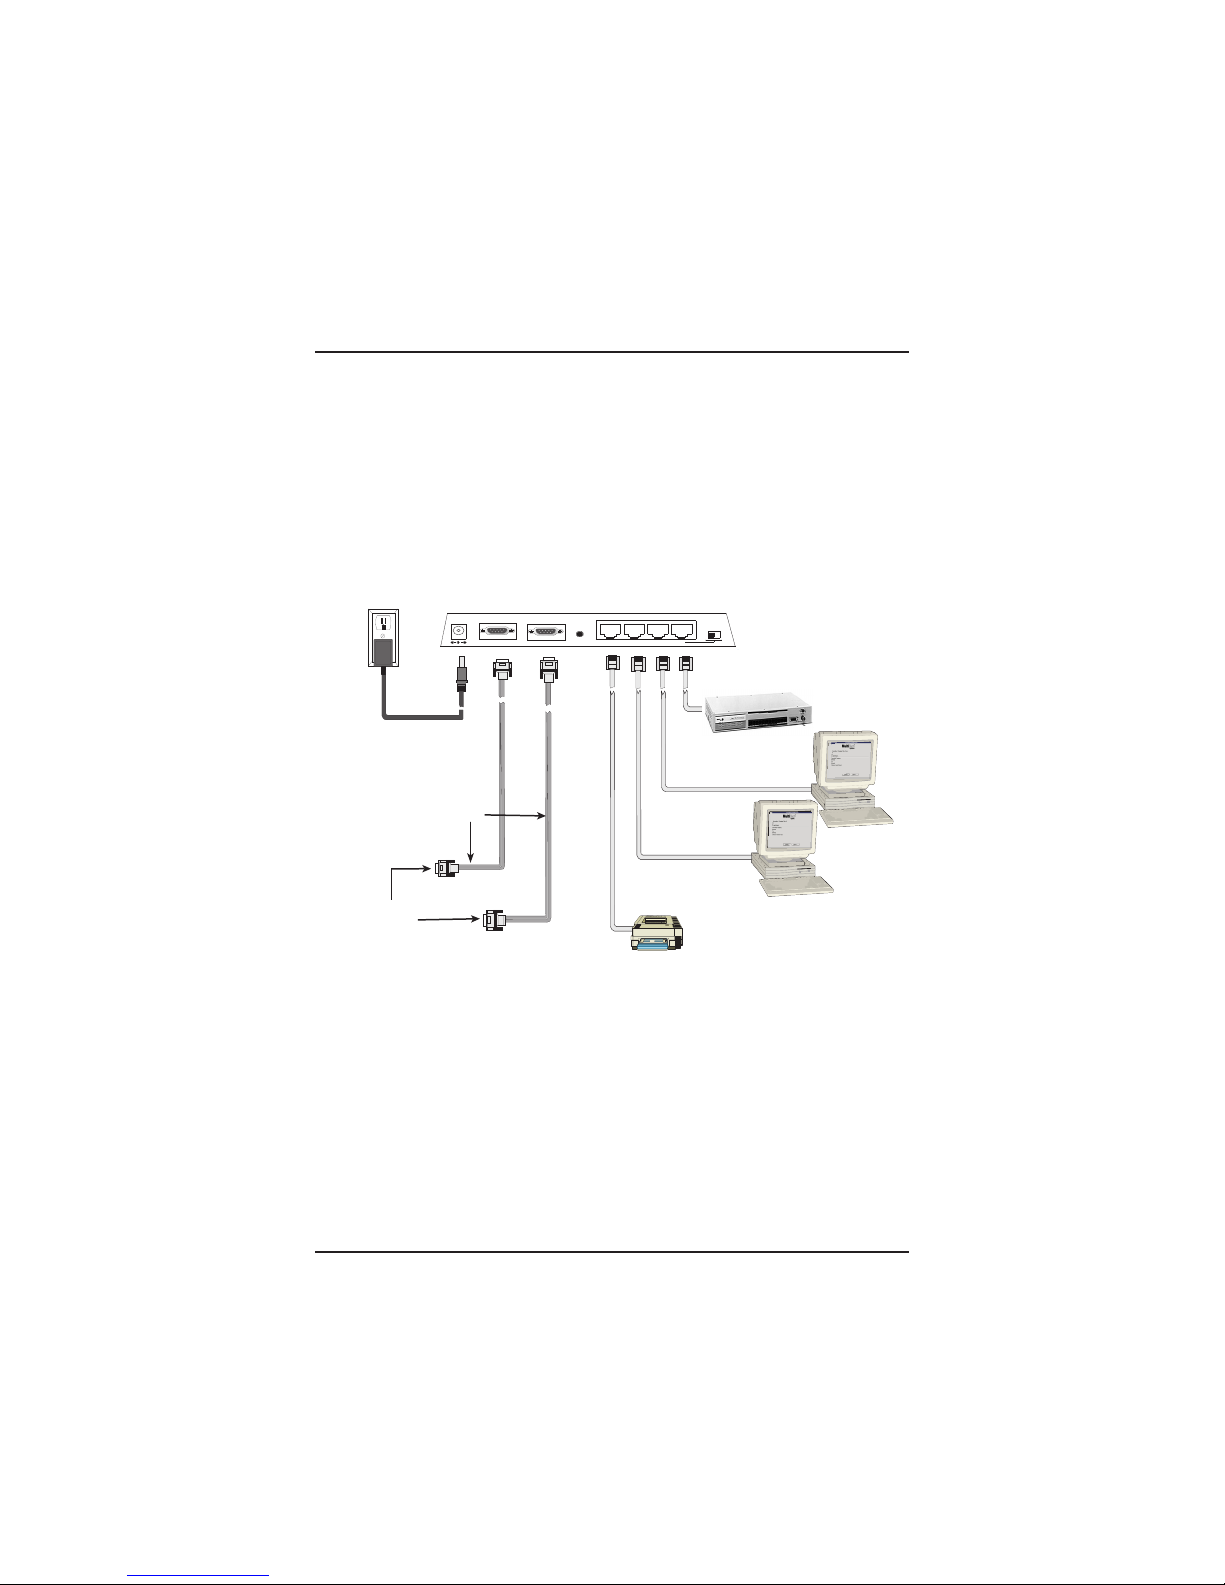
Cabling your RouteFinder
Cabling your RouteFinder requires making the appropriate
connections to PCs, analog modem or ISDN TA (optional), AC
power and the router. Because this device also provides DHCP
server functions, remote access, routing, and firewall protection,
after your device is properly cabled, you will need to complete
your configuration by following the instructions provided in the
Software Installation and Configuration section of this Quick
Start Guide.
Power Connection
Serial Cables
To Modem
or ISDN TA
5VDC
Serial 1
Reset
Serial 2
Uplink/Normal
1234
Optional
Uplink
Network Printer
Hub
PC
Cabling the RouteFinder RF102S
1. Before beginning, turn off the power for all network devices
(PCs, analog modems, ISDN TAs) and disconnect the
router power supply.
2. Connect the Ethernet port of each PC or network device to
one of the 4 LAN ports. If you are using the Uplink option,
port number 1 cannot be used as a LAN port.
3. If you are using one or two analog modems or IDSN TAs,
connect each to a Serial Async port.
PC
7

RouteFinder RF102S Quick Start Guide
4. To use the Uplink option to connect to another network
segment, slide the Uplink/Normal switch into the Uplink
position. Connect the LAN cable to LAN port number 1.
Plug the other end of the LAN cable into another hub,
router, or switch.
Note: If you are not using the Uplink feature, place the
switch in the Normal position.
5. Connect the provided power supply cable to the 5V DC
power port on the back of the router. Plug the power supply
into an AC power outlet as shown.
6. If you are using or or two analog modems or ISDN TAs, turn
on the power for the devices.
7. Press and hold the RouteFinders Reset button for 3
seconds to restore the default settings.
You are ready to configure software for your router and
network PCs.
8
 Loading...