

Page 1
MultiModem
®
DID
MT5634ZBA-DID
Quick Start Guide
Page 2

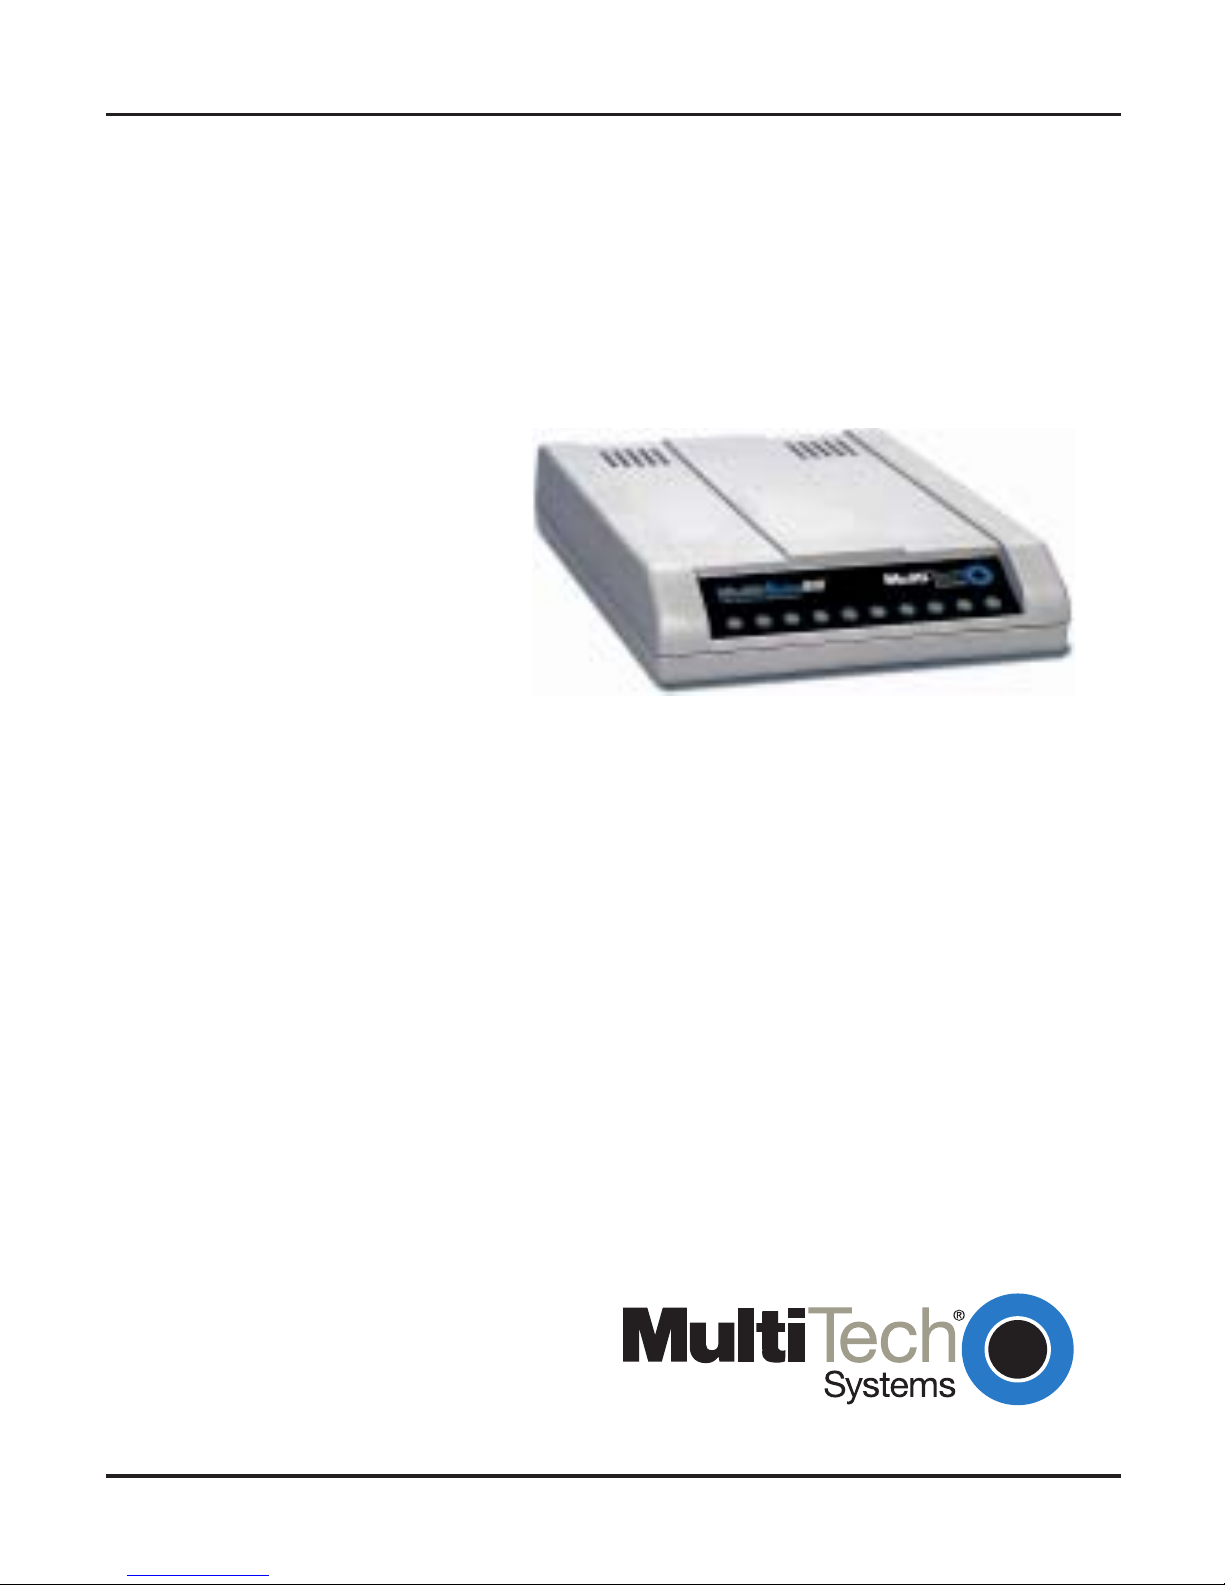
MT5634ZBA–DID Modem
Quick Start Guide
MT5634ZBA-DID Data/Fax Modem
PN 82000452L Revision C
Copyright
Copyright © 2002-2008 Multi-Tech Systems, Inc.
This publication may not be reproduced, in whole or in part, without
prior expressed written permission from Multi-Tech Systems, Inc. All
rights reserved.
Multi-Tech Systems, Inc. makes no representations or warranties with
respect to the contents hereof and specifically disclaims any implied
warranties of merchantability or fitness for any particular purpose.
Furthermore, Multi-Tech Systems, Inc. reserves the right to revise this
publication and to make changes from time to time in the content
hereof without obligation of Multi-Tech Systems, Inc. to notify any person
or organization of such revisions or changes. Check Multi-Tech’s web site
for current versions of our product documentation.
Rev. A 05/31/02 Initial release with V.92 protocol.
Rev. B 10/22/02 Remove PhoneTools.
Rev. C 01/02/08 Revise tech support listing.
Trademarks
MultiModem, Multi-Tech, and the Multi-Tech logo are registered
trademarks of Multi-Tech Systems, Inc. All other brand and product
names mentioned in this publication are trademarks or registered
trademarks of their respective companies.
World Headquarters: Multi-Tech Systems, Inc.
2205 Woodale Drive, Mounds View, MN 55112 U.S.A
(763) 785-3500 or (800) 328-9717;
US Fax (763) 785-9874
Technical Support Contacts
Country By Email By Phone
Europe, Middle East, Africa: support@multitech.co.uk +(44) 118 959 7774
U.S., Canada, all others: support@multitech.com 800-972-2439 or
763-717-5863
Internet Address http://www.multitech.com
Page 3

Quick Start Guide
Getting Started
This guide shows you step-by-step how to set up your MultiTech MT5634ZBA–DID modem. For detailed information on
how to install, test, and use your modem, see the User Guide
on the MT5634ZBA–DID system CD provided with your modem.
We Supply
• An MT5634ZBA-DID modem
• A set of four self-adhesive plastic feet
• A power supply
• A 9-pin to 9-pin serial cable
• Two RJ-11 telephone cables
• This printed Quick Start Guide
• A CD containing modem drivers, a User Guide, and Adobe
Acrobat Reader.
You Supply
• A computer with an available serial port
• A nearby AC power outlet
• A nearby phone line jack
• A nearby analog DID trunk line with a block of associated
DID telephone numbers
1
Page 4

MT5634ZBA–DID Modem
Safety Warnings
• Use this product only with UL- and CUL-listed computers.
• Never install phone wiring during a lightning storm.
• Never install a phone jack in a wet location unless the jack is
specifically designed for wet locations.
• Never touch uninsulated phone wires or terminals unless the
phone line has been disconnected at the network interface.
• Use caution when installing or modifying phone lines.
• Avoid using a phone during an electrical storm; there is a
risk of electrical shock from lightning.
• Do not use a phone in the vicinity of a gas leak.
• To reduce the risk of fire, use only 26 AWG or larger
telephone line cord.
2
Page 5

Quick Start Guide
Installation Process
Step 1: Mount the Feet
The modem comes with a strip of self-adhesive plastic feet,
which you can optionally mount on the modem. To install the
feet, simply peel them from their paper strip and press them into
the recesses on the bottom of the modem.
Step 2: Connect the Modem to Your System
Turn off your computer. Place the modem in a convenient
location, and then connect it to your computer’s serial port, the
phone line, AC power, DID line, and your phone.
POTS Line
Analog
DID
Trunk
Line
RS232
POWER
DID
PHONE LINE
Connect the Modem to Your PC
Plug one end of the serial cable into the connector on the
modem, and plug the other end into a serial port on your
computer, such as COM1 or COM2.
3
Page 6

MT5634ZBA–DID Modem
4
Connect the Modem to the Telephone Line
Plug one end of the phone cable into the modem’s LINE jack
and the other end into a phone wall jack. The phone cable is
included with your modem.
Note: The LINE jack is not interchangeable with the PHONE
jack. Do not plug the phone into the LINE jack or the line cable
into the PHONE jack.
(Optional) Connect the Modem to the Phone
For voice-only calls, plug a phone into the modem’s PHONE
jack.
Connect the Modem to the AC Power Outlet
Make sure the power is switch is OFF. Plug the DC power
transformer into a power outlet or power strip. Plug the other
end into the PWR jack on the modem. The DC power
transformer is included with your modem.
Caution: Use only the DC power transformer supplied with the
modem. Use of any other transformer voids the warranty and
can damage the modem.
Connect the Modem to the DID Line
Plug one end of the phone cable into the modem’s DID jack
and the other end into an analog DID trunk line jack. The DID
Line cable is included with your modem.
Caution: The DID Line cable has a 4 pos RJ11 on one side
and a 6 pos on the other. Never plug the DID connector into a
standard POTS Line. This may damage the modem or the
central office equipment. Use only an analog DID Line.
Page 7

Quick Start Guide
5
Power-on Test
Test the modem by turning it on (an on-off switch is located
on the side panel). When you apply power, the modem
performs a diagnostic self-test. The 56 indicator lights, and if
a terminal program is running, the TR indicator also lights. If
this does not happen, check that the power switch is on, the
power supply is solidly connected, and the AC outlet is live. If
these measures do not work, see
Troubleshooting
in the
User Guide.
Step 3: Install the Modem Driver
1. Make sure your modem is connected properly, and then
turn on your computer. Windows should detect your new
modem and open the
Install New Modem wizard.
Note: If Windows cannot find a modem, your modem may
be turned off, it may be plugged into the wrong connector
on your computer, or the serial cable may be faulty. See
“None of the LEDs Light When the Modem Is Turned On”
and “The Modem Does Not Respond to Commands” in
the “Troubleshooting” chapter in the User Guide.
2. Insert the MT5634ZBA-DID CD into your CD-ROM drive,
and then click
OK.
3. Windows installs the modem driver.
4. Click
Finish to exit.
For Windows NT, the
Install New Modem wizard presents one
additional prompt before Step 2. At this prompt, select Don’t
detect my modem; I will select it from a list, and then click Next.
A dialog box with a list of manufacturers and a list of modem
models appears. Select your modem.
Then continue with Step 2 above.
Page 8

Patents
This device is covered by one or more of the following patents: 6,031,867;
6,012,113; 6,009,082; 5,905,794; 5,864,560; 5,815,567; 5,815,503; 5,812,534;
5,809,068; 5,790,532; 5,764,628; 5,764,627; 5,754,589; D394,250; 5,724,356;
5,673,268; 5,673,257; 5,644,594; 5,628,030; 5,619,508; 5,617,423; 5,600,649;
5,592,586; 5,577,041; 5,574,725; D374,222; 5,559,793; 5,546,448; 5,546,395;
5,535,204; 5,500,859; 5,471,470; 5,463,616; 5,453,986; 5,452,289; 5,450,425;
D361,764; D355,658; D355,653; D353,598; D353,144; 5,355,365; 5,309,562;
5,301,274. Other patents pending.
82000452L
 Loading...