

Multitech FaxFinder FF110 Quick Start Manual

FaxFinder™
Model FF110
V.34 Fax Server
Quick Start Guide

FaxFinder Model FF110 V.34 Fax Server
Quick Start Guide
P/N 82010272L, Revision C
Copyright © 2006 by Multi-Tech Systems, Inc.
All rights reserved. This publication may not be reproduced, in whole or in part,
without prior expressed written permission from Multi-Tech Systems, Inc.
Multi-Tech Systems, Inc. makes no representation or warranties with respect to the
contents hereof and specifically disclaims any implied warranties of merchantability or
fitness for any particular purpose. Furthermore, Multi-Tech Systems, Inc. reserves the
right to revise this publication and to make changes from time to time in the content
hereof without obligation of Multi-Tech Systems, Inc., to notify any person or organization of such revisions or changes.
Record of Revisions
Revision Date Description
A 02/12/04 Initial Release, Rev A.
B 01/21/05 Updated tiff viewer drawings, added
C 05/12/06 Revise descriptions of Device Mgr
Trademarks
FaxFinder, Multi-Tech, and the Multi-Tech logo are trademarks of Multi-Tech
Systems, Inc. All other brand and product names mentioned in this publication are
trademarks or registered trademarks of their respective companies.
GENERAL CONTACT TECHNICAL SUPPORT
Multi-Tech
Systems, Inc.
2205 Woodale Drive
Mounds View,
Minnesota
55112, USA
(763) 785-3500
(800) 328-9717
Fax: 763-785-9874
www.multitech.com
FFCF Manager info.
SW and of client SW to rev level
1.06.
Country By E-mail By Phone
France support@
India support@
Europe,
Asia,
Africa
U.S.,
Canada,
All Others
multitech.fr
multitechindia.
com
support@
multitech.co.uk
support@
multitech.com
(33) 1-64
61 09 81
(91) 1242340780
(44) 118
959 7774
(800) 9722439; (763)
717-5863
2

Contents
GETTING STARTED............................................................................... 5
FRONT PANEL LEDS................................................................................. 5
WE SUPPLY............................................................................................... 5
YOU SUPPLY............................................................................................. 6
PREREQUISITE: ORDERING THE DID LINE................................................ 7
SERVER INSTALLATION PROCESS..................................................8
PART A: CONNECTING THE FAXFINDER TO POWER OUTLET, PHONE LINES,
ETHERNET......................................................................................... 8
AND
1. Connect FaxFinder to AC Outlet..................................................... 8
2. Connect FaxFinder to DID Line...................................................... 8
3. Connect FaxFinder to POTS Line ................................................... 9
4. Connect FaxFinder to Ethernet Network......................................... 9
5. Do Power-On Test........................................................................... 9
PART B: CONFIGURING THE FAXFINDER SERVER ................................... 10
1. Setting Admin PC to Startup IP Address ....................................... 10
2. Logging In (I)................................................................................. 11
3. Setting FaxFinder IP Addresses .................................................... 11
4. Resetting Admin PC to Its Regular IP Address.............................. 12
5. Logging In (II) ............................................................................... 12
6. Setting Administrative Functions................................................... 12
7. Setting Up the Mail Server............................................................. 15
8. Configuring the FaxFinder’s Inbound DID Modem...................... 16
9. Configuring the FaxFinder’s POTS Modem.................................. 18
10. Changing Admin’s Server Password........................................... 21
11. Specifying Admin’s Client Password........................................... 22
12. Sending Test Fax from Fax Machine to FaxFinder..................... 23
13. Assigning DID Numbers to Network Clients ............................... 25
CLIENT SOFTWARE INSTALLATION PROCESS ......................... 26
INSTALL FAXFINDER CLIENT SOFTWARE................................................ 26
ASSOCIATE CLIENT WITH SPECIFIC FAXFINDER UNIT(S)........................ 27
MAKING ADDRESS BOOK ENTRIES ......................................................... 30
Making an Address Book by Direct Data Entry ................................ 30
3

Making Address Book Entries by Synchronization with Microsoft
Outlook ...............................................................................................31
SEND TEST FAX.......................................................................................33
DEVICE MANAGER SOFTWARE FUNCTIONS ..............................34
INSTALLING DEVICE MANAGER SOFTWARE ............................................34
ADDING FAXFINDERS..............................................................................36
SYNCHRONIZING PHONEBOOKS ...............................................................37
CLIENT OPERATION............................................................................40
SENDING A FAX (QUICK VERSION)..........................................................40
SENDING A FAX (DETAILED VERSION) ....................................................42
SENDING A TEST FAX FROM FF CLIENT TO FAX MACHINE......................48
RECEIVING A FAX....................................................................................49
TECH SUPPORT.....................................................................................51
4
Multi-Tech FaxFinder Quick Start Getting Started
Getting Started
This guide s hows you how to set up your Multi-Tech Model FF110
FaxFinder.
Your FaxFinder is a complete, economical, easy-to-use network fax
server. It allows you to receive faxes as emails and send faxes from
any application that can print. Simply hook up a DID trunk and a
regular POTS phone line, make an Ethernet connection to your LAN,
and assign client email addresses to the DID numbers.
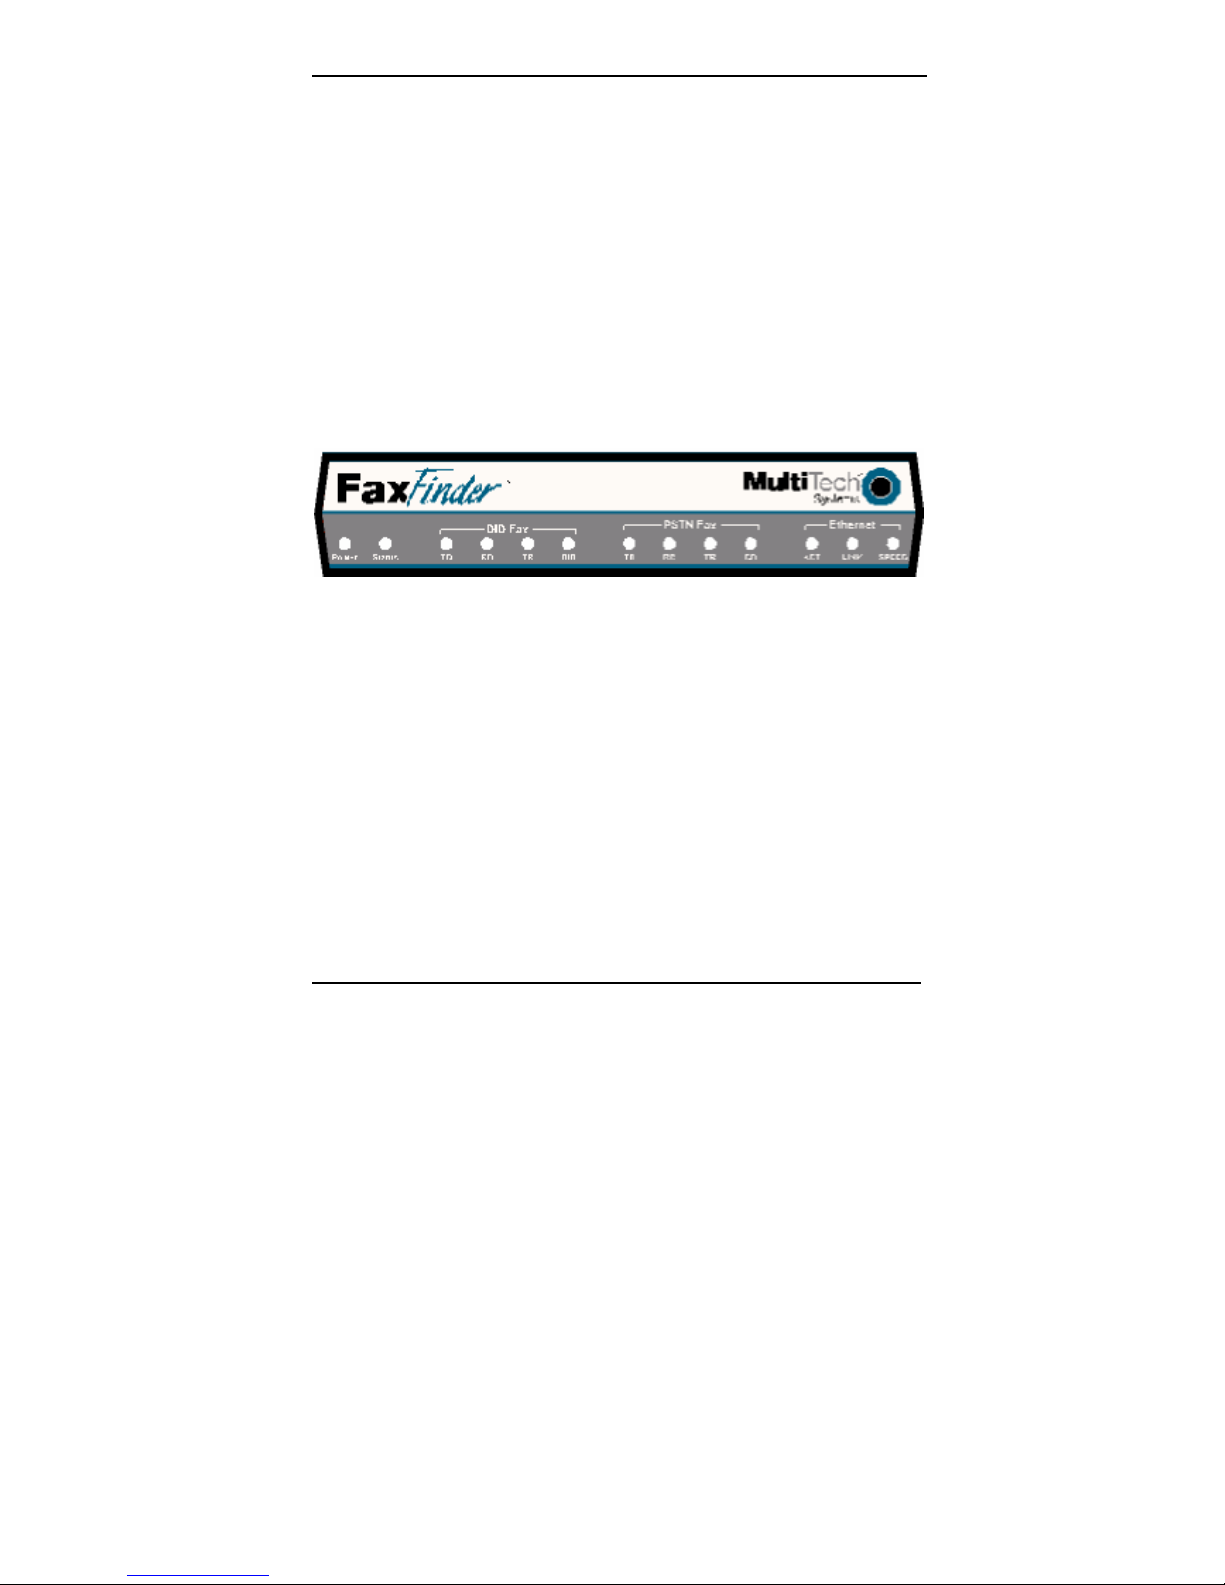
Front Panel LEDs
We Supply
• An FF110 FaxFinder with factory-installed software
• A set of four self-adhesive plastic feet
• A power supply
• One common telephone cable (RJ-11 at both ends)
• One DID telephone cable (RJ-11 at one end; RJ12 at other end)
• A product CD with software for client PCs, software for the
administrator’s PC, and additional documentation for both
administrators and client/users
• This printed Quick Start Guide
5

Getting Started Multi-Tech FaxFinder Quick Start
You Supply
• A nearby AC power outlet
• A nearby phone line jack
• A connection to your Ethernet LAN
• A nearby analog DID trunk line with a block of associated DID
telephone numbers
• A common subscriber phone line (POTS)
• An administrative PC (with Windows NT, Windows 2000, or
Windows XP as an operating system and with a web browser) to
configure the FaxFinder unit and run the FaxFinder/CallFinder
Manager software
• Client PCs with email and printing applications. Client PCs on
your network will receive faxes in their email inboxes. They will
send faxes by printing to the FaxFinder server from application
programs while running the FaxFinder client software.
6

Multi-Tech FaxFinder Quick Start Getting Started
Prerequisite: Ordering the DID Line
To operate the FaxFinder system, you will need a DID (Direct Inward
Dial) line in your office. You must order the DID line from your local
telephone operating company (telco). A DID line allows one phone
line to be associated with multiple directory numbers. However, only
one call can occur on this line at any given time.
DID lines are sold in groups. For example, a telco in New York City
might offer a DID line with a set of 20 directory numbers in the range
of 212-555-4101 through 212-555-4120.
When ordering your DID line, ask the telco representative for these
details about the DID service. These details will be important when
setting up your FF110 Fax Server.
Parameter Value Required by
Telco
Number of digits used
to designate the DID extension
(usually 3, 4, 6, or 7)
Type of “DID Start” used
(wink, immediate, or delay dial)
You will need this information to configure your FaxFinder Server
(see step 8 on page 16).
7

Server Installation Multi-Tech FaxFinder Quick Start
Server Installation Process
Part A: Connecting the FaxFinder to Power Outlet, Phone
Lines, and Ethernet
Summary: Turn off your computer. Place the FaxFinder in a
convenient location, and then connect it to your AC power outlet,
DID line, POTS line, and Ethernet.
1. Connect FaxFinder to AC Outlet
Make sure the FaxFinder’s power switch is OFF. Plug the DC power
transformer into a power outlet or power strip. Plug the other end
into the PWR jack on your FaxFinder. The DC power transformer is
included with your FaxFinder.
Caution: Use only the DC power transformer supplied with
the FaxFinder. Use of any other transformer voids
the warranty and can damage the FaxFinder.
2. Connect FaxFinder to DID Line
Plug one end of the phone cable into the FaxFinder’s DID jack and
the other end into an analog DID trunk line jack. The DID Line cable
is included with your FaxFinder.
Caution: The DID Line cable has an RJ11 connector on
one end (this is the larger of the two connectors; it
goes to the telephone wall receptacle). The DID
Line cable has an RJ12 connector on the other
end (this is the smaller connector; it goes to the
DID Port on the FaxFinder unit).
Never plug the DID connector into a standard
POTS Line. This may damage the FaxFinder or
the central office equipment. Use only an analog
DID Line.
8

Multi-Tech FaxFinder Quick Start Server Installation
3. Connect FaxFinder to POTS Line
Plug one end of the phone cable into the FaxFinder’s POTS jack
and the other end into your standard telephone line jack. The POTS
Line cable is included with your FaxFinder.
4. Connect FaxFinder to Ethernet Network.
Plug one end of your RJ45 ethernet cable into the FaxFinder’s
ethernet jack and the other end into your network ethernet hub. This
ethernet cable is not included with your FaxFinder unit.
Caution: Before connecting to the Ethernet Network, make
sure that the network to which you are connecting
the FaxFinder is not a 192.168.2.x subnet.
If it is a 192.168.2.x subnet, connect from the
Admin PC to the FaxFinder using an RJ45
crossover cable until the FaxFinder’s IP address
has been configured. Thereafter, connect the
FaxFinder into the network with an ordinary RJ45
cable.
5. Do Power-On Test
Test your FaxFinder by turning it on (an on-off switch is located on
the back panel). When you apply power, the FaxFinder performs a
diagnostic self-test. The Status indicator flashes when the test is
complete and the unit is ready. If this does not happen, check that
the power switch is on, the power supply is solidly connected, and
the AC outlet is live.
9

Server Installation Multi-Tech FaxFinder Quick Start
Part B: Configuring the FaxFinder Server
1. Setting Admin PC to Startup IP Address
a. Connect a pc to your network.
b. Set the pc IP address to 192.168.2.x subnet (using any address
excluding 192.168.2.1).
Windows XP
a. From the Windows desktop,
right-click on “My Network Places,”
and select “Properties.”
b. In the Network Connection
screen, right-click on “Local Area
Connection.”
c. In the Local Area Connection
Properties screen, on the
“General” tab, scroll to the “Internet
Protocol (TCP/IP)” entry and select
it. Click “Properties.”
d. In the Internet Protocol
(TCP/IP) Properties screen, record
the existing IP address. Then reset
the IP address to 192.168.2.2.
Windows NT
a. From the Windows desktop, right-click on “Network Neighborhood,” and
select “Properties.”
b. In the Network screen, on the “Protocols” tab, select “TCP/IP Protocol” in
the list of Network Protocols. Click “Properties.”
c. In the Microsoft Internet Protocol (TCP/IP) Properties screen, record
the existing IP address. Then reset the IP address to 192.168.2.2.
Windows 2000
a. From the Windows desktop, rightclick on “My Network Places,” and
select “Properties.”
b. In the Network and Dialup
Connections screen, right-click on
“Local Area Connection” and select
“Properties.”
c. In the Local Area Connection
Properties screen, select the
“Internet Protocol (TCP/IP)” entry.
Click “Properties.”
d. In the Internet Protocol (TCP/IP)
Properties screen, record the
existing IP address. Then reset the
IP address to 192.168.2.2.
10

Multi-Tech FaxFinder Quick Start Server Installation
2. Logging In (I)
a. Bring up a Web browser on your pc. At the browser’s address
line, type the default Gateway address: http://192.168.2.1 and
press Enter.
b. The Login screen will appear.
At this point you can be assured that the FaxFinder is connected
to the network.
If the Login screen does not appear, see item #1, “What if I
can’t see the web page for my FaxFinder?” in the
Troubleshooting section of the Administrator User Guide.
c. At the Login screen, enter admin (all lower case) in the User
Name field.
d. Enter admin (all lower case) in the Password field.
e. Click the Login button. The Web Management Home screen
will appear. From this screen, you can access all of the
FaxFinder Server software screens.
3. Setting FaxFinder IP Addresses
a. In the FaxFinder Administration screen, go to the IP
Configuration fields.
Administration: IP Configuration
IP Address
Subnet Mask
Name Server
upda te
192.168.4.89
255.255.255.0
192.168.11.251
Default Gateway
Secondary
Name Server
192.168.4.1
b. Fill in the IP information that applies to your FF110 FaxFinder
Server unit. The fields for “IP Address,” “Subnet Mask,” “Default
Gateway” and “Name Server” are required. A “Secondary
Name Server” may be considered optional.
c. Click Update.
11
Server Installation Multi-Tech FaxFinder Quick Start
4. Resetting Admin PC to Its Regular IP Address
In step #1 above, you recorded the original IP address of the
administrator’s PC and then reset it to the IP address required to
allow communication with the FaxFinder unit. You must now set the
IP address of the administrator’s PC back to its original value.
5. Logging In (II)
Having reset the IP address of the administrator’s PC, you must log
into the FaxFinder Server software again. Go to the Login screen,
enter admin as User Name and admin as Password.
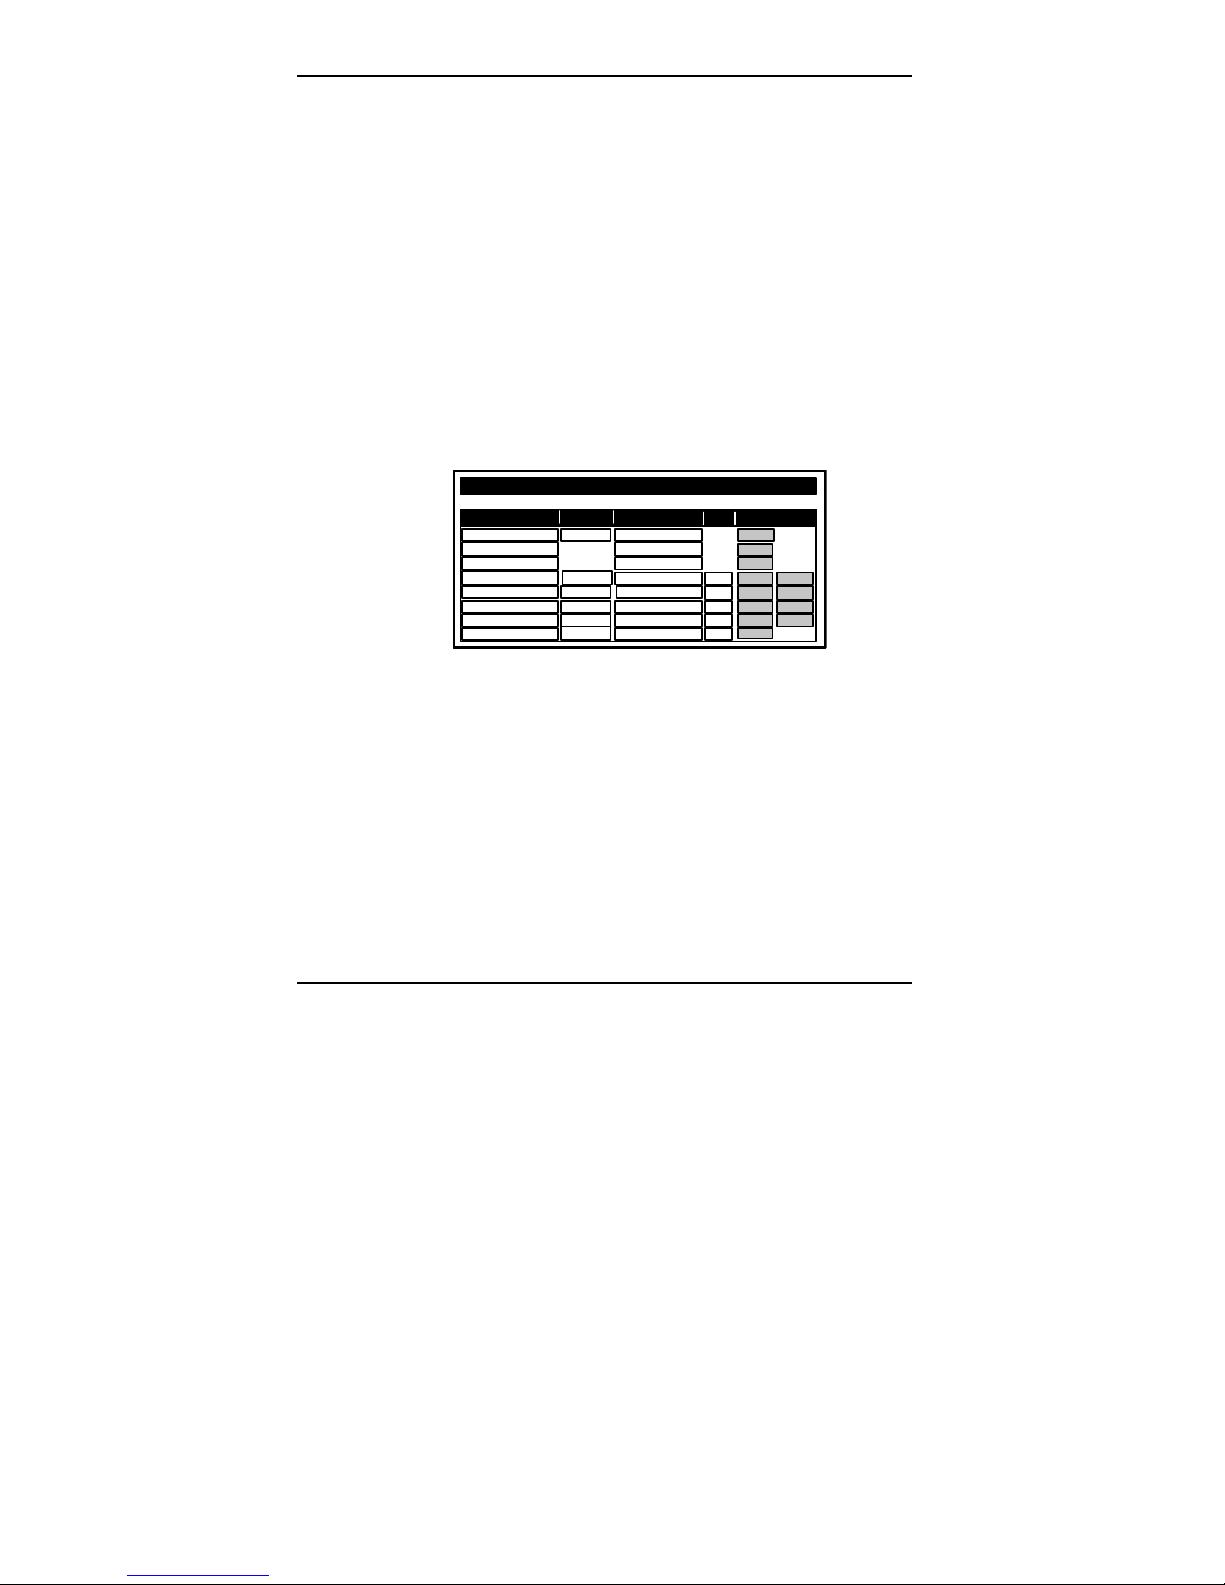
6. Setting Administrative Functions
Go to the FaxFinder Phone Book screen.
Phone Book
Name
Administrator admin
POTS Line
D ead L etter Box
User ID Emai l Addres s
Ext
Function
update
update
update
update
update
update
update
add
delete
delete
delete
delete
a. General Admin Email Address & DID
i. In the “admin” row of the Phone Book screen, enter
the name and user ID to be used for the FaxFinder
administrator. All incoming faxes will be marked as
coming from this administrator. Then enter the email
address of the party who will act as the FaxFinder
administrator.
ii. Click on Update in the “admin” row. At this point, a
Login screen will appear and you will be asked to log
in again. Log in using the administrator’s User ID (as
listed in the “User ID” column) and the administrator’s
current password (at this point, it should be admin).
12
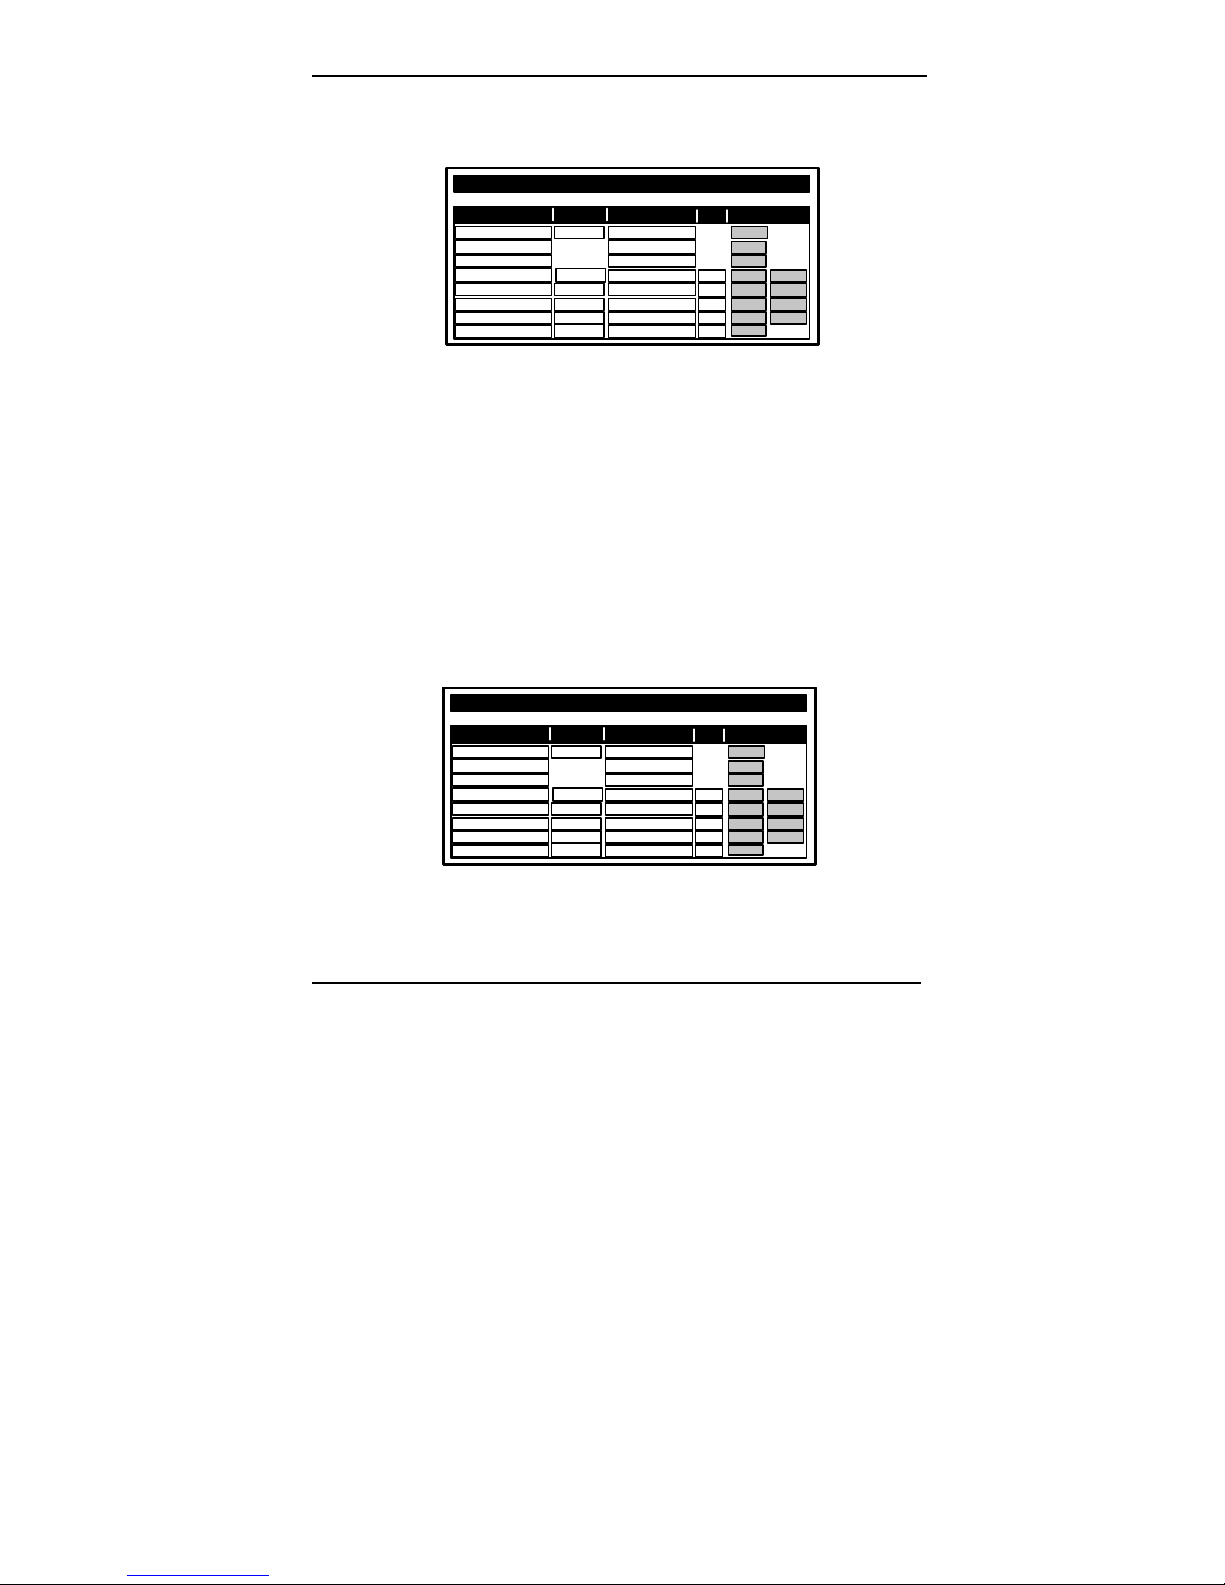
Multi-Tech FaxFinder Quick Start Server Installation
The message “Success: [name] was updated” will
appear above the Phone Book list.
Phone Book
Name
H ank Gr e gory -- Admin a dmin hg g@ r m c 83.c om
POTS Line
Dead Letter Box
User ID E m ail Ad dr es s
Ext Function
update
update
update
update
delete
update
delete
update
delete
update
delete
add
b. Destination Email Address for POTS Line Fax
i. In the “POTS Line” row of the Phone Book screen,
enter the email address of the person whom you
want to receive all inbound faxes received on the
POTS line. (The POTS line is primarily for sending
faxes but can receive faxes, as well. Typically, faxes
coming in on the POTS Line are sent to the
FaxFinder Administrator.)
ii. Click on Update in the “POTS Line” row. The
message “Success: POTS Line was updated” will
appear above the Phone Book list.
Phone Book
Name
H ank Gre gory - - Admi n a dmin hg g@ r mc 83. com
POTS Li ne hgg@ r m c 83. c om
Dead Letter Box
User ID E m ail Ad dr es s
13
Ext Function
update
update
update
update
delete
update
delete
update
delete
update
delete
add

Server Installation Multi-Tech FaxFinder Quick Start
c. Destination Email Address for Unassigned DID
Numbers
i. In the “Dead Letter Box” row of the Phone Book
screen, enter the email address of the person whom
you want to receive all inbound faxes sent to
unassigned DID phone numbers. (For example, a
company might obtain a group of 20 DID phone
numbers but only use 17, retaining 3 for future use.
Any faxes sent to the three unused DID numbers
would go to the Dead Letter Box. Typically, Dead
Letter Box items are sent to the FaxFinder
Administrator.)
ii. Click on Update in the “Dead Letter Box” row. The
message “Success: Dead Letter Box was updated”
will appear above the Phone Book list.
Phone Book
Name
Ha nk Gr eg ory -- Admin ad min hgg @rmc8 3. c o m
PO TS Li n e hgg @ r mc8 3. c om
De ad Le t ter B o x
User ID Email Address
hgg@rmc83.com
Ext Function
update
update
update
update
delete
update
delete
update
delete
update
delete
add
d. Personal Email Address for Admin
i. Just below the “Dead Letter Box” row of the Phone
Book screen, enter the name and user ID to be used
to receive the FaxFinder administrator’s individual
inbound faxes. (Generally, the administrator should
have an additional phonebook entry for receiving
ordinary fax traffic for his/her own use that is
separate from the administrator function.) Then
enter the email address at which the FaxFinder
administrator will receive such fax traffic.
14
Multi-Tech FaxFinder Quick Start Server Installation
ii. Click on Update for this row. The message
“Success: [name] was updated” will appear above
the Phone Book list.
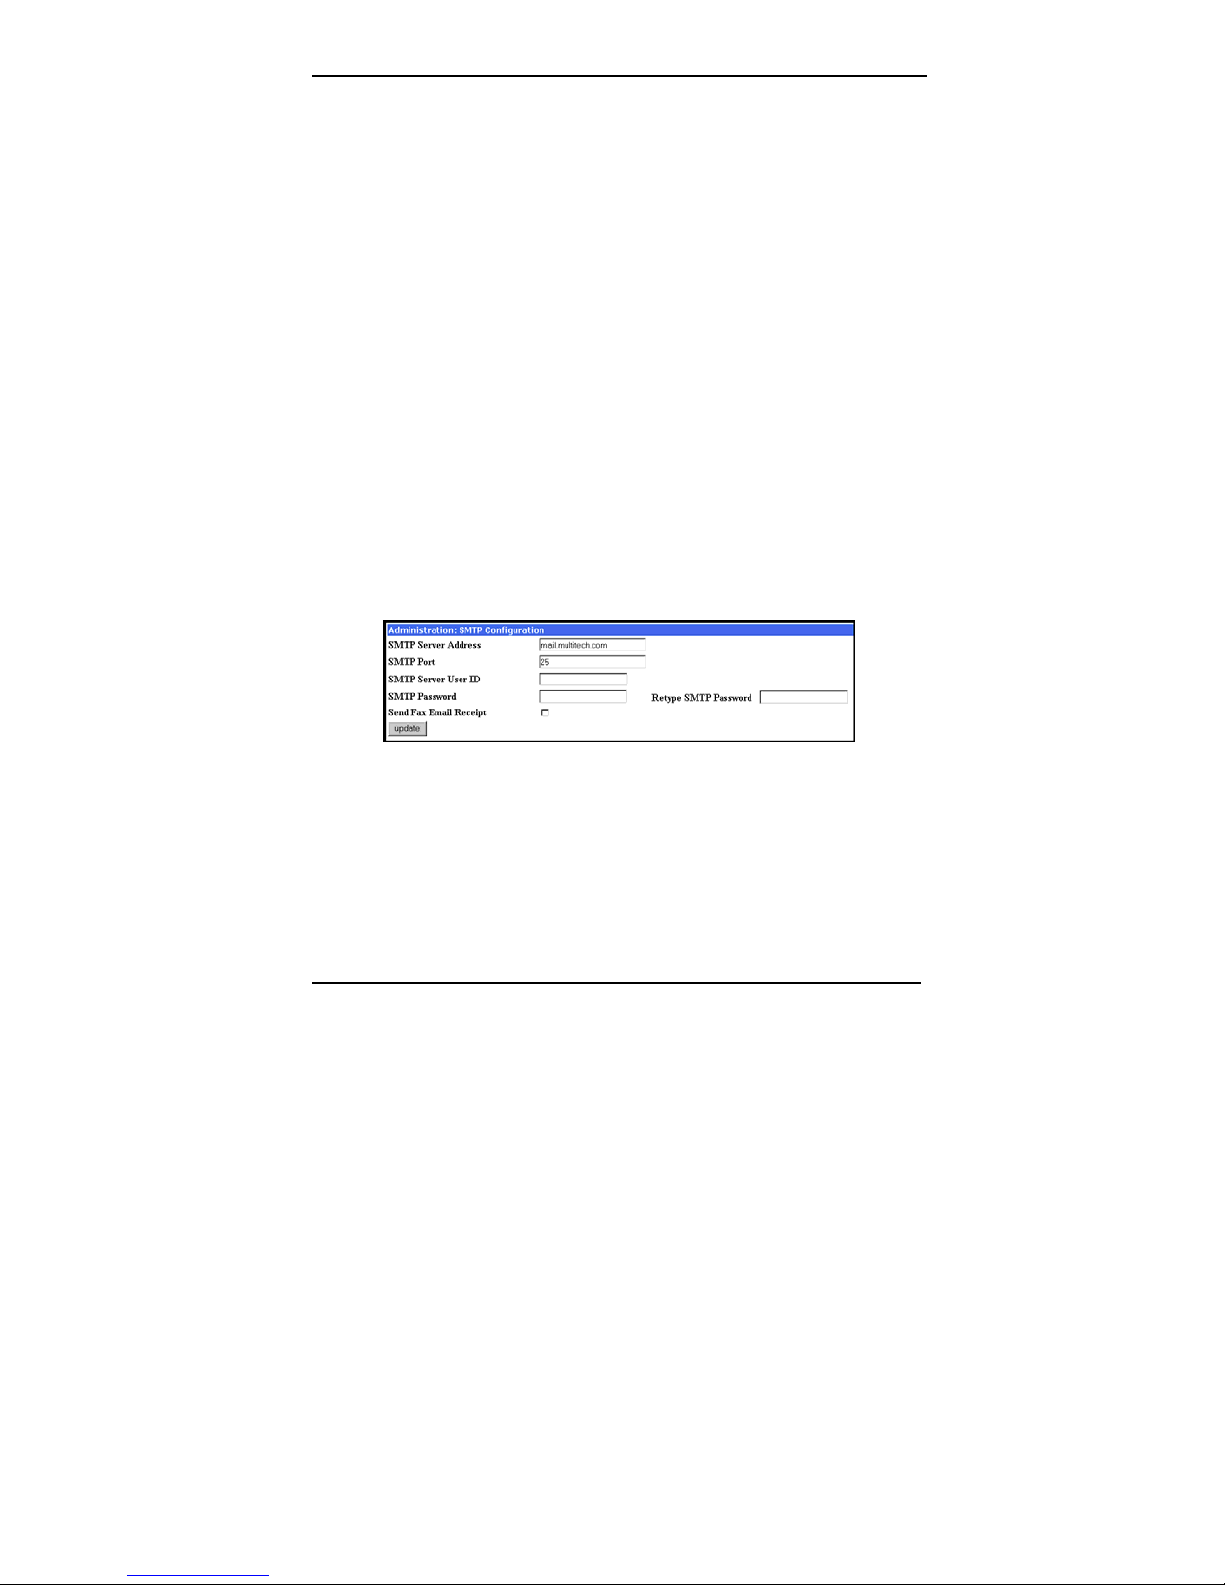
7. Setting Up the Mail Server
The FaxFinder uses a mail server to send fax log reports, by email,
to the administrator. An email is also sent to the administrator each
time the FaxFinder is powered up. In all cases, you must specify the
address of the mail server and the email address of the
administrator. Some email servers require authentication before
allowing the FaxFinder access. In these cases, the FaxFinder unit
must be assigned a Server User ID and a password. If the mail
server does not require authentication, the related SMTP
Configuration fields (“SMTP Server User ID,” “SMTP Password,”
and “Retype SMTP Password”) must be left blank.
a. In the FaxFinder Administration screen, go to the SMTP
Configuration fields.
b. Fill in the network IP address or domain name of your mail
server.
c. Enter the email address of the administrator (the party that you
want to receive fax log reports).
d. At this point the Administrator should receive an email from your
FaxFinder saying that the mail server address has been
updated.
15

Server Installation Multi-Tech FaxFinder Quick Start
e. Email Server Authentication Parameters. If your email server
requires authentication in order to give the FaxFinder access, fill
in the three related SMTP fields (SMTP Server User ID, SMTP
Password, Retype SMTP Password). If you can enter the
network email program and send messages without entering a
User ID and Password, then you must leave these fields blank.
However, if your network email program does require a User ID
and Password in order to send email messages, you must fill in
these three fields. If authentication is required and these fields
are left blank, then the error “SMTP Authentication Error” will
appear on the Current Status screen in the “Email Status” field.
If authentication is not required and these fields are filled in,
then an error will also occur. You must know how your email
server works in this regard and complete the Administration:
SMTP Configuration screen accordingly.
f. If you do not receive an email saying that the mail server
address has been updated, see item #2 “What if I don’t get an
email when I set the mail server address?” in the
Troubleshooting section of the Administrator User Guide.
8. Configuring the FaxFinder’s Inbound DID Modem
The FaxFinder’s DID Modem directs inbound faxes to client email
addresses.
a. In the FaxFinder Server software, go to the Modem
Configuration screen.
16
 Loading...