

Page 1

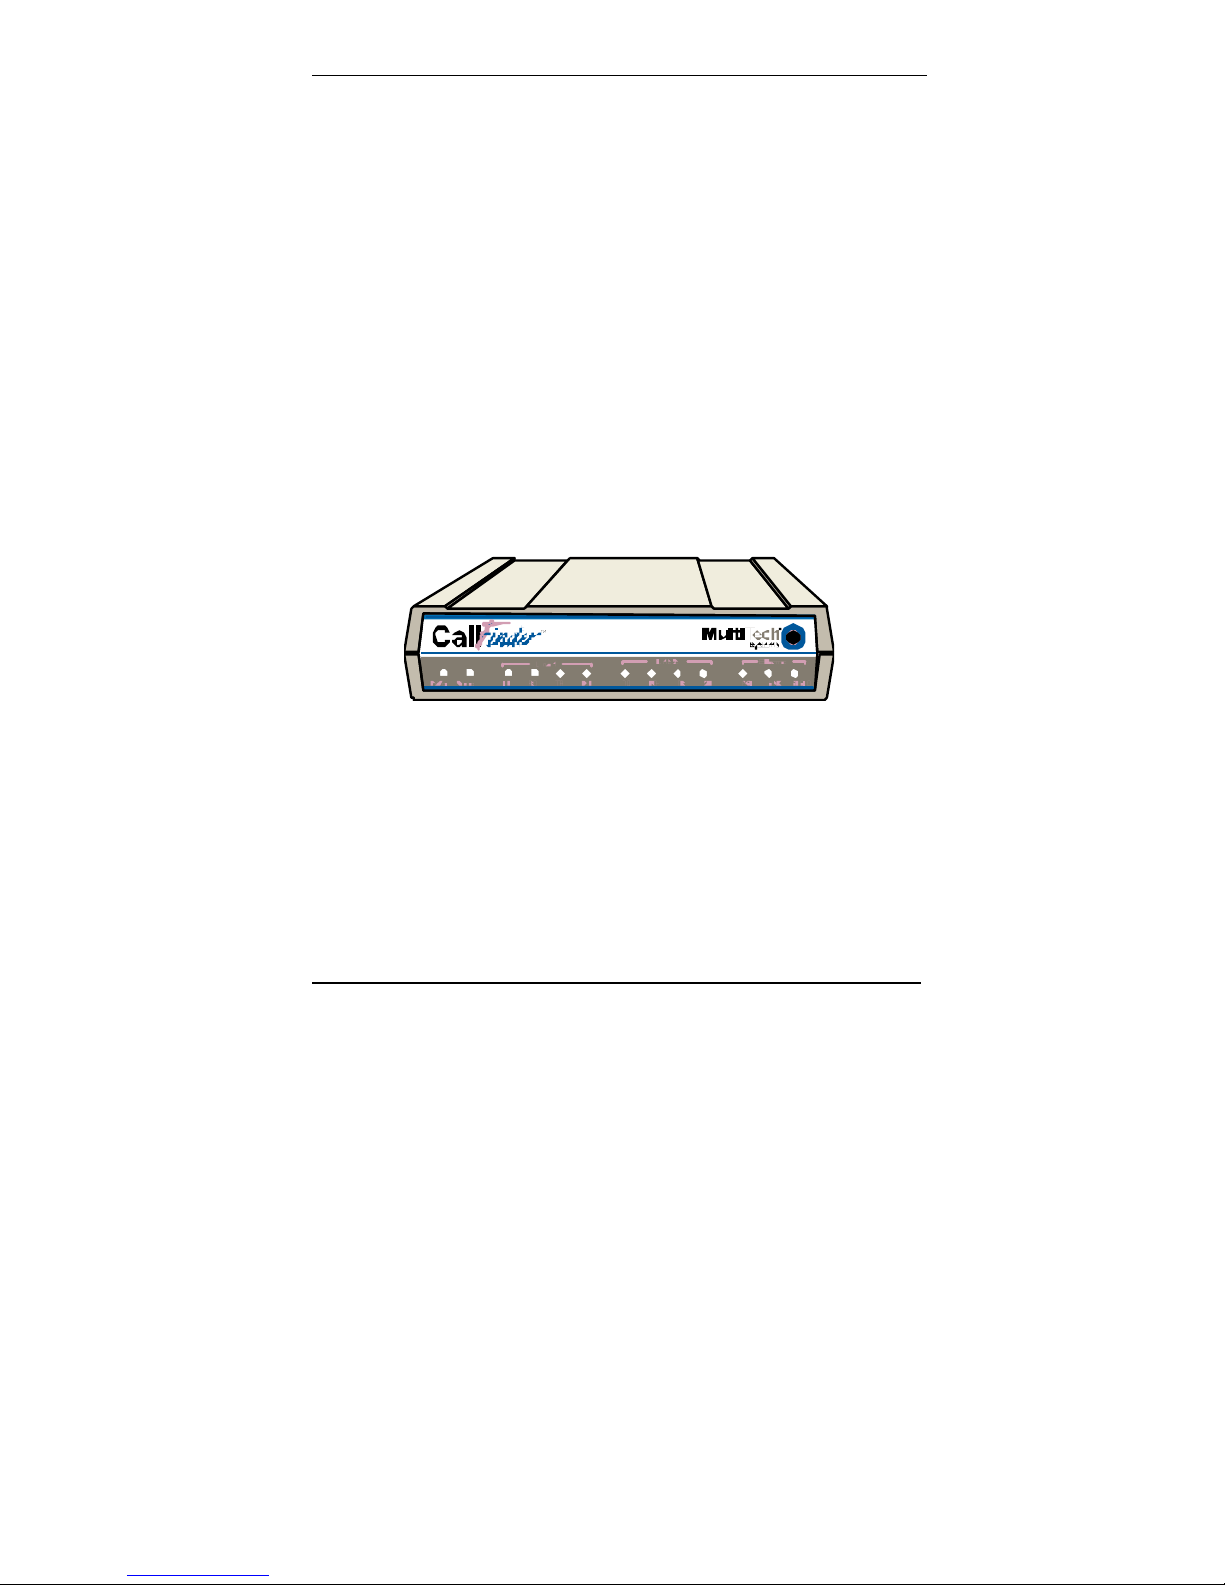
CallFinder™
Model CF220
DID Adapter
Quick Start Guide
Page 2

CallFinder Model CF220 DID Enabler
Quick Start Guide
P/N 82000160, Revision A
Copyright © 2004 by Multi-Tech Systems, Inc.
All rights reserved. This publication may not be reproduced, in whole or in part,
without prior expressed written permission from Multi-Tech Systems, Inc.
Multi-Tech Systems, Inc. makes no representation or warranties with respect to the
contents hereof and specifically disclaims any implied warranties of merchantability or
fitness for any particular purpose. Furthermore, Multi-Tech Systems, Inc. reserves the
right to revise this publication and to make changes from time to time in the content
hereof without obligation of Multi-Tech Systems, Inc., to notify any person or or-
ganization of such revisions or changes.
Record of Revisions
Revision Date Description
A 12/23/04 Initial Release, Rev A.
Trademarks
CallFinder, Multi-Tech, and the Multi-Tech logo are trademarks of Multi-Tech
Systems, Inc. All other brand and product names mentioned in this publication are
trademarks or registered trademarks of their respective companies.
Technical Support
Country By Email By Phone
France: support @multitech.fr +(33) 1-64 61 09 81
India: support @multitechindia.com +91 (124) 6340778
U.K.: support @multitech.co.uk +(44) 118 959 7774
U.S. and Canada: support @multitech.com (800) 972-2439
Rest of World: support @multitech.com +(763) 717-5863
World Headquarters
Multi-Tech Systems, Inc.
2205 Woodale Drive
Mounds View, Minnesota 55112 U.S.A.
Fax (763) 785-9874, http://www.multitech.com, ftp://ftp.multitech.com
2
Page 3

Contents
GETTING STARTED ............................................................................... 5
RONT PANEL LEDS................................................................................. 5
F
E SUPPLY............................................................................................... 5
W
OU SUPPLY............................................................................................. 6
Y
REREQUISITE: ORDERING THE DID LINES ............................................. 7
P
INSTALLATION PROCESS ................................................................... 8
P
ART A: CONNECTING THE CALLFINDER TO POWER OUTLETS, PHONE
LINES, AND ETHERNET ............................................................................. 8
1. Connect CallFinder 5Vdc Power Supply to AC Outlet.................... 8
2. Connect CallFinder 48Vdc Power Supply to AC Outlet.................. 8
3. Connect CallFinder to DID Lines.................................................... 9
4. Connect CallFinder to Ethernet Network. ....................................... 9
4. Identify CallFinder’s Extension Ports (FXS/FXO)
for Later Hookup ........................................................................... 10
5. Do Power-On Test ......................................................................... 10
ART B: CONFIGURING THE CALLFINDER SOFTWARE ............................ 11
P
1. Setting Admin PC to Startup IP Address ....................................... 11
2. Logging In (I)................................................................................. 12
3. Setting CallFinder IP Addresses.................................................... 12
4. Resetting Admin PC to Its Regular IP Address.............................. 13
5. Logging In (II) ............................................................................... 13
6. Setting Administrative Functions................................................... 14
7. Setting Up the Mail Server............................................................. 15
8. Configuring the CallFinder’s Channels ........................................ 17
9. Changing Administrator’s Password for CallFinder SW .............. 21
10. Assigning DID Numbers to PBX Users (Extensions)................... 22
ART C: TROUBLESHOOTING .................................................................. 23
P
1. What if I can't see the web page for my CallFinder ?.................... 23
2. What if I don't get an email when I set the mail server address ? . 23
3. What if the CallFinder channel doesn't answer a call
on the DID line? ............................................................................ 26
3
Page 4

FFCF MANAGER SOFTWARE FUNCTIONS....................................28
NSTALLING FFCF MANAGER SOFTWARE ...............................................28
I
DDING CALLFINDER UNITS TO THE SYSTEM .........................................30
A
UPLICATING CALLFINDER PHONEBOOK IN OTHER CF UNITS
D
(SYNCHRONIZATION)...............................................................................31
TECH SUPPORT .....................................................................................33
4
Page 5
Multi-Tech CallFinder Quick Start Getting Started
Getting Started
This guide shows you how to set up your Multi-Tech Model CF220
CallFinder.
The CallFinder is a DID-to-analog telephony adapter. It brings
analog DID services to a key telephone system or PBX that is not
DID-enabled. When equipped with the CallFinder, the phone
system can route incoming DID calls directly to end-user extensions.
The CallFinder has two DID channels. Each channel is connected
to the telco DID line on one side and to the PBX/key system on the
other side. A CallFinder extension port can be connected either to a
trunk port or to a station port on a PBX. The choice between trunk
port or station port connections depends on port availability, logging
requirements, and/or on whether it is necessary for incoming DID
calls to be treated like outside calls instead of intra-PBX calls.
Front Panel LEDs
We Supply
• A CF220 CallFinder with factory-installed software
• Two power supplies – one 5Vdc and one 48Vdc
• Two common telephone cables (RJ11 at both ends)
• Two DID telephone cables (RJ11 at one end; RJ12 at other end)
• A utility software program for updating CallFinder firmware
• This printed Quick Start Guide
5
Page 6

Getting Started Multi-Tech CallFinder Quick Start
You Supply
• Two nearby AC power outlets
• Two nearby connections to a PBX
• A connection to your Ethernet LAN
• One or two nearby analog DID trunk lines each with a block of
associated DID telephone numbers
• A PC with an Ethernet connection and a web browser from which
to configure the CallFinder unit. (Windows or Linux can be used
to access the CallFinder software. Windows NT, Windows 2000,
or Windows XP are required to access the FaxFinder/CallFinder
Manager software.)
6
Page 7

Multi-Tech CallFinder Quick Start Getting Started
Prerequisite: Ordering the DID Lines
To operate the CallFinder system, you will need one or two DID
(Direct Inward Dial) lines in your office. You must order the DID
lines from your local telephone operating company (telco). A DID
line allows one phone line to be associated with multiple directory
numbers. However, only one call can occur on this line at any given
time.
DID lines are sold in groups. For example, a telco in New York City
might offer a DID line with a set of 10 directory numbers in the range
of 212-555-4100 through 212-555-4109.
When ordering your DID line, ask the telco representative for these
details about the DID service. These details will be important when
setting up your CF220 unit.
Parameter Value Required by
Telco
Number of digits used
to designate the DID extension
(usually 3, 4, 6, or 7)
Type of “DID Start” used
(wink, immediate, or delay dial)
You will need this information to configure your CallFinder unit (see
step 8 on page 17).
7
Page 8

Server Installation Multi-Tech CallFinder Quick Start
Installation Process
Part A: Connecting the CallFinder to Power Outlets,
Phone Lines, and Ethernet
Summary: Place the CallFinder in a convenient location, and then
connect it to your AC power outlets and Ethernet. Before connecting
the extension lines, you need to know whether the CallFinder's ports
will function as FXO or FXS. The CallFinder’s default extension
interface setting is FXO to prevent damage from a mistaken
connection. Be aware that an incorrect connection could damage
the CallFinder unit or the PBX. Do not connect FXS to FXS.
1. Connect CallFinder 5Vdc Power Supply to AC Outlet
Make sure the power switch is OFF. Plug the DC power transformer
for the 5 Vdc power supply into a power outlet or power strip. Plug
the other end into the “Power 5Vdc” jack on your CallFinder. The DC
power transformer is included with your CallFinder.
Caution: Use only the 5 Vdc power transformer supplied
with the CallFinder. Use of any other transformer
voids the warranty and can damage the
CallFinder. The CallFinder’s 5Vdc and 48 Vdc
power supplies have different connector types to
prevent mix-ups.
2. Connect CallFinder 48Vdc Power Supply to AC Outlet
Make sure the power switch is OFF. Plug the DC power transformer
for the 48 Vdc power supply into a power outlet or power strip. Plug
the other end into the “Power 48 Vdc” jack on your CallFinder. The
DC power transformer is included with your CallFinder.
Caution: Use only the 48 Vdc power transformer supplied
with the CallFinder. Use of any other transformer
voids the warranty and can damage the
CallFinder. The CallFinder’s 5Vdc and 48 Vdc
power supplies have different connector types to
prevent mix-ups.
8
Page 9

Multi-Tech CallFinder Quick Start Server Installation
3. Connect CallFinder to DID Lines
Plug one end of the phone cable into the CallFinder’s Channel 1 DID
jack and the other end into an analog DID trunk line jack. The DID
Line cable is included with your CallFinder.
Caution: The DID Line cable has an RJ11 connector on
one end (this is the larger of the two connectors; it
goes to the telephone wall receptacle). The DID
Line cable has an RJ12 connector on the other
end (this is the smaller connector; it goes to the
DID Port on the CallFinder unit).
Never plug the DID connector into a standard
POTS Line. This may damage the CallFinder or
the central office equipment. Use only an analog
DID Line.
Repeat for the CallFinder’s Channel 2 DID port.
4. Connect CallFinder to Ethernet Network.
Plug one end of your RJ45 ethernet cable into the CallFinder’s
ethernet jack and the other end into your network ethernet hub. This
ethernet cable is not included with your CallFinder unit.
Caution: Before connecting to the Ethernet Network, make
sure that the network to which you are connecting
the CallFinder is not a 192.168.2.x subnet.
If it is a 192.168.2.x subnet, it will clash with the
CallFinder because the CallFinder’s default IP
address is 192.168.2.1. To remedy such a
situation, connect from the Admin PC to the
CallFinder using an RJ45 crossover cable until the
CallFinder’s IP address has been configured.
Thereafter, connect the CallFinder into the
network with an ordinary RJ45 cable.
9
Page 10

Server Installation Multi-Tech CallFinder Quick Start
4. Identify CallFinder’s Extension Ports (FXS/FXO) for Later
Hookup
CAUTION: You must wait until after the CallFinder software
has been configured before connecting the cables
between the CallFinder’s Extension (FXS/FXO)
Ports and the PBX. Because the CallFinder and
the PBX can both supply battery power, the cable
connections must be done properly. Otherwise
equipment damage could occur.
Before making connections to the CallFinder Extension (FXS/FXO)
channels, you must know the type of PBX port to which each
CallFinder port will be connected and set the “Extension Port” field in
the CallFinder Channel Configuration screen appropriately.
When connecting to a PBX Station Port,
set the CallFinder channel to FXO.
When connecting to a PBX Trunk Port,
set the CallFinder channel to FXS.
When the Channel Configuration | Extension Port software field
has been set properly for both CallFinder channels, you can proceed
to connect the cable between each of the CallFinder’s FXS/FXO
ports and the corresponding PBX port.
5. Do Power-On Test
Test your CallFinder by turning it on (an on-off switch is located on
the back panel). When you apply power, the CallFinder performs a
diagnostic self-test. The Status indicator flashes when the test is
complete and the unit is ready. If this does not happen, check that
the power switch is on, the power supply is solidly connected, and
the AC outlet is live.
10
Page 11

Multi-Tech CallFinder Quick Start Server Installation
Part B: Configuring the CallFinder Software
1. Setting Admin PC to Startup IP Address
a. Connect a pc to your network.
b. Set the pc IP address to 192.168.2.x subnet (using any address
excluding 192.168.2.1).
Windows XP
a. From the Windows desktop,
right-click on “My Network Places,”
and select “Properties.”
b. In the Network Connection
screen, right-click on “Local Area
Connection.”
c. In the Local Area Connection
Properties screen, on the
“General” tab, scroll to the “Internet
Protocol (TCP/IP)” entry and select
it. Click “Properties.”
d. In the Internet Protocol
(TCP/IP) Properties screen, record
the existing IP address. Then reset
the IP address to 192.168.2.2.
Windows NT
a. From the Windows desktop, right-click on “Network Neighborhood,” and
select “Properties.”
b. In the Network screen, on the “Protocols” tab, select “TCP/IP Protocol” in
the list of Network Protocols. Click “Properties.”
c. In the Microsoft Internet Protocol (TCP/IP) Properties screen, record
the existing IP address. Then reset the IP address to 192.168.2.2.
Windows 2000
a. From the Windows desktop, rightclick on “My Network Places,” and
select “Properties.”
b. In the Network and Dialup
Connections screen, right-click on
“Local Area Connection” and select
“Properties.”
c. In the Local Area Connection
Properties screen, select the
“Internet Protocol (TCP/IP)” entry.
Click “Properties.”
d. In the Internet Protocol (TCP/IP)
Properties screen, record the
existing IP address. Then reset the
IP address to 192.168.2.2.
11
Page 12

Server Installation Multi-Tech CallFinder Quick Start
2. Logging In (I)
a. Bring up a Web browser on your pc. At the browser’s address
line, type the CallFinder’s default IP address: http://192.168.2.1
and press Enter.
b. The Login screen will appear.
At this point you can be assured that the CallFinder is
connected to the network.
If the Login screen does not appear, see item #1, “What if I
can’t see the web page for my CallFinder?” in the
Troubleshooting section (page 23).
c. At the Login screen, enter admin (all lower case) in the User
Name field.
d. Enter admin (all lower case) in the Password field.
e. Click the Login button. The CallFinder software Home screen
will appear. From this screen, you can access all of the
CallFinder software screens.
3. Setting CallFinder IP Addresses
a. In the CallFinder Administration screen, go to the IP
Configuration fields.
Administrat ion: IP Config urat ion
IP Address
Subnet Mask
Name Server
upda te
192.168.4 .89
255.255.2 55.0
192.168.11.251
Default Gateway
Secondary
Name Server
192.168.4 .1
b. Fill in the IP information that applies to your CF220 CallFinder
Server unit. The fields for “IP Address,” “Subnet Mask,” “Default
Gateway” and “Name Server” are required. A “Secondary
Name Server” may be considered optional.
c. Click Update. The CallFinder will adopt the new IP address 5
seconds after the Update command is invoked.
12
Page 13

Multi-Tech CallFinder Quick Start Server Installation
4. Resetting Admin PC to Its Regular IP Address
In step #1 above, you recorded the original IP address of the
administrator’s PC and then reset it to the IP address required to
allow communication with the CallFinder unit. You must now set the
IP address of the administrator’s PC to a value that allows you to
reach CallFinder at its new IP address.
5. Logging In (II)
Having reset the IP address of the administrator’s PC, you must log
into the CallFinder software again. Go to the Login screen, enter
admin as User Name and admin as Password.
Note: If you changed the IP address of your PC to
accommodate the CallFinder, a slight complication will
occur when you try to login to the CallFinder at this
point. At the Login screen, after entering your
username and password, you will be prompted to log
another user out. Select “Yes.” (Clicking
Yes cancels
the logged-in status you had earlier when your PC was
at its previous IP address.)
13
Page 14

Server Installation Multi-Tech CallFinder Quick Start
6. Setting Administrative Functions
Go to the CallFinder Phone Book screen.
a. Administrator Row: Specifying DID# and PBX
Extension
i. In the first row (marked Administrator) of the Phone
Book screen, enter the DID number and PBX
extension of the CallFinder administrator.
ii. Click on Update in the first row. The Login screen
will re-appear. Log in again.
b. “Unassigned Number” Row: Specifying PBX
Extension
i. In the second row (marked “Unassigned Number” by
default) of the Phone Book screen, enter the name
and PBX Extension of the party that you want to
receive calls made to unassigned DID numbers (if
14
Page 15

Multi-Tech CallFinder Quick Start Server Installation
there are any). All incoming calls made to activated
DID numbers for which no PBX extension has been
assigned will go to the party listed in the second row.
Typically an operator (or administrator) might handle
such calls. However, any name can be entered in
this second row.
ii. Click on Update in the second row. The message
“Success: [name] was updated” will appear above
the Phone Book list.
7. Setting Up the Mail Server
The CallFinder uses a mail server to send, by email, call log reports
to the administrator. An email is also sent to the administrator each
time the CallFinder is powered up. In all cases, you must specify the
address of the mail server and the email address of the
administrator. Some email servers require authentication before
allowing the CallFinder access. In these cases, the CallFinder unit
must be assigned a Server User Name and a password. If the mail
server does not require authentication, the bottom row of SMTP
Configuration fields (“Server User ID,” “Password,” and “Retype
Password”) must be left blank.
a. In the CallFinder Administration screen, go to the SMTP
Configuration fields.
b. Fill in the network IP address or domain name of your mail
server.
c. Enter the email address of the administrator (the party that you
want to receive call log reports).
15
Page 16

Server Installation Multi-Tech CallFinder Quick Start
d. At this point the Administrator should receive an email from your
CallFinder saying that the mail server address has been
updated.
e. Email Server Authentication Parameters. If your email server
requires authentication in order to give the CallFinder access, fill
in the lower three fields (Server User ID, Password, Retype
Password). If you can enter the network email program and
send messages without entering a User ID and Password, then
you must leave these fields blank.
However, if your network email program does require a User ID
and Password in order to send email messages, you must fill in
these three fields. If authentication is required and these fields
are left blank, then the error “SMTP Authentication Error” will
appear on the Current Status screen in the “Email Status” field.
If authentication is not required and these fields are filled in,
then an error will also occur. You must know how your email
server works in this regard and complete the Administration:
SMTP Configuration screen accordingly.
f. If you do not receive an email saying that the mail server
address has been updated, see item #2 “What if I don’t get an
email when I set the mail server address?” in the
Troubleshooting section of this manual (page 25).
16
Page 17

Multi-Tech CallFinder Quick Start Server Installation
8. Configuring the CallFinder’s Channels
The CallFinder’s DID Modems (channels) direct inbound calls to
their proper destination.
a. In the CallFinder software, go to the Channel Configuration
screen.
b. Under Channel Configuration: Channel 1, enter the values that
match the characteristics of your DID phone line in the fields
provided. Three parameters relate to the DID line coming into
the CallFinder channel. Four parameters relate to the PBX
extension line to which the CallFinder channel connects.
DID Line Parameters
Consult the telco supplying the DID line about these
parameters. See the section “Prerequisite: Ordering the DID
Line” on page 7.
Max DID Digits: the number of digits the CallFinder will
receive from the telco central office on the DID line.
DID Start: wink, immediate, or delay dial.
17
Page 18

Server Installation Multi-Tech CallFinder Quick Start
Polarity: This refers to DID battery polarity. This
parameter must be set (and possibly reset, as
needed) on a trial-and-error basis.
Signs of incorrect polarity:
(1) outside party originating call to DID number gets
immediate busy signal after dialing;
(2) line suddenly disconnects just when call should
go through.
PBX Extension Line Parameters
Extension Port: default = FXO (prevents damage from
wrongly applied battery
and ring voltages)
Set as FXO when the CallFinder is to be connected to
a PBX station port (a port that is normally connected
to a normal analog telephone).
Set as FXS when the CallFinder is to be connected to
a PBX trunk port (a port that would normally be
connected to an ordinary POTS phone line from the
telco central office.
Auto Attendant Delay: The Auto Attendant Delay value,
x, determines how long the CallFinder will pause
before dialing on the PBX.
If the CallFinder channel is configured as an FXS port it
will ring the PBX and wait x seconds before dialing
the proper extension after the PBX seizes the line.
Set x to be 1 or greater.
If the CallFinder channel is configured as an FXO port,
x is the length of time that the CallFinder will wait
before dialing after the CallFinder itself has seized
the line from the PBX.
Set x to 0. This requires the CallFinder to detect dial
tone from the PBX before dialing.
18
Page 19

Multi-Tech CallFinder Quick Start Server Installation
Extension Mic Gain: This value adjusts the volume of
the phone’s microphone. Default = 8.
Increase value
if outgoing audio signal is constant but low.
Decrease value if outgoing audio signal intermittently
cuts out or is clipped.
This parameter is sensitive and important to system
performance.
Extension Speaker Gain: This value adjusts the volume
of the phone’s speaker. Default = 30.
Increase value if outgoing audio signal is constant but
low.
Decrease value if outgoing audio signal intermittently
cuts out or is clipped.
This parameter is sensitive and important to system
performance.
c. Click Update.
d. Click on Current Status. Watch the Current Status:
Channel-1/Channel-2 portion of the screen. The “State” of
each channel should be “Waiting for Ring.”
e. From an ordinary POTS phone, dial one of the DID phone
numbers that is active in the system. Dial the DID phone
number as you would from an outside line (it will not work to dial
the number as if it were an ordinary 3- or 4-digit extension).
19
Page 20

Server Installation Multi-Tech CallFinder Quick Start
f. In the Current Status: DID Modem screen, the "State" field
should change to "Waiting for Connect" and the voice
connection should be made to the assigned PBX extension.
g. If you observe both the "Waiting for Connect" state and verify the
presence of voice, then the CallFinder's Channel has been
configured properly.
If either of these is absent, see item #3 “What if the CallFinder
channel doesn’t answer a call on the DID line?” in the
Troubleshooting section of this manual (page 26).
20
Page 21

Multi-Tech CallFinder Quick Start Server Installation
9. Changing Administrator’s Password for CallFinder SW
a. In the Password Administration screen, enter a new User ID
and Password for the CallFinder Administrator (something other
than “admin” and “admin”). This User ID and password are
used to give the administrator access to the CallFinder’s built-in
software. Re-enter the password in the “Confirm Password”
field. Passwords can be as short as 1 character, as long as 40
characters, and are case-sensitive.
b. Click Update for this row. The Login screen will appear.
21
Page 22

Server Installation Multi-Tech CallFinder Quick Start
10. Assigning DID Numbers to PBX Users (Extensions)
a. In the Phone Book screen just below the entries for the
CallFinder administrator, make phonebook entries for the other
persons in your office to whom DID numbers have been
assigned.
For each such DID user, enter the name, DID number (the digits
that the DID line will be sending to the CallFinder to reach this
user), and PBX extension (to which the call is directed) in the
appropriate fields.
b. Click on Add for each row completed. The message “Success:
[name] was updated” will appear above the Phone Book list.
22
Page 23

Troubleshooting Multi-Tech CallFinder Quick Start
Part C: Troubleshooting
1. What if I can't see the web page for my CallFinder ?
REMEDY: Is the status LED on the CallFinder unit blinking? If not,
then the unit is either malfunctioning or not turned on. If
the Status LED is blinking, then verify that the Admin PC
is actually on the same subnet as the CallFinder and that
it can be “pinged.”
Launch a Command Prompt.
(In WinNT, go to Start | Programs | Command Prompt.
In WinXP, go to Start | All Programs | Accessories |
Command Prompt.
In Win2000, go to Start | Programs | Accessories |
Command Prompt.)
Type ipconfig to verify that the Admin PC’s IP address is
in the same network as the CallFinder’s IP address.
Then type ping 192.168.2.1 and press Return.
If the CallFinder unit does reply to the ping and you are
still unable to view the CallFinder web page, then call
Multi-Tech Tech Support for more assistance (1-800972-2439).
2. What if I don't get an email when I set the mail server address ?
This pertains to the procedure “Setting Up the Mail Server.”
The email may have failed due to one of three causes:
(A) the name server is unresolvable (in this case, “Bad Mail
Server Address” will appear in the Email Status field of the
Current Status screen),
(B) the mail server cannot be contacted; or
(C) the client PC running the mail software cannot connect to
the mail server.
23
Page 24

Troubleshooting Multi-Tech CallFinder Quick Start
CAUSE A: During transmission, the name server’s address could
not be resolved (that is, the CallFinder unit could not
contact your name server).
RESPONSE A: Contact the CallFinder unit using telnet and try to
ping the name server.
telnet 192.168.x.x
user: admin
password: admin
# ping 192.168.y.y (where this is the address of
the name server)
If the name server ping fails, you must determine
why it failed.
The name server may not be contact-able because
it is on a different subnet. The name server ping
could also fail because the default gateway has
been set incorrectly.
If the name server ping succeeds, then try to ping
the mail server using its domain name.
# ping mail.ourcompany.com
If pinging the mail server by its domain name fails,
then try pinging it by using its IP address (if this
can be determined). If you succeed in pinging the
mail server by its IP address but yet it cannot be
pinged via its domain name, then the name server
is not functioning correctly (or the device at the
name server’s IP address is not a name server).
If the mail server can be pinged neither by its
domain name nor by its IP address, then consider
item B below.
24
Page 25

Multi-Tech CallFinder Quick Start Troubleshooting
No email message after mail server setup (cont’d)
CAUSE B: The mail server is not running or cannot be contacted
from the CallFinder unit.
RESPONSE B: Verify that the mail server is running by sending an
email to yourself using your email software.
If you cannot send an email to yourself using your
email software, then the mail server is not running
and you should find out why.
If you can send an email to yourself using the email
software, then there is a problem between your
mail server and the CallFinder unit. Call Multi-Tech
Tech Support (1-800-972-2439).
Username/Password Issues. Some mail servers
require that the CallFinder use its Username and
Password to log into the mail server. Others do
not. This Username and Password are specified in
the Administration: SMTP Configuration screen.
If the mail server requires the CallFinder to have a
Username and Password and none is provided,
access will be denied. Conversely, if the mail
server does not require a Username and Password
and these have been specified anyway, again
access will be denied. If call logs are not reaching
the administrator, it may be because of such
Username/Password issues.
CAUSE C: The client PC running the mail software cannot connect
to the mail server.
RESPONSE C: If you, as a client, cannot send yourself an email,
then contact your administrator; there may be a
problem with your mail server.
25
Page 26

Troubleshooting Multi-Tech CallFinder Quick Start
3. What if the CallFinder channel doesn't answer a call on the
DID line?
REMEDY. Use this procedure if Channel Configuration cannot be
confirmed (that is, if during a test call to one of the
system's DID phone numbers, you fail to see the
"Waiting for Connect" State in the Current Status:
Channel-1/Channel-2 screen and if you fail to hear
voice-- both the state and the sound must be
observable).
A. Situate yourself in a place where you can see the
CallFinder unit and, simultaneously, use a phone on
a regular POTS line.
B. From that ordinary POTS phone, dial one of the DID
phone numbers that is active in the system.
C. As the call is completed, watch the LEDs on the
front panel of the CallFinder unit.
If the DID LED remains off, then there is probably a
telephony problem. That is, the DID phone line has
not been activated or configured properly. Call the
telephone company.
If the DID LED comes ON, then there is something
wrong with the CallFinder software. Call MultiTech
Tech Support (1-800-972-2439).
D. Polarity Check. Incorrect DID polarity could also
prevent calls from being answered.
Signs of incorrect polarity:
(1) outside party originating call to DID number
gets immediate busy signal after dialing;
(2) line suddenly disconnects just when call
should go through.
26
Page 27

Multi-Tech CallFinder Quick Start Troubleshooting
E. Call Logs. If calls have failed, you can check the
CallFinder’s call logs to see the actual DID number
that the CallFinder received. Sometimes corrupted
DID numbers are presented to the CallFinder. In
any event, the call logs can help to track down the
error involved.
27
Page 28

Multi-Tech CallFinder Quick Start FFCF Manager
FFCF Manager Software Functions
The FaxFinder/CallFinder Manager software lets you control
multiple CallFinder units as a system. It is typical to install the FFCF
Manager program on the administrator’s computer (Windows
operating system required).
When deploying a new system, two commands will be particularly
useful: Add CallFinder and Synchronize Phonebooks. These
FFCF Manager commands are described after the installation
process.
Installing FFCF Manager Software
28
Page 29

Multi-Tech CallFinder Quick Start FFCF Manager
FFCF Manager Installation (continued)
The FFCF Manager installation is complete.
29
Page 30

FFCF Manager Multi-Tech CallFinder Quick Start
Adding CallFinder Units to the System
Any CallFinder unit to be added to the system and come under the
management of the FFCF Manager software must be connected to
the same IP network as the computer running the FFCF Manager
software.
To add a CallFinder to the system, start at the main FFCF Manager
screen. Open the Edit menu and select Add
FaxFinder/CallFinder. When the Add FaxFinder/CallFinder
Address screen appears, enter the IP address, Username, and
Password for the unit you are adding to the system. Then click OK.
30
Page 31

Multi-Tech CallFinder Quick Start FFCF Manager
Duplicating CallFinder Phonebook in Other CF Units
(Synchronization)
When CallFinder phonebooks within a system are “synchronized,”
all non-administrative listings are made to match. One CallFinder
unit (the Primary unit) holds the master list that is transmitted (using
the Synchronize Phonebooks command) to other CallFinder units
in the system (Copy units). CallFinder units can operate in same
system but have independent phonebooks, in which case they are
designated Independent.
Synchronizing phonebooks entails three steps:
1. Designating one CallFinder as the master phone book. In the
main FFCF Manager screen, right-click on the unit to be designated
as master, scroll to Set Phone Book Sharing, and select Primary.
2. Designating all other CallFinder units participating in phonebook
sharing as Copy units. In the main FFCF Manager screen, right-
click on each unit to share the master phonebook, and select Copy.
3. Invoking synchronization. In the main FFCF Manager screen,
open the Edit menu and select Synchronize Phonebooks. The
Synchronize Phone Books screen will appear along with a series
of transient screens (denoting tftp data transfers) and confirmation
screens (where you click OK to proceed).
31
Page 32

FFCF Manager Multi-Tech CallFinder Quick Start
After the master phonebook has been transferred to the first Copy
CallFinder unit and that unit has been rebooted, the FFCF Manager
will automatically begin synchronizing the additional Copy
CallFinder unit in the system (if any) until all have been
synchronized.
To see the newly synchronized phonebook list in each Copy
CallFinder unit, you must update the Phone Book screen by clicking
on the Phone Book button (to the right of Administration) in the list
at the top of the screen.
32
Page 33

Multi-Tech CallFinder Quick Start Tech Support
Tech Support
Please direct your questions regarding technical matters, product
configuration, verification that the product is defective, etc., to our
Technical Support department at (800) 972-2439 or email
tsupport@multitech.com.
Product support resources are available at the Multi-Tech web site:
www.multitech.com.
33
Page 34

Multi-Tech Systems, Inc. CallFinder Quick Start
34
Page 35

Multi-Tech Systems, Inc. CallFinder Quick Start
35
Page 36

Patents
This device is covered by one or more of the following patents: 6,031,867; 6,012,113; 6,009,082;
5,905,794; 5,864,560; 5,815,567; 5,815,503; 5,812,534; 5,809,068; 5,790,532; 5,764,628;
5,764,627; 5,754,589; D394,250; 5,724,356; 5,673,268; 5,673,257; 5,644,594; 5,628,030;
5,619,508; 5,617,423; 5,600,649; 5,592,586; 5,577,041; 5,574,725; D374,222; 5,559,793;
5,546,448; 5,546,395; 5,535,204; 5,500,859; 5,471,470; 5,463,616; 5,453,986; 5,452,289;
5,450,425; D361,764; D355,658; D355,653; D353,598; D353,144; 5,355,365; 5,309,562;
5,301,274. Other patents pending.
82000160
 Loading...