

Page 1
AC CURRENT
UNIVERSAL CLAMP TESTER
MODEL 200
INSTRUCTION MANUAL
1. INTRODUCTION
The model 200 universal clamp tester, using a universal current transducer,
is an innovative clamp tester which enables loaded cable searching and
load checking in the field—without having to separate cables into single wires.
The Model 200 enables selection of single-wire, single-phase, and
3-phase modes, and displays approximate values of load current.
The universal current transducer used in the Model 200 employs
a number of left-to-right symmetrical sensor coils, and is
constructed with shielding, thereby minimizing the influence of external noise.
The Model 200 also has a conventional current transducer, enabling
high-accuracy current measurements.
The model 200 is the world’s first instrument of its kind and will enjoy use in
a wide range of applications requiring current checking and searching for
loaded cable when laying cables and when working in close quarters.
Page 2
2. CAUTION
● Before operating this instrument, familiarize yourself with all instructions outlined in this manual.
● Always check to make sure that the function switch is set to the position.
● When making measurements, use CAUTION as dangerous voltages may be present in normally
safe areas.
● To avoid electrical shock, use CAUTION when working above 60V DC or 25V AC rms. Such
voltages pose a shock hazard.
● Never make measurements with the battery cover OFF.
● Never fail to keep to the maximum tolerable input.
● Never operate this instrument if it gets wet, damp or has any liquid condensation build-up on any
part of the instrument.
3-1. General
Measuring Method:
Dual integration mode
Measuring Function:
AC load current
Display:
3.5 digit LCD max. reading of 1999
Over Range Indication:
Only max. digit “1” blanking
Maximum Indication:
1999
Low Battery Indication:
2.5V-2.7V: “+-B“ mark on LCD
Data Hold Indication:
“DH” mark on LCD
Sampling Time:
Approx. 2 times/sec.
Auto Power Off:
The meter is set to power off mode approx., 10 minutes after
the power switch on.
Limitation of Circuit Voltage:
Less than AC 600V
Withstanding Voltage:
AC2000V/1 minute max. (between the core of CT and rear
case)
Operating Temperature:
0~40℃ <80%RH(non-condensing)
Storage Temperature:
-10~60℃ <70%RH(non-condensing)
Power Supply:
LR44 or SR44 x 2
Power Consumption:
Approx. 5mW
Battery Life:
Approx. 50 hours(LR44)
Size
54(W)x170(H)x21(D)mm
Weight:
Approx. 100g
Accessories:
Batteries…………………..………….2
Instruction manual………………..…1
Soft case……………………….…….1
3-2 General CT Measurement
Range:
0~20A/200A (50/60Hz)
Ranging:
2 ranges manuals
Condition of Accuracy:
23℃±5℃, 80%RH max.
Range:
20A
200A
Min. Resolution:
10mA
0.1A
Accuracy:
±1.2%rdg ±5dgt
±1.2%rdg ±5dgt
Jaw Opening Capability:
φ33mm
Page 3
3-3 Universal CT Measurement
Range: 200A
Jaw Size: R10mm
Resolution: 100mA
Accuracy: One wire(IV cable): ±5%rdg
Single phase flat cable(VVF cable): ±5%rdg
Three phase cable(VVR cable): Approx. value
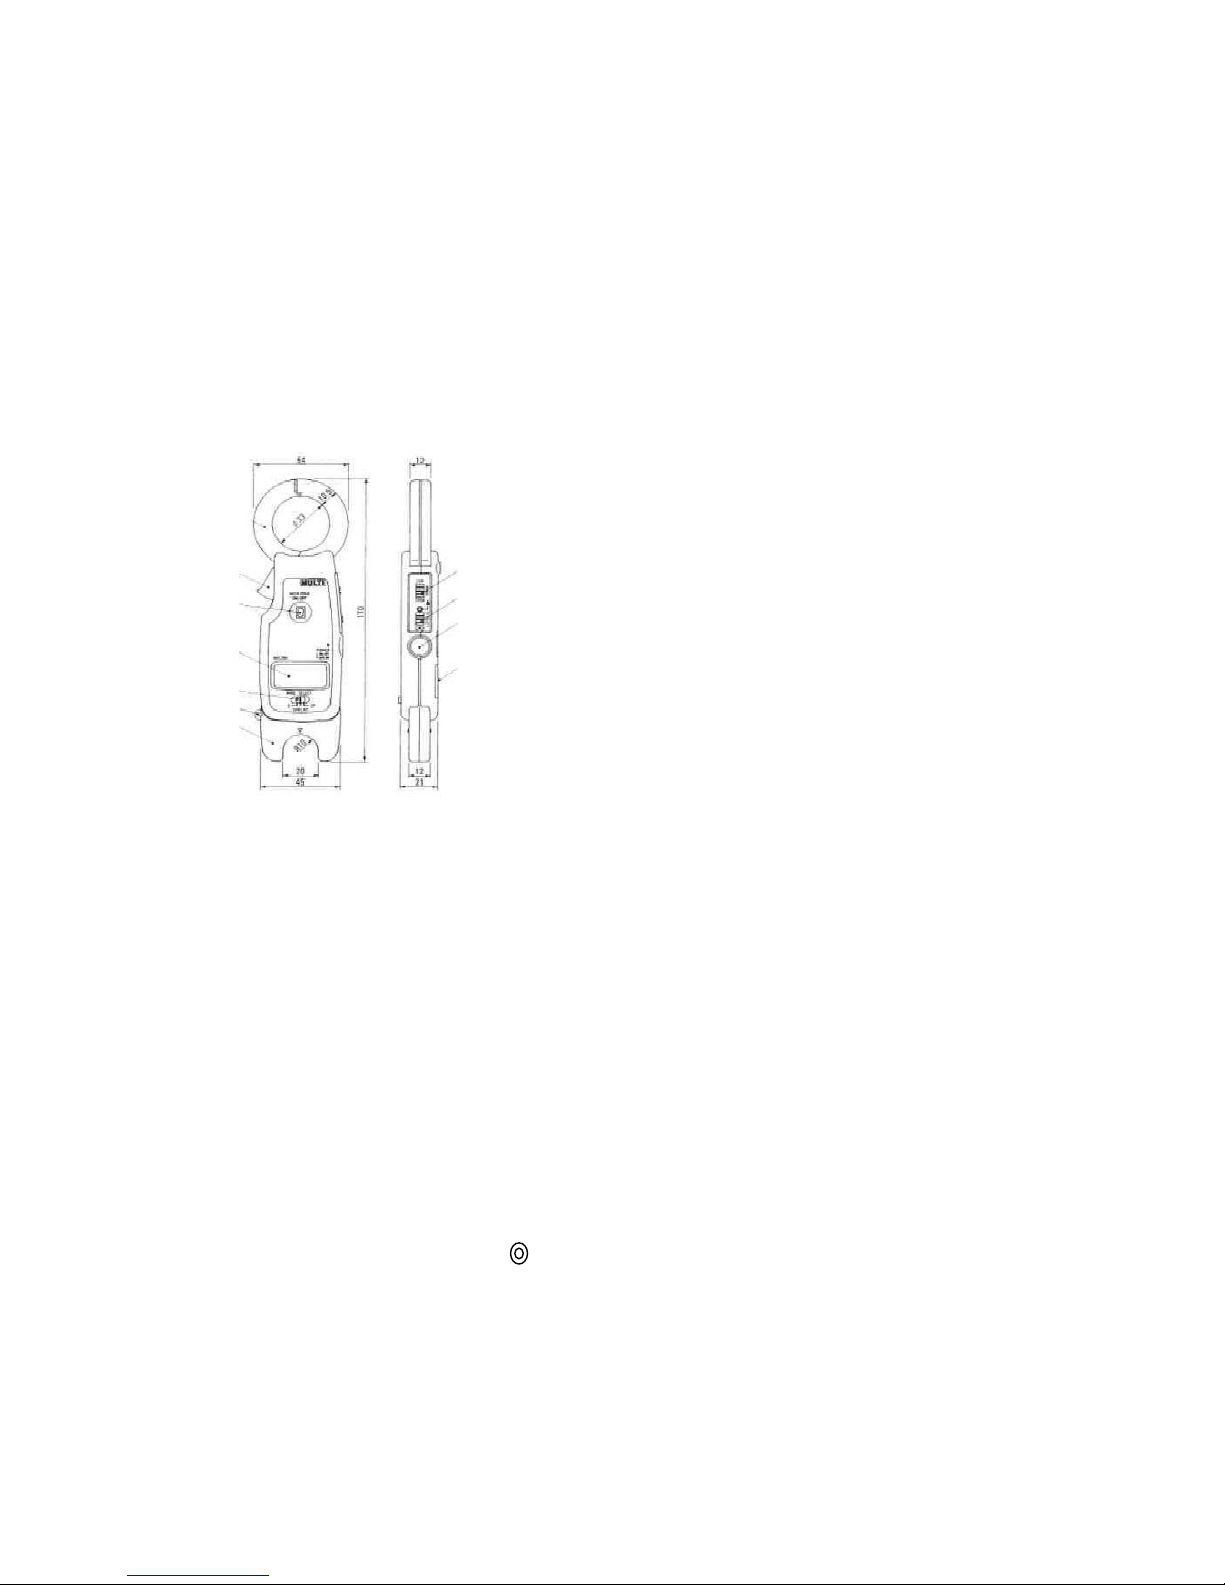
4. DIMENSIONS AND PANEL FUNCTION
① Current Transducer
② Jaw Opening Lever
① ③ Data Hold Switch
④ LCD Display
② ⑤ ⑤ Range Switch for Clamp CT
③ ⑥ ⑥ CT Selection Switch
⑦ ⑦ Power Switch
④ ⑩ ⑧ Cable Selection Switch
⑧ ⑨ Universal CT
⑪ ⑩ Battery Cover
⑨ ⑪ Hole for Hand Strap
5. METHOD OF MEASUREMENT
5-1. Preparation and Caution before Measurement
● Before making measurements, install the batteries. Two LR-44 batteries can be used.
● Avoid using the tester in places subject to high temperatures, humidity or excessive vibration.
● Do not use or store the tester in an area subject to magnetic fields or electric noises.
Unstable reading and measurement error may results.
● Before measurements, be sure the data hold switch is set to "OFF".
(It is impossible to make measurements if the data hold switch is set to "ON".)
● Remove the battery if the tester will not be used for a long period of time.
5-2. AC Current Measurement with General CT
1) Press the power switch on the right side of the instrument.
2) Set the CT selector switch to the position.
3) Set the range selector switch to a range appropriate to the current to be measured.
4) Clamp the conductor of the circuit under test.
5) If you make measurements in a dark place or in a place where it is difficult to see the readings,
use the data hold switch.
Note: Clamp around only one conductor of the circuit to be measured.
Page 4
5-3. AC Current Measurement with Universal CT
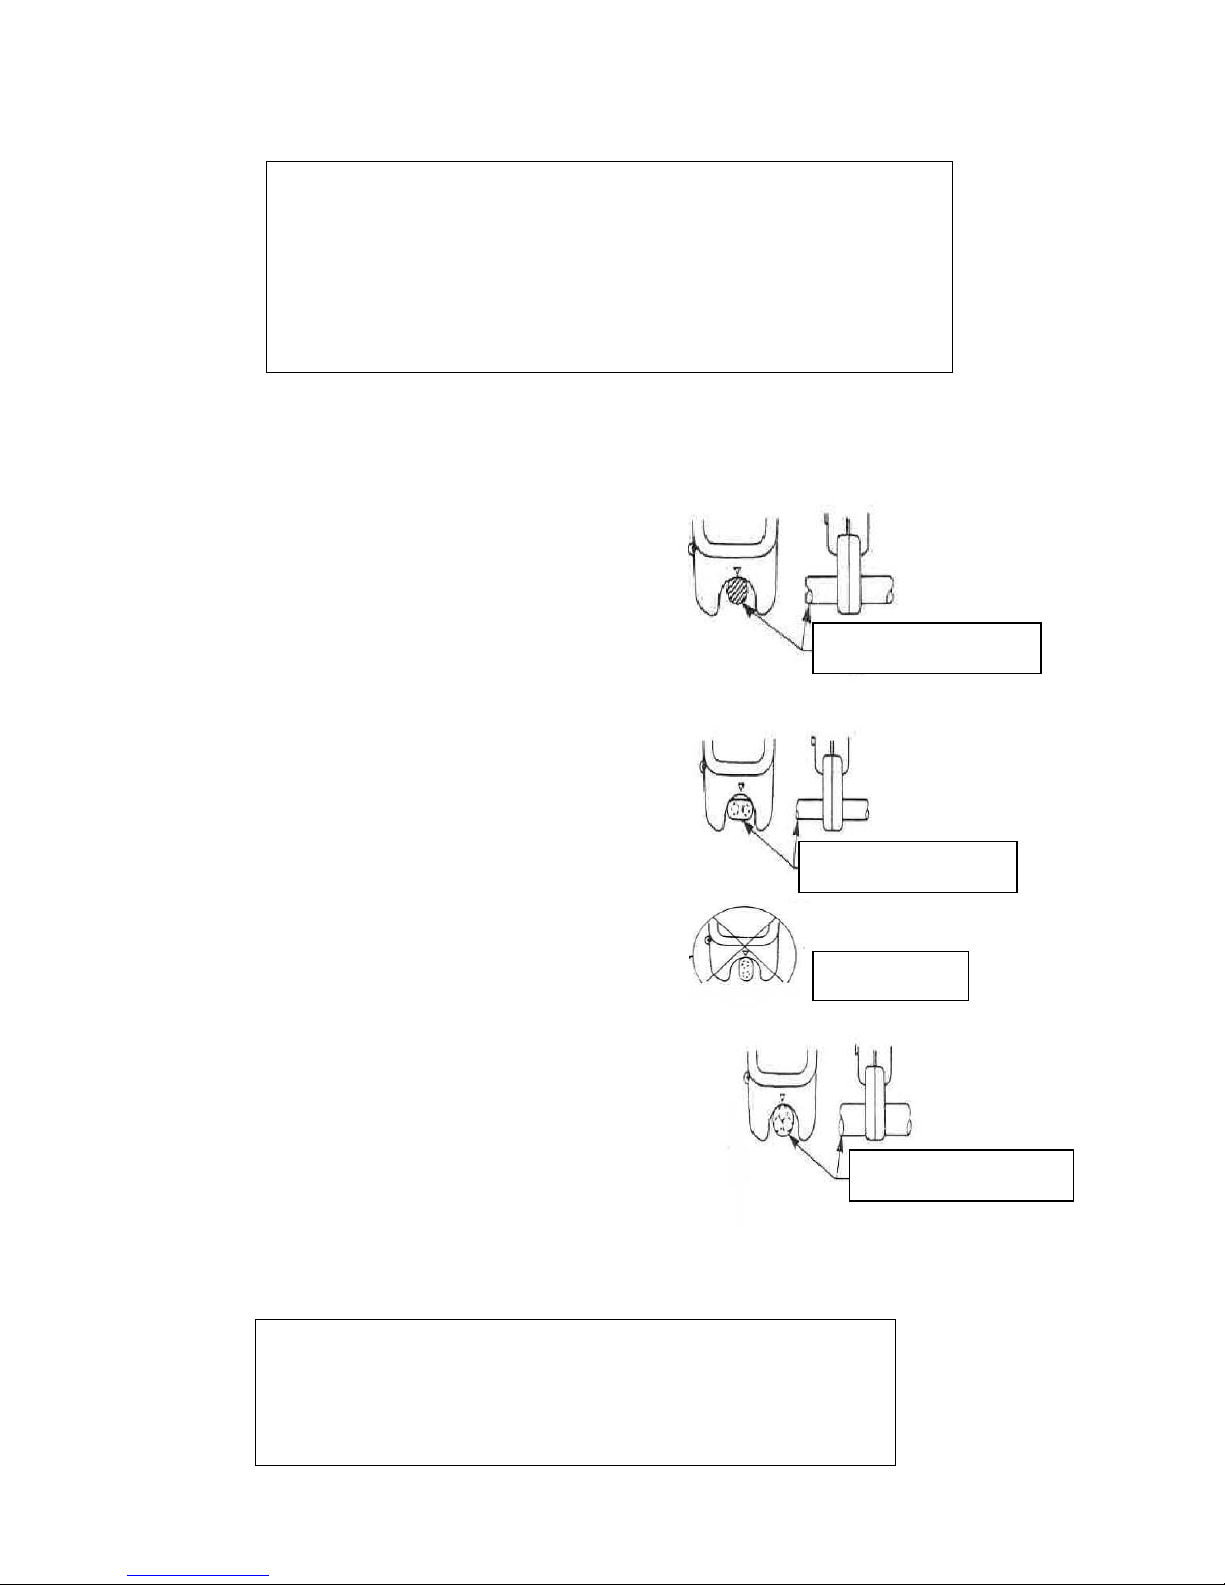
CAUTION:
● Note that accuracy will differ, depending upon the diameter of the cable
being measured and in the case of cables with ground wires.
If high-accuracy measurement is required, use the conventional current
transducer.
● In the case of special cables, there are some cables which the universal
current transducer cannot be used to measure.
1) Press the power switch on the right side of instrument.
2) Set the CT selector switch to the “ ⋒ ”position.
(Measurement of single wire)
① Set the wire selector switch to the “S” position.
② As shown on the right drawing, press the wire
to be measured perpendicularly up against the
▽ mark of the current transducer to measure
the current in the wire.
Note: This instrument is adjusted for IV wires and
will exhibit measurement errors for other type wires.
(Measurement of single-phase wire)
① Set the wire selector switch to the “SP (FLAT)”
position.
② As shown on the right drawing, press the wire
to be measured perpendicularly up against the
▽ mark of the current transducer to measure
the current in the wire.
Note: This instrument is adjusted for VVF wires
and will exhibit measurement errors for other
type wires.
(Measurement of 3-phase wires)
① Set the wire selector switch to the “3P” position
② As shown on the right drawing, press the wire
to be measured perpendicularly up against the
▽ mark of the current transducer.
③ In the condition of ②, rotate the instrument about
the wire to be measured and read the maximum
indication value.
Note: This instrument is adjusted for VVR wires and
will exhibit measurement errors for other type
wires.
CAUTION
●This instrument is designed for low voltage applications.
●To avoid electrical shock or damage, the measurement is limited
the circuit less than 600V AC.
Wire to be measured
IV Wire (Proper contact)
Wire to be measured
VVF Wire (Proper contact)
Improper Contact
Wire to be measured
VVR Wire (Proper contact)
Page 5
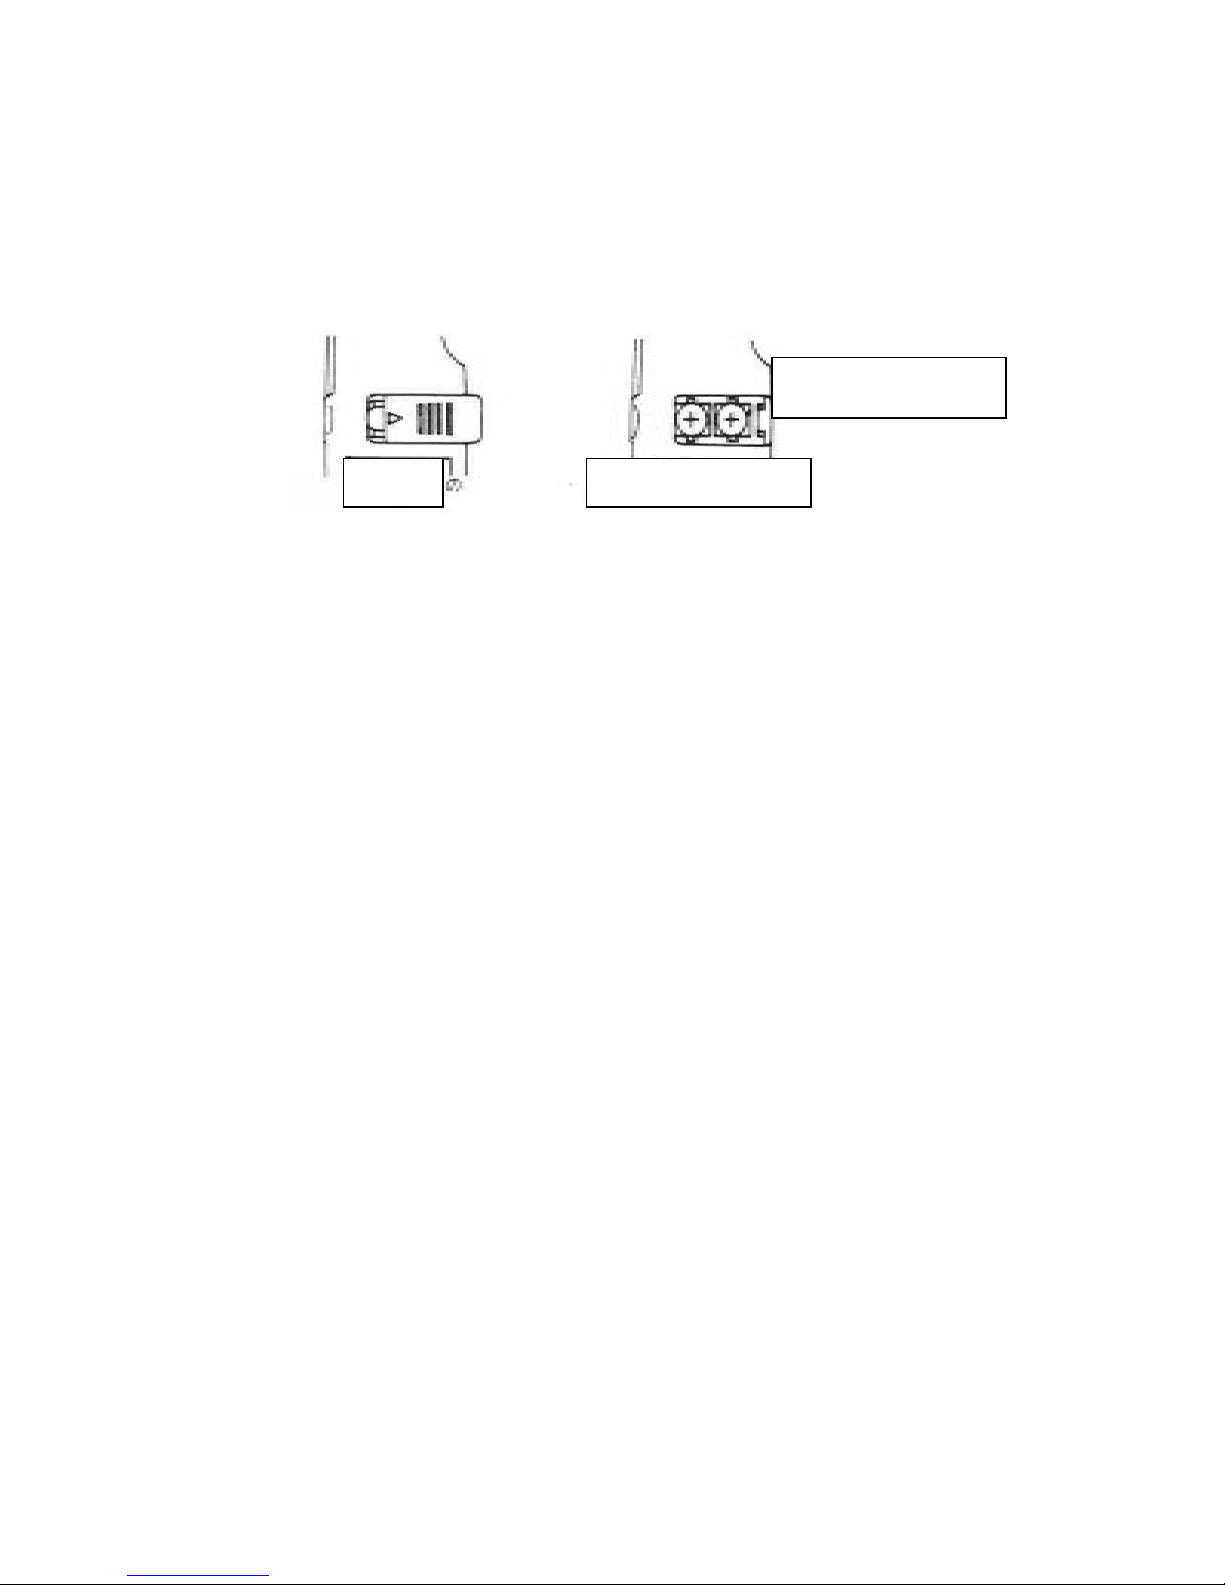
Fig. 2
Fig. 3
6. Replacement of Batteries
When the battery becomes exhausted or drops below the operating voltage, the "B"
mark is displayed. Turn the power switch to "OFF", prior to installing batteries.
To install the batteries, remove the battery cover located on the unit back.(See Fig.2)
Insert the two LR-44 or SR-44 into the battery case making sure that proper
polarity is observed. (See Fig.3)
Always replace both batteries at the same time. If the difference between the
voltages of the batteries is big, the measurement error may be caused.
➞
7. Maintenance
When making requests for repair service, please bring the instrument directly to the
dealer. If this is impossible, however, send the instrument directly to our sales office.
When mailing this instrument, always pack it in its original or equivalent packing
material and pack together with name, address, telephone number and the warranty
documentation.
● To ensure speedy and reliable repair, always include information as the type of
failure and cause.
● If required, always return accessories with the instrument.
● When contacting us, provide the model number and serial number of your instrument.
MULTI MEASURING INSTRUMENTS CO.,LTD.
Akihabara Murai Bldg. 7F, 1-26 Kanda Sakuma-cho,
Chiyoda-ku, Tokyo 101-0025 JAPAN
TEL: +81-3-3251-7016 FAX: +81-3-3253-4278
Home Page: http://www.multimic.com/
E-mail: [email protected]
Place batteries with
positive side up
 Loading...