

MuchMoreWater BlueBox 450 RO Operating Manual
Bluebox 450 RO
Operating manual
MuchMoreWater
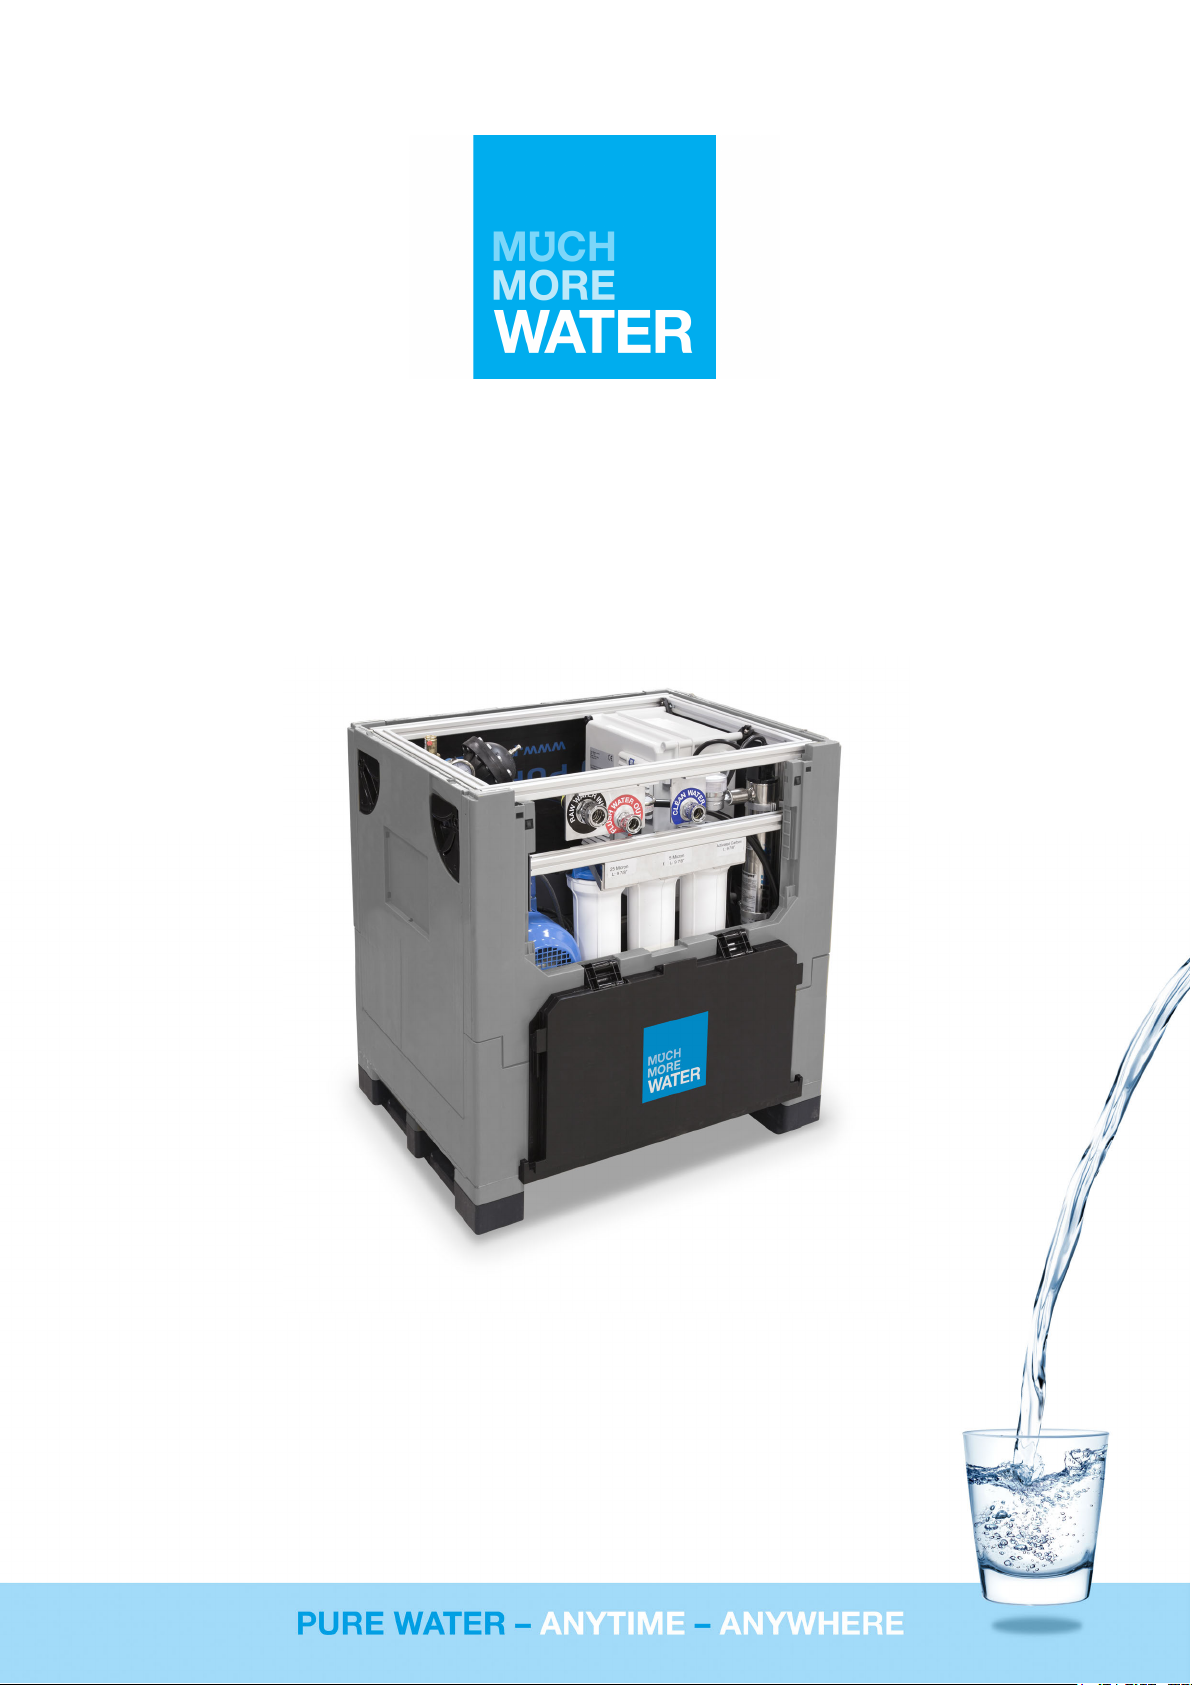
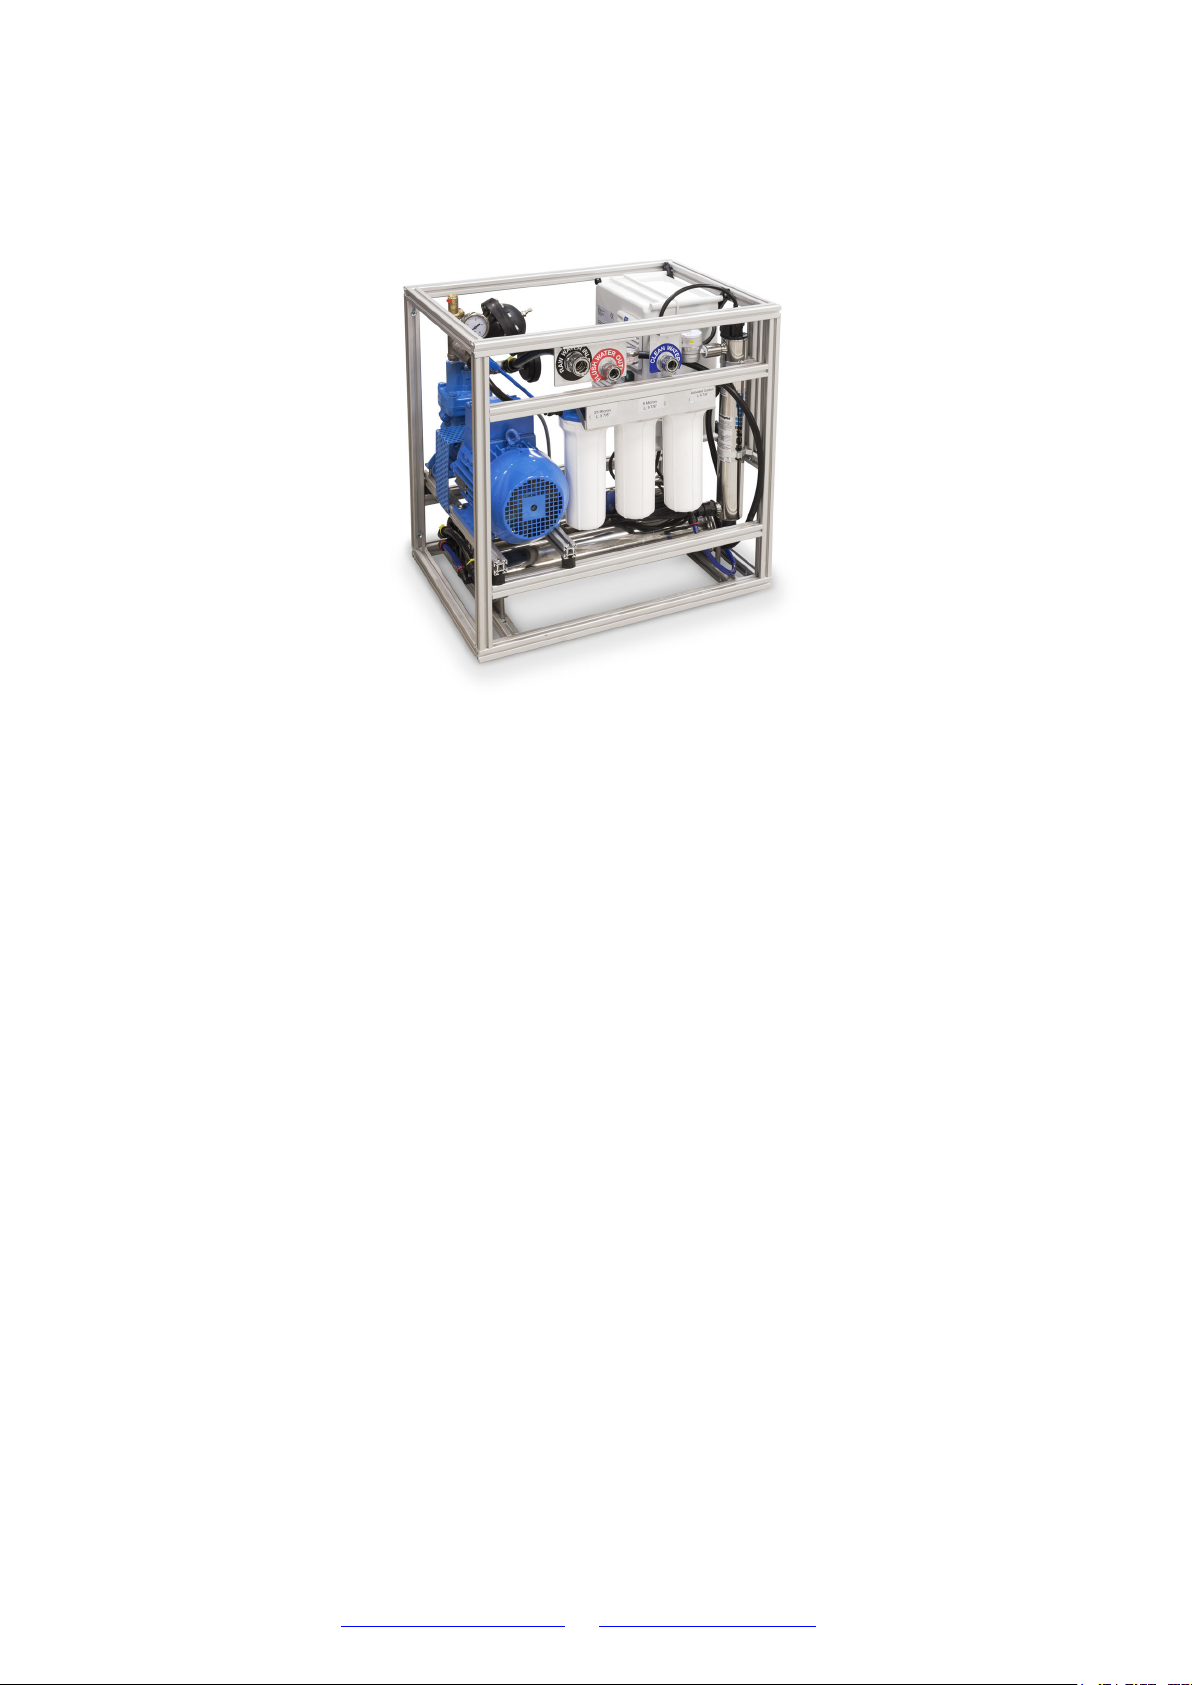
BlueBox 450 Mobile Water Purification Unit
Content
Before using Bluebox 450.................................................................................................................... 3
Starting the Bluebox 450 – Electrical version. .................................................................................... 4
After using the BlueBox 450 – Electrical version ............................................................................... 6
Maintenance of Bluebox 450 ............................................................................................................... 7
Daily ................................................................................................................................................. 7
Every week ....................................................................................................................................... 8
Every month ..................................................................................................................................... 8
Membrane Cleaning ..................................................................................................................... 9
If any faults should occur… ............................................................................................................... 13
[IMPORTANT NOTE] ...................................................................................................................... 15
www.MuchMoreWater.com - info@muchmorewater.com - +45 80 20 80 20
PART 1
Before using Bluebox 450
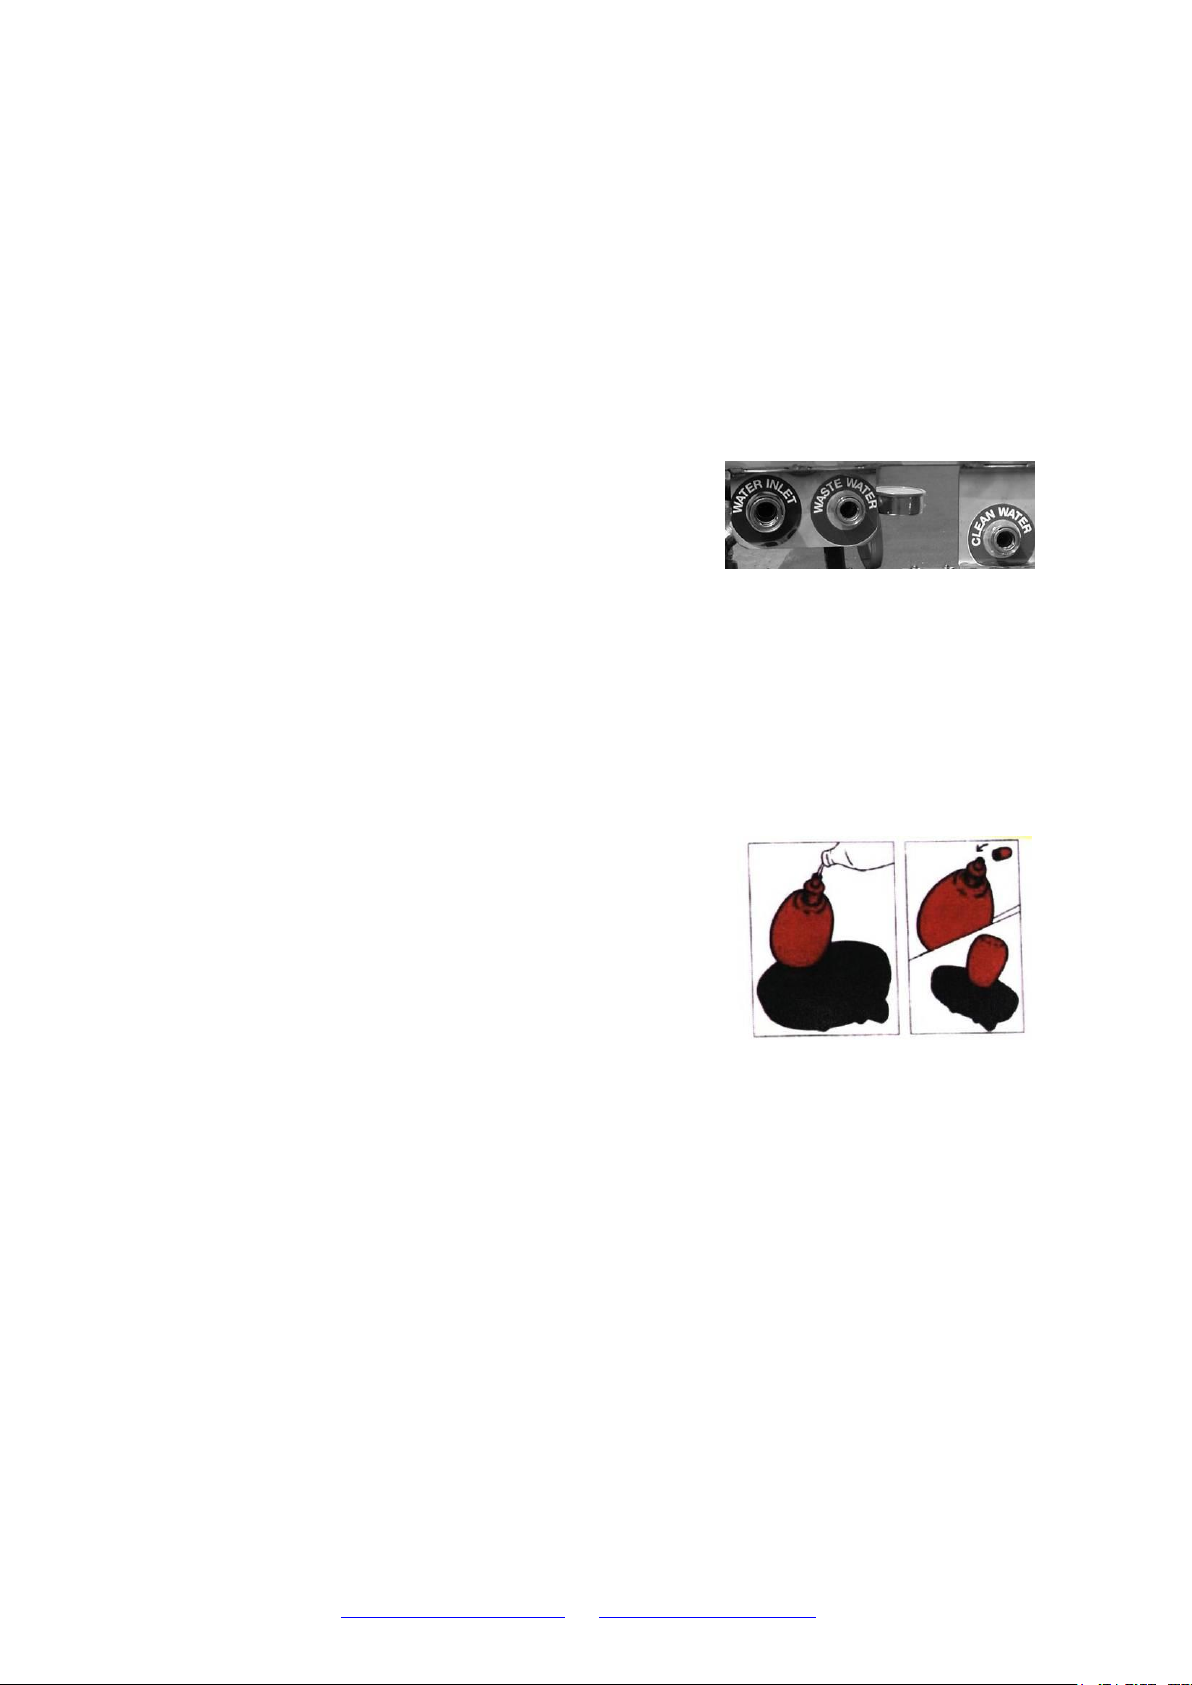
1. Connect the three coupling houses to the inlets and outlets located on the top,
longside of the BlueBox (see ill.). The hoses are marked with colours and the raw
water hose is of different size to avoid connecting it to the drinking water outlet by
accident.
Press red and blue ¾” hoses into the quick couplings. Follow the colour codes, red
sign red hose, blue sign, blue hose e.g.
MuchMoreWater
2. Fill the black absorption tube with water and press the 1” hose into the quick
coupling (see ill.).
3. Affix the float filter as shown. The floating position can be adjusted with water. The
more water, the deeper it will sink.
www.MuchMoreWater.com - info@muchmorewater.com - +45 80 20 80 20
Side 3 af 16
PART 2
Starting the Bluebox 450 – Electrical version.
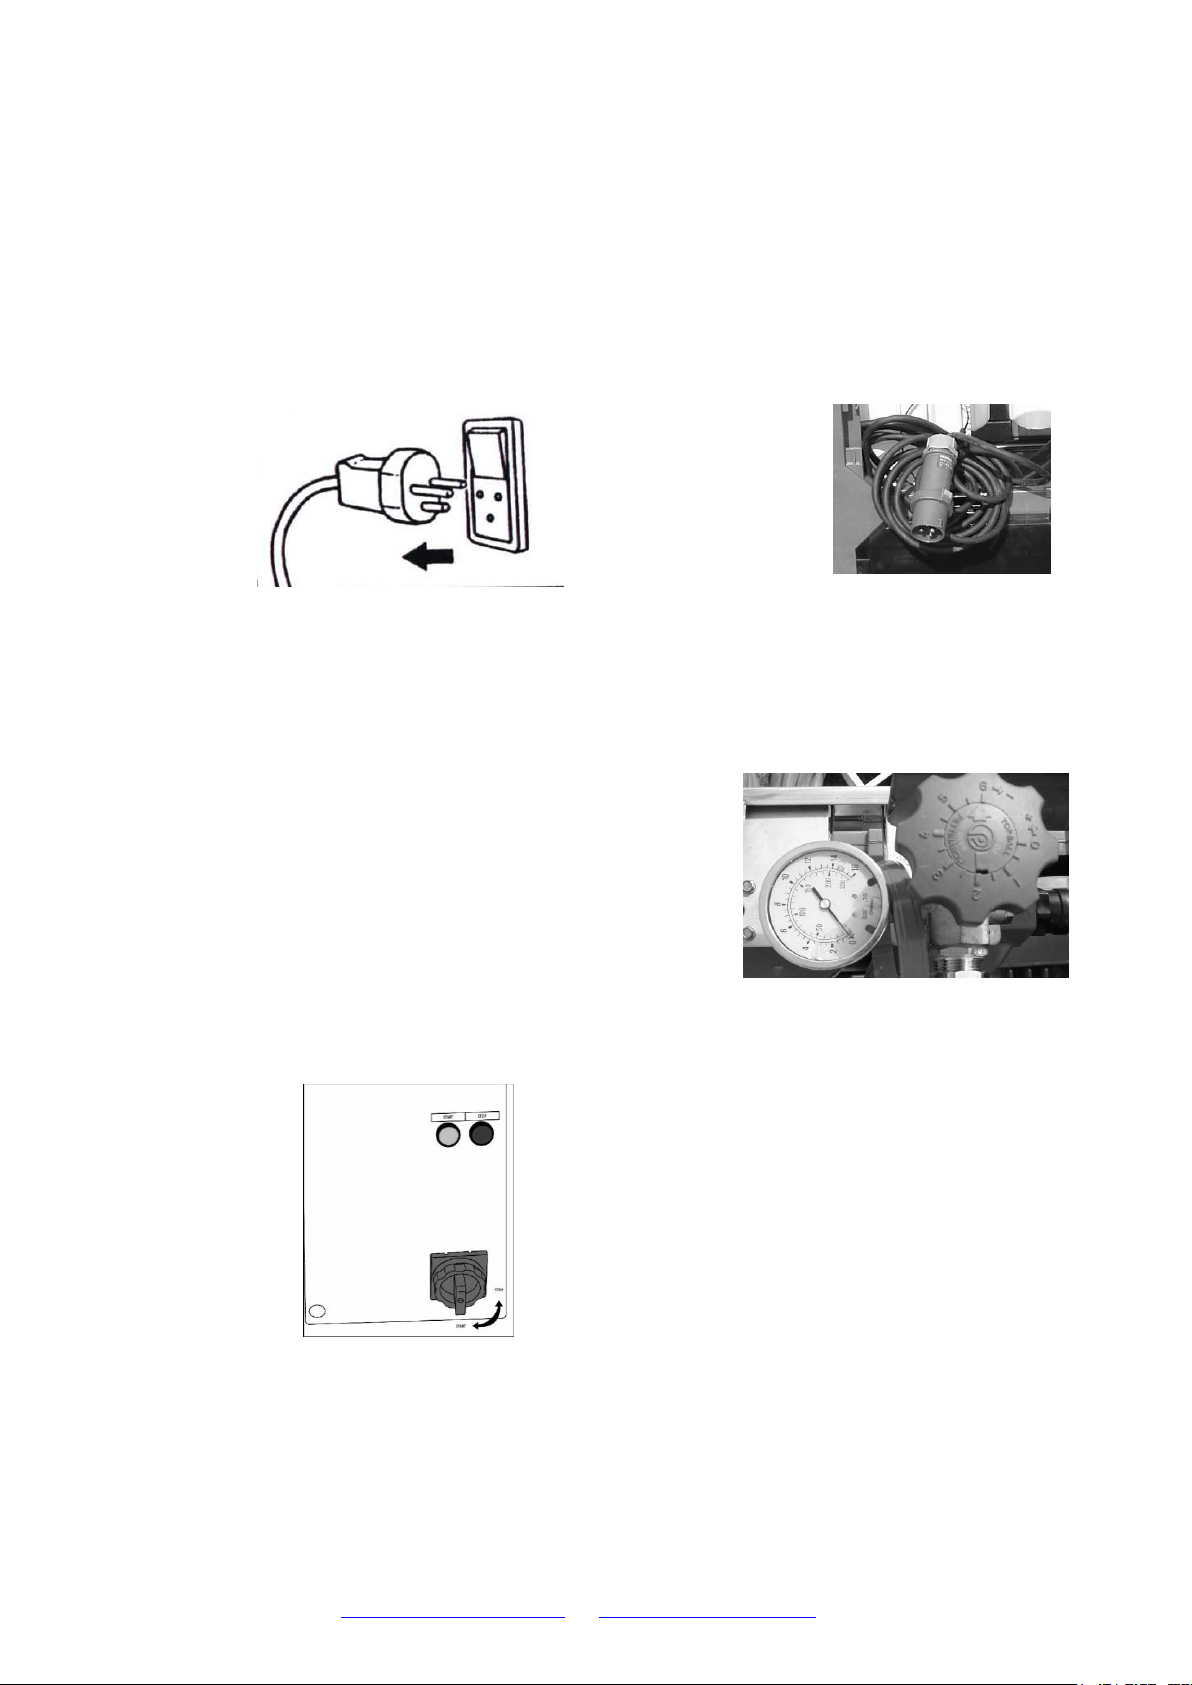
1. Connect the unit to a 230 V power supply (see ill.).
MuchMoreWater
2. Before starting the pump make sure that the pressure valve is in open
position (see ill.). The Bluebox must not be started with pressure on, the
3 pre-filters might blast.
3. Switch on the black button to ON position.
4. Start the pump by pressing the green button (see ill.).
5. Let the pump run for 1-2 minutes until no more bubbles are detected from
the red hose.
www.MuchMoreWater.com - info@muchmorewater.com - +45 80 20 80 20
Side 4 af 16

MuchMoreWater
6. Turn the pressure valve on the main block clockwise until the pressure
get to app. 8 bars. (see ill.).
7. Open the grey electricity box to check that the UV-indicators display
shows green light (see ill.).
8. Unclean water will come out of the red hose while drinking water can be
tapped from the blue hose. The volume of clean water per minute is
shown at the flow-meter.
Warning ! Never drink the water from the blue fresh-water tube
before the Bluebox 450 has been working for at least 5 minutes!!!!
www.MuchMoreWater.com - info@muchmorewater.com - +45 80 20 80 20
Side 5 af 16
 Loading...