

Page 1
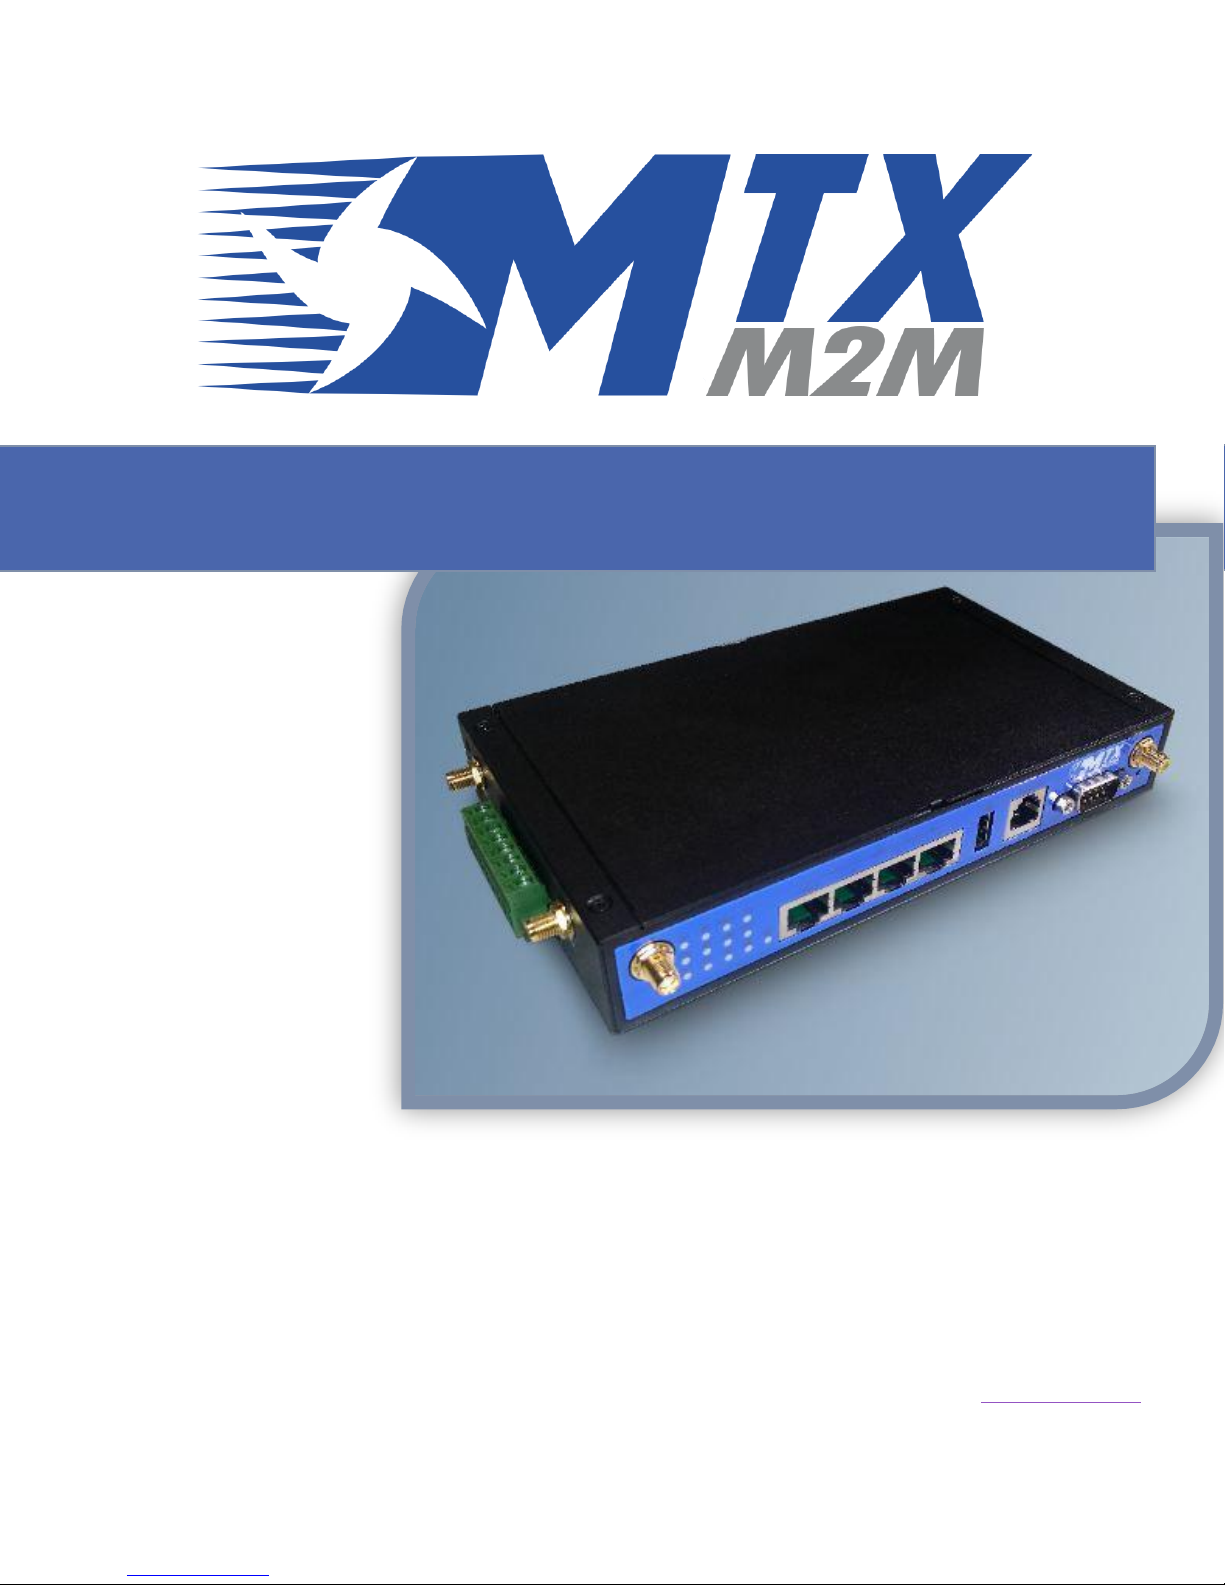
MTX-ROUTER HELIOS II QUICK START GUIDE
Matrix Electrónica
09/09/2015
matrix@matrix.es
Page 2

1
MTX-HELIOS II
Índice
1. Hardware description ......................... 2
Front View ................................................................... 2
Power input and DIO connector ................................... 2
Led Indication .............................................................. 2
2. Getting started ................................... 3
2.1 Mounting the Router .............................................. 3
2.2 Insert the SIM Card ................................................. 3
2.3 Connecting the power ............................................ 4
2.4 Connecting to the device ........................................ 4
www.mtxm2m.com www.matrix.es 2014/05 Page 1/6
MTX Terminals® by MATRIX ELECTRONICA S.L.U.
Page 3
2
MTX-HELIOS II
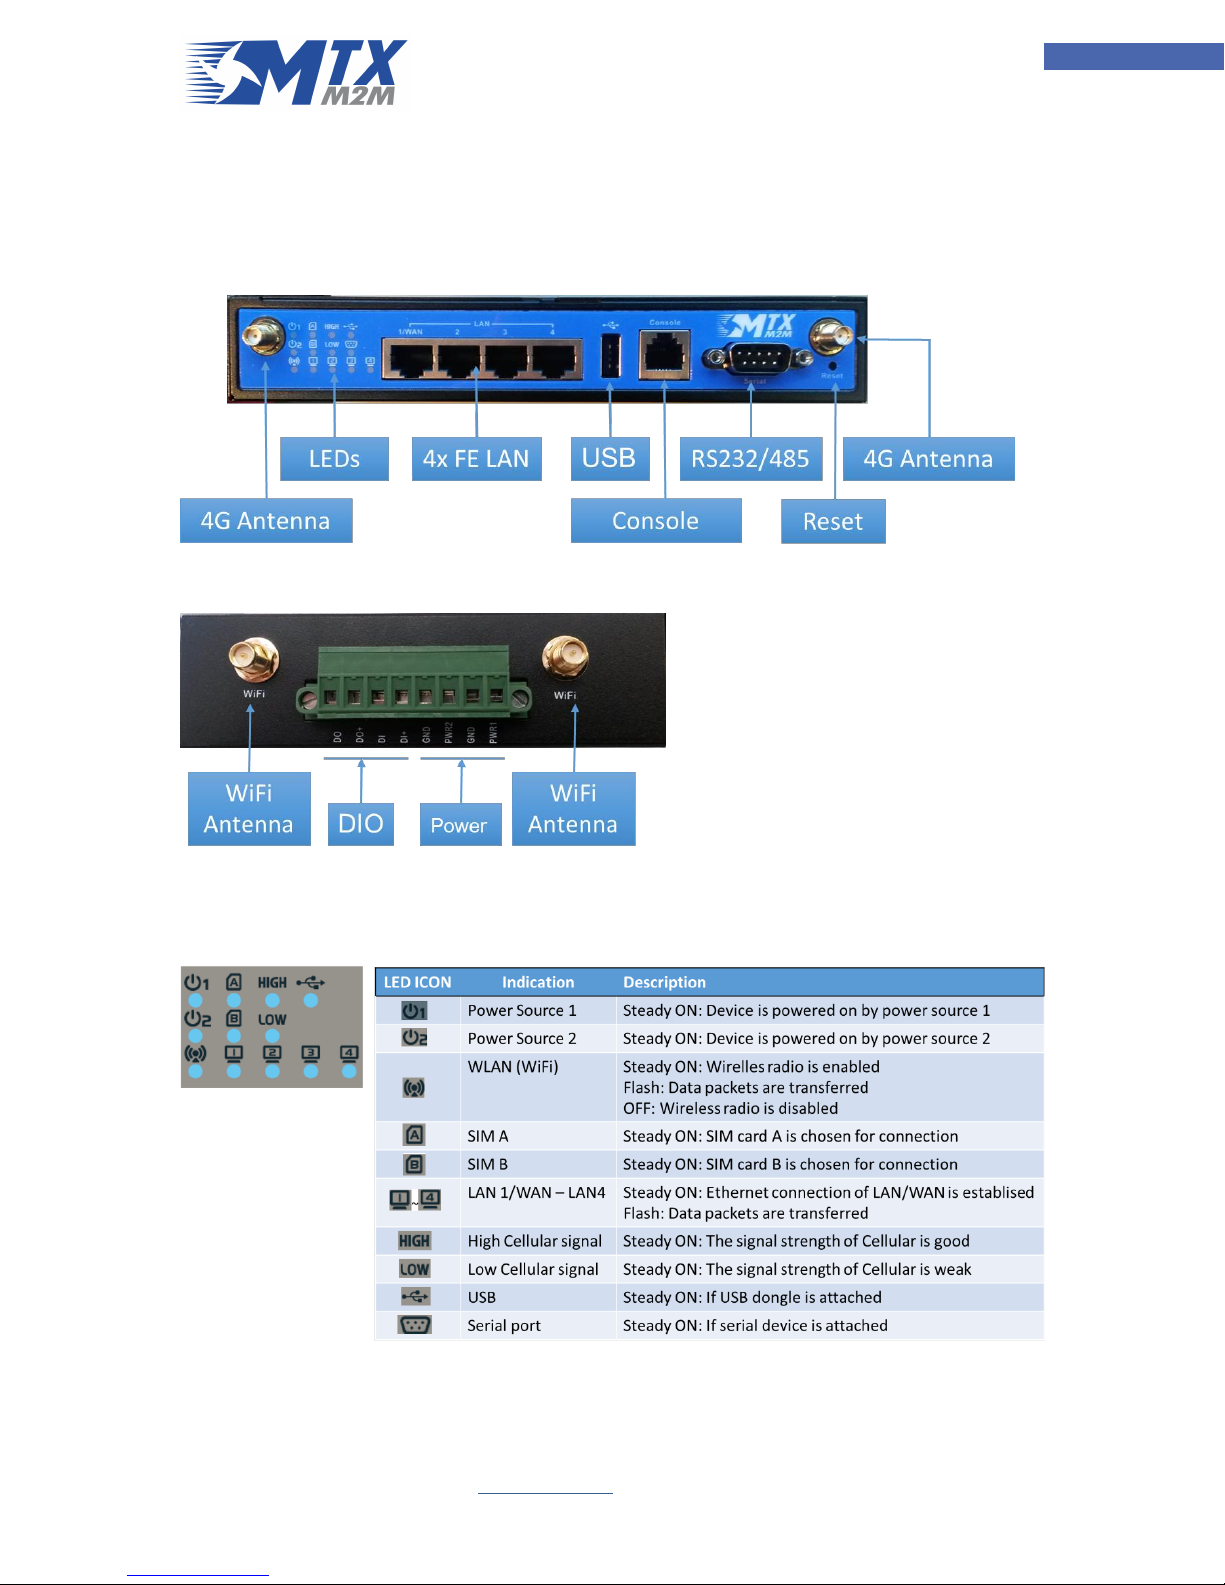
1. Hardware description
Front View
Power input and DIO connector
Led Indication
www.mtxm2m.com www.matrix.es 2014/05 Page 2/6
MTX Terminals® by MATRIX ELECTRONICA S.L.U.
Page 4

3
MTX-HELIOS II
2. Getting started
2.1 Mounting the Router
The MTX-ROUTER HELIOS II series can be placed on a desktop, mounted on the wall, or mounted
on a DIN-rail. It has designed with “ears” for attaching to the wall or the inside of a cabinet. The
wall-mount kits and DIN-rail bracket are not screwed on the product when out of factory. Please
screw the wall-mount kits and DIN-rail bracket on the product first.
2.2 Insert the SIM Card
WARNNING: BEFORE INSERTING OR CHANGING THE SIM CARD, PLEASE MAKE
SURE THAT POWER OF THE DEVICE IS SWITCHED OFF.
The SIM card slots are located at the bottom side of IOG761-0P001 housing in order to protect
the SIM card. You need to unscrew and remove the outer SIM card cover before installing or
removing the SIM card. Please follow the instructions to insert a SIM card. After SIM card is well
placed, screw back the outer SIM card cover.
Two SIM cards from the same or different operator can be used. The administration of the use
of the SIM cards is done on the web user interface.
www.mtxm2m.com www.matrix.es 2014/05 Page 3/6
MTX Terminals® by MATRIX ELECTRONICA S.L.U.
Page 5

4
MTX-HELIOS II
2.3 Connecting the power
The MTX-ROUTER HELIOS II series can be powered by connecting a power source to the terminal
block. It supports dual 9 to 48VDC power inputs. Following picture is the power terminal block
pin assignments. Please check carefully and connect to the right power requirements and
polarity.
*Note : If both of power source 1 and power source 2 are connected, the device will choose
power source 1 first. If power outage occurred from power source 1, this device will switch to
power source 2 automatically and seamlessly.
The maximum power consumption of IOG761‐0P001 is 15.5W.
2.4 Connecting to the device
To start the configuration of the MTX-Router Helios II, plug an Ethernet cable to any of the 4
Ethernet ports of the router and the other side of the cable directly to the Ethernet port of your
computer. Your computer must get the IP by DHCP or fixed IP into the same range of the router
192.168.1.x.
After this, open your web explorer and type the default IP Address http://192.168.1.2
www.mtxm2m.com www.matrix.es 2014/05 Page 4/6
MTX Terminals® by MATRIX ELECTRONICA S.L.U.
Page 6

5
MTX-HELIOS II
For login into the device please use:
Username: admin
Password: admin
You will access to the configuration page. The first screen you will see is the status of the system
where you will get the information about network status.
If you go to left menu Basic Network -> WAN -> Edit you can start to configure the parameters of
your SIM card:
If you are using SIM card slot A, you just have to add the data related to the service provider
APN, PIN, User and Password:
www.mtxm2m.com www.matrix.es 2014/05 Page 5/6
MTX Terminals® by MATRIX ELECTRONICA S.L.U.
Page 7

6
MTX-HELIOS II
If you need it, you can also modify the LAN default IP of the router and modify or disable the
DHCP server:
www.mtxm2m.com www.matrix.es 2014/05 Page 6/6
MTX Terminals® by MATRIX ELECTRONICA S.L.U.
 Loading...