

Quick Installation
4
MSI Features
5
Hardware
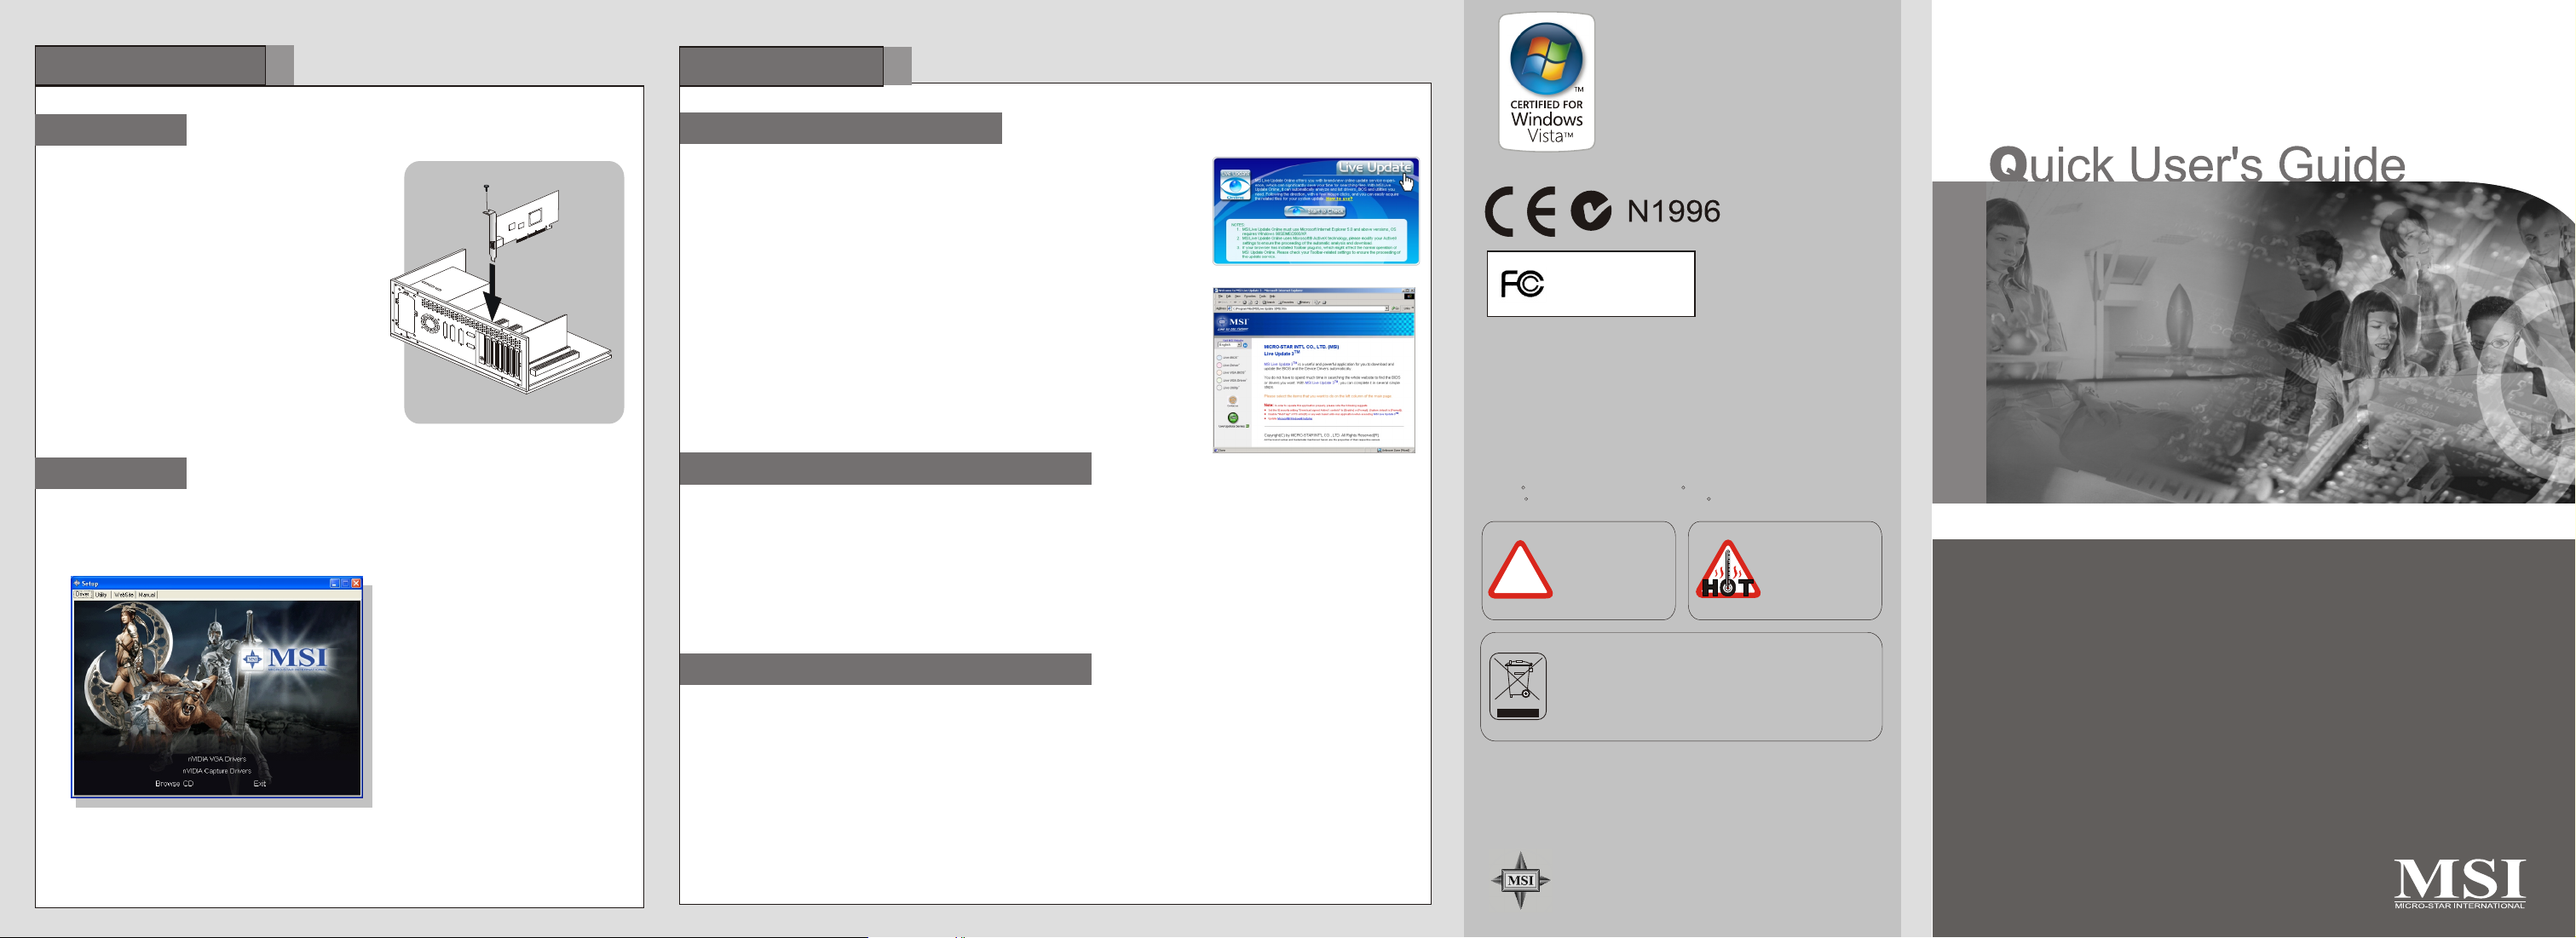
Follow the steps to install the VGA card:
1. Remove the computer case.
2. Locate the expansion slot on your mainboard.
Warning: Inserting the VGA card into a wrong
slot may damage your card (refer to your
mainboard manual for more Information).
3. Put the card directly over the slot and
press one end of the card into the slot first.
Gently but firmly press the other end until the
card is fully seated in the slot.
4. Secure the card with a bracket screw.
5. Install all other cards and devices and connect
all the cables, and then install the case.
6. Connect the monitor. Now, you are ready to
install the software on your computer.
below
expansion
System Requirements
Software
To install the driver of the VGA card to your computer,
1. Turn on the computer.
2. Insert the into the CD-ROM drive. The Autorun program will start the Setup
program, and show the setup screen as follows:
Installing MSI Live Update 3
3. Click nVIDIA VGA Drivers. Follow the on-screen instructions to complete the installation.
4. After finishing the installation, restart the computer as instructed.
CD
TM TM
R
please follow the steps below:
Tip : If, on your computer, the
Autorun program does not execute
automatically, please 1) enable the
CD-ROM drive Auto-detect function
from Control Panel; or 2) find and
run the setup.exe file manually from
the CD.
Installing MSI Live Update
MSI Live Update offers you with brand-new update service experience, which can
save your time while searching files. MSI Live Update is capable to automatically
analyze and list drivers, BIOS, and utilities you need. With the easy-to-use updating
approaches, you can increase the performance of your system easily and quickly.
Follow the instructions below, with a few mouse clicks, you can acquire the related
files for the system updating.
Installing from the Disk
1. Insert the supplied disk into the CD-ROM drive, and start the Setup program.
2. Click the Utility tab on the setup screen.
3. Click the MSI Live Update. Follow the on-screen instructions to complete the
installation.
Installing from the MSI Web Site
1. Link to MSI's website at http://www.msi.com.tw
2. Find and click Live Update Online on the left side of the web page to enter MSI
Download Center.
3. Click Start to Check to download the Live Update application.
4. Click Install the continue.
5. Follow the on-screen instructions to complete the installation.
6. Launch MSI Live Update and to enter the main page of this utility as shown here.
Using MSI Live VGA Driver Update
This service enables you to update the latest VGA driver for your VGA card.
1. To update the MSI Live VGA Driver, click Live VGA
Driver item on the left column of the main page.
2. This utility will start checking your platform and the
information on the VGA card, and
display the information in a list.
3. Click the graph button on the bottom to connect
MSI Live Update Series Server, and then the
system will automatically connect the Internet and
compare the version of the driver in the database.
4. It may take several minutes to detect the required
drivers. Please wait while proceeding detection.
5. Click the InstallShield Wizard button on the right side
of the table to download and
update the driver. All actions will proceed automatically.
6. Follow the on-screen instructions to complete the
updating procedure.
7. Note that to ensure the best SLI performance, please
visit MSI website to update the latest driver.
Using MSI Live VGA BIOS Update
This service enables you to update the latest VGA BIOS for your VGA card.
1. To update your VGA BIOS, click Live VGA BIOS item on the left column of the main page.
2. If your VGA card does not support the Live VGA BIOS function, you will receive a warning message on the screen.
3. If your VGA card do support the Live VGA BIOS function, please pay attention to the message shown on the screen
telling you that in what circumstance flashing BIOS may fail to reboot.
4. Click Yes if you would like to try it at your own risk or No to return to the main page with everything unchanged.
5. If you click Yes to continue, it will check the information and BIOS version of your VGA card, and list them in a table.
6. Click the graph button at the bottom to connect the MSI Live Update 3 Server.
7. The MSI Live VGA BIOS will automatically connect the Internet and search the supported BIOS in the database of
MSI.
8. If it has found one (or several) supported BIOS for your VGA card, click the InstallShield Wizard button on the right
side of the table to have the new BIOS downloaded and updated automatically.
9. Follow the on-screen instructions to complete the updating procedure.
MICRO-STAR INT'L
MS-V801
Macrovision Corporation Product Notice
This product incorporates copyright protection technology that is protected
by method claims of certain U.S. patents and other intellectual property
rights owned by Macrovision Corporation and other right owners. Use of this
copyright protection technology must be authorized by Macrovision
Corporation, and is intended for home and other limited viewing uses only
unless otherwise authorized by Macrovision Corporation. Reverse
engineering or disassembly is prohibited.
* All trademarks used in this manual are the sole property of their respective owners.
VGA is a trademark of International Business Machines Corporation.
R R
Pentium is a registered trademark of Intel Corporation.
R R
Windows is a registered trademark of Microsoft Corporation.
CAUTION!!
Do not force the GPU
cooler against the
fragile GPU to avoid
!
damage to the GPU.
Under the European Union ("EU") Directive on Waste
Electrical and Electronic Equipment, Directive 2002/96/EC,
which takes effect on August 13, 2005, products of
"electrical and electronic equipment" cannot be discarded
as municipal waste anymore and manufacturers of covered
electronic equipment will be obligated to take back such
products at the end of their useful life.
n
I
t
e
r
r
a
n
t
a
S
-
o
r
c
i
M
t
i
TEL. 886-2-32345599
o
n
a
FAX. 886-2-32345488
l
http://www.msi.com.tw
WARNING!!
DO NOT touch the
cooling system since
it may produce a
certain heat while
processing tasks.
N9800GX2 series
G52-V8012XI
January 2008

Overview
1
Getting Started
2
Quick Installation
3
Fan Connector
6-pin Power Connector
Coaxial SPDIF Connector**
11
1
2
1G DDR3 memory
NVIDIA GeForce 9800GX2
PCI Express Interface
SLI Interface**
2
HDMI Connector
DVI-I Ports
- HDCP supported
- Dual dual-Link DVI output
supported
Refer to the section of Enabling SPDIF Input Function for
**1
details.
**2 To ensure the best SLI performance, please visit MSI website to
update the latest driver.
Note: The VGA card shown here may vary from the actual card.
For further information, please visit MSI website at www.msi.com.tw
Dual-Card Assembling
8-pin Power Connector
3
Fan Connector
1G DDR3 memory
NVIDIA GeForce 9800GX2
1
3
2
Unpacking
Please check out the following items to make sure that you
get the complete product, and consult your dealer immediately
if anything is missing or damaged.
VGA card
Disk: Drivers, documentation, and applications
System Requirements
To install the VGA card, your computer system needs to meet
the following requirements:
PCI Express or PCI Express 2.0 - compliant motherboard
with one x16 graphics slot
6-pin supplementary power connector
Additional 8-pin supplementary power connector
Power supply of 580 (and up) watt is highly recommended for
system stability
CD-ROM / DVD-ROM for driver installation
Visiting MSI website for further operating system information
Card Features
NVIDIA
Fully unified shader core dynamically allocates processing
power to geometry, vertex, physics, or pixel shading
operations, delivering up to 2x the gaming performance of
prior generation GPUs.
Full Microsoft DirectX 10 Support
DirectX 10 GPU with full Shader Model 4.0 support delivers
unparalleled levels of graphics realism and film-quality effects.
Quad NVIDIA SLI Technology
Industry leading Quad NVIDIA SLI technology offers amazing
performance scaling by implementing 4-way AFR (Alternate
Frame Rendering), for the world's fastest gaming solution
under Windows Vista with solid, state-of-the-art drivers.
NVIDIA HybridPower Technology (Optional)
HybridPower technology automatically switches from the
GeForce 9800 GX2 graphics card to the motherboard
GeForce GPU when running non graphicallyintensive
applications for a silent, low power PC experience.
PCI Express 2.0 Support
Designed for the new PCI Express 2.0 bus architecture
offering the highest data transfer speeds for the most
bandwidth-hungry games and 3D applications, while
maintaining backwards compatibility with existing PCI Express
motherboards for the broadest support.
128-bit floating point High Dynamic-Range (HDR) Lighting
Twice the precision of prior generations for incredibly realistic
lighting effectsnow with support for anti-aliasing.
R R
For reference only
R
unified architecture
R R
R R
R
TM
GigaThread Technology
Massively multi-threaded architecture supports thousands of
independent, simultaneous threads, providing extreme
processing efficiency in advanced, next generation shader
programs.
NVIDIA Quantum Effects Technology
Advanced shader processors architected for physics
computation enable a new level of physics effects to be
simulated and rendered on the GPU all while freeing the CPU
to run the game engine and artificial intelligence (AI).
Noise Reduction
Improves movie image quality by removing unwanted artifacts
NVIDIA ForceWare Unified Driver Architecture (UDA)
Delivers a proven record of compatibility, reliability, and
stability with the widest range of games and applications.
ForceWare provides the best out-of-box experience for every
user and delivers continuous performance and feature
updates over the life of NVIDIA GeForce GPUs.
16x Anti-aliasing Technology
Lightning fast, high-quality anti-aliasing at up to 16x sample
rates obliterates jagged edges.
OpenGL 2.1 Optimization and Support
Ensures top-notch compatibility and performance for OpenGL
applications.
Dual 400MHz RAMDACs
Blazing-fast RAMDACs support dual QXGA displays with
ultra-high, ergonomic refresh rates up to 2048x1536@85Hz.
Dual Dual-link DVI Support
Able to drive the industry's largest and highest resolution flatpanel displays up to 2560x1600 and with support for Highbandwidth Digital Content Protection (HDCP).
NVIDIA PureVideo HD Technology
The combination of high-definition video decode acceleration
and post-processing that delivers unprecedented picture
clarity, smooth video, accurate color, and precise image
scaling for movies and video.
NVIDIA PureVideo HD Technology
The combination of high-definition video decode acceleration
and post-processing that delivers unprecedented picture
clarity, smooth video, accurate color, and precise image
scaling for movies and video.
HDMI Output
Integrated HDMI connector enables sending both highdefinition video and audio signals to an HDTV via a single
cable.
Discrete, Programmable Video Processor
NVIDIA PureVideo is a discrete programmable processing
core in NVIDIA GPUs that provides superb picture quality and
ultra-smooth movies with 100% offload of H.264 video
decoding from the CPU and significantly reduced power
consumption.
Dual-stream Hardware Acceleration
Supports picture-in-picture content for the ultimate interactive
Blu-ray and HD DVD movie experience
TM
R
R
R
R
R
TM
TM
TM
TM
TM
Dynamic Contrast Enhancement & Color Stretch
Provides post-processing and optimization of High Definition movies on a scene by scene
Hardware
basis for spectacular picture clarity.
HDCP Capable
Designed to meet the output protection management (HDCP) and security specifications of
the Blu-ray Disc and HD DVD formats, allowing the playback of encrypted movie content on
PCs when connected to HDCP-compliant displays.
Advanced Spatial-Temporal De-Interlacing
Sharpens HD and standard definition interlaced content on progressive displays, delivering
a crisp, clear picture that rivals high-end home-theater systems.
High-Quality Scaling
Enlarges lower resolution movies and videos to HDTV resolutions, while maintaining a
clear, clean image. Also provides downscaling of videos, including high-definition, while
preserving image detail.
Inverse Telecine (3:2 & 2:2 Pulldown Correction)
Recovers original film images from filmsconverted-to-video (DVDs, 1080i HD content),
providing more accurate movie playback and superior picture quality.
Bad Edit Correction
When videos are edited, the edits can disrupt the normal 3:2 or 2:2 pulldown cadence.
PureVideo uses advanced processing techniques to detect poor edits, recover the original
content, and display perfect picture detail frame after frame for smooth, natural looking
video.
Edge Enhancement
Sharpens movie images by providing higher contrast around lines and objects.
R
TM
NVIDIA Lumenex Engine
Delivers stunning image quality and floating point accuracy at ultra-fast frame rates.
Hardware Decode Acceleration
Provides ultra-smooth playback of H.264, VC-1, WMV and MPEG-2 HD and SD movies..
Enabling SPDIF Input Function
Each of the following connection allows users to enable the SPDIF Input function easily and
quickly:
1. Use the compliant SPDIF Internal cable
to connect both the SPDIF connectors on
the VGA card and your mainboard. Make
sure to (1) plug the orange cable to the
SPDIF-pin and the black one to the GNDpin on the mainboard; and (2) plug the
other end (2-pin white connector) of the
cable to the SPDIF connector on the VGA
card. Note that wrong installation may
cause the damage to the VGA card.
2. Or, use the compliant SPDIF External
cable to connect the SPDIF connector on
the VGA card and the SPDIF-out
connector on the back panel of the
mainboard. Make sure to plug the 2-pin
connector of the cable to the SPDIF
connector on the VGA card, and the
other end to the SPDIF-out connector on
the back panel of the mainboard.
R
Plug the 2-pin white connector
to the SPDIF connector on the
VGA card.
Plug the orange (OG) cable to the
SPDIF-pin and the black (BK) one
to the GND-pin on the mainboard.
Plug the 2-pin connector to
the SPDIF connector on the
VGA card.
Plug this connector to the SPDIF-out
connector on the back panel of the
mainboard.
Optional
Coaxial SPDIF Internal cable
OG
Coaxial SPDIF External cable
BK
 Loading...