

Page 1
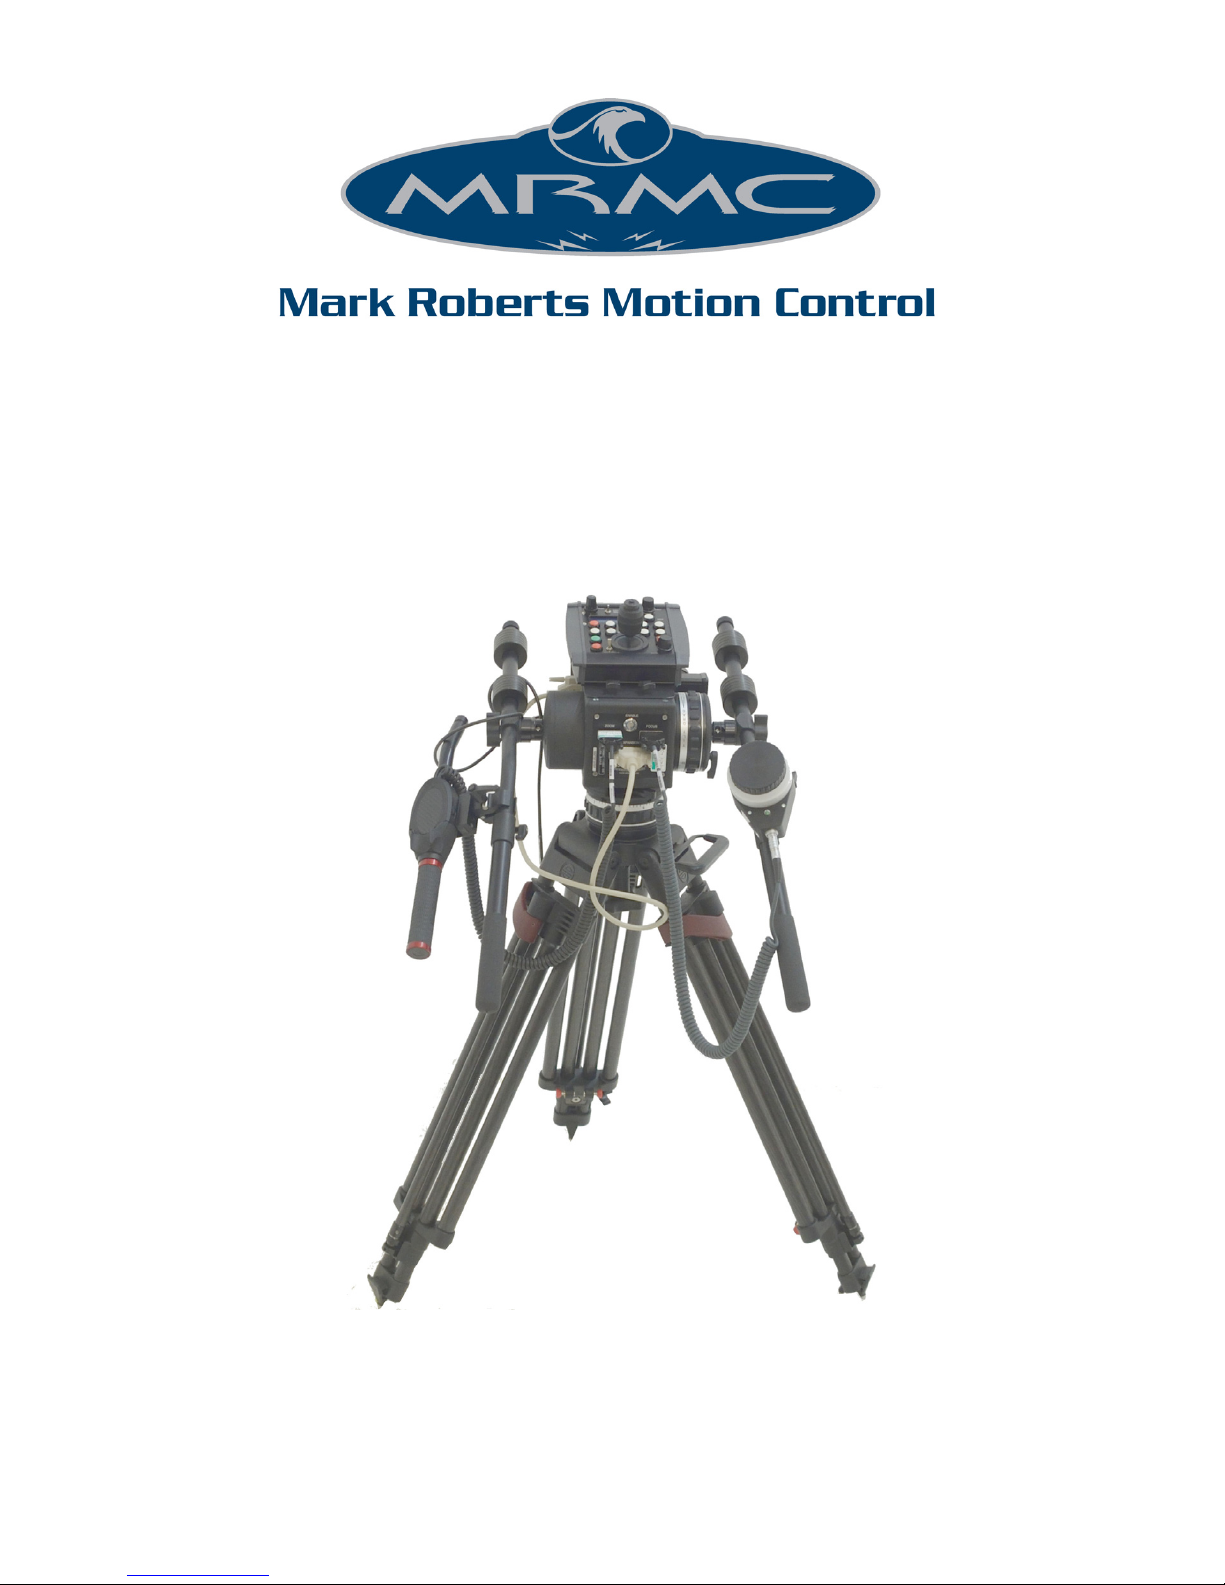
Pan Bars
Quick Start Guide
Product code: MRMC-1460-00
Part number: MRMC-1465-01
Page 2

ii
Pan Bars Quick Start Guide
Product code: MRMC-1460-00
Part number: MRMC-1465-01
© 2017 Mark Roberts Motion Control Ltd. All rights reserved.
No part of this publication may be reproduced, transmitted, or translated
by any means — graphical, electronic, or mechanical — including
photocopying, recording, taping, or storage in an information retrieval
system, without the express written permission of Mark Roberts Motion
Control.
Although every care has been taken to ensure that the information in this
document is accurate and up to date, Mark Roberts Motion Control
continuously strives to improve their products and may make changes to
the hardware, firmware, and software described in this document. Mark
Roberts Motion Control therefore cannot be held responsible for any
error or omission in this document.
All product names mentioned herein are the trademarks or registered
trademarks of their respective owners.
Contact information
Mark Roberts Motion Control Ltd.
Unit 3, South East Studios
Blindley Heath
Surrey
RH7 6JP
United Kingdom
Telephone: +44 (0) 1342 838000
E-mail: [email protected] (sales and general enquiries)
[email protected] (customer support)
Web: www.mrmoco.com
www.mrmocorentals.com
Page 3

Pan Bars Quick Start Guide
iii
Pan Bars Quick Start GuidePan BarsQuick Start Guide
Contents
Chapter 1 Quick Start..................................................................... 1
Safety........................................................................................ 1
Overview .................................................................................1
Pan Bars — With PC and Joystick Controller.................... 2
Connecting the cables ..................................................3
Your first session........................................................... 3
Turning off the system .................................................4
Pan Bars — With Microsoft Surface Pro ............................5
Connecting the cables ..................................................6
Your first session........................................................... 6
Turning off the system .................................................7
Page 4

Pan Bars Quick Start Guide
iv
Page 5

Pan Bars Quick Start Guide
1
Pan Bars Quick Start GuidePan BarsQuick Start Guide
Chapter 1 Quick Start
Safety
• Do not use around flammable gas. All electrical equipment can
generate sparks that can ignite flammable gas.
• Keep the equipment dry. The system has not been made
weatherproof. Do not use with wet hands.
• Keep cables tidy. Use cable ties to keep them out of harm’s way. If
you have a head with slip rings then make use of them; avoid
running any cables between the base and the rotating head or
camera.
Overview
Thank you for using the Pan Bars from Mark Roberts Motion Control
(MRMC). Pan bars attached to a Mini USB Joystick Controller allows you
to manoeuvre the MRMC camera head. It gives you a smooth, precise and
real-time control over your choice of camera axes —pan and tilt, and
camera control — zoom and focus.
Page 6
Head connected
to pan bars
using Ethernet
Power
ETHERNET
ETHERNET
E
THERNET
FOCUS
EXPANSION
Z
OOM
Ethernet hub
PC
Monitor
(Optional)
Ethernet
Mimic Box
To USB
Joystick
Controller
Pan Bars Quick Start Guide
2
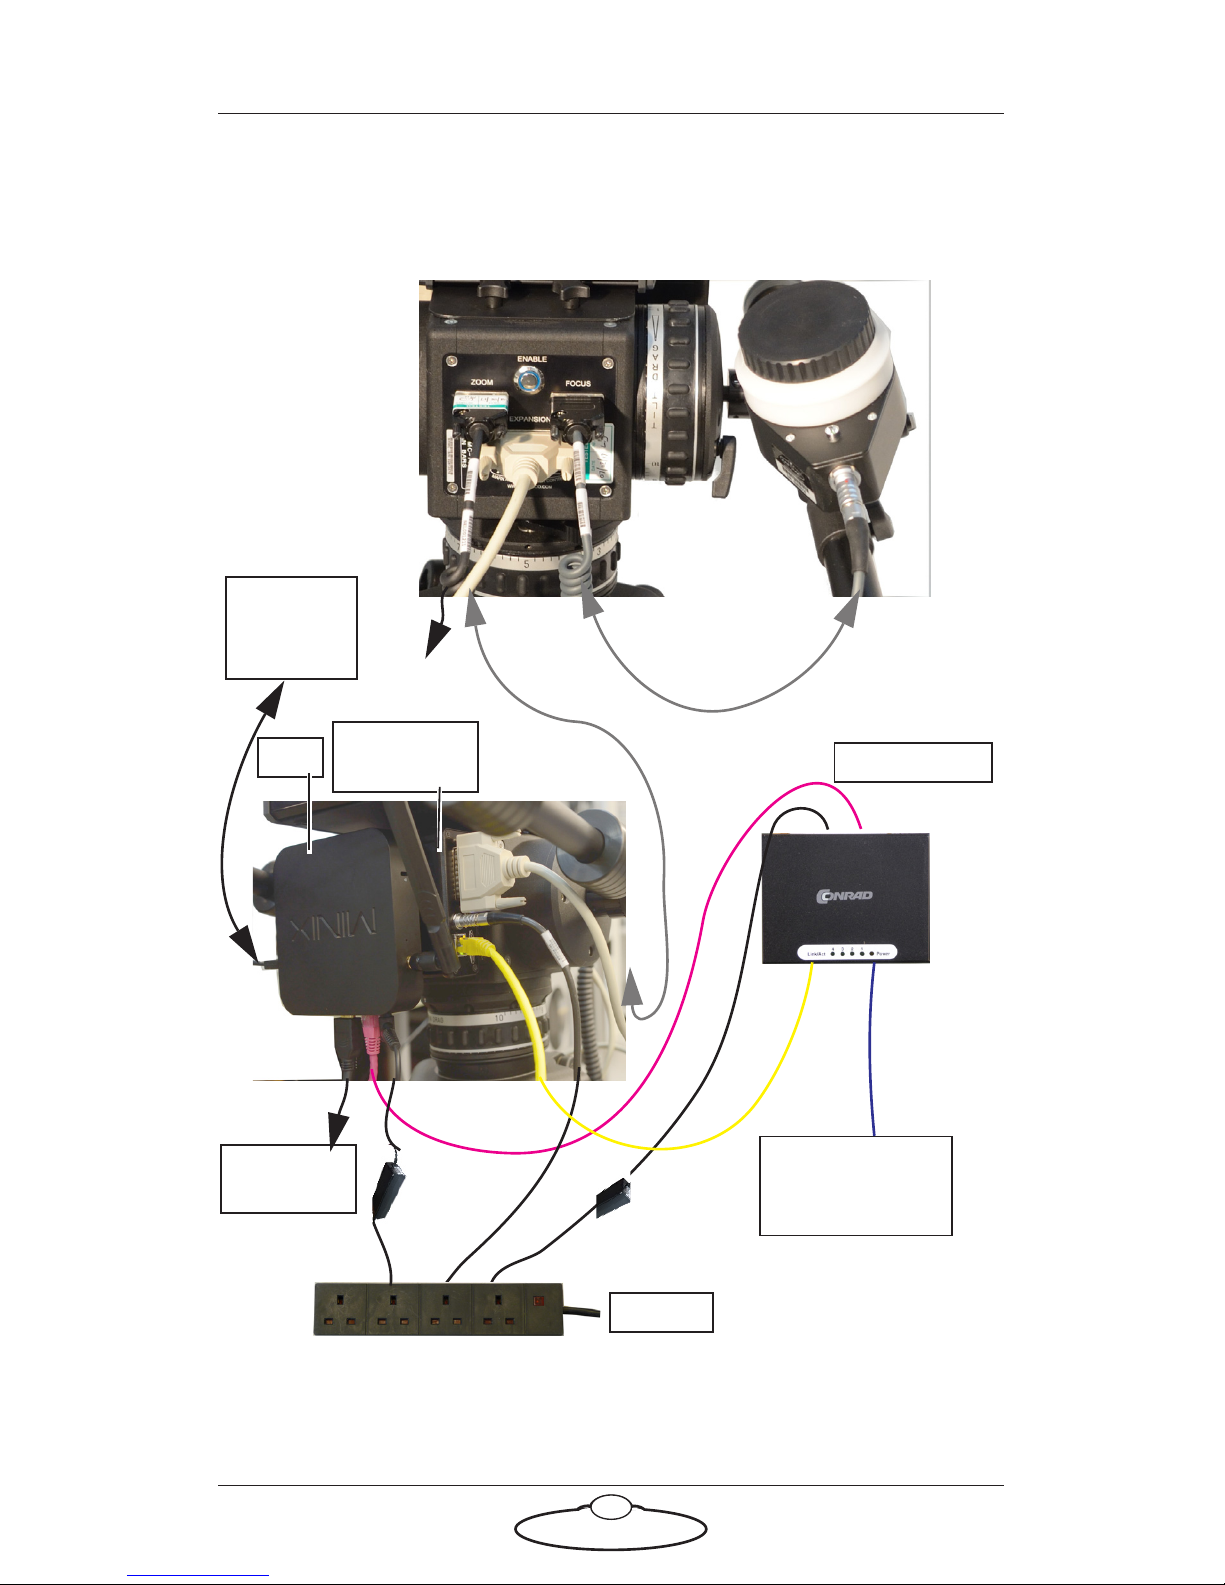
Pan Bars — With PC and Joystick Controller
Page 7
Pan Bars Quick Start Guide
3
Connecting the cables
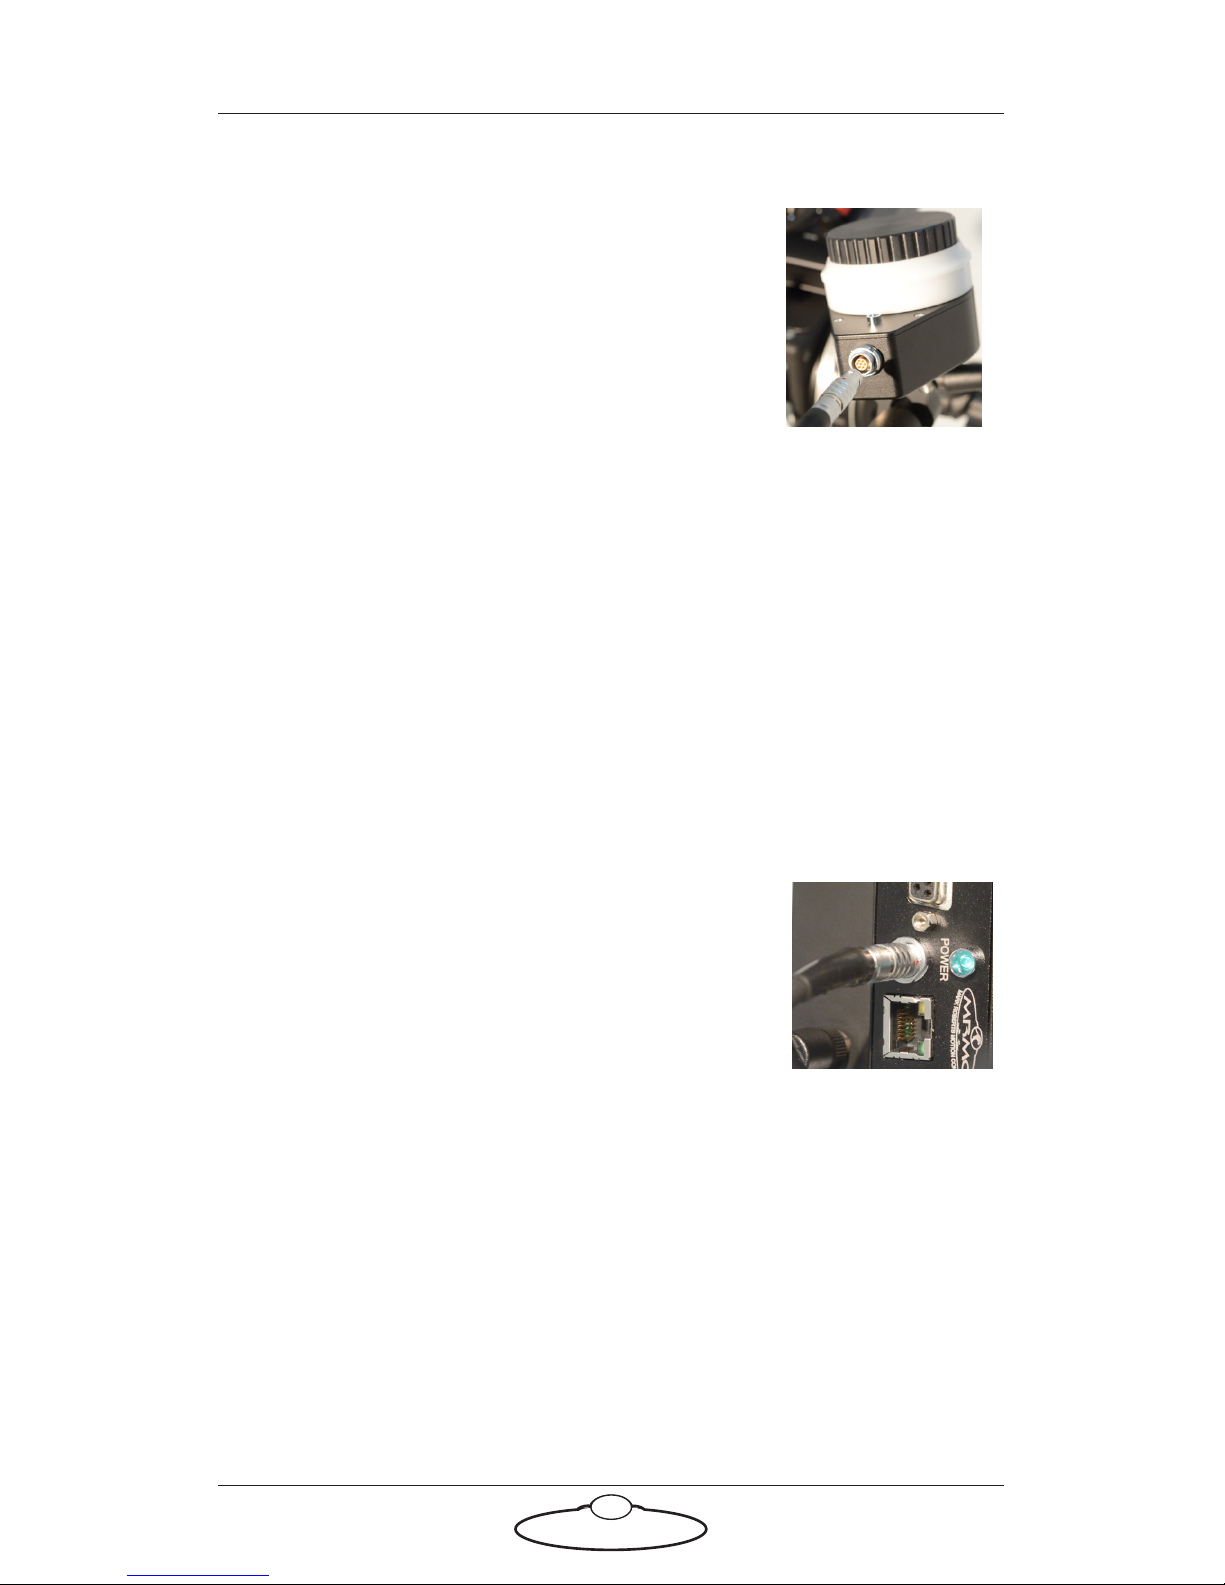
1. Connect the Focus controller cable to the
FOCUS port in the Pan Bars panel and Focus
controller. Ensure that the red markers on the
plug and socket are aligned.
2. Connect the Zoom controller cable to the
ZOOM port on the Pan Bars panel.
3. Use the Expansion cable to connect the EXPANSION port on the
Pan Bars panel and the Expansion port on the Ethernet Mimic box.
4. Connect the Mini USB Joystick Controller to the PC using the USB
cable. You can optionally connect the PC to a monitor, keyboard and
mouse if you want to change any Pan Bars settings using the MHC
software on the PC.
5. Connect the PC to mains using the supplied 12V DC power adaptor.
6. Connect the PC, Ethernet Mimic box, and the MRMC head with the
Ethernet hub using network cables.
7. Connect the power cable to the POWER
socket in the control box. Ensure that the red
markers on the plug and socket are aligned.
Your first session
Instructions for using the head with a specific controller, are beyond the
scope of this manual. When you want to use the Pan Bars, you typically
need to perform the steps given below. Refer to the manual that came
with your head for details.
1. Attach the cables to the Pan Bars, Ethernet Mimic box, PC and head,
as described in the previous section. Make sure the relevant
indicators light up; for example, the power indicator LEDs on all
Page 8
Pan Bars Quick Start Guide
4
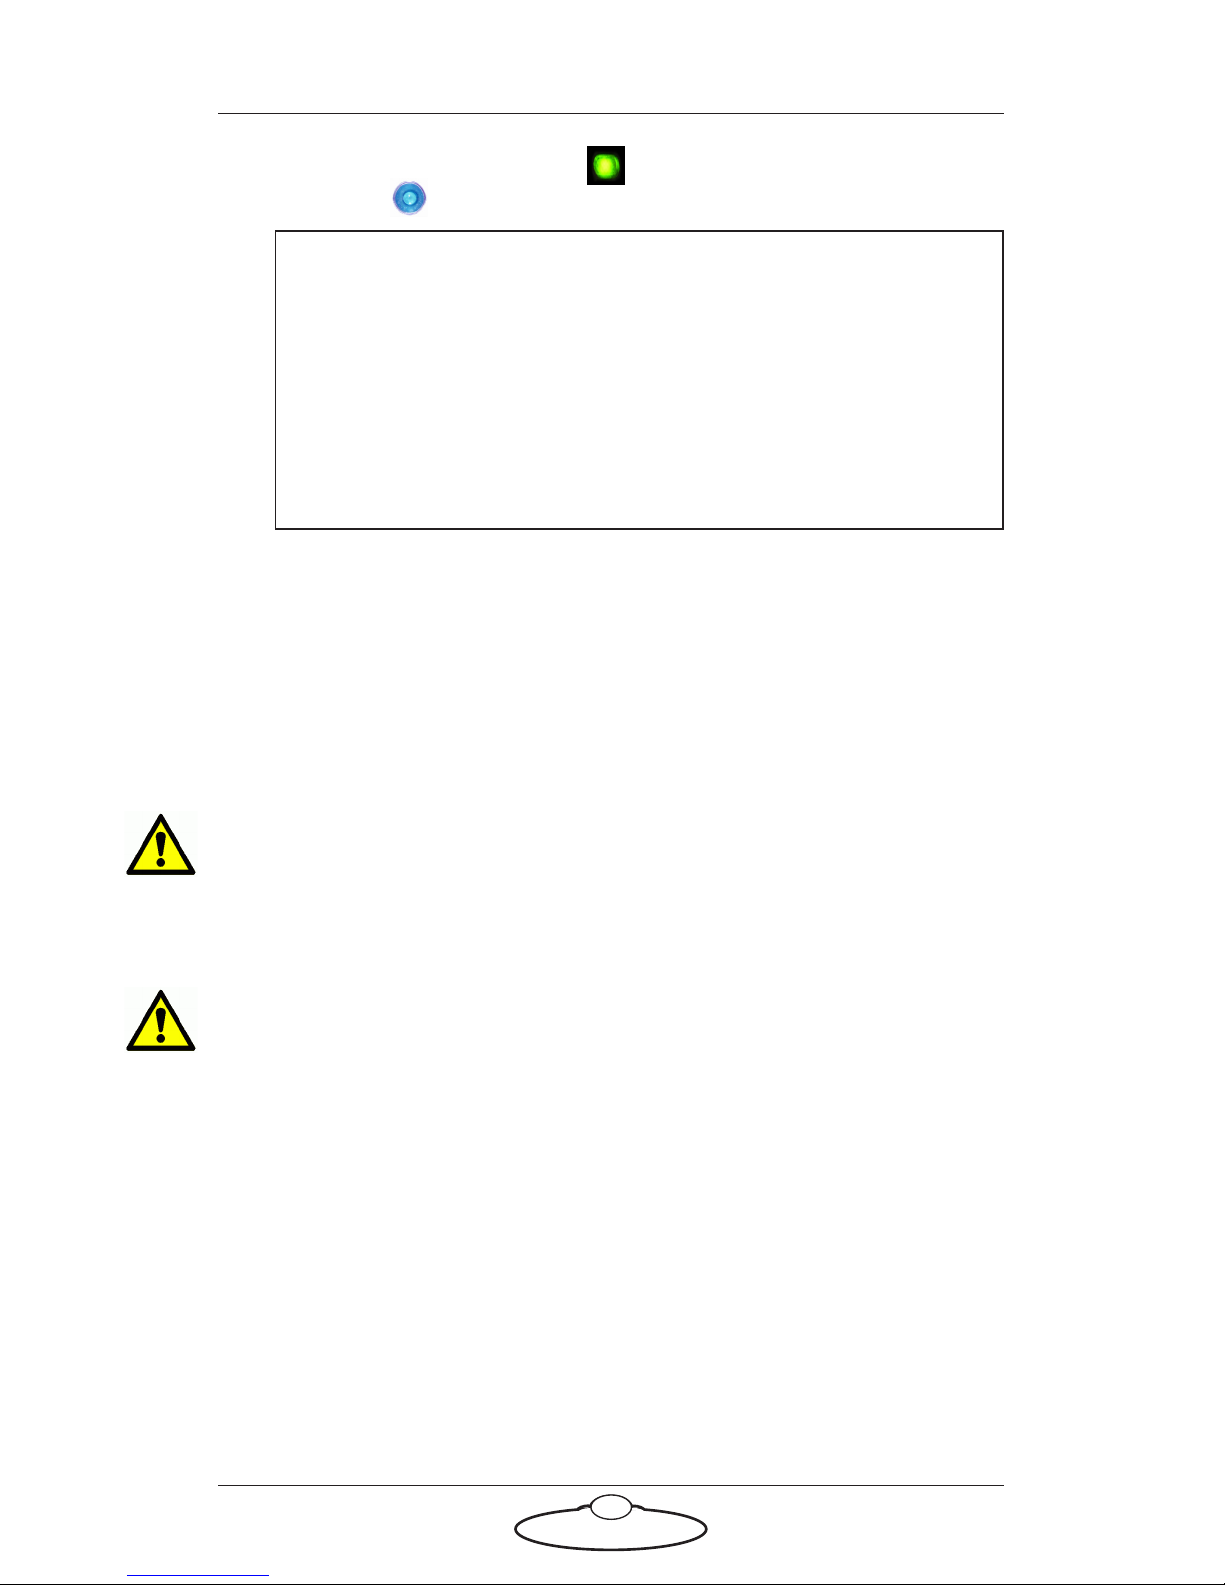
24Volt power supply bricks ( ), and the power indicator LED on
the head ( ).
2. Focus control has to be physically set to zero before booting up the
PC. To do this, fully rotate the Focus knob anticlockwise on the
joystick to zero the focus axis.
3. Press the POWER button on the PC for less than one second to boot.
The PC takes about 30 seconds to start up.
If an error occurs, such as a missing connector, the panel on the Mini
Joystick Controller displays the message “(!) - Back to Repair”,
press the Back button to resolve the error. Such an error can occur, for
example, when a serial lens connector is missing, the system recognises
that it cannot control the axis and trips the axis.
Turning off the system
Turn off the PC by pressing the power button for less than one second to
power it down. Do not remove the power cable to turn off the PC. It can
damage the system.
Remove the power cable to turn off the Mini Joystick Controller and the
Ethernet Mimic box.
Note
It is a good idea to attach the power cables last, after all the
other cables are in place.
It is also recommended that you power up the PC last, after
powering up the head, as powering up two devices
simultaneously on the same Ethernet network can cause
communication problems.
Page 9
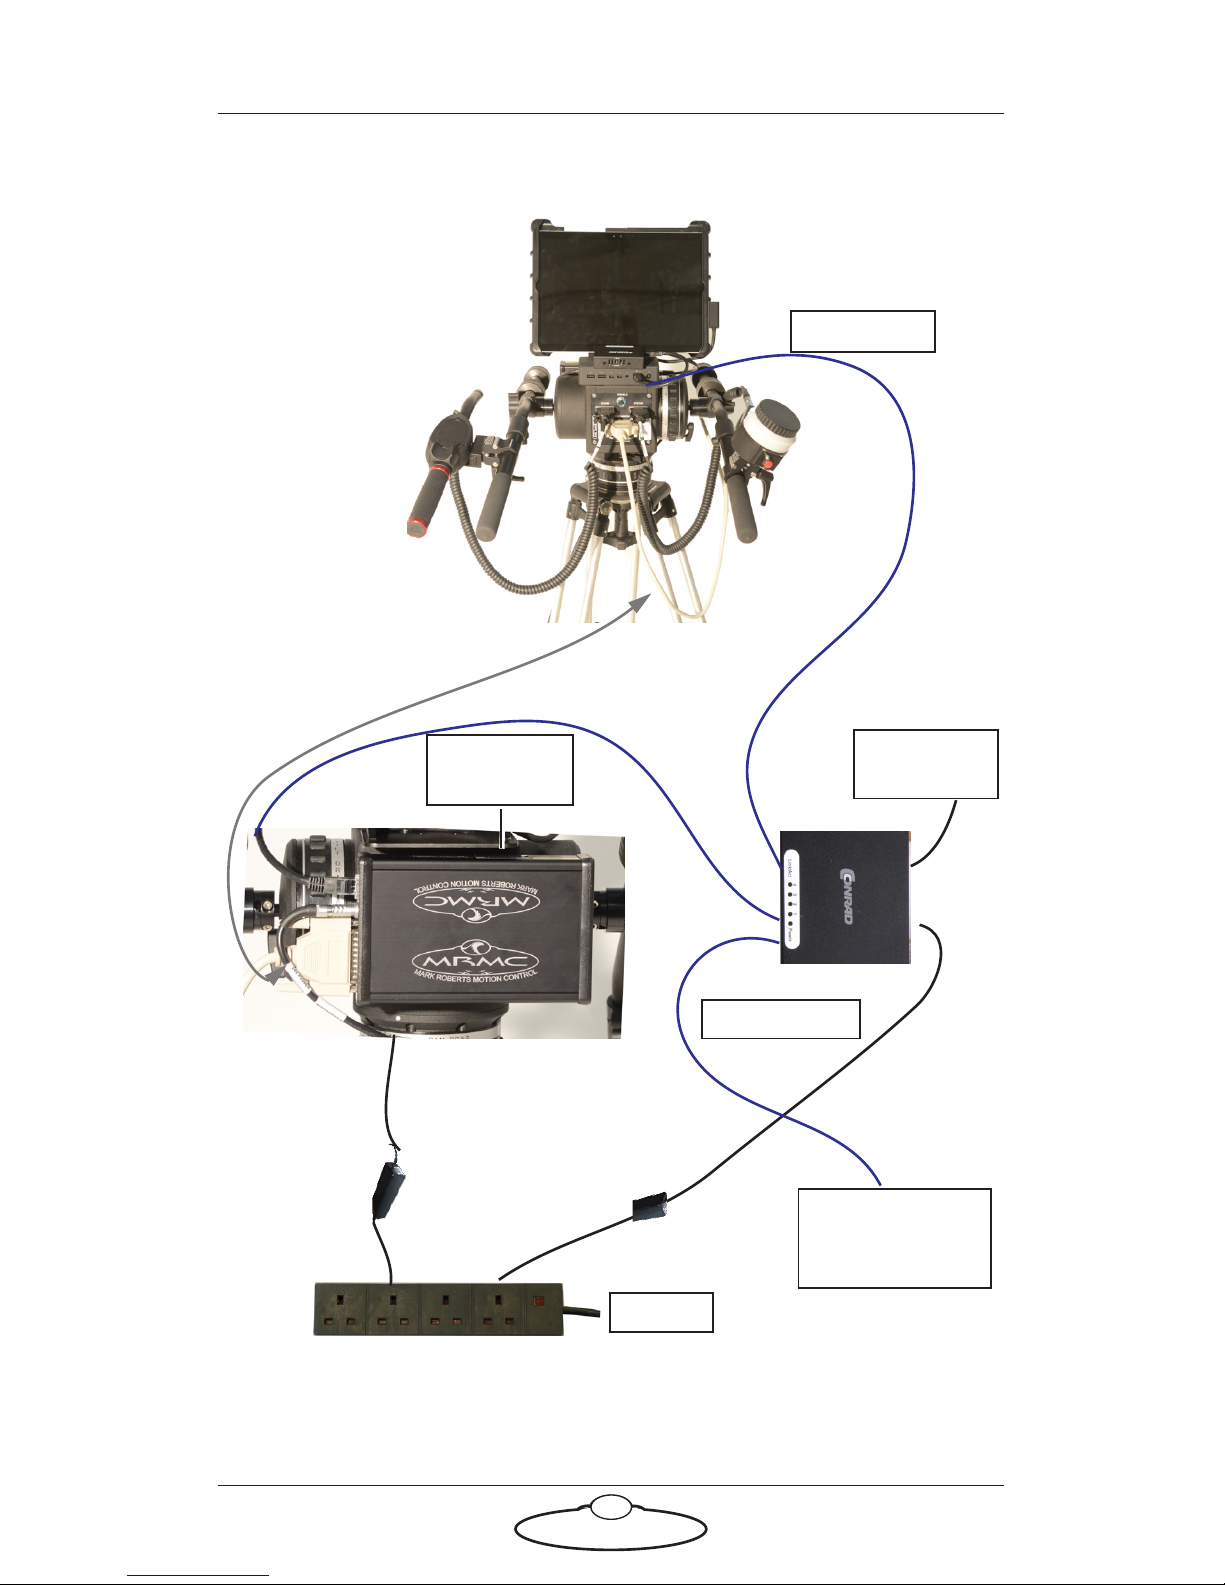
Head connected
to pan bars
using Ethernet
Power
ETHERNET
ETHERNE
T
E
THERNET
FOCUS
EXP
ANSION
Z
OOM
Ethernet hub
Ethernet
Mimic Box
Network
port
Surface Pro
Pan Bars Quick Start Guide
5
Pan Bars — With Microsoft Surface Pro
Page 10
Pan Bars Quick Start Guide
6
Connecting the cables
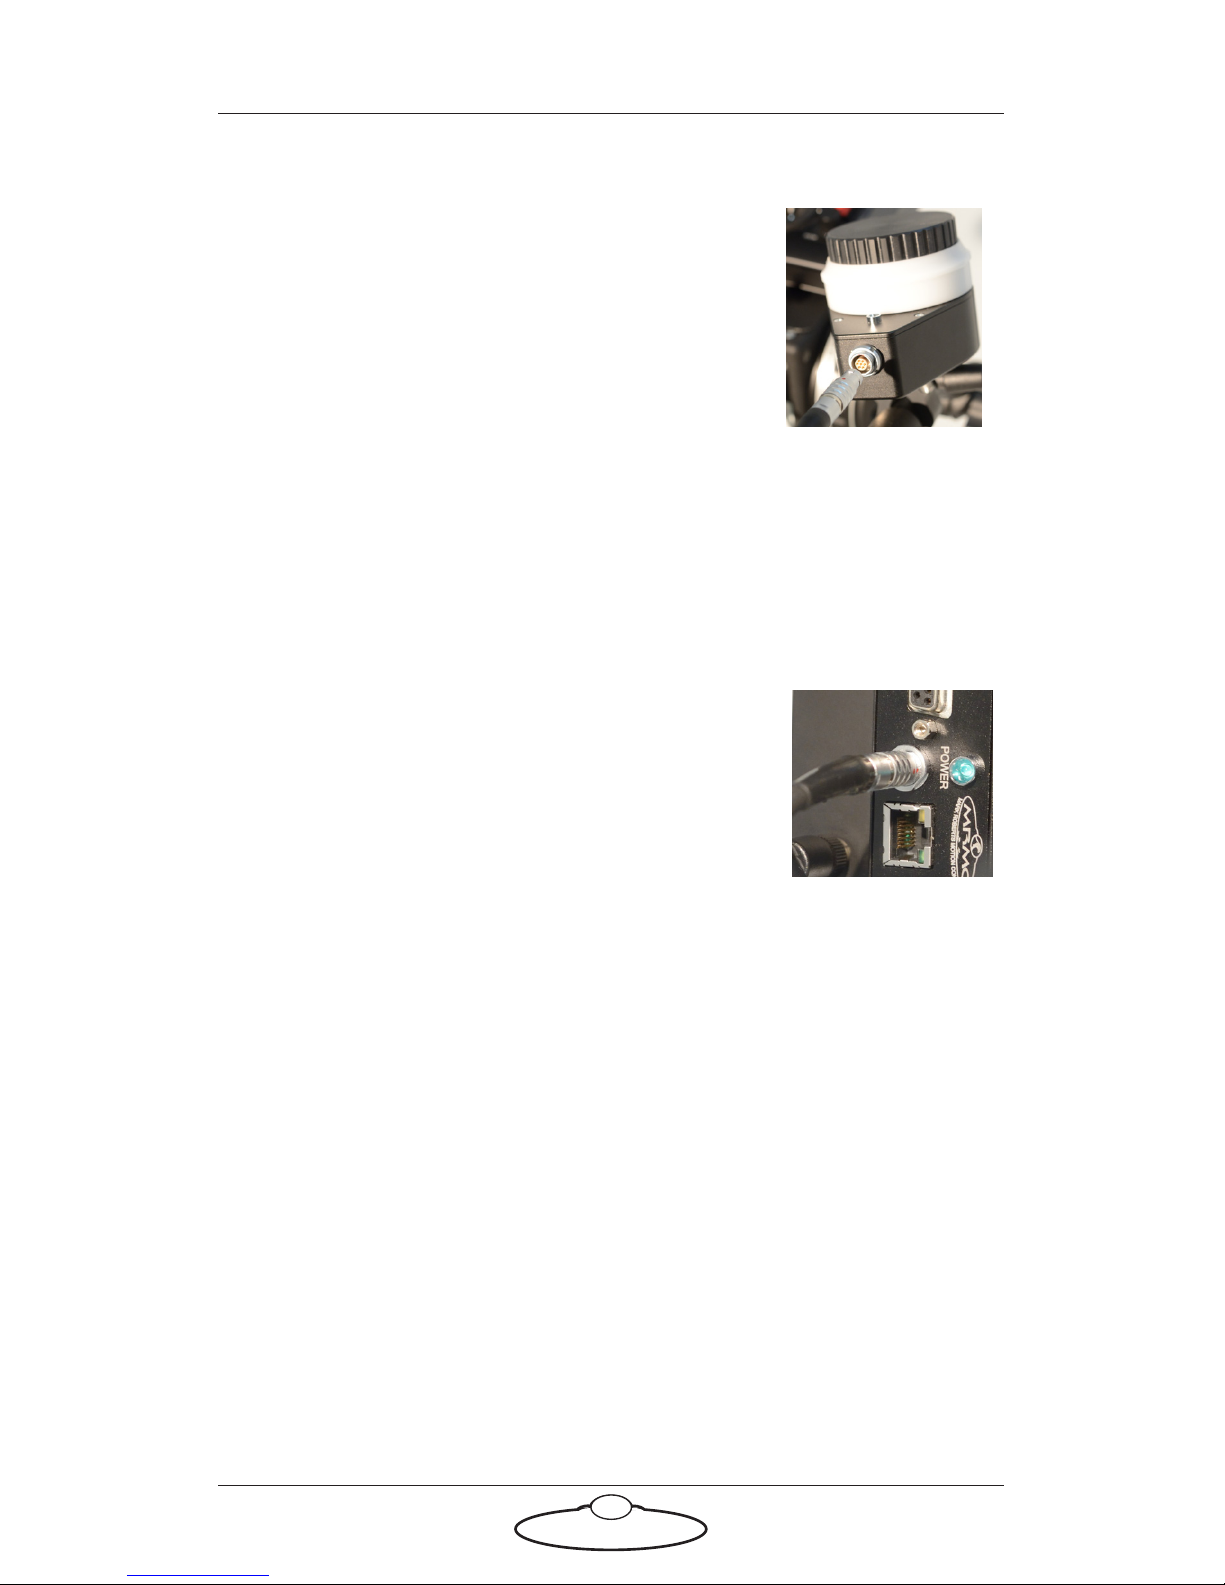
1. Connect the Focus controller cable to the
FOCUS port in the Pan Bars panel and Focus
controller. Ensure that the red markers on the
plug and socket are aligned.
2. Connect the Zoom controller cable to the
ZOOM port on the Pan Bars panel.
3. Use the Expansion cable to connect the EXPANSION port on the
Pan Bars panel and the Expansion port on the Ethernet Mimic box.
4. Connect Surface Pro, the Ethernet Mimic box, and the MRMC head
with the Ethernet hub using network cables.
5. Connect the power cable to the POWER
socket in the control box. Ensure that the red
markers on the plug and socket are aligned.
6. Connect the devices in the system – Surface Pro, Ethernet hub, and
head – to power.
Your first session
Instructions for using the head with a specific controller, are beyond the
scope of this manual. When you want to use the Pan Bars, you typically
need to perform the steps given below. Refer to the manual that came
with your head for details.
1. Attach the cables to the Pan Bars, Ethernet Mimic box, Surface Pro
and head, as described in the previous section. Make sure the
relevant indicators light up; for example, the power indicator LEDs
Page 11
Pan Bars Quick Start Guide
7
on all 24Volt power supply bricks ( ), and the power indicator
LED on the head ( ).
2. Focus control has to be physically set to zero before booting up the
PC. To do this, fully rotate the Focus knob anticlockwise on the
joystick to zero the focus axis.
3. Press the POWER button on Surface Pro.
4. Set up the head using MHC software installed on Surface Pro.
Turning off the system
Turn off Surface Pro by pressing the power button. Remove the power
cable to turn off the Ethernet Mimic box.
Note
It is a good idea to attach the power cables last, after all the
other cables are in place.
It is also recommended that you power up Surface Pro last,
after powering up the head, as powering up two devices
simultaneously on the same Ethernet network can cause
communication problems.
Page 12
Mark Roberts Motion Control Ltd.
Unit 3, South East Studios, Blindley Heath, Surrey RH7 6JP
United Kingdom
Telephone: +44 (0) 1342 838000
[email protected]
www.mrmoco.com
 Loading...