

MRCOOL CASSETTE24HP230 User Manual

Olympus Series
For more info visit www.mrcool.com For more info visit www.mrcool.com
Please read this manual carefully before installation and keep it for future reference.
Remote Manual
Cassette Air Handlers
The design and specifications are subject to change without prior notice.
Consult with the sales agency or manufacturer for details.
Olympus Series
Cassette Air Handlers
Please keep this manual where the operator can easily find it.
Inside you will find helpful hints on how to use and maintain your
unit properly.
® ®
For more info visit www.mrcool.com For more info visit www.mrcool.com
CONTENTS
Handling the remote control .............................................................
Remote control specifications...........................................................
Function buttons ................................................................................
Indicators on LCD ..............................................................................
How to use the buttons
Initial setting the clock ......................................................................
Auto operation....................................................................................
Cooling/Heating/Fan operation.........................................................
Dehumidifying operation .................................................................
Adjusting air flow direction..............................................................
Timer operation.................................................................................
Example of Timer setting ................................................................
10
10
11
12
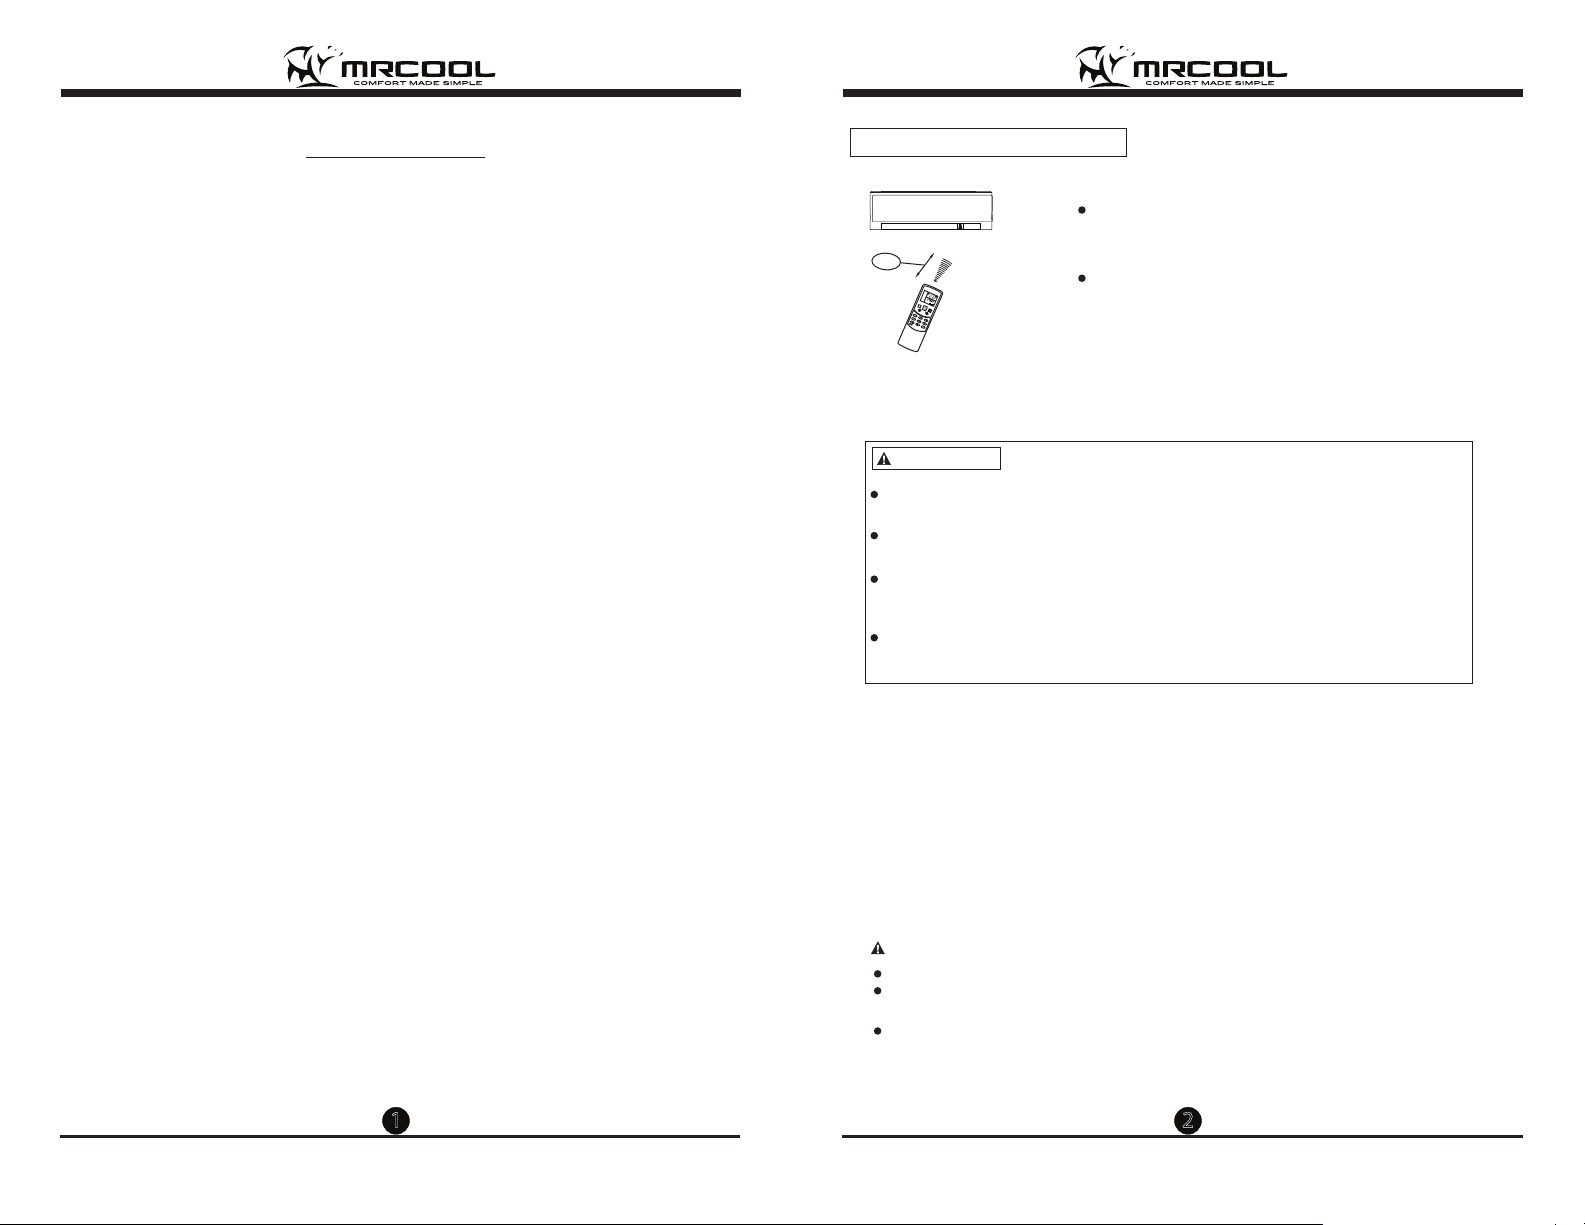
Handling the remote control
Location of the remote control.
2
3
4
7
8m
AUTO
COOL
TEMP.
DRY
SET
HEAT
CLOCK
TIMER
FAN
E
HOURON
OFF
MODE
M
FAN SPEED
SWING V
SLEEP
SWING H
TIMER ON
IONIZER
SELF CLEAN
RESET LOCK
TIMER OFF
CLOCK
Use the remote control within a distance of 26.25 feet
from the appliance, pointing it towards the receiver.
Reception is conrmed by a beep.
Keep the remote control where its signals can
reach the receiver of the unit.
8
9
9
CAUTIONS
The air conditioner will not operate if curtains, doors or other materials
block the signals from the remote control to the indoor unit.
Prevent any liquid from falling into the remote control. Do not expose
the remote control to direct sunlight or heat.
If the infrared signal receiver on the indoor unit is exposed to direct
sunlight, the air conditioner may not function properly. Use curtains to
prevent the sunlight from falling on the receiver.
If other electrical appliances react to the remote control, either move
these appliances or consult your local dealer.
Replacing batteries
The remote controller is powed by two dry batteries(R03/LR03X2) housed in the
rear part and protected by a cover.
(1) Remove the cover by pressing and sliding o.
(2) Remove the old batteries and insert the new batteries, placing the(+) and (-)
ends correctly.
(3) Reattach the cover by sliding it back into position.
NOTE: When the batteries are removed, the remote control erases all
programming. After inserting new batteries, the remote control must be
reprogrammed.
CAUTIONS
Do not mix old and new batteries or batteries of dierent types.
Do not leave the batteries in the remote control if they are not going to be used
for 2 or 3 months.
Do not dispose batteries as unsorted municipal waste. Collection of such waste
separately for special treatment is necessary.
1
2
® ®
For more info visit www.mrcool.com For more info visit www.mrcool.com
Remote Control Specifications
Model
Rated Voltage
Signal Receiving Range
Environment
RG05F2/BGEU1, RG05F3/BGEFU1
3.0V(Dry batteries R03/LR03x2)
8m
23OF~140OF(-5OC~60OC)
Performance Feature
1. Operating Mode: AUTO, COOL, DRY, HEAT(cooling & heating models only),
and FAN.
2. Timer Setting Function in 24 hours.
3. Indoor Setting Temperature Range : 62
O
F~86OF(17OC~30OC).
4. Full function of LCD (Liquid Crystal Display).
AUTO
COOL
DRY
HEAT
FAN
MODE
M
FAN SPEED
NOTE:
Buttons design is based on typical
model and might be slightly dierent
from the actual one you purchased
the actual shape and layout may vary.
All the functions described are
accomplished by the unit. If the unit
has no this feature, there is no
corresponding operation happened
when press the relative button on the
remote control.
If there are any dierences between the
“Remote Control Manual” and “User Manual”
on function description, follow the
description in “User Manual”.
Sliding door
(closed)
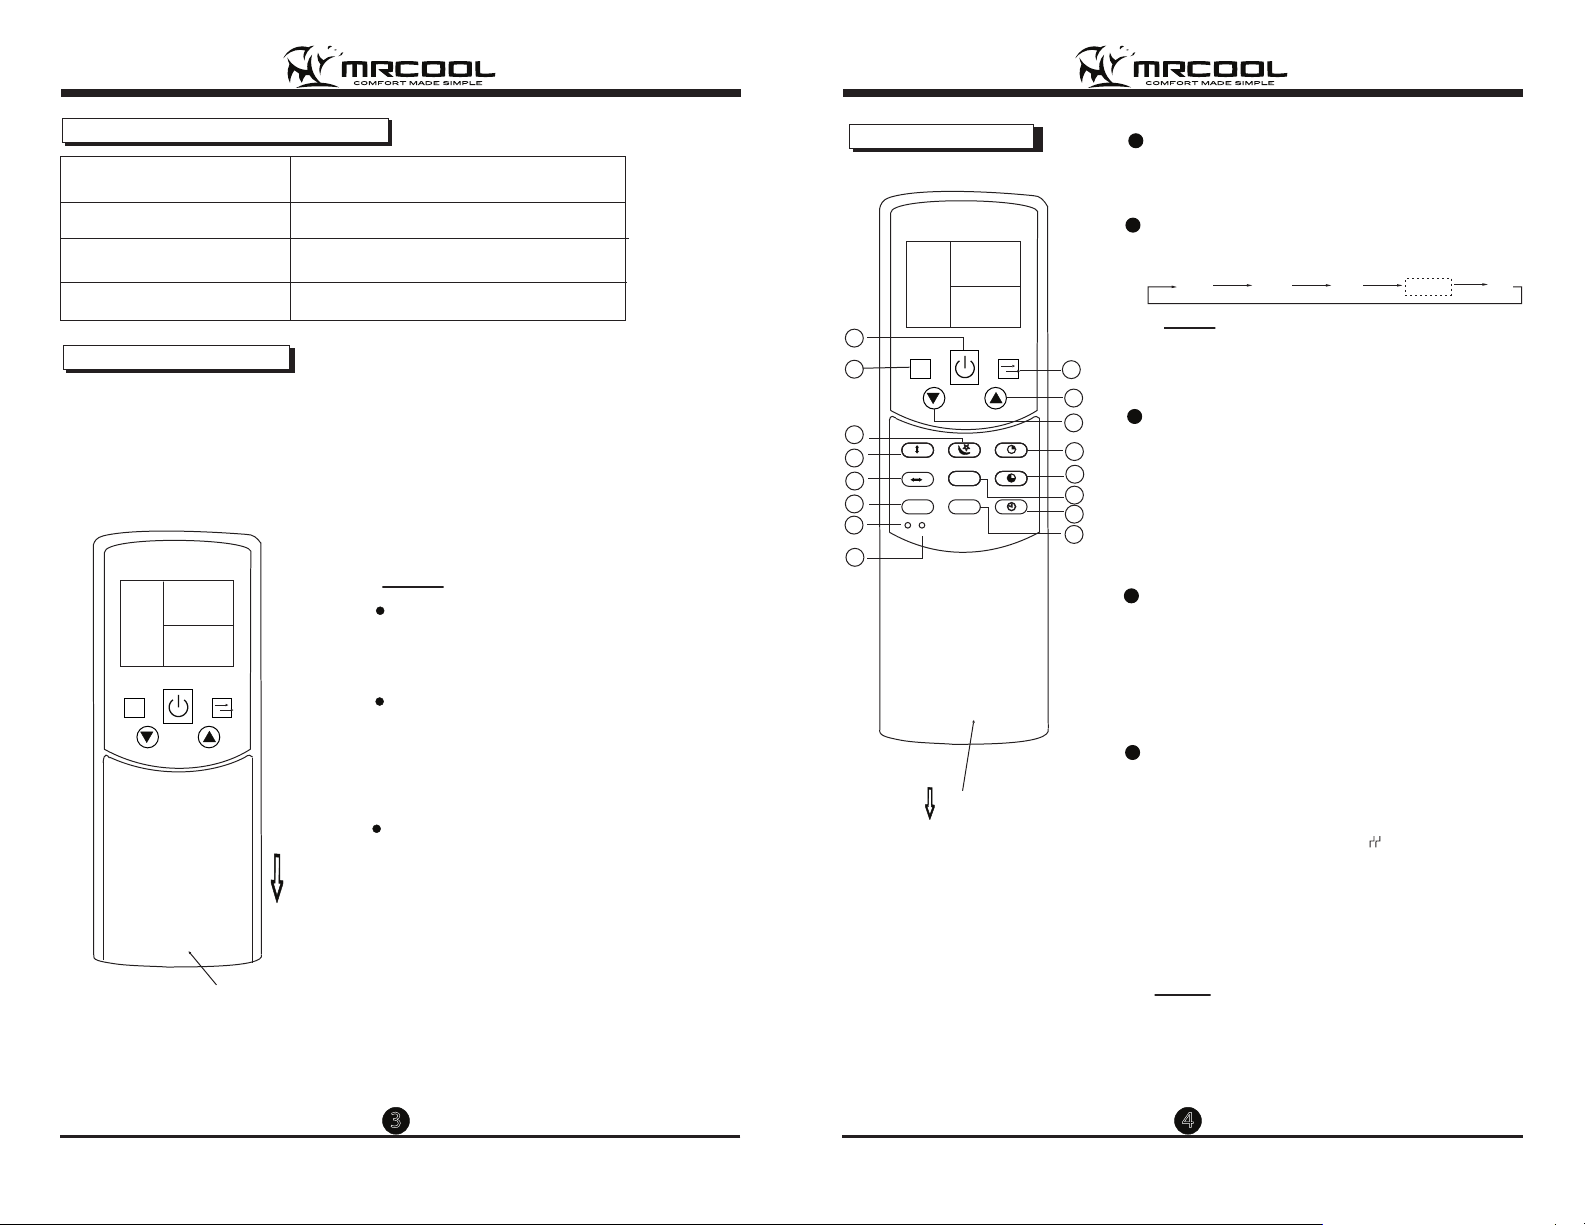
Function buttons
AUTO
COOL
DRY
HEAT
FAN
1
MODE
2
M
FAN SPEED
3
4
SWING V SLEEP
SWING H
I FEEL
SELF CLEAN
RESET LOCK
TURBO
LED
5
6
7
8
Sliding door
(opened)
RG05F2/BGEU1
TIMER ON
TIMER OFF
CLOCK
ON/OFF Button
1
Operation starts when this button is pressed
and stops when this button is pressed again.
MODE Button
2
Each time the button is pressed, the operation
mode is selected in a sequence of following:
AUTO
COOL
DRY
HEAT FAN
NOTE: Please do not select HEAT mode if the
machine you purchased is cooling only. Heat
mode is not supported by the cooling only
9
appliance.
10
3
11
12
13
14
15
16
SLEEP Button
Active/Disable sleep function. It can maintain
the most comfortable temperature and save
energy. This function is available on COOL,
HEAT or AUTO mode only .
NOTE: While the unit is running under SLEEP
mode, it would be cancelled if MODE, FAN
SPEED or ON/OFF button is pressed.
4
SWING V Button
Used to stop or start horizontal louver movement or set the desired up/down air ow
direction. The louver changes 6 degree in
angle for each press. If keep pushing more
than 2 seconds, the louver will swing up and
down automatically.
5
SWING H Button
Used to stop or start vertical louver movement
and set the desired left/right air ow direction.
The vertical louver changes 6 degree in angle
for each press. And the temperature display
area of indoor unit displays “ ” for one
second. If keep pushing more than 2 seconds,
the vertical louver swing feature will activate.
And the display area of indoor unit displays
“
“ , ashes four times, then the tempera-
IIII
ture setting reverts back. If the vertical louver
swing feature is stopped, it displays ”LC” and
remains on for 3 seconds.
NOTE: For some units, the indoor unit displays
“ON” when the swing feature is activated, and
displays “OF” when the swing feature is stopped.
3
4
 Loading...