

Page 1
3, Hagavish st. Israel 58817 Tel: 972 3 5595252, Fax: 972 3 5594529
com.mrclab@mrc
User manual
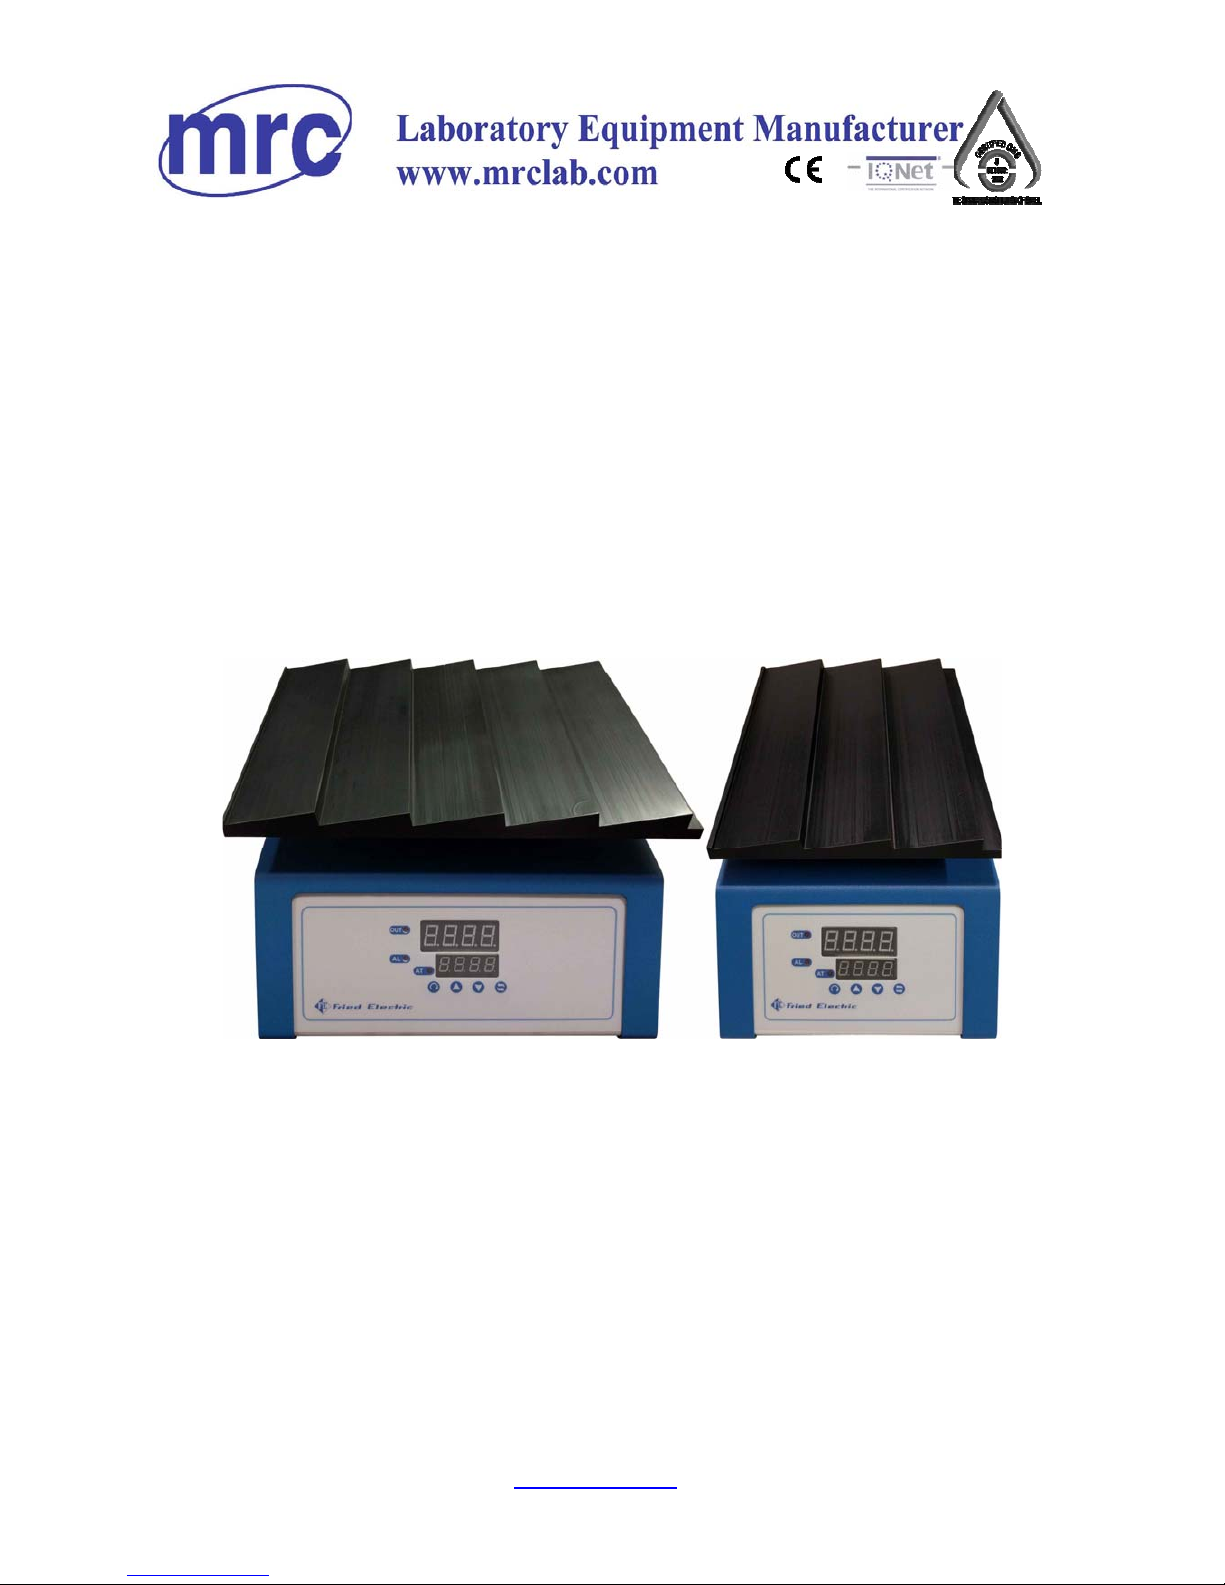
Digital Slide Heater
HPS-7/8
Page 2
3, Hagavish st. Israel 58817 Tel: 972 3 5595252, Fax: 972 3 5594529
com.mrclab@mrc
General Remarks:
Don’t spill any liquids into the Slide Heater
Always replace the fuse from the same type & current
The maximum working temperature is 100ºC
IMPORTANT SAFETY INSTRUCTIONS
WARNING
1. Do not heat any slide above 100ºC which will cause hazards of explosion,
implosion or release of toxic or flammable gases arising from the materials
being heated.
2. Do not use in the presence of flammable or combustible materials or explosive
gases.
3. Do not use in the presence of pressurized or sealed containers. Fire or
explosion may result, causing severe injury or death.
4. To avoid electrical shock, always use a properly grounded electrical outlet of
correct voltage and current handling capacity.
5. The user has the responsibility for carrying out appropriate decontamination, if
hazardous material is split on or inside the equipment.
6. The user shall be aware that, if the equipment is used in a manner not specified
by the manufacturer, the protection provided by the equipment may be
impaired.
7. The instrument should be placed so, that handy operation of the ON-OFF
power switch is possible, and that the mantle power cable can be disconnected
from the main in case of risk.
Operation instruction:
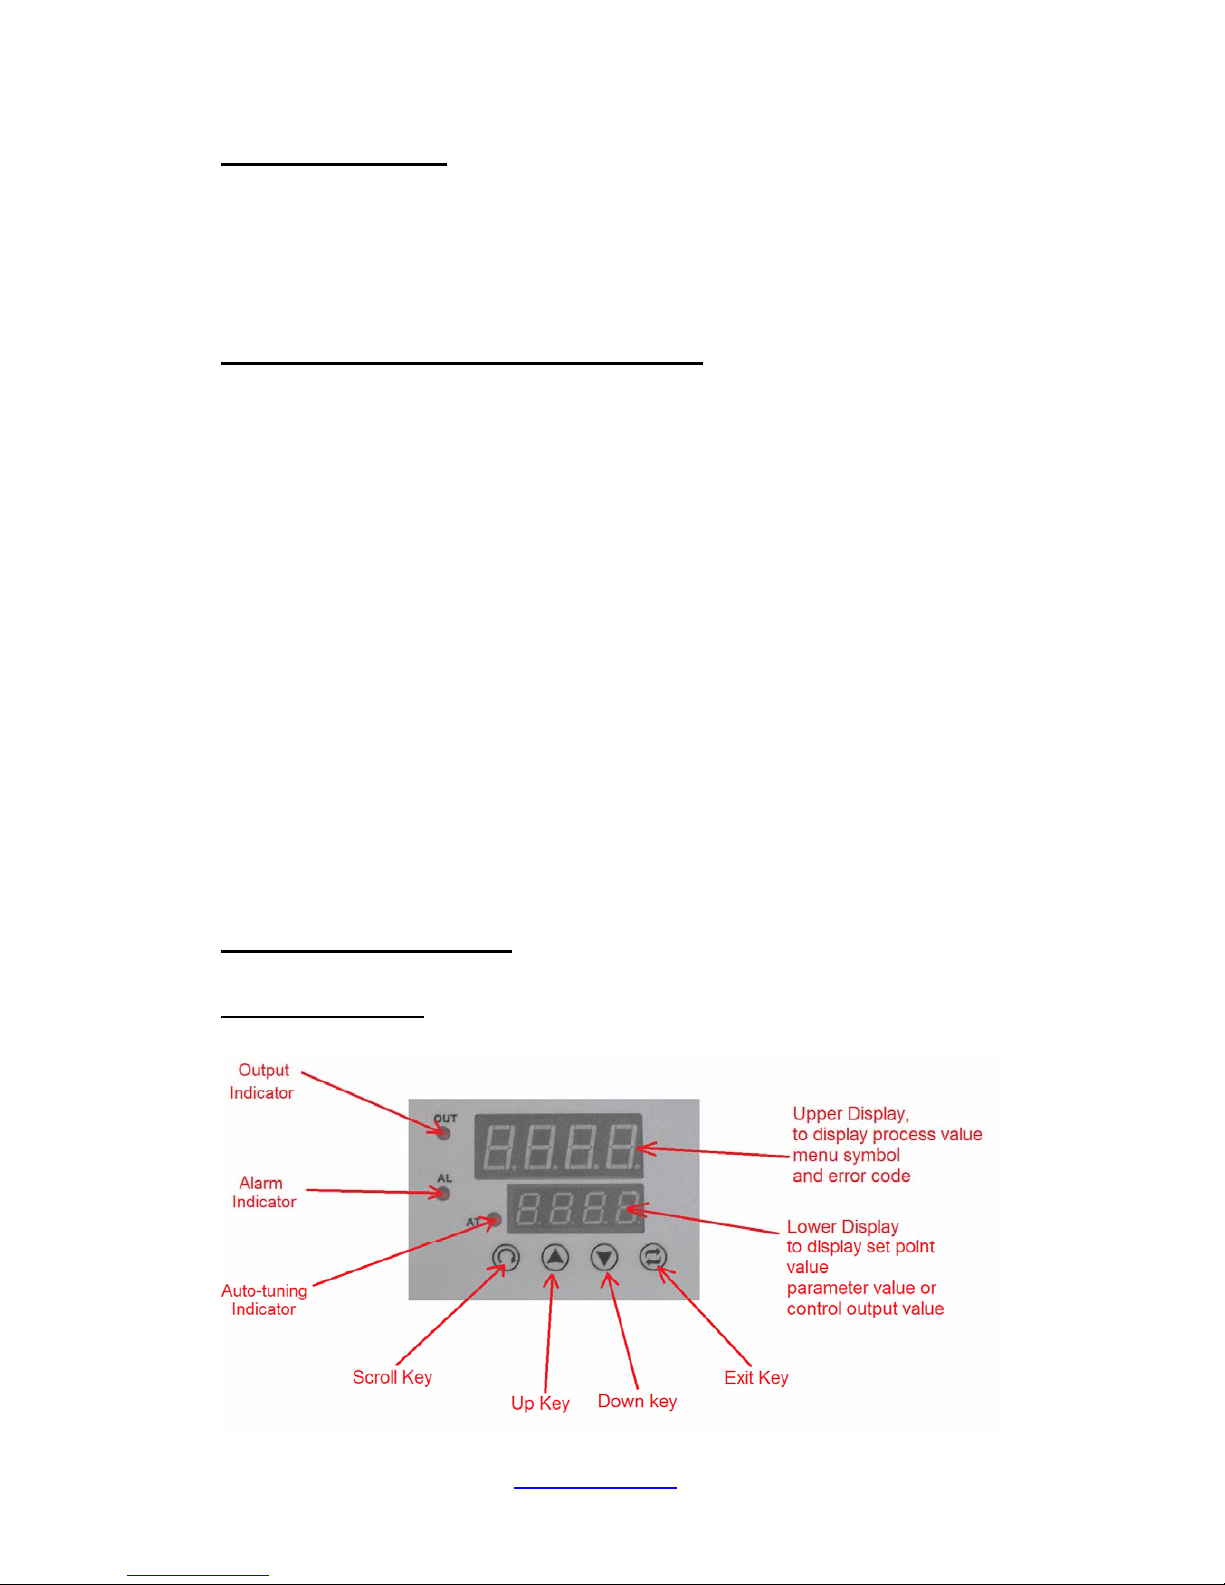
Digital controller:
Page 3

3, Hagavish st. Israel 58817 Tel: 972 3 5595252, Fax: 972 3 5594529
com.mrclab@mrc
1. Put your slides on the heating surface
2. Connect the instrument to a ground mains outlet, after ensuring that the
Voltage is the same as given on the sticker. The mantle must be connected to
an earthen (grounded) supply.
3. Turn on the instrument from the ON/OFF switch at the back of the instrument.
4. Press on the "Up Key" and enter your temperature set point less than 80ºC
5. The OUT indicator will lit and the heating process will start
Remarks:
Don’t change parameters on the controller except from your
temperature set point
Auto-tuning
The auto-tuning process is performed at set point.
The process will oscillate around the set point during tuning process. Set a set point to
a lower value if overshooting beyond the normal process value is likely to cause
damage.
The auto-tuning is applied in cases of:
Initial setup for a new process
The set point is changed substantially from the previous auto-tuning value
The control result is unsatisfactory
Operation :
1. Verify that the LOCK parameter is NONE.
2. To verify this, press and hold the "SCROLL KEY" until SET appears on the
display.
3. Press on the "SCROLL KEY" once and change the LOCK value to NONE
with the "UP KEY"
4. Press once on the "EXIT KEY"
5. Enter your temperature setpoint with the "UP KEY"
6. Press and hold the "SCROLL KEY" until "A-T" appears on the display.
7. Press again for at least 5 seconds on the SCROLL KEY , The AT indicator
will begin to flash and the auto-tuning procedure is beginning.
8. Wait until the end of the auto-tuning procedure
Procedures:
After the auto-tuning procedures are completed, the AT indicator will cease to flash
and the unit revert to PID control by using its new PID values. The PID values
obtained are stored in the nonvolatile memory.
 Loading...