

Page 1
MP-HD2
User’s Guide
Before operating this product, please read these instructions completely.
www.mpmaneurope.com
Page 2

Getting Started
INTRODUCTION
Digital Audio Player (DAP) –HD2
Your Digital Audio Player (DAP) is a device that stores and plays multi-format digital audio
files including MP3, WMA and WAV files. Downloading hours of music from your PC,
transfer them into your DAP or use it for voice recording. Please read this manual carefully
before using this product for the first time.
KEY FEATURES
• Multi-format player supports: MP3, WMA, WMA w/ DRM and WAV files
• Windows Plug & Play support for Windows ME, 2000 and XP and Mac OSX
• USB Version 2.0
• OLED Display
• Voice Recording
• Six different music equalizer levels
• Power saving feature
PACKAGE CONTENTS
The packaging should include the following:
• Digital Audio Player
• Stereo Earphones
• USB Cable
• Carrying Case
• CD-ROM with Windows 98SE Driver and Manual
• Quick Start Guide
1 GB -
Page 3

PARTS DESCRIPTION
1. - Record Button
2. EQ/Repeat Button 7. USB Port
3. +/-/Mode Button 8. Built-in Microphone
4.
- Power On/Off Button 9. Earphone Jack
5. Hold Switch
6. Navigation Control
CONTROLS
Key Functions
+/-/MODE Press to access into the Main Menu.
Press and hold to return to the previous Menu.
+ Push upward to increase the volume.
Push and hold upward to increase the volume rapidly.
-
Push downward to decrease the volume.
Push and hold downward to decrease the volume rapidly.
Slide to the right to lock all keys functions.
Slide to the left to unlock all keys functions.
EQ Equalizer / Repeat button.
Press to access into the Repeat or Equalizer mode.
Press and hold to access into the other mode.
z Press to record.
Press to turn On and Off .
2 GB -
Page 4
There is a joystick key in the center that can be used to control several key
functions. Pushing the button up, down, left or right will achieve the following
actions:
+/-/MODE Press the button to access the Mode.
Push to the right to select the next file.
Push and hold to the right to fast-forward within the files.
Push to the left to select the previous file.
Push and hold on to the left to fast-rewind within the files.
Push downward to stop playback
II Push upward to start playback.
During playback push upward to pause playback.
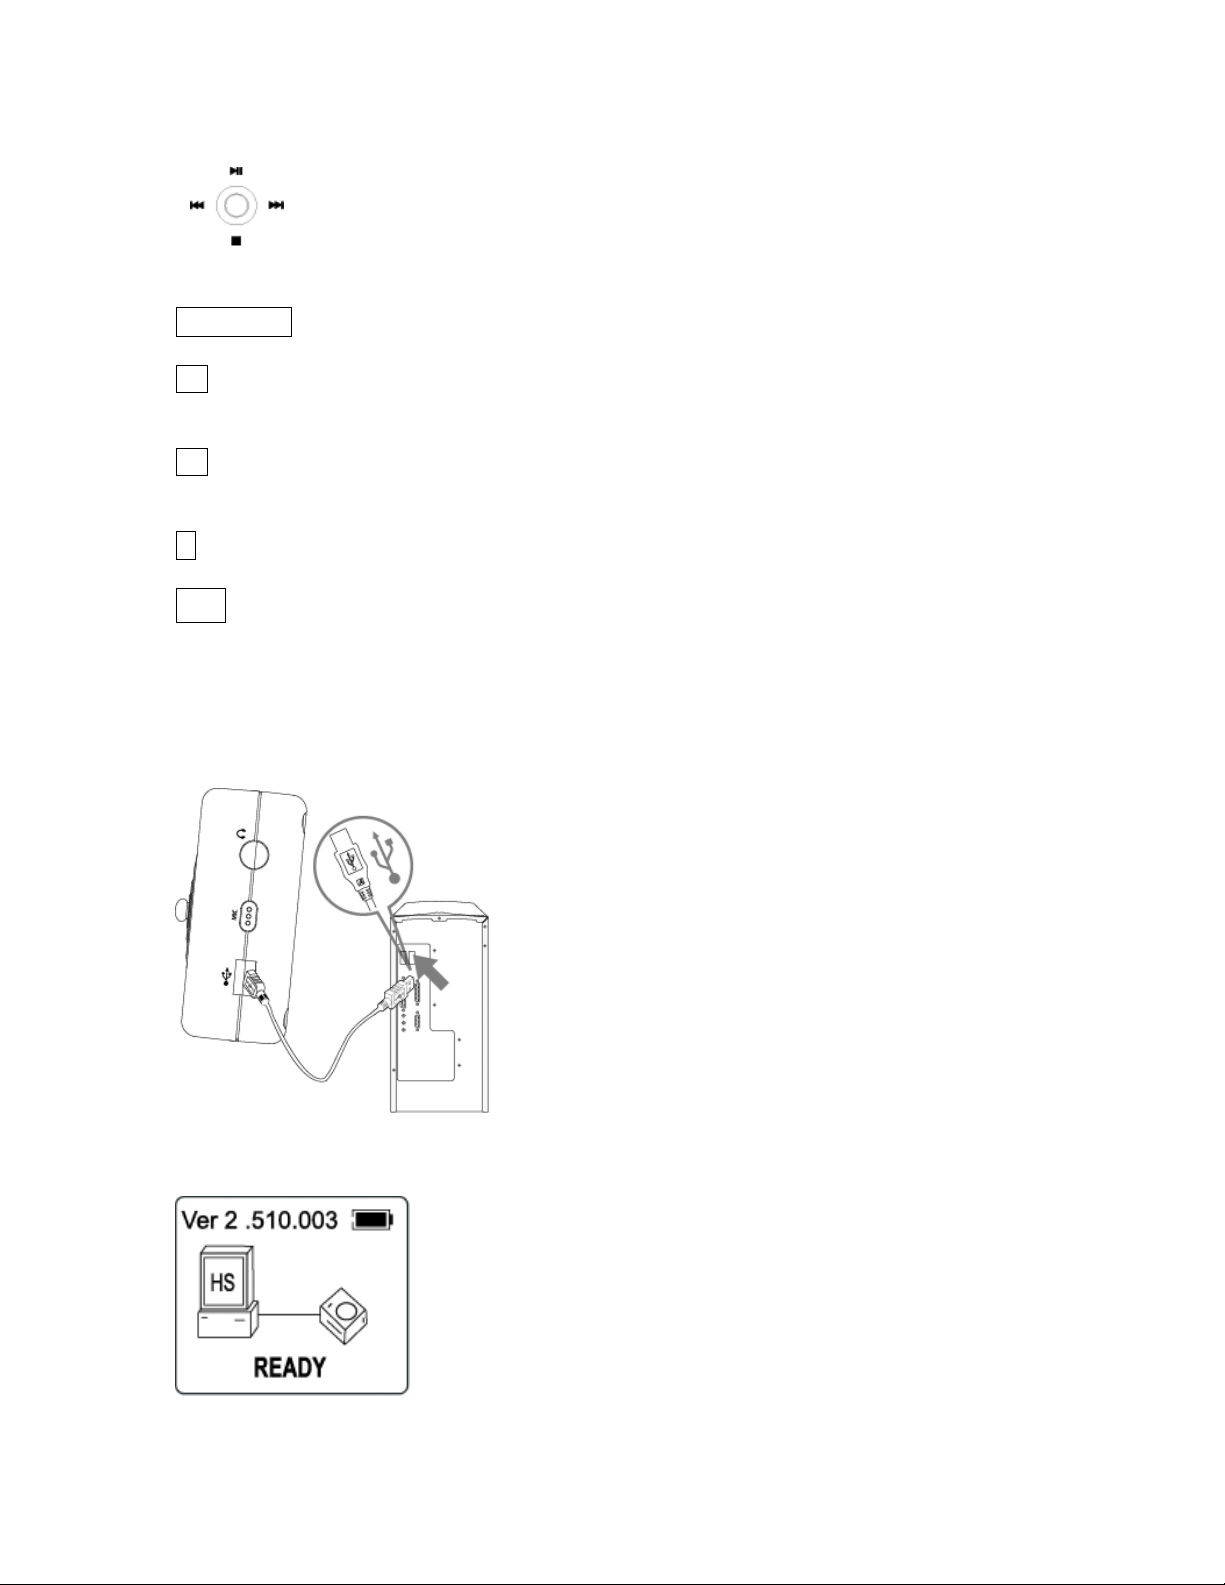
CHARGING THE BATTERY
The Battery of the unit charges through the USB port of a computer. Plug one end of the
USB Cable into the USB socket of the DAP and plug the other end into the Computer.
z Once connected, the screen will display the following:
Please charge the battery at least 12 hours for the first time before use.
3 GB -
Page 5
Downloading and Transferring Files
USB DRIVER INSTALLATION
For Windows ME, 2000 or XP:
These versions of Windows will detect your DAP after connecting with the USB cable and
the computer. (Please make sure the DAP is turned ON.)
For Windows 98SE:
Windows 98SE will not recognize the player until you have installed the driver using the
included installation CD-ROM. Follow the detailed instructions in this section to activate the
USB mass storage function, so you will be able to transfer files from your computer to your
player.
Installation Procedures for the Player Software
(For Windows 98SE only)
When connecting the player to the computer for the first time, please follow these instructions:
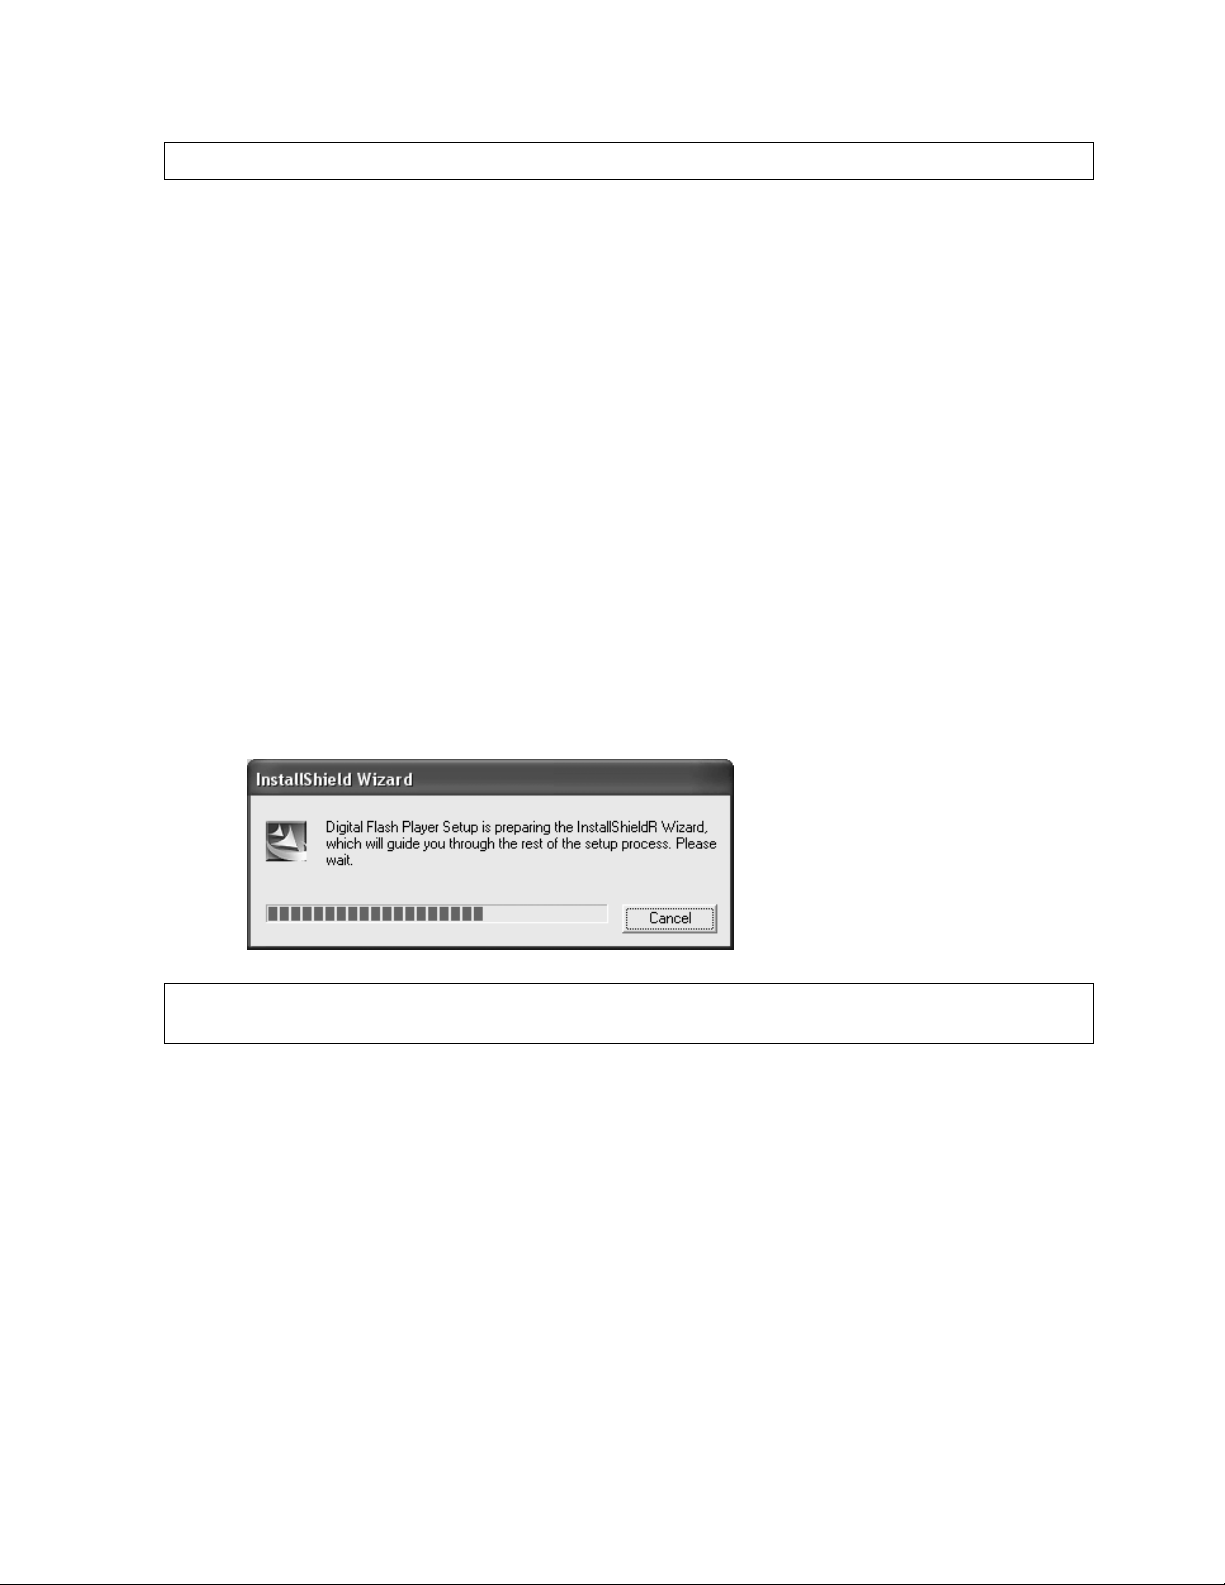
1. Insert the CD-ROM into the CD Drive. The auto-run program will display as shown
(Figure 1).
(Figure 1)
Remarks: If the setup does not start automatically, please run the setup.exe in your CD-ROM
drive directory. Double click “setup.exe” in the installation CD.
4 GB -
Page 6

2. Follow the on screen instruction to install the software.
Click “Yes” to accept the License Agreement.
5 GB -
Page 7

Please install the software under the directory as prompted.
Warning: DO NOT change the installation path. Otherwise, the Player driver may not
run properly.
Click “Next” as prompted.
6 GB -
Page 8
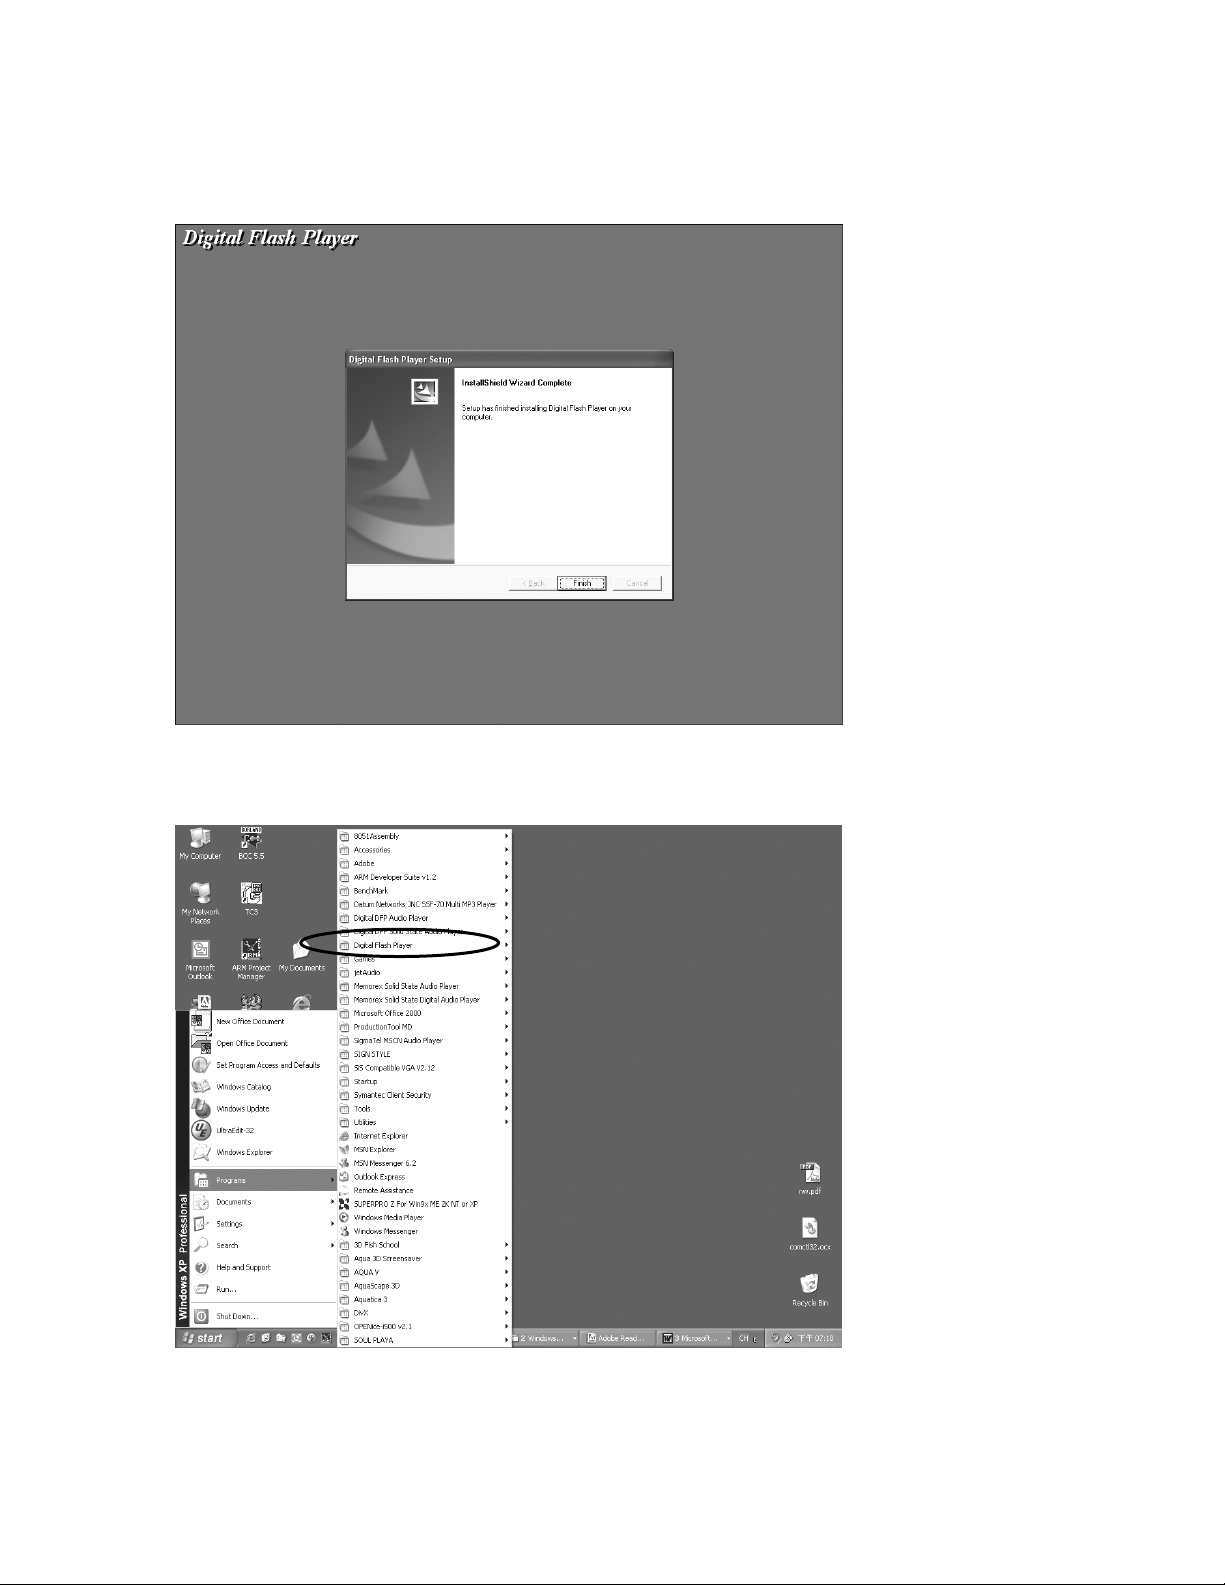
3. After successfully installing the driver software, please click “Finish” to complete the
installation.
4. When the installation is completed, the new program will be added to your Program
menu in the computer.
7 GB -
Page 9

TRANSFERRING FILES
Connect the DAP by using the supplied USB cable to the computer. If the unit is not On, then
press the
your DAP:
A “Removable Disk” will be added in My Computer. Open the “Removable Disk” folder:
button to turn the player ON. The following will be displayed on the display of
Locate the files you wish to copy from your computer to your player. Drag and drop MP3,
WMA or WAV files on your computer into the “Removable Disk” folder. These files will
now be copied into your DAP.
Note: When you are finished transferring files, use the Safely Remove Hardware procedure
before disconnecting your player. (Please see the next section for detailed instructions.)
8 GB -
Page 10

DOWNLOADING WMA FILES WITH DRM
In order to download WMA files with DRM you must follow the procedure described below.
If you do not have “Windows Media Player 9” on your computer, you must go to
www.Microsoft.com
please turn the unit ON and connect the USB cable to the unit and to the USB port of your
computer.
1. Open the “Windows Media Player Browser,” and click on “Tools” in the menu bar. Then
click “Options...”.
to download and install this software. Before beginning the procedure
9 GB -
Page 11

2. Click the “Copy Music” tab and tick the option “Copy protect music” in order to copy a
DRM music file onto your unit. Click “OK” to save the setting.
3. Click “Copy to CD or Device”.
10 GB -
Page 12

4. Click on the “Items to Copy” drop down menu to locate the music files you wish to
download. Make sure to tick the box next to the files.
5. Select, the Portable Device you want to copy to from the “Items on Device” drop down
menu. Click “Copy” to start transferring the DRM files onto your unit.
6. After you have downloaded all the desired files to your unit, follow the “Safely Remove
Hardware” procedure described in the manual.
11 GB -
Page 13

SAFELY REMOVE HARDWARE PROCEDURE
1. Double click the “Safely Remove Hardware” icon on the task bar:
2. From the “Safely Remove Hardware” window, select “USB Mass Storage Device” and
click the “Stop” button. The “Stop a Hardware Device” window will pop up as shown:
3. Click “OK”. A “Safe to Remove Hardware” window will pop up. Now, it is safe to
remove the USB Cable and the DAP from the computer.
Remarks: If the “Safely Remove Hardware” icon is not displayed on the task bar, please
double click on My Computer. Right click on “Removable Disk”, left click on “eject”. Then
it is safe to remove the DAP from the computer.
12 GB -
Page 14

Operation
LISTENING TO MUSIC
After you have transferred MP3, WMA or WAV files from the computer to the DAP player,
you can start listening to music while you learn how to use the rest of the features.
Insert the earphones into the earphone jack of the player; press the
player on.
USING THE MAIN MENU
Press the +/-/MODE button to access the MAIN MENU. The following menu will be
displayed on the display:
button to turn the
Push + or - until your desired selection is highlighted and press the +/-/MODE button to
confirm the selection. Press and hold +/-/MODE to return to the previous screen.
Browser
You can search the files on your DAP through the Browser mode. Press the +/-/MODE to
enter the browser and use the + or the - button to highlight the desired file or folder. Press
the +/-/MODE to enter the folder or play the file. You must press II to start play back.
13 GB -
Page 15

Deletion
Files can
- After entering the Browser mode, press the
or file.
Press th- e button; press or the button to highlight Yes or No.
- Press the +/-/MODE to confirm to delete the file.
Using Special Functions
fter completing track selection, the DAP will enter the music player mode. The following
A
special functions can be operated at this time.
qualizer Mode (EQ)
E
he current equalizer mode is displayed in the upper middle portion of the display.
T
hanging the EQ mode
C
- Press the EQ bu
epeat Button
R
ress and hold the EQ button to switch the function from Equalizer Mode to Repeat Mode.
P
Press the EQ button repeatedly to select different repeat mode options. As each mode is
selected, the following icons will displayed on the upper left portion of the display:
Play all the files in the player once.
1
Plays a single file repeatedly.
Play all the files repeatedly in
S Randomly play all the files in the player once.
S Randomly play all the files in the player continu
be deleted in the Browser Mode:
+ or the - button to highlight a desired song
tton until the current mode is displayed with a blue block
background. Keep pressing the EQ button repeatedly to select one of the six
equalizer modes:
Stop pressing the EQ button when your desired selection is di- splayed with a blue
background. The background will turn back to the black after a few seconds.
the consecutive order.
ously.
14 GB -
Page 16
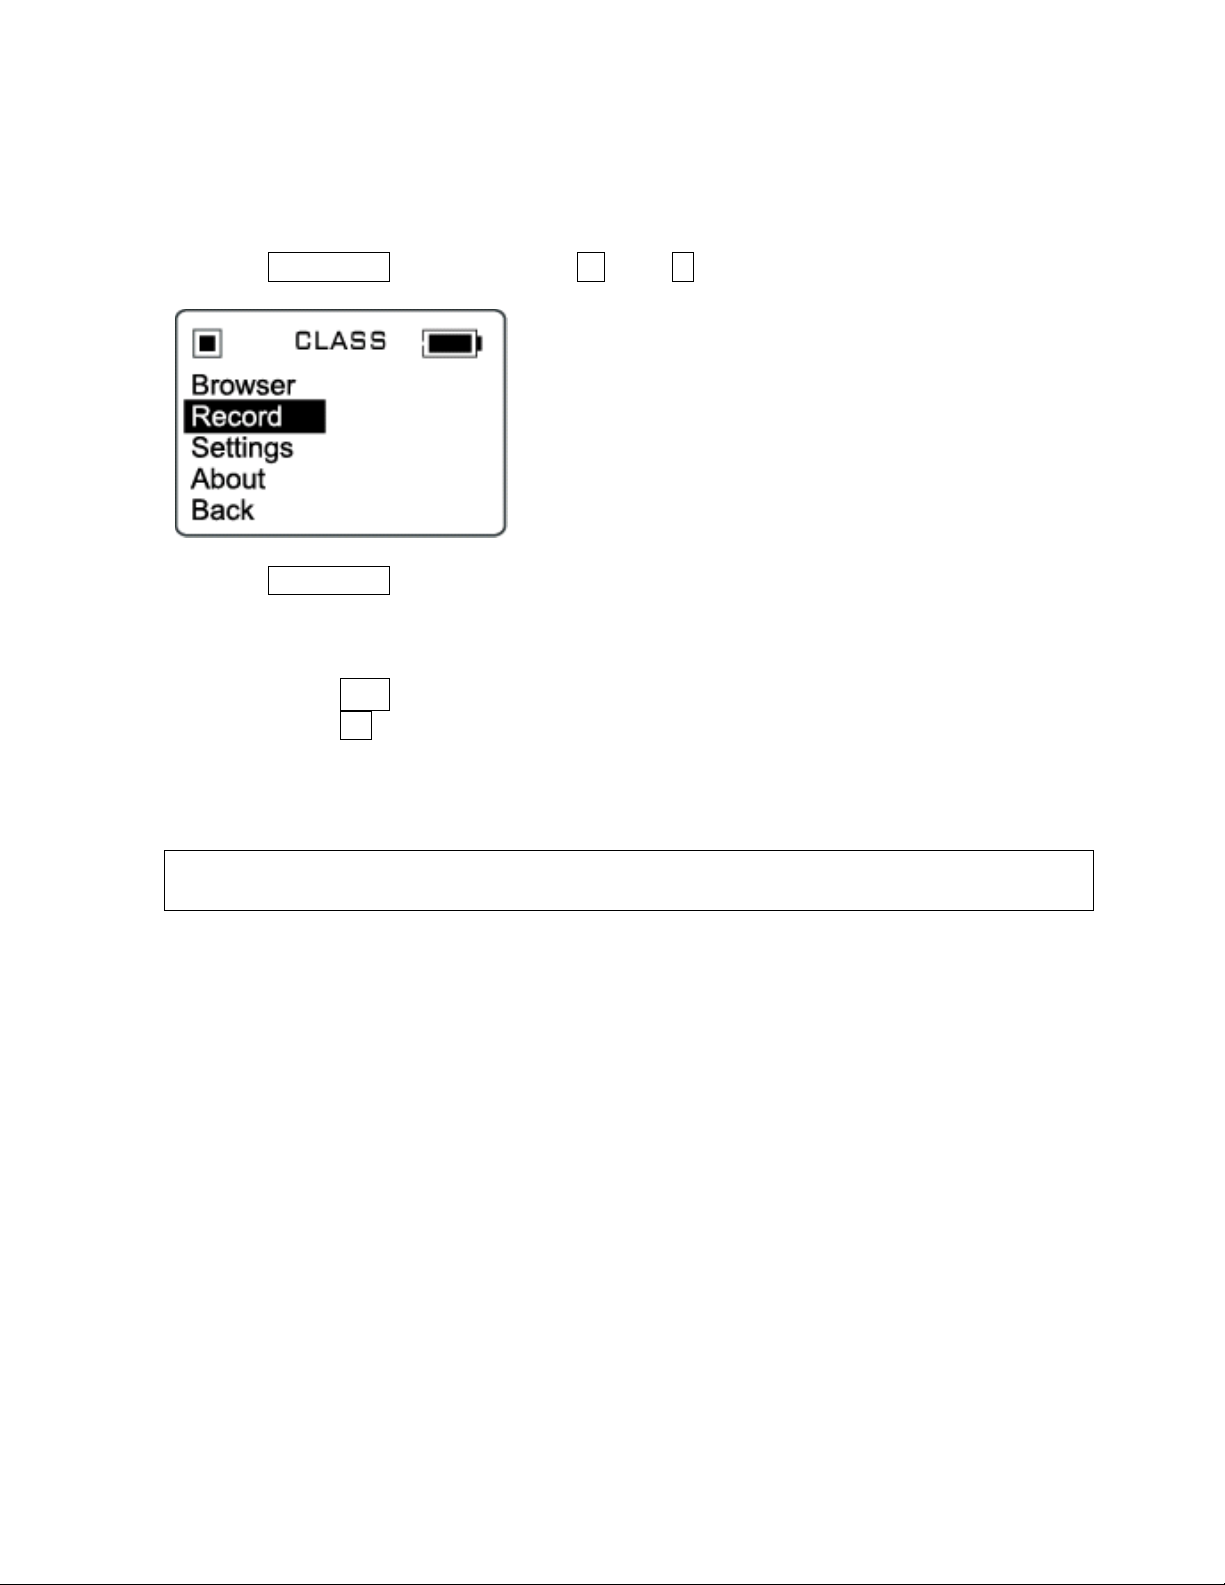
VOICE RECORDER
se your DAP to record quick reminder memos or even lengthy business meetings or lectures.
U
ress the +/-/MODE button and use the + or the - button to highlight Record as shown.
P
Press the +/-/MODE button to confirm and enter the Voice Recorder mode.
Recording a Voice Message
s soon as the Record mode is entered. - Recording will begin a
- Press the II button to pause recording.
- Press the button to stop recording
- The recorded file is saved as a WAV format. It can be played by selecting it in the
Voice folder in the Browser
otes: The volume is not controlled during recording.
N
You may select different quality levels for recording in the settings.
15 GB -
Page 17

Customizing the Player
USING THE SETTING MENU
he Setting Menu provides the options to change the player settings, displays, and resolution.
T
Press the +/-/MODE button to display the modes. Scroll down and highlight Settings.
Press the +/-/MODE button so that Settings appears on the Display.
Press the + or the - button to select one of the following setting options: Equalizer, Repeat
Mode, Contrast, Auto Dimmer, Power Saving, Record Settings, and Language. Once your
selection is highlighted then press +/-/MODE to confirm.
To exit the SETTING Menu, press and hold the +/-/MODE button.
Setting Features
qualizer Setting
E
ush + or - button to select one of the six music equalizer effects:
P
Normal, Rock, Jazz, Pop, Classical or Ultra Bass
Press +/-/MODE to confirm the equalizer mode
16 GB -
Page 18

Repeat Mode Setting
Push + or - to select between Normal, Repeat Track, Repeat All, Shuffle or Shuffle Repeat.
Press +/-/MODE to confirm the selection.
Contrast Setting
Press the or the button to adjust the contrast level.
Press +/-/MODE to confirm the contrast level.
Auto Dimmer Setting
Press the or the button to choose between Auto Dimmer On or Off.
Press +/-/MODE to confirm the selection.
Note: The Auto Dimmer On setting increases Battery life.
17 GB -
Page 19

Power Savings Setting
Push + or - to select one of the following options:
Disable, 1 min, 2 mins, 5 mins and 10 mins
Press +/-/MODE to confirm the selection.
The DAP will turn off after the selected amount of time if playback is suspended in order to
save power.
Record Settings
Push + or - to scroll down to the Rate. Then press +/-/MODE to change the voice
recording quality level.
Language Setting
Press the + or the - button to highlight the desired language.
Press +/-/MODE to confirm the selection.
18 GB -
Page 20

Additional Information
PRECAUTIONS
Copyright
• Making copies of MP3 tracks or files without permission is a violation of the
international copyright laws.
Safety
• Vibration experienced during walking or exercising will not affect the player.
However, dropping the player or dropping a heavy object on the player may result in
damage or sound distortion.
• Avoid spilling any liquid onto or into the player.
• Do not leave the player in a location near extreme heat sources or in a car with the
windows closed during excessive heat. Do not leave in a place subject to direct
sunlight, excessive dust or sand, moisture, or rain.
On Headphones and Earphones
Road Safety
o Do not use the headphones/earphones while driving, cycling, or operating any
motorized vehicle. It may create a traffic hazard and is illegal n some areas. It
can also be potentially dangerous to play your headsets at high volume while
walking, especially at pedestrian crossing and potentially hazardous situations.
Preventing Hearing Damage
o Avoid using the headphones/earphones at high volume. Hearing experts
advise not to play loud music for a long period of time. If you do experience
ringing in your ears, reduce the volume or discontinue use.
Consideration for Others
o Keep the volume at a moderate level. This allows you to hear the sound and
still be considerate to the people around you.
19 GB -
Page 21

CE Warning
The exclamation point within the triangle is a warning sign alerting the user of
important instructions accompanying the product.
This unit must not be exposed to moisture or rain.
Ensure all connections are properly made before operating the unit.
This unit should be positioned so that it is properly ventilated. Avoid placing it, for
example, close to curtains, on the carpet or in a built-in installation such as a
bookcase.
Do not expose this unit to direct sunlight or heat radiating sources.
The player may lock up or temporary lose its function due to electrostatic discharge or other
electrical disturbance, but normal function resumes when the device is reset.
20 GB -
Page 22

TROUBLE SHOOTING
Should any problem persist after you have checked these symptoms, consult your dealer.
Symptom Possible Reason Actions
No Power The battery Recharge the battery.
is exhausted.
No Sound from The earphones Re-insert the earphones.
Earphones are detached from the unit.
The volume Increase the volume.
is set to “minimum”.
The battery Recharge the battery.
is exhausted.
Check whether the earphones Clean the earphones jack.
jack is contaminated or
oxidized.
Corrupted MP3 or WMA file. Download the files again.
Failed to Download The battery Recharge the battery.
or Upload of MP3/ is exhausted.
WMA/WAV files
Improper connection of the Re-plug the cable at both
USB cable. ends.
Damaged USB cable. Replace the USB cable.
Memory is full. Release some memory space
by deleting some files.
Cannot record Voice Memory is full. Release some memory space
by deleting some files.
21 GB -
Page 23

TECHNICAL SPECIFICATIONS
Category Item Specification
Audio Frequency Range 20Hz – 20KHz
Headphones Output >40mW, 32ohm (Max. Vol)
130mW per channel, 8ohm
S/N Ratio 90db (MP3)
File Support MP3 MPEG 1/2/2.5 Layer 3
WMA Windows Media Audio
WAV ADPCM encoding
Bit Rate 8kbps – 320kbps
Tag Info ID3 Tag
Dimension 80.4 x 55.0 x 22.0 mm
Weight Approx. 68 g (without battery)
Battery Li-polymer Battery
Display OLED
USB USB 2.0
Built-in Memory 1.5 GB
Max. Playtime Approx. 10 hours (128kps, MP3)
Supported OS Win ME, 2000, XP and Mac OSX
Win 98SE (Driver is required)
Voice Recording Approx. 7-8 hours (Low resolution)
Firmware Upgradeable Yes (Except Windows 98 and Mac)
Operating Temperature 23 F to 104 F (-5 C to 40 C)
Specifications are subject to change without notice.
22 GB -
Page 24

UPGRADE FIRMWARE PROCEDURE
Occasionally, it may a new software (firmware) may be released for this unit enhancing its
functionality. For more information, please go to the web site at www.mpmaneurope.com
downloading procedure and downloading the latest firmware.
CARE AND MAINTENANCE
Your Digital Audio Player is a precise electronic device, and should not be subjected to rough
handling or exposed to extreme temperatures or moisture. Do not use chemical agents or
liquids to clean the unit, as they may damage the plastic.
Please Retain this Information for Future Reference
The manufacturer reserves the right to make any technical changes without notice in the
interest of progress.
Declaration
Our company will not be responsible for any mistakes in this manual. Prior notices will not
be given in case of any amendments within the manual. The corresponding companies own
the mentioned trademarks and names.
Microsoft Windows Media and Windows Logo are registered trademarks in the US and/or
other countries.
for
23 GB -
 Loading...