

Page 1
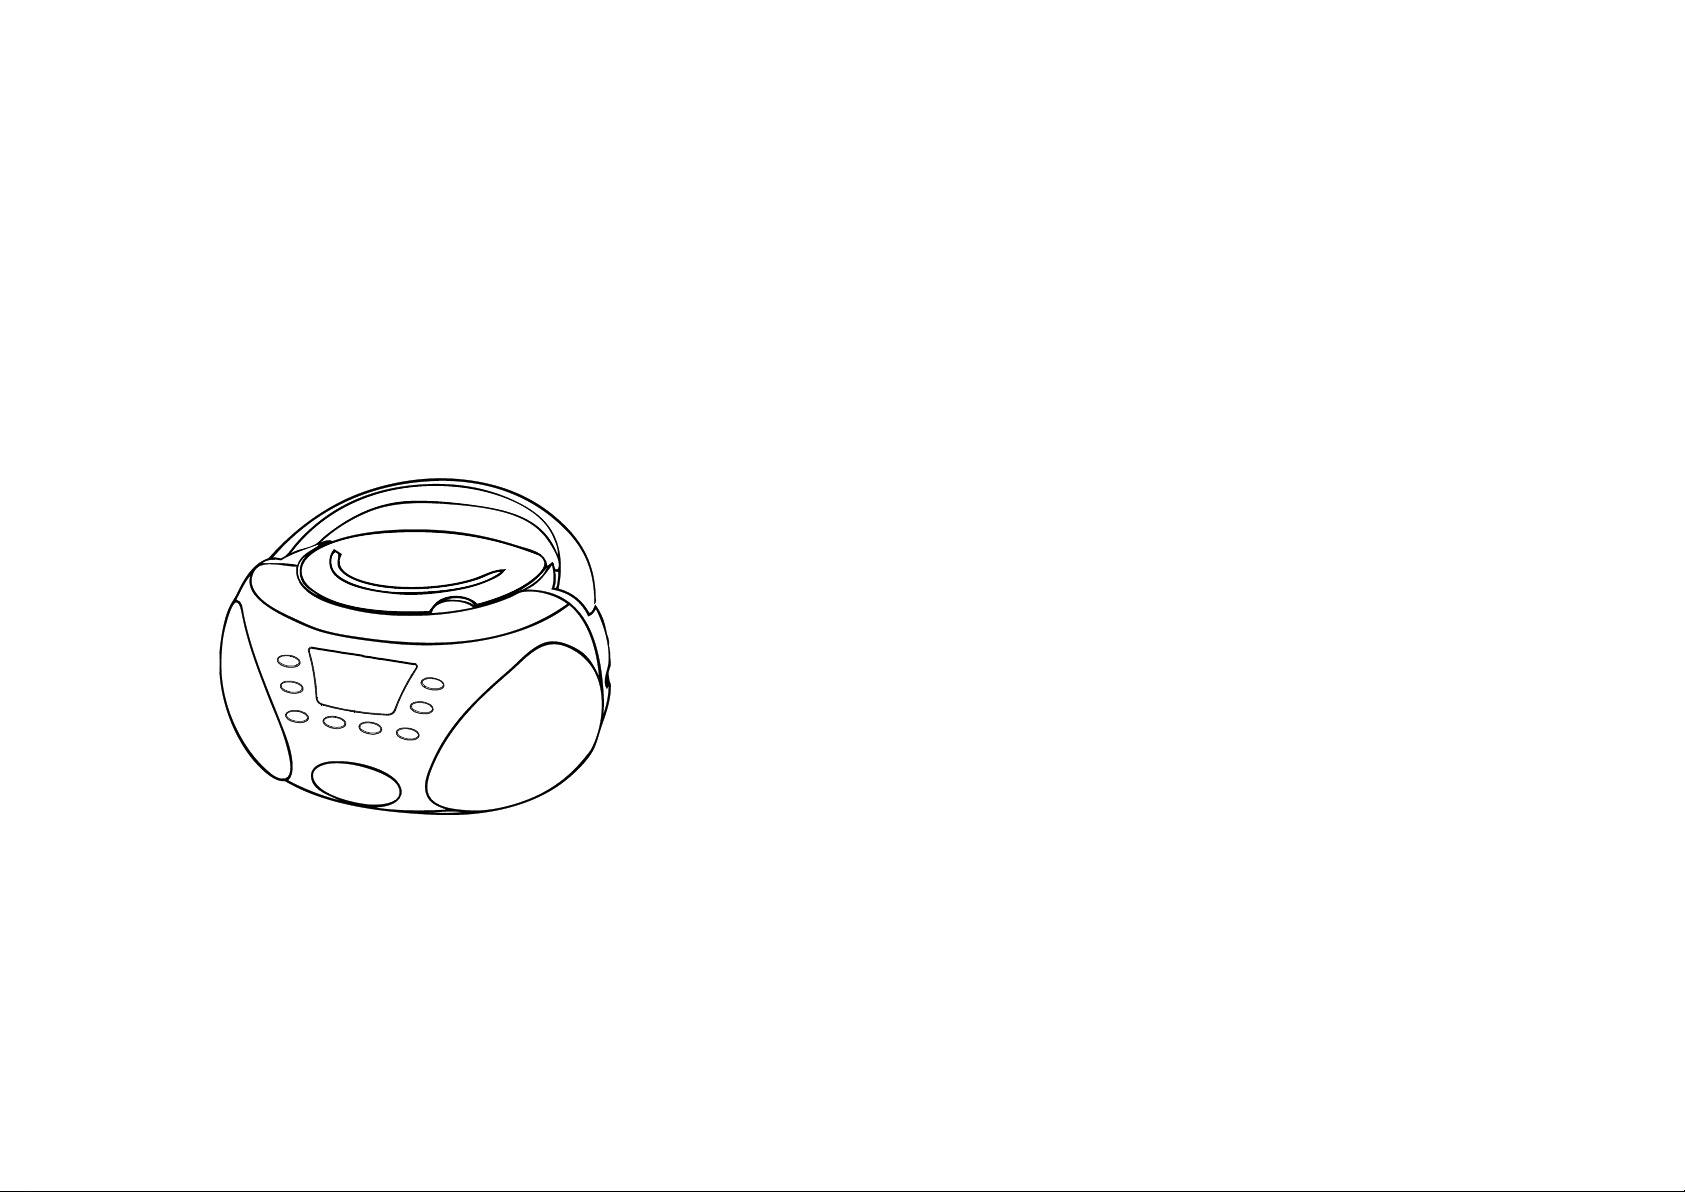
Portable CD/MP3 Player
with FM Radio
Model : CSD284PLL
Remark: Please read and follow these instructions, before using your unit.
Page 2
WARNING
The lighting flash with
arrowhead symbol, with an
equilateral triangle is intended
to alert the user to the
presence of un-insulated
dangerous voltage within the
products enclosure that may
be of sufficient magnitude to
constitute a risk of electric
shock to persons.
CAUTION
The exclamation point within
an equilateral triangle is
intended to alert the user to
the presence of important
operating and maintenance
(servicing) instruction in the
literature accompanying the
appliance.
RISK OF ELECTRONICS
SHOCK
DO NOT OPEN
CAUTION: TO REDUCE THE
RISK OF ELECTRIC SHOCK,
DO NOT REMOVE COVER
(OR BACK). NO USER
SERVICEABLE PARTS INSIDE
REFER SERVICING TO
QUALIFIED SERVICE
PERSONNEL.
LASER SAFETY
This unit uses a laser. Only a qualified service
person should remove the cover or attempt to
service this device to avoid possible eye injure.
Caution: USE OF CONTROLS OR
ADJUSTMENT OF PERFORMANCE OF
PROCEDURE OTHER THAN SPECIFIED
HEREIN MAY RESULT IN HAZARDOUS
RADIATION EXPOSURE.
DANGER:
INVISIBLE LASER RADIATION WHEN OPEN
AND INTERLOCK FAILED OR DEFEATED.
AVOID DIRECT EXPOSURE TO LASER BEAM.
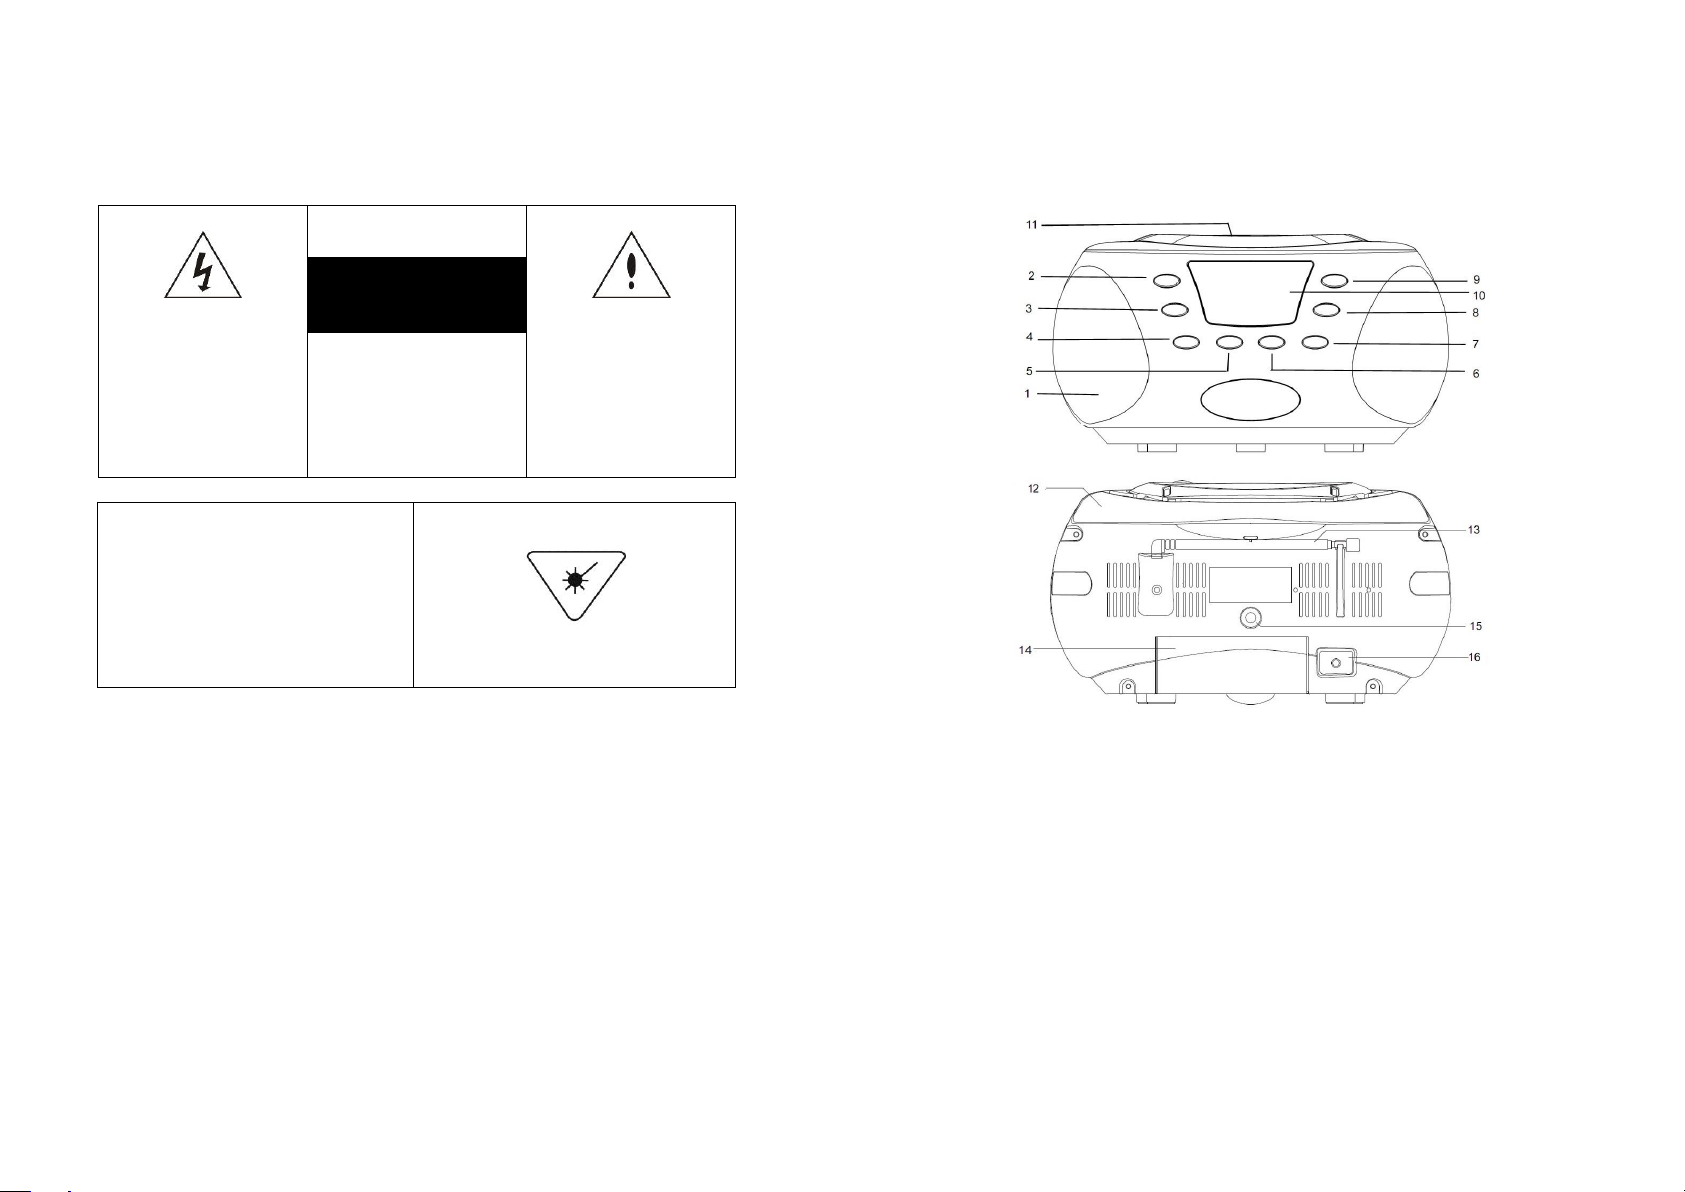
1.
Speaker
12.
Handle
2.
POWER/FUNC Button
13.
FM Antenna
3.
MODE/MEMO Button
14.
Battery Compartment
4.
Volume -
15.
AUX IN Jack
5.
Volume +
16.
AC Socket
6.
Skip Button
7.
Skip Button
8.
STOP/M+ Button
9.
PLAY/PAUSE Button
10.
LCD Display
11.
CD Door
TO PREVENT ELECTRIC SHOCK; DO NOT USE THIS PLUG WITH AN EXTENSION CORD
RECEPTACLE OR OTHER OUTLET UNLESS THE BLADES CAN BE FULLY INSERTED TO PREVENT
BLADES EXPLOSURE.
TO PREVENT FIRE OR SHOCK HAZARD; DO NOT EXPOSE THIS APPLIANCE TO RAIN OR
MOISTURE.
LOCATION OF CONTROLS
WARNING
The ventilation should not be impeded by covering the ventilation openings with items,
such as newspapers, table-cloths, curtains, etc.
No naked flame sources, such as lighted candles, should be placed on the apparatus.
It shall not be exposed to dripping or splashing and that no objects filled with liquids, such
as vases, shall be placed on the apparatus.
Do not place the product in closed bookcases or racks without proper ventilation.
CLASS 1 LASER PRODUCT
The batteries (Battery pack or batteries installed) shall not be exposed to excessive heat
such as sunshine, fire or the like.
Excessive sound pressure from earphones and headphones can cause hearing loss.
Where the mains plug or an appliance coupler is used as the disconnect device, the
disconnect device shall remain readily operable.
- 1 -
- 2 -
Page 3

AC OPERATION
Connect the plug to the AC socket of the unit and the other end to a standard AC
outlet.
ATTENTION
1. Do not plug or unplug the power cable while you have wet hands.
2. When planning not to use this unit for a long time, disconnect the power cable
from the wall outlet.
3. When disconnecting the power cord from the wall outlet, do not pull on the cord
in order to avoid shock risks caused by damaged cable.
BATTERY OPERATION
Disconnect the AC Cord Set completely. Open the Battery Compartment Door and
insert 6 pieces UM-2 "C" size batteries into the battery compartment with battery
polarity as shown inside the battery compartment.
RADIO OPERATION
1. Press POWER/FUNC button to select FM radio mode.
2. Press the Skip Button or Skip Button step by step to tune to the desired
radio stations.
3. Press and hold the Skip Button or Skip Button to search the next radio
station in the direction of the search. The search operation simply finds stations
with strong signals, Stations with weak signal can only tuned in step by step.
4. If FM stereo broadcast received, (ST) will display on the LCD display.
5. Use the VOLUME+ or VOLUME- button to adjust the volume to the desired
listening level.
AUTO STORE RADIO STATIONS IN THE MEMORY
1. Press POWER/FUNC button to select FM Radio mode..
2. Press the PLAY/PAUSE button, the unit will start to search all available station
and automatically save in the memory.
3. Up to 20 radio stations can stored in the memory.
MANUAL STORE RADIO STATIONS IN THE MEMORY
1. Press the Skip button or Skip button to search the desire radio station.
2. Press the MODE/MEMO button, the display with show “P-XX” and flashing and
press the Skip Button or Skip Button to select the desired memory radio
station number.
3. The radio station will store in the memory after 5 seconds.
4. Up to 20 radio stations can stored in the memory.
- 3 –
TO SELECT A STORED RADIO STATION IN THE MEMORY
Press the STOP/M+ button to skip to the next stored radio station.
CD/MP3 OPERATION
Playing Audio CDs
1. Press the POWER/FUNC button to select CD mode.
2. Insert an audio CD disc in the CD compartment and close the CD door, the unit
will start reading the disc, it will show the total number of tracks of the entire
disc after reading and start playing the first track of the entire disc.
3. During playing, press the PLAY/PAUSE button to temporarily pause playing. To
resume, press the PLAY/PAUSE button again.
4. To stop playing the disc, simply press the STOP/M+ button
Playing MP3 Discs
1. Press the POWER/FUNC button to select CD model
2. Insert a MP3 disc in the CD compartment and close the door, the unit will start
reading the disc, it will show the total number of tracks of the entire disc after
reading.
3. Press the PLAY/PAUSE button to start playing the disc.
4. If your MP3 disc has folders, press and hold the MODE/MEMO button for about
2 seconds, the folder number will display on the LCD display.
5. Press the Skip button to go to the next folder or press the Skip button to
go back to the previous folder.
6. During playing, press the PLAY/PAUSE button to temporarily pause playing. To
resume, press the PLAY/PAUSE button again.
7. To stop playing the disc, simply press the STOP/M+ button.
Skip Mode
1. During play or pause mode, press the Skip button to go to the next track.
2. For MP3 disc with folders, when the end of the folder is reached, press the Skip
button will go to the first track of the next folder.
3. During play or pause mode, press the SKIP button to go back to the
beginning of the track.
4. During play mode, press the SKIP button twice will go back to the previous
track.
5. For MP3 disc with folders, when reaching the beginning of the folder, press the
SKIP - button twice will go to the last track of the previous folder.
- 4 -
Page 4

Different Play Mode
Press the MODE/MEMO button to select different kinds of play mode with the
following sequence.
For Audio Disc : Repeat Normal
For MP3 Disc : Repeat Repeat Folder Normal
Repeat – repeat the track being played.
Repeat Folder – repeat all the tracks in the entire album/folder.
Normal – play the tracks in sequence.
Programming
In case of Audio CD
1. Make sure the unit is in Stop mode
2. Press the MODE/MEMO button, the LCD display will show P01 and flash.
3. Use the Skip or Skip button to select the desired track.
4. Press the MODE/MEMO button again to store the selected track in the memory,
the LCD display will show P02.
5. Repeat steps 2 to 3 to store more tracks in the memory. You can store up to 20
tracks in the memory.
6. Press the Play/Pause button to start playing the disc in the programmed order.
7. To stop playing, press the Stop button.
8. To cancel the programming list, press the Stop button again.
In case of MP3 Disc
All procedure is same as Audio CD. But if you have folders in your disc, you can
select folder and you can program up to 99 songs with above method.
AUX IN JACK
MP3/AUX IN CONNECTION
1. Insert one side of the audio cable (requires 3.5mm stereo plug, not supplied)
into the line-out jack or phones jack on your device and the other side to the
aux-in jack on the unit.
2. Press the POWER/FUNC to select AUX mode
3. Turn on your device and follow the playback instruction.
4. To stop this function, simply turned off your device.
- 5 -
Note:
Because of none-standardized format definition/production of MP3 CD, playback
quality & performance are not guaranteed.
Manufacturer is not responsible for the playability of MP3 in any case due to
recording conditions such as PC performance, writing software, media ability and
etc.
CARE AND MAINTENANCE
Precautions
Always turn off the unit after use.
Keep the unit away from magnetic objects, water or heat sources.
Use a clean soft cloth moistened with lukewarm water to clean the cabinet.
Never use chemical cleaners that could damage the finish of the unit.
Never touch the CD pickup and lens. If fingerprints get on the pickup lens,
clean it gently with a commercial lens cleaner.
Disconnect the unit from any power sources before cleaning.
To remove a disc from its storage case, press down on the centre of the case
and lift the disc out, holding it carefully by the edges.
Fingerprints and dust should be carefully wiped off the disc’s recorded surface
with a soft cloth. Unlike conventional records, compact discs have no grooves
to collect dust and microscopic debris so gently wiping with a soft cloth should
remove most particles. Wipe in a straight line from the inside to the outside of
the disc. Small dust particles and light stains will have absolutely no effect on
reproduction quality.
Never use chemicals such as record sprays, anti-static sprays, benzene or
thinners to clean compact discs. These chemicals can irreparably damage the
disc’s surface.
Discs should be returned to their cases after use. This avoids serious scratches
that could cause the Laser pickup to skip.
Do not expose discs to direct sunlight, high humidity, or high temperatures for
extended periods. Long exposure to high temperatures can warp the disc.
Do not stick paper or write anything with a ballpoint pen on the label side of the
disc.
SPECIFICATIONS
Power supply: AC 230V~ 50Hz
DC 9V (UM-2 x 6)
Frequency range: FM 87.5 – 108 MHz
Specifications are subject to change without further notice.
- 6 -
 Loading...