

Movea AS00258 User Manual
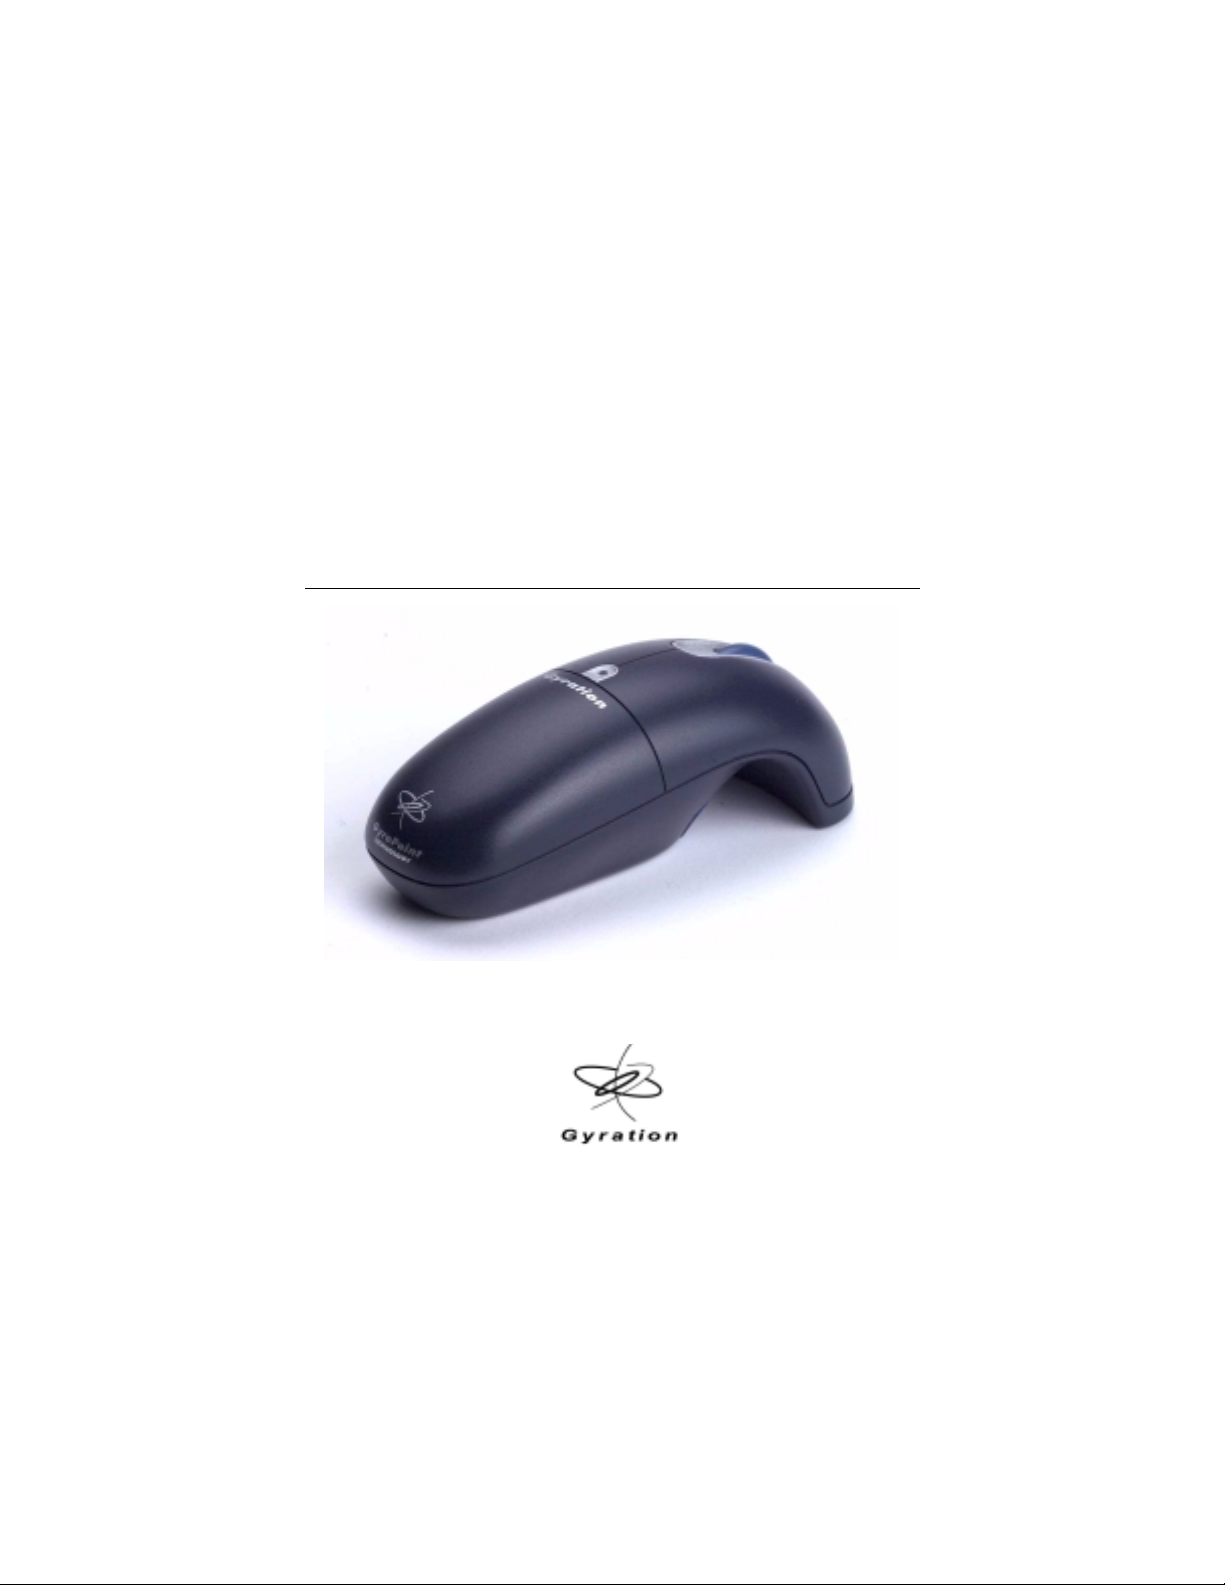
Gyration Ultra Cordless Optical Mouse
User Manual

Product Specifications
Spec Ultra Cordless Optical Mouse RF Receiver
System Requirements
Size 4.8”L x 2.0”W x 1.8”H (12.2cm x 5.1cm x
Weight 5.3 oz (150g) with battery pack 4 ounces (124g)
Operating
Range
Radio 49 MHz (U.S.) with 8 channels and 65,000
Batteries T NiMH battery pack
Connector N/A USB with 5’ (1.5m)
Operating Temp +10 to 40 C (+50 to +104 F)
Storage Temp -30 to +70 C (-86 to +158 F)
T Full functionality on Mac and IBM compatible PCs running
Windows 2000, ME, XP or higher
T Avail able USB p ort
T CD ROM drive (for GyroTools installation)
T Microsoft or Mac compatible mo u se driver
4.5cm)
Consumer model - Up to 25 feet (7.6m)
typical with no line-of-sight requirement
Professional model - Up to 100 feet
(30.5m) typical with no line-of-sight
requirement
security addresses
T 3 AAA batteries (AAA battery clip
included with professional model
only)
5”L x 4”W x 2”H
(13cm x 10cm x
5cm)
N/A
N/A
N/A
cable
Gyration Ultra Cordless Optical Mouse
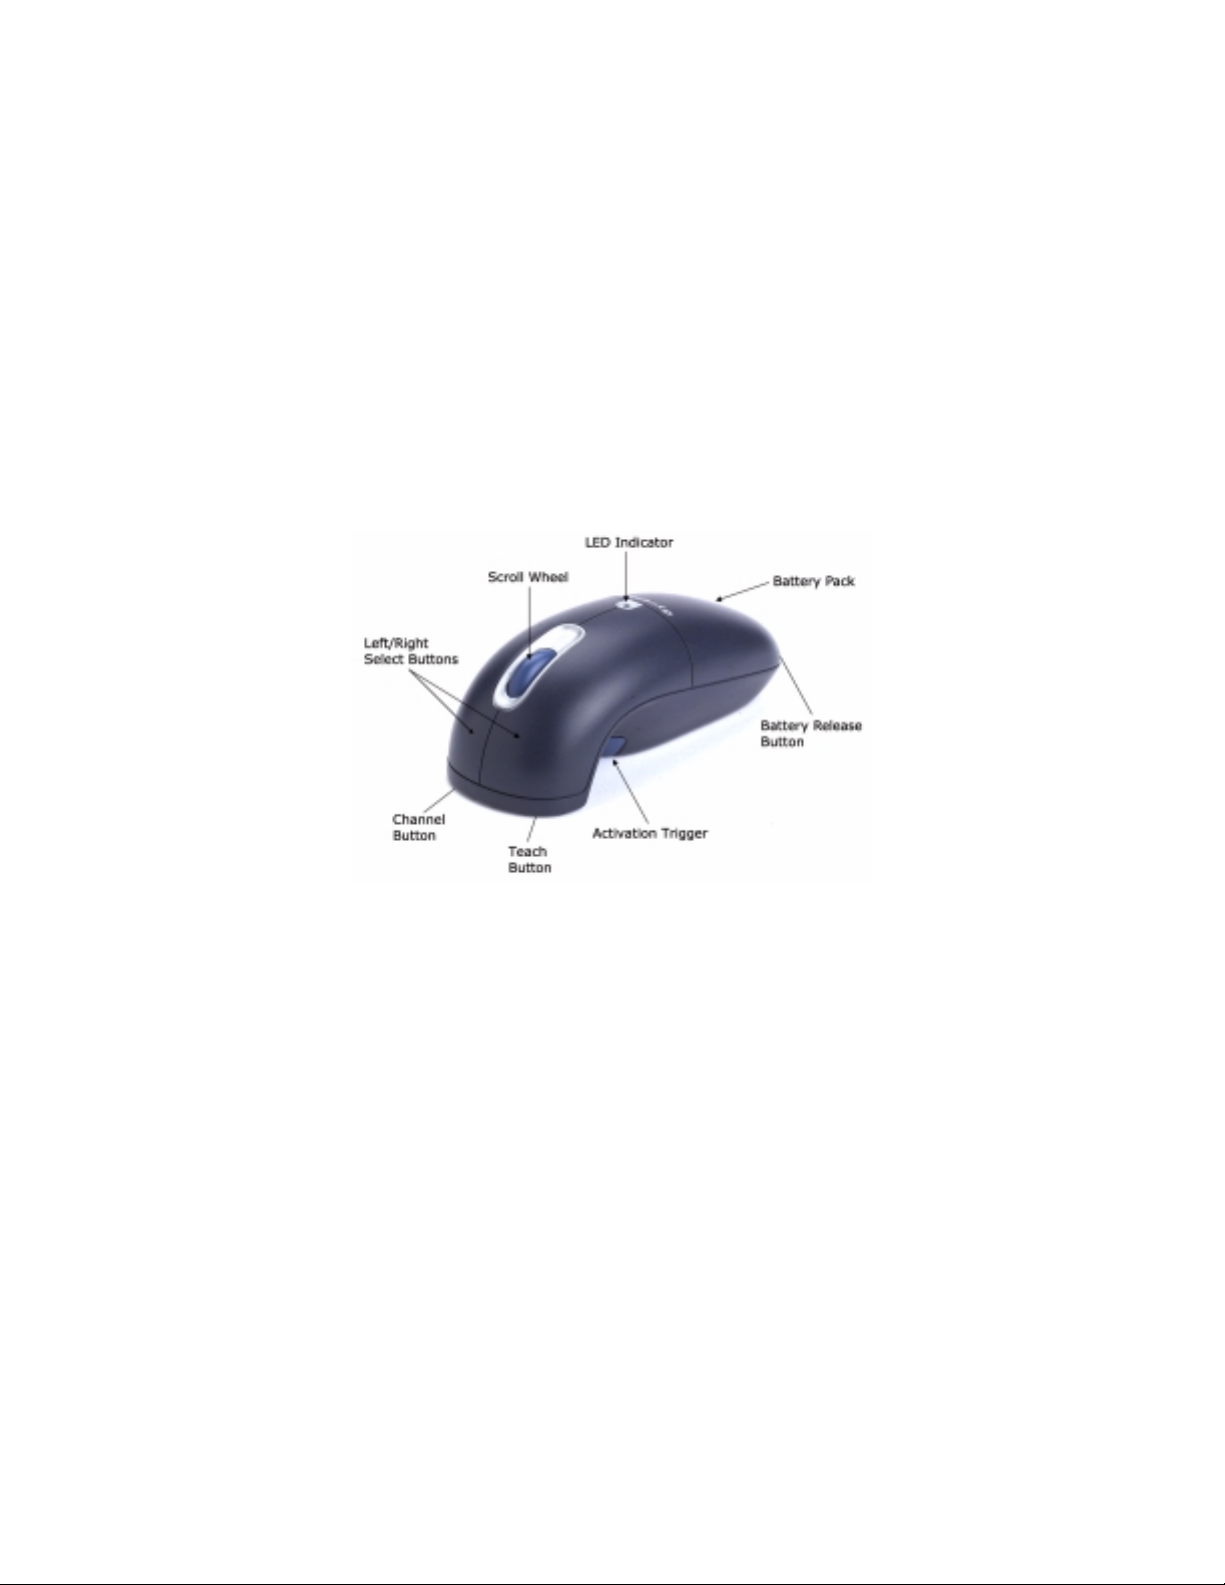
Identifying the Parts
Included with your mouse are the following components:
Ultra mouse - Consumer: mouse handset, charging station, RF receiver,
NiMH battery pack, AC adapter
Ultra mouse - Professi onal: mouse handset, charging station, RF receiver,
2 NiMH battery packs, inline charger, AAA battery clip, GyroTools CD, AC
adapter
Installing and Ch arging the Batteri es
The Ultra mouse comes with a NiMH battery pack already installed but you
will need to remove the plastic insulator tab located inside the battery com-
1

partment. This clear plastic tab prevents the battery from discharging until
you are ready to use your mouse.
1. Press release button on the end of the mouse and lif t battery pack
off.
2. Remove and discard plastic tab.
3. Replace battery pack by sn apping into pla c e.
Important! Your mouse must be charged for 8 hours prior to first use. To
charge your mouse :
1. Be sure that the NiMH battery pack is firmly in place.
2. Connect power adapter to charging cradle and plug into AC power
source.
3. Place mouse handset into charging cradle. LED on cradle will light
solid. LED indicator on mous e wil l flash sl owl y whi le batte rie s are
charging and maintain a steady glow when fully charged. (You may
remove the mouse from the charging cradle at anytime -- you do
not need to wait for the LED to stop flashing.)
Note: When battery reaches 20% of a full charge the LED indicator will blink intermittently when transmitting data. To optimize the performance of your NiMH battery, it is
best to recharge after every use.
The NiMH battery pack can also be charged in a remote location using an inline charger (included with the Ul tr a mouse p rofessi on al model and available
for purchase as add-on accessory):
1. Press release button on the end of the mouse and lif t battery pack
off.
2. Connect power adapter to inline charger and plug into AC power
source.
3. Place battery pack into charger cradle to begin charging. LED indicator on cradle will light solid.
A standard alkaline battery clip may also be used with your mouse (included
with the Ultra mouse professional model and available for purchase as addon accessory):
2

1. Insert 3 AAA batt er ie s into ba tt ery clip.
2. Attach battery cl ip to mou se by sn a pp ing into plac e .
Setting Up and Synchronizing Ultra Mouse and the
Receiver:
1. Make sure the mouse is fully charged.
2. Power on your computer and connect the Receiver’s USB cable into
an available USB port on your computer. Follow standard USB
device installation screens.
3. Press and hold the LEARN bu tton on the Receiv er for 2 sec onds. The
STATUS light will blink slow ly, indicating that the rec e ive r is in
“Learn Mode.”
4. Press the TEACH button located on bottom of the mouse handset.
The status light on the Receiver will blink rapidly for 4 seconds, then
will blink slowly. Push the TEACH button on any add itio n al de vices
(i.e. keyboard or 2
5. OPTIONAL: To exit “Learn Mode,” press the LEARN button on th e
Receiver for 2 seconds. Otherwise, after five minutes, Learn Mode
will automatically time ou t.
If more than one Gyration de vic e is be ing in st alle d on the sy s te m, plac e the
Receiver i nto Learn Mode (step 3 above) only once, then “Teach” each device
before exiting Learn Mode. Do not push the Learn button on the receiver for
each device to be added. (Also see “Installing 3 or More Devices” on page 9.)
When the Receiver is put into L e arn Mode, it erases its memory of lear n ed
devices and looks for new devices. Theref ore, when addin g a new device to a
system it is necess a r y to pu t the Recei ver into Learn Mode the n Teach all
devices that will be used on the system.
Note: After the Teach/L earn sequence is performed, the Receiver and the device will
remain synchronized after powering down and changing channels. It is only necessary
to perform the Teach/Learn sequence when setting a device up for the first time or
when adding additional de vi ce s to t h e sy stem.
nd
mouse) at this time.
3

Determining Wh ic h Cha nnel Ultra Mouse is Using
The Ultra mouse has eig ht individual channels available to it. To determine
which channel a device is currently using:
1. Press and quickly release the CHANNEL button on the bottom of the
mouse handset. Count the number of times the red LED on the bottom of the handset or the gree n LED on the top of the han dset
flashes. The number of f lashes indicates the channel the handset is
using.
Changing the Channel Ultra Mouse is Using
When two devices are being used in the same proximity, each device should
be set to operate on a unique chan nel. For best reception, space the channels apart by one or more channels.
To change the channel:
1. Press and hold the CHANNEL button on the bottom of the mouse
handset for 2 seconds. When you release the button, the mouse will
change to the next channel and the red LED on the bottom of the
handset and the green LED on the top of the handset will flash. The
number of flashes indicates the new channel the handset is using.
If a Teach/Learn sequence has already been performed, it will not be
necessary to re-synchronize the devices after a channel change.
Note: If the mouse’s channel is changed when the comp ut er i s pow ered do wn or the
receiver is not connected, the devices will become unsynchronized. When the system is
running, click and release the channel button as described above to initiate a “channel
confirm” operation. The mouse broadcasts a message across all eight channels that
informs the receiver what channel it is currently operating on. The receiver then
automatically restores synchronization.
Tip: If you are installing three or more devices on a single receiver, see “Installing 3 or
More Devices” on page 9.
Using Ultra Mouse on the Desktop
The Ultra mouse provides great flexibility in how you control your computer
4
 Loading...